SHARE
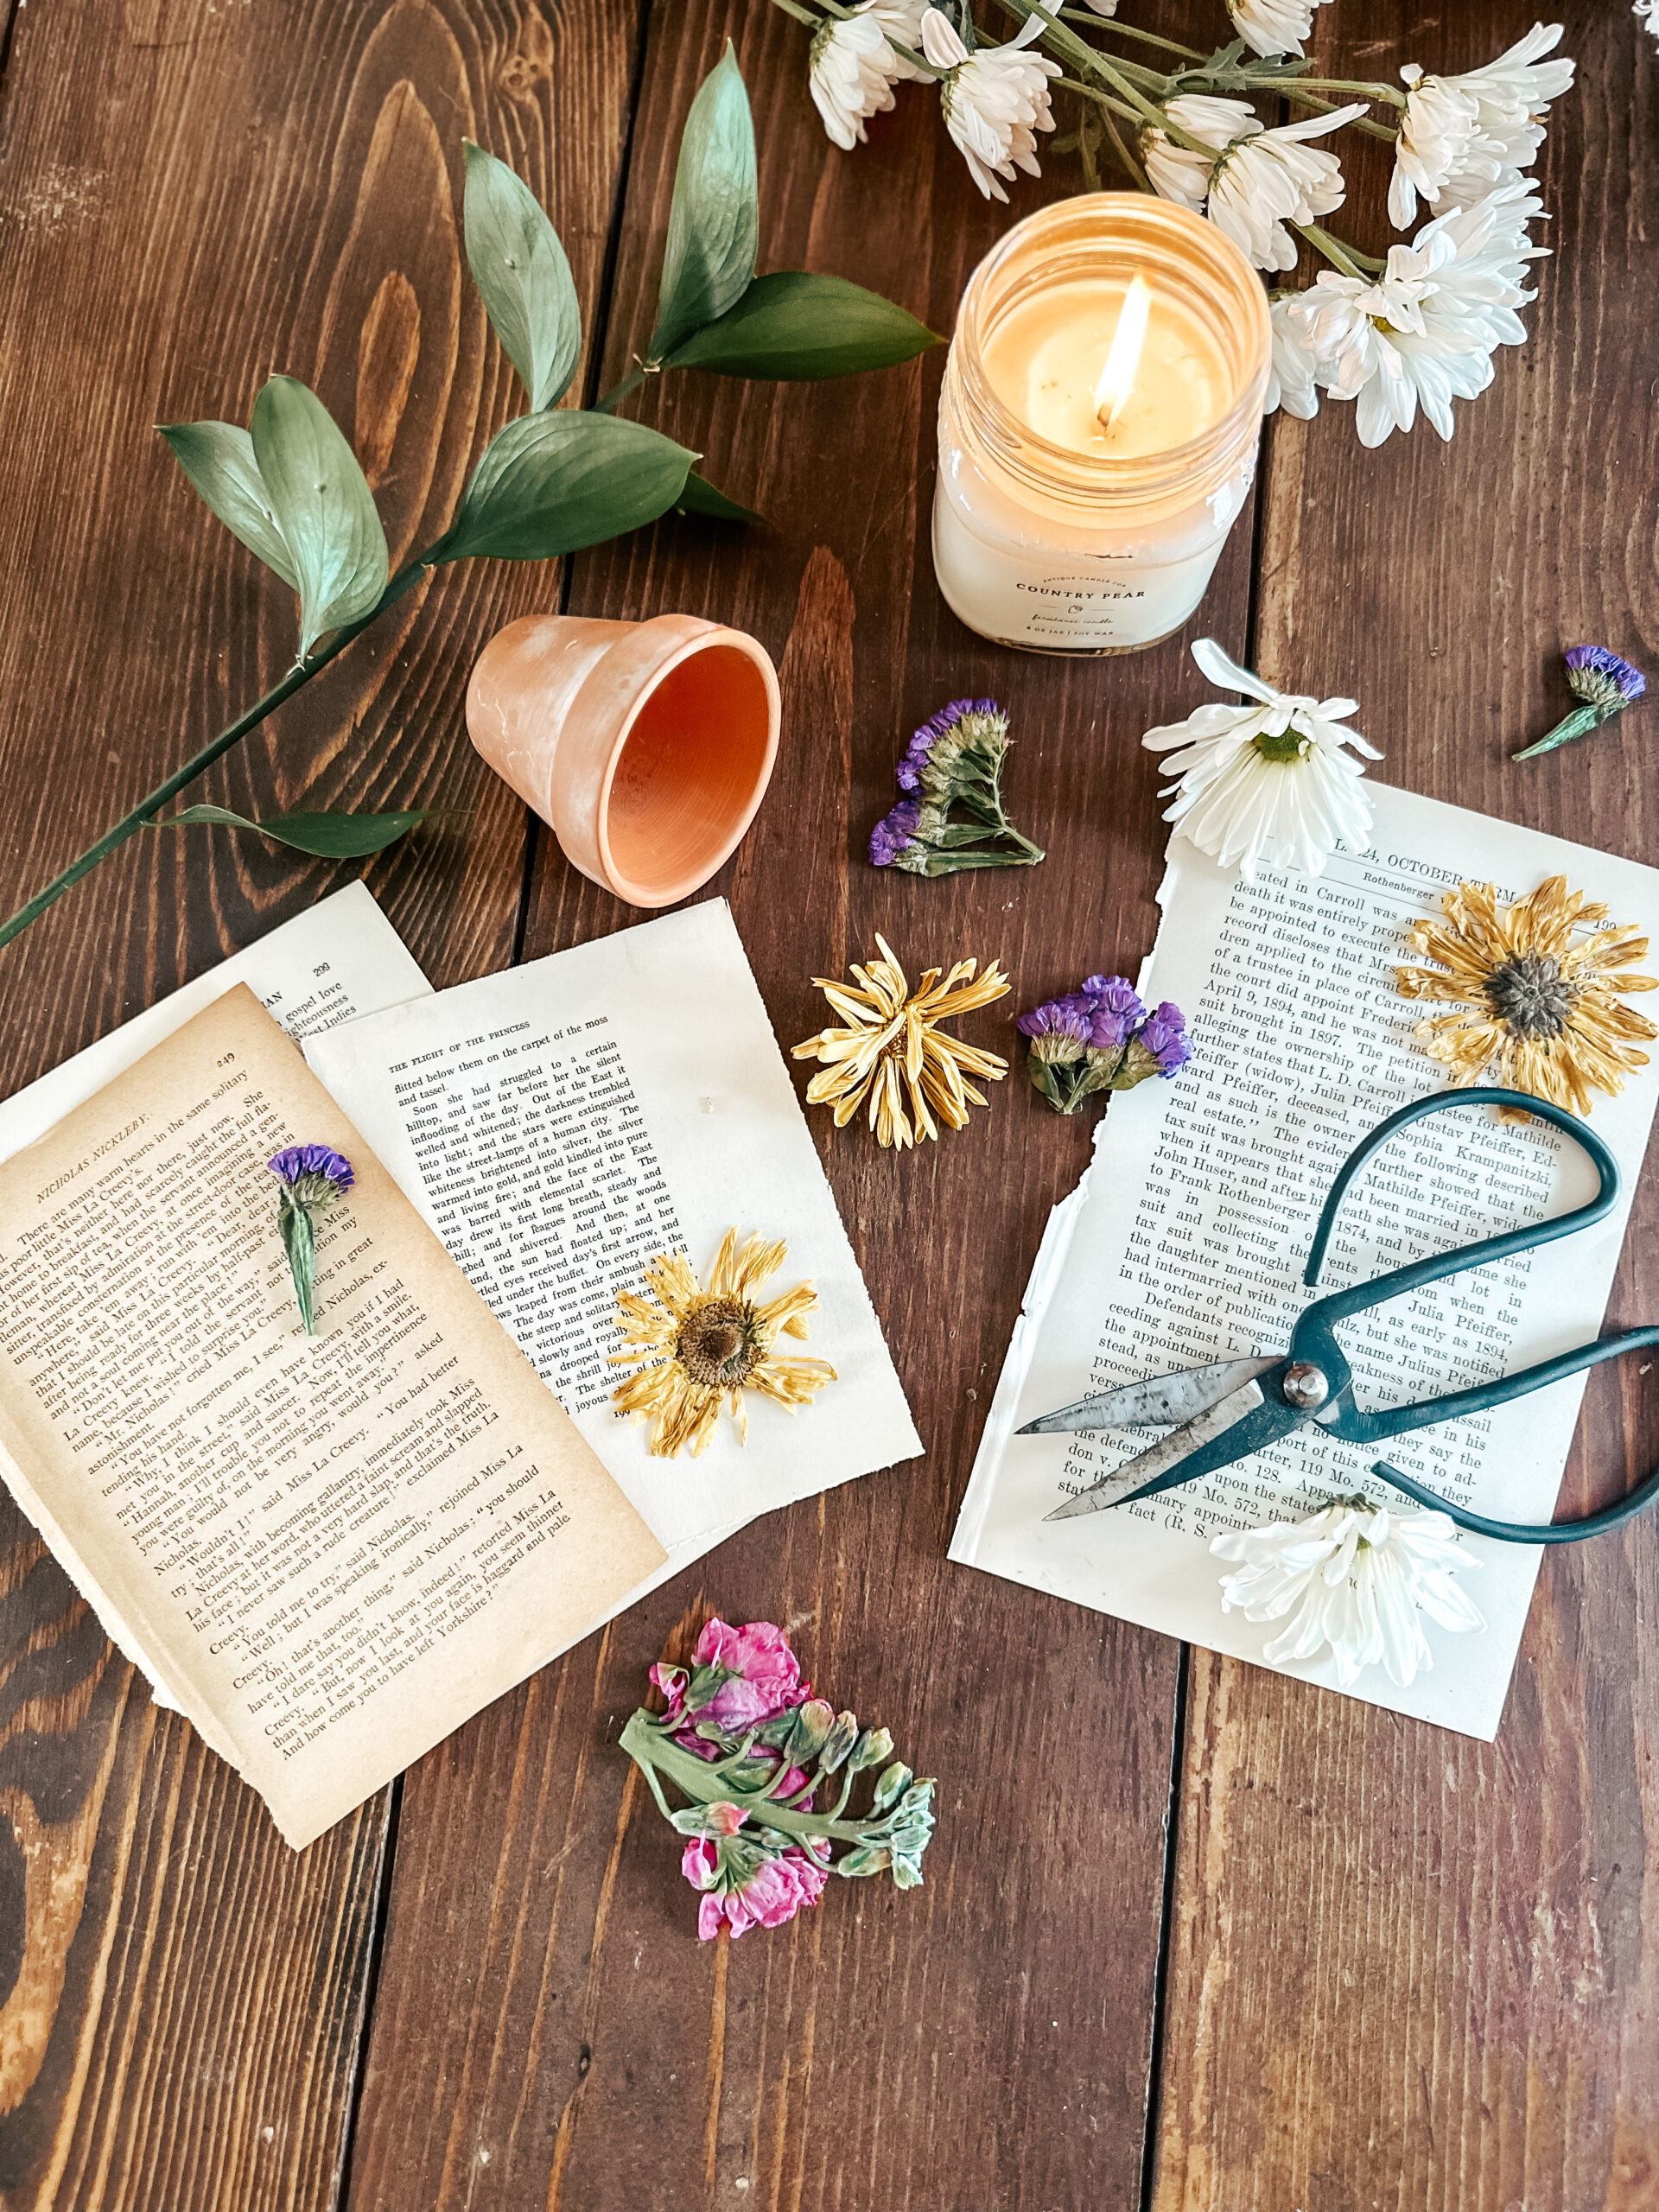
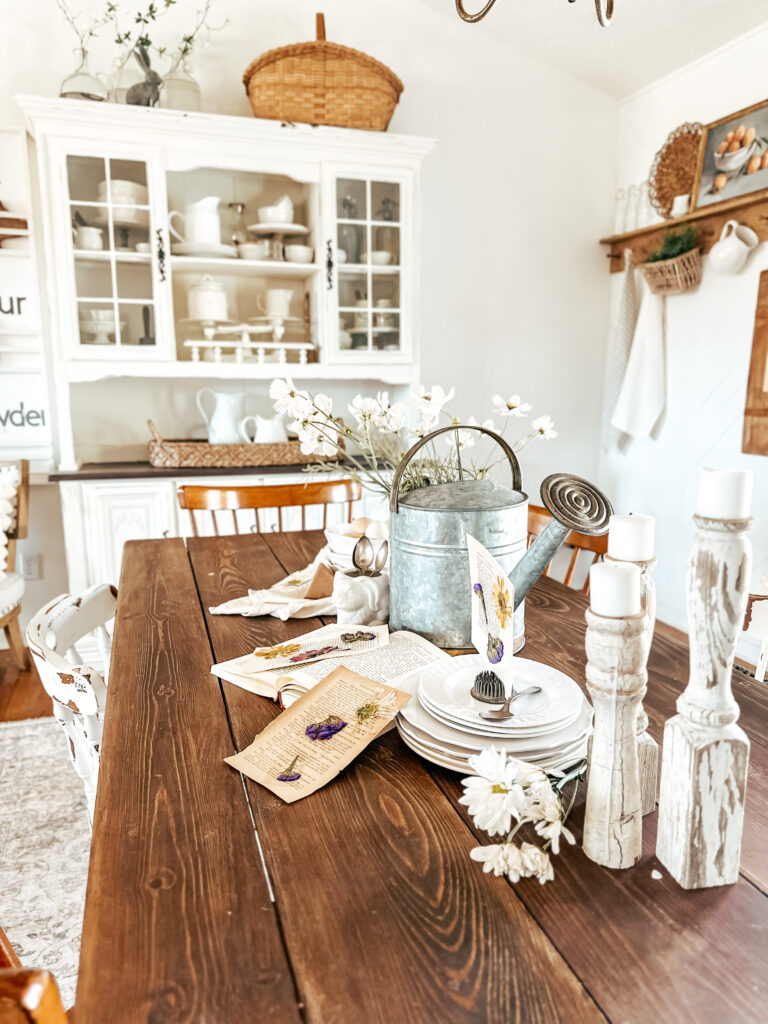
Vintage and florals are some of my favorite things. This week I had some florals that were looking kinda sad so I did a vintage pressed floral DIY. This time instead of doing this with a floral press as I would normally do, I decided to do a quick process. I must say that I was impressed with how it turned out.
Here we go friends and it takes less than 15 minutes to press these florals!
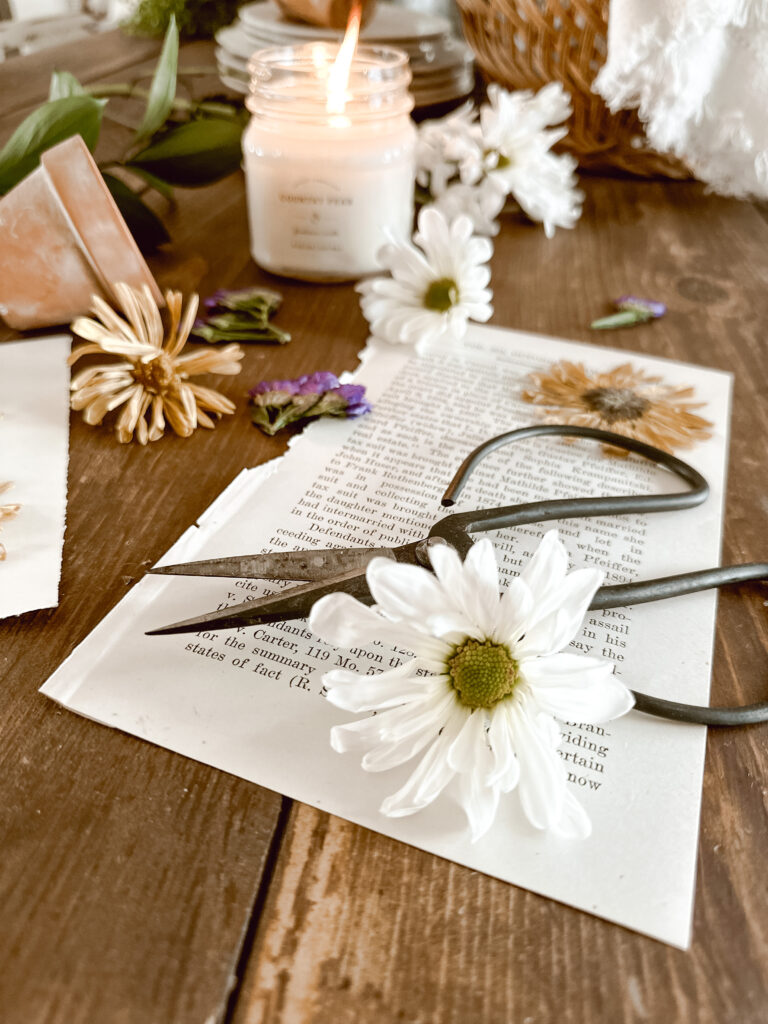
All you need:
- Florals of any kind
- A Iron
- Parchment Paper
- Modpodge and a brush
- Vintage Book Pages and the full book
- Cardstock
Let’s Make it!
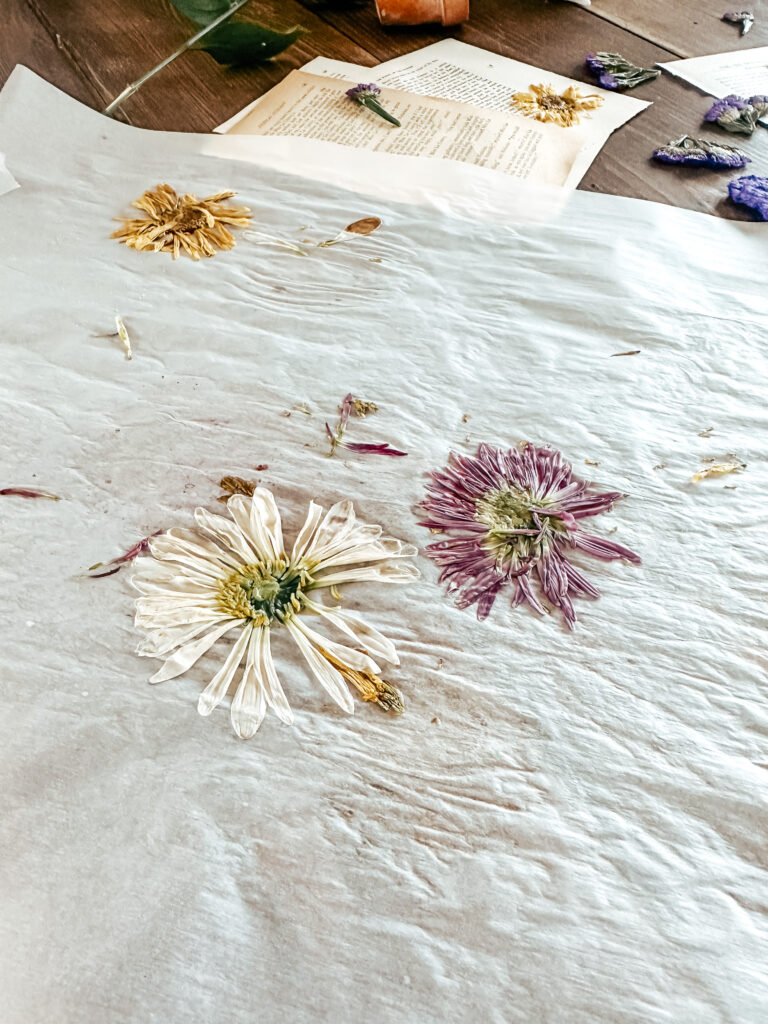
Start by cutting your florals off of their stems, that way they lay flat. Once you have them cut the way you like, you will lay them down on the parchment paper. By now your iron should be hot.
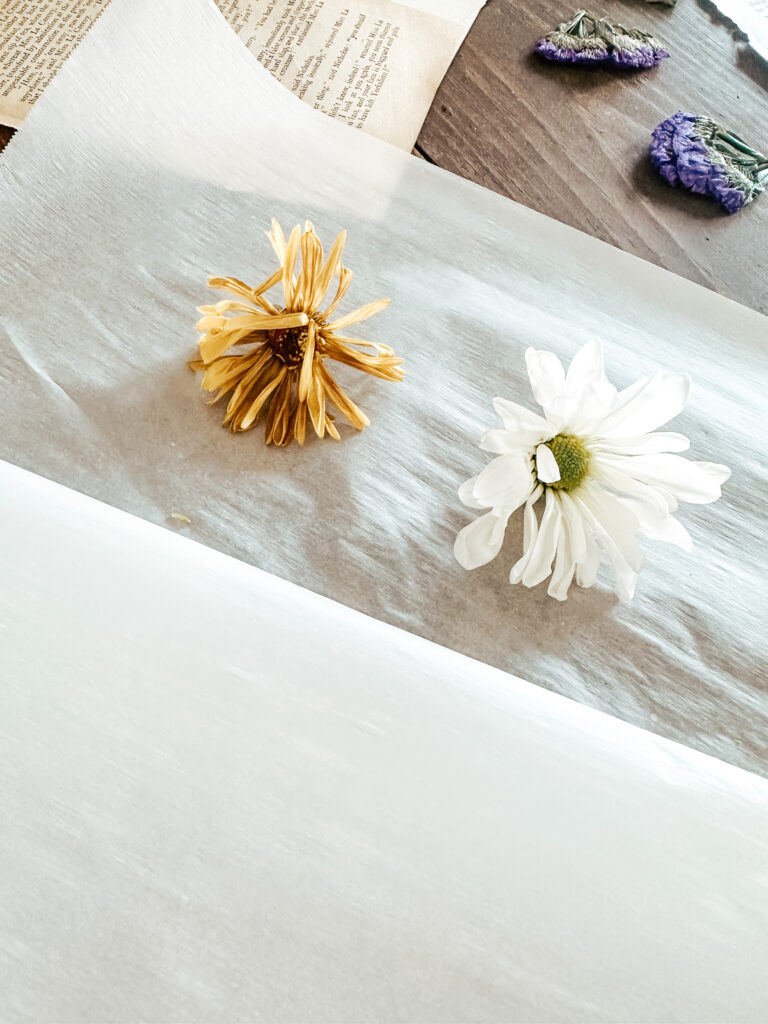
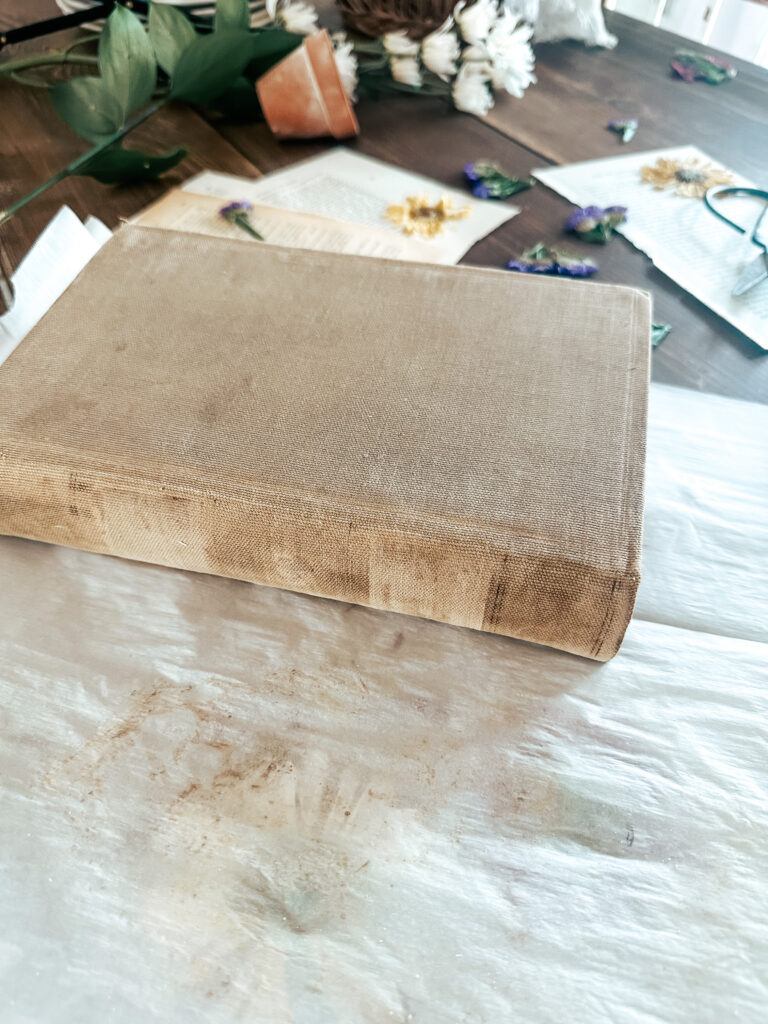
Once you have your floral on the parchment paper, take another piece of parchment paper and lay it on top. I then placed a book on top of the florals to help flatten them even more and turn on your iron. After 5 minutes I removed the book and pressed the iron down on each flower for 15 seconds. After they all have been pressed remove the top parchment paper and let them dry for about an hour.
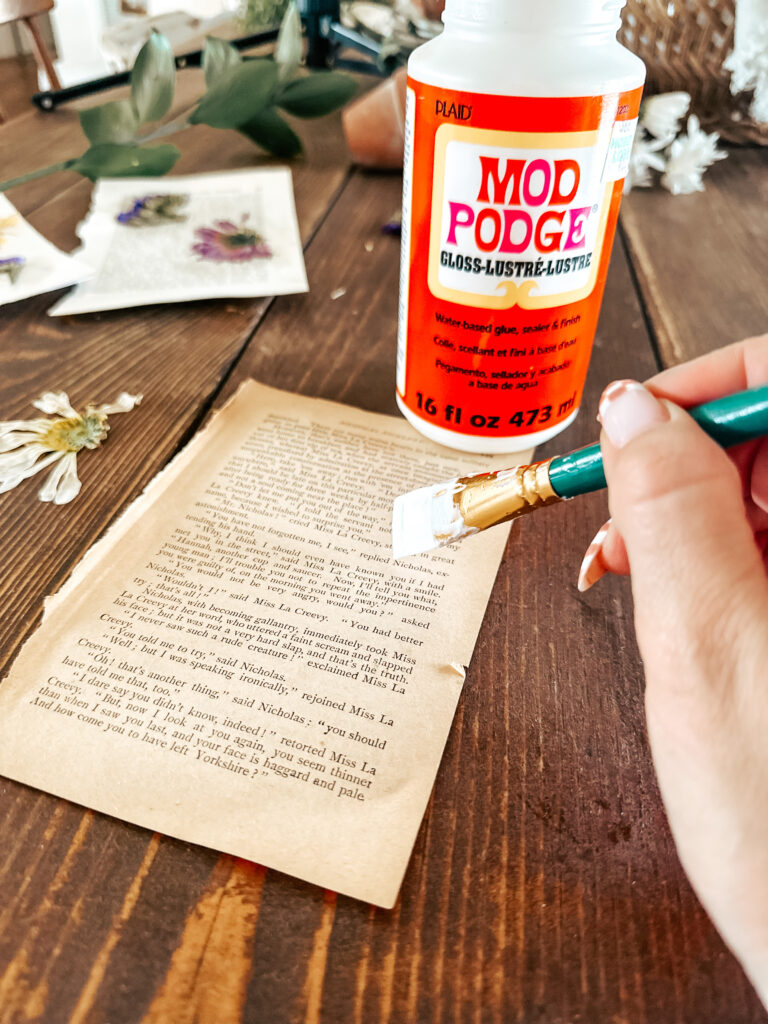
while your florals are drying cut some card stock the same size as your book pages. You will then take a brush and mod-lodge and glue the card stock and book pages together. Peel your flowers off of the parchment paper and place them on top of the mod podge you placed on the book page where you would like the floral to be.
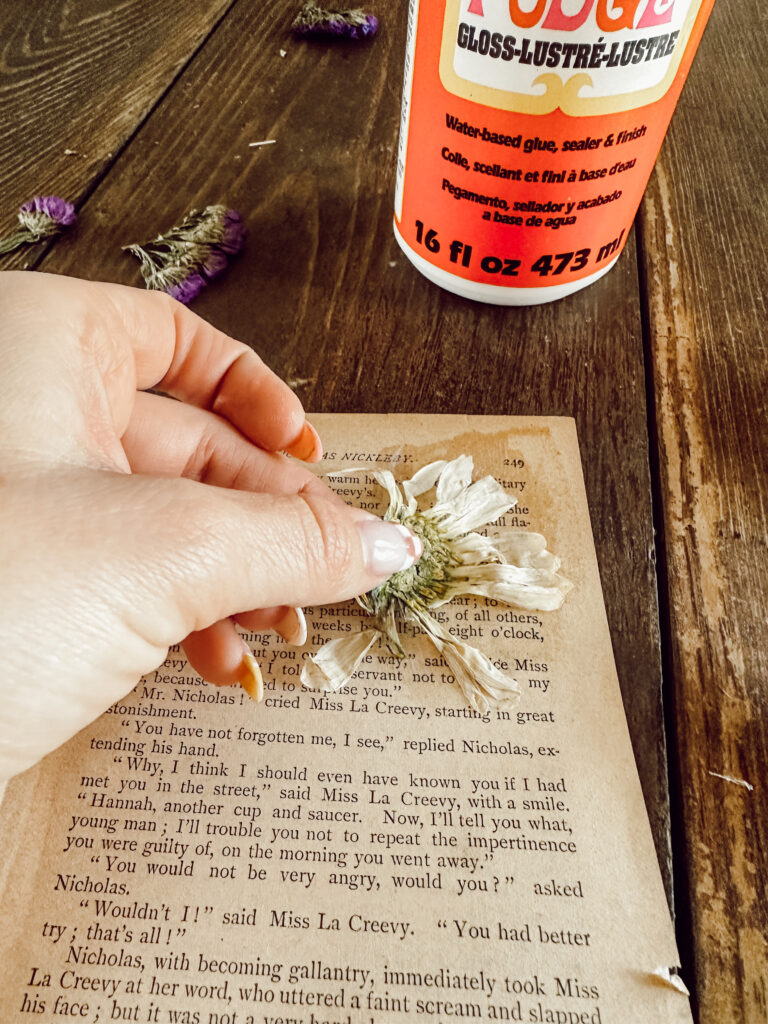
Now you have pressed flowers on old book pages that look like they have been pressed in the book over the years. These are so much fun to style around your home, even in a fun spring tablescape as we did.
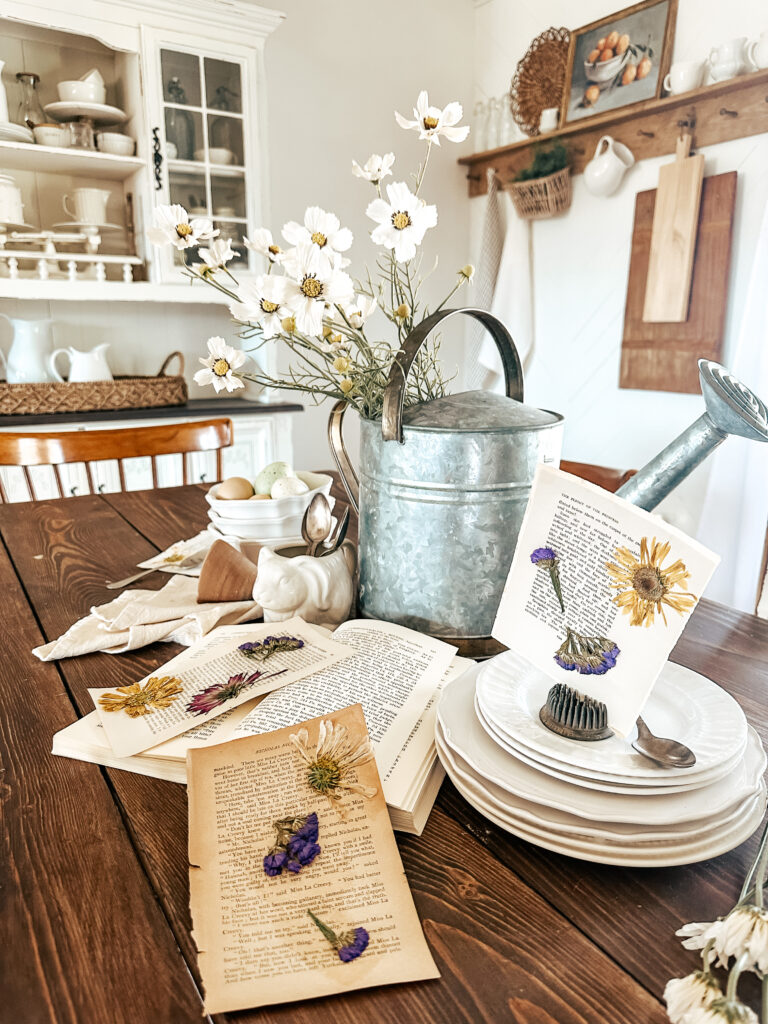
I hope that this simple pressed floral DIY will inspire you to create some fun spring DIYs this year! For other DIY projects, you can find them here friends! We would love to see these book pages if you try them.

