SHARE
When this new year started I asked what you all wanted to see on the blog and many of you said simple DIY’s. Well friends, here is a simple DIY that I teamed up my friend Jessie from the Eye In The Detail on this fun and easy project. I have been wanting to change something in the office room but I was unsure of what to do because all of the DIY’s I thought of required wiring and to be honest that is one thing I can not do. This is when Jessie and I came up with this great idea to do this simple and affordable DIY.
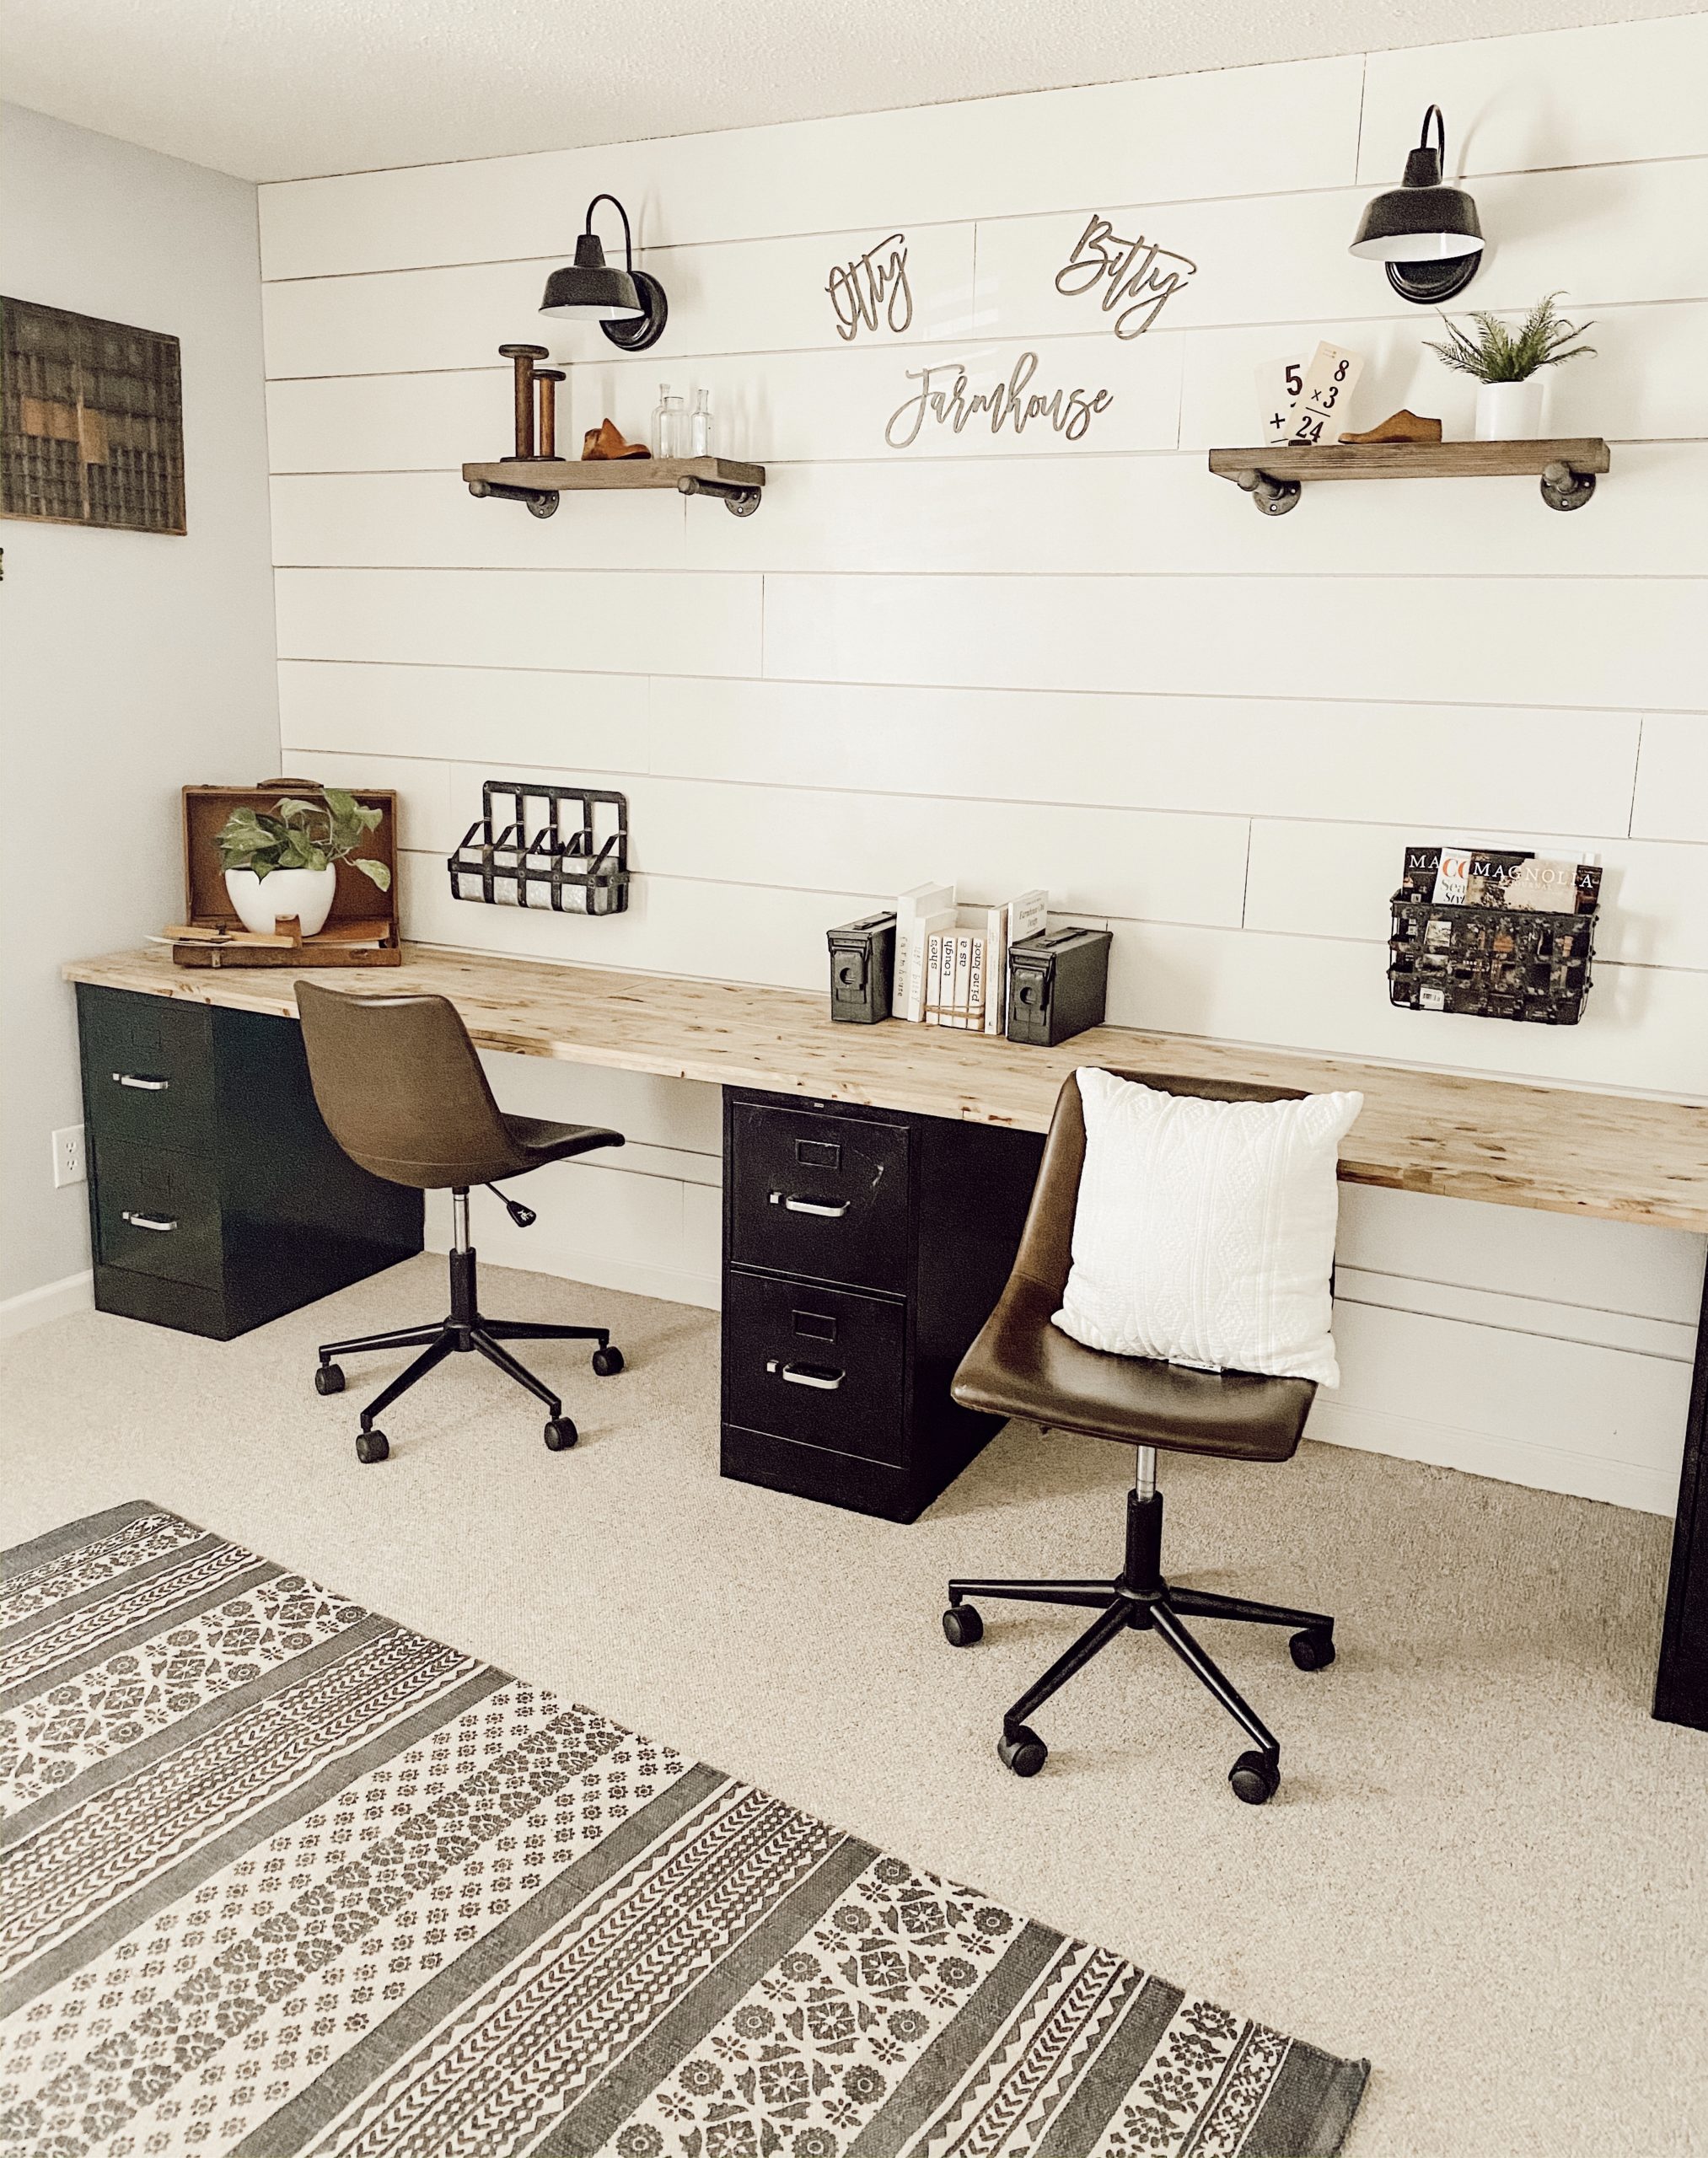
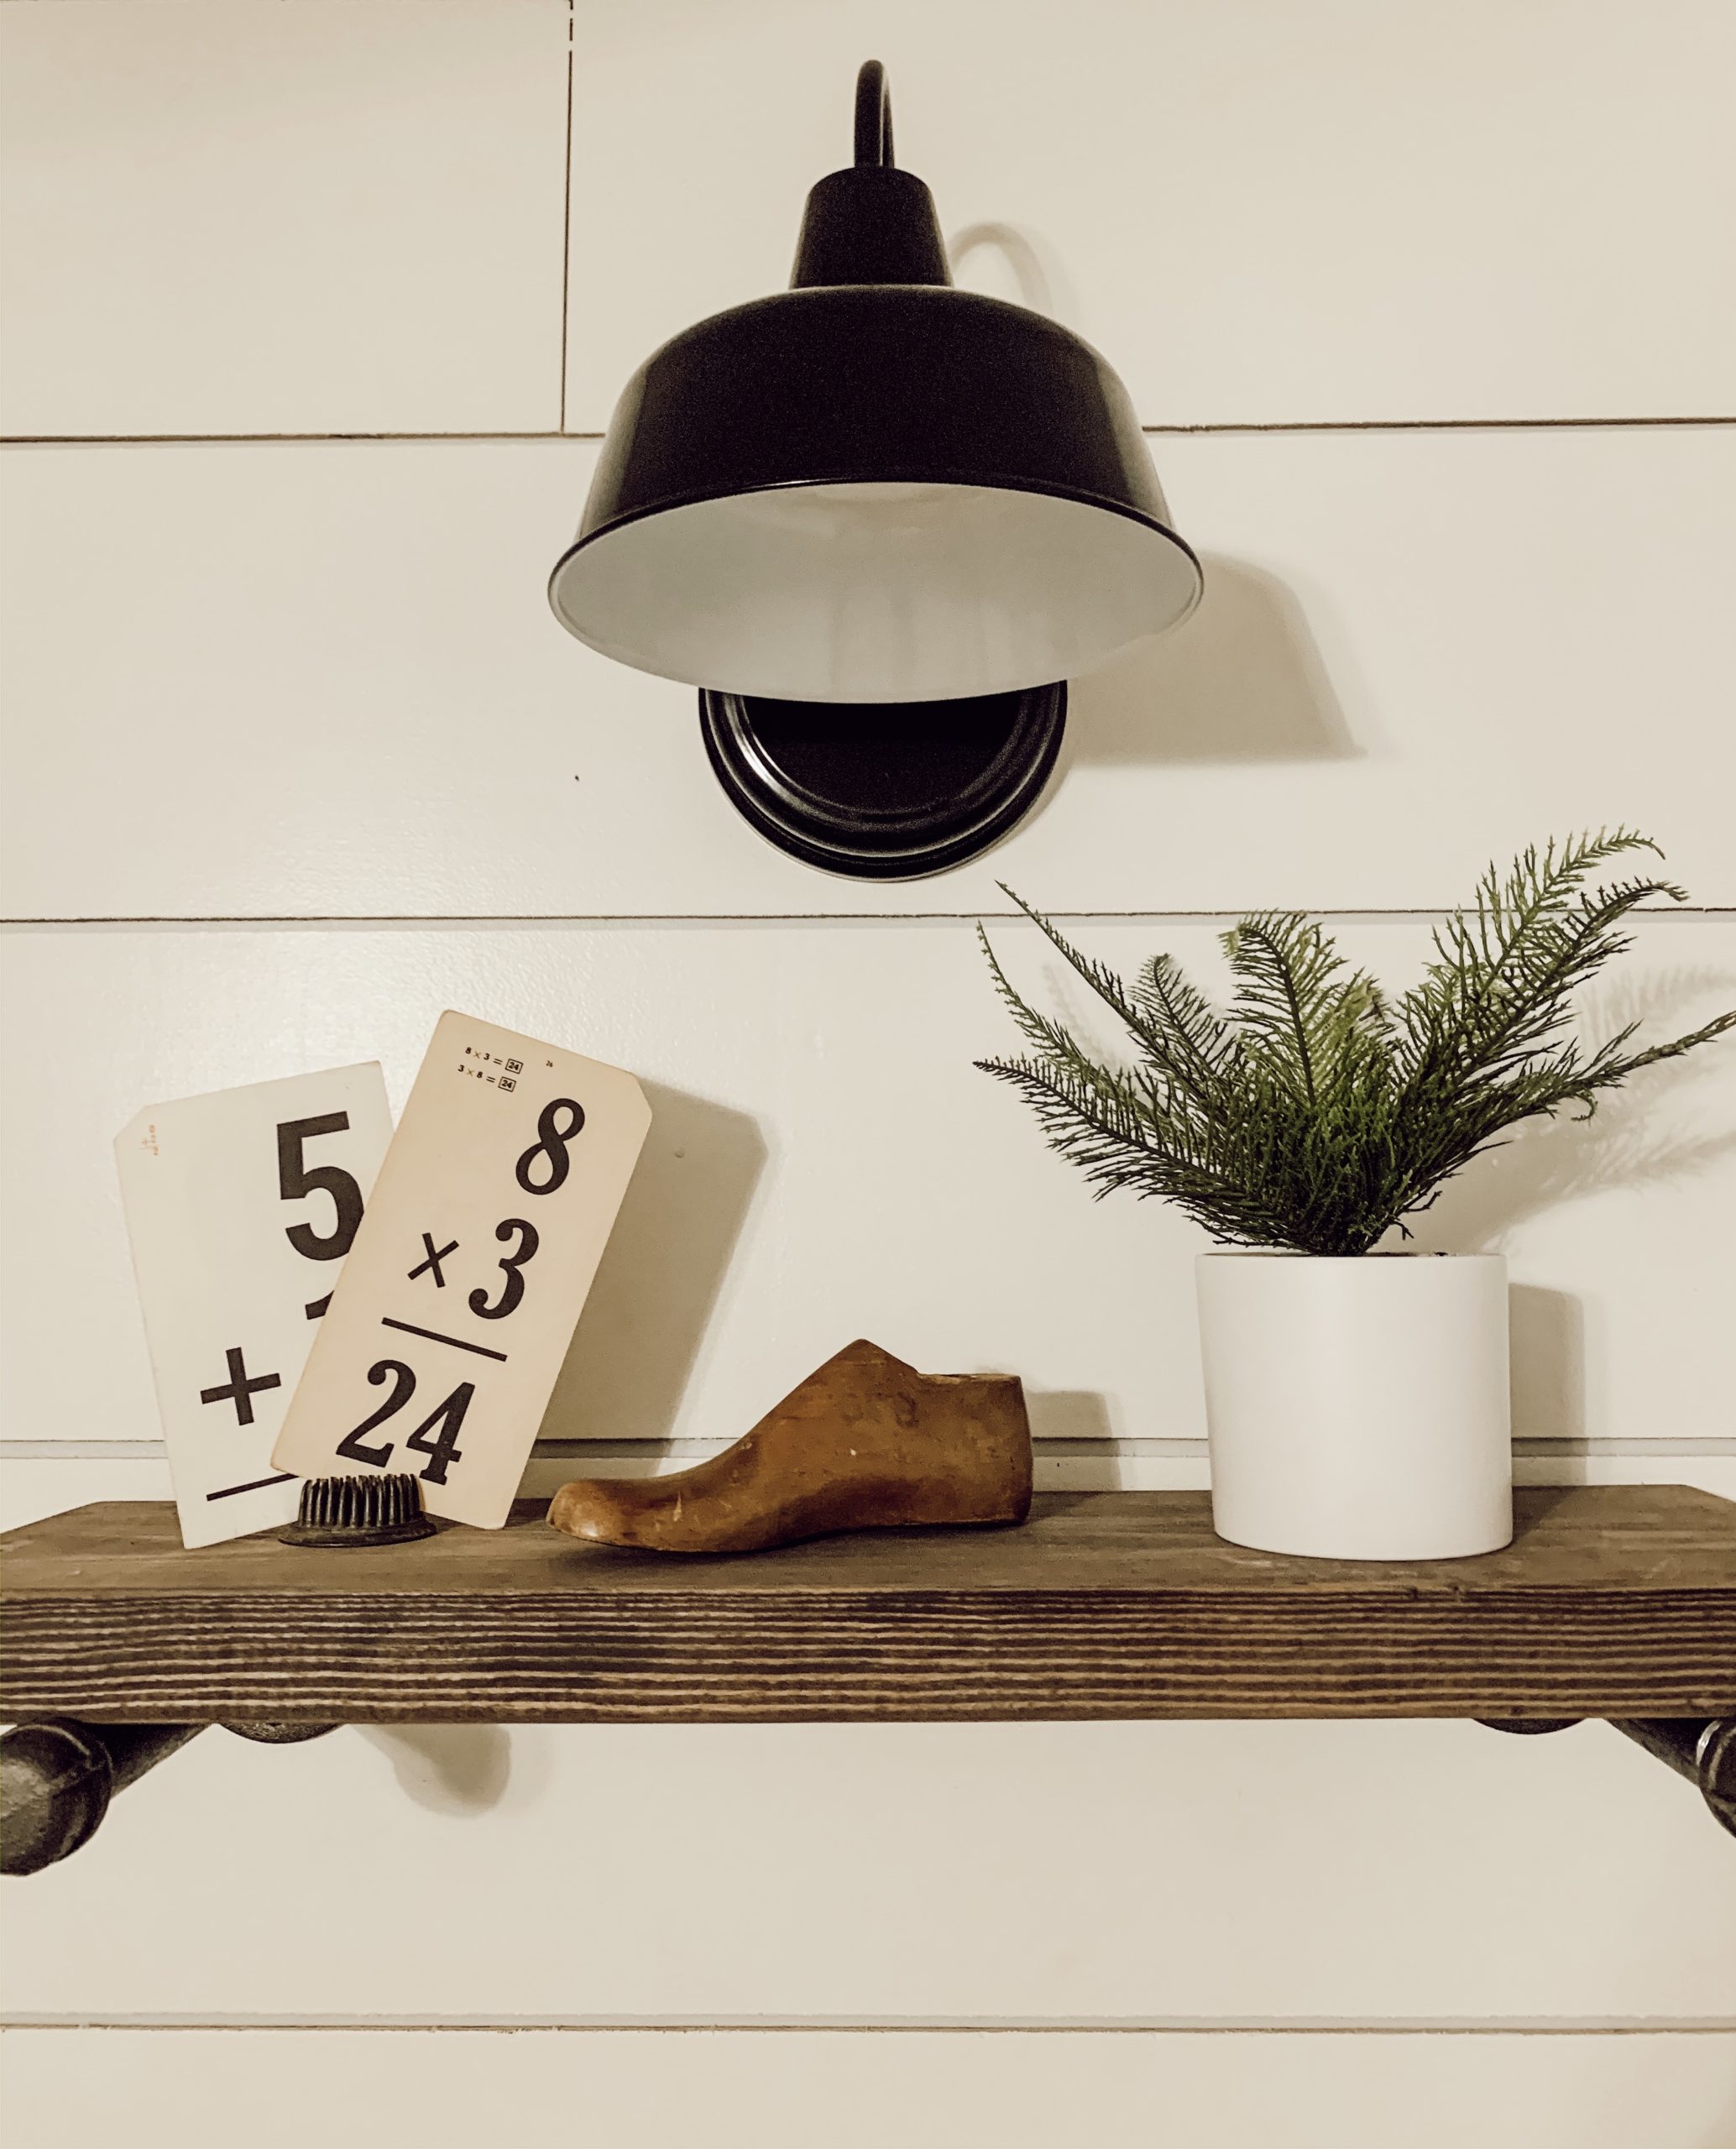
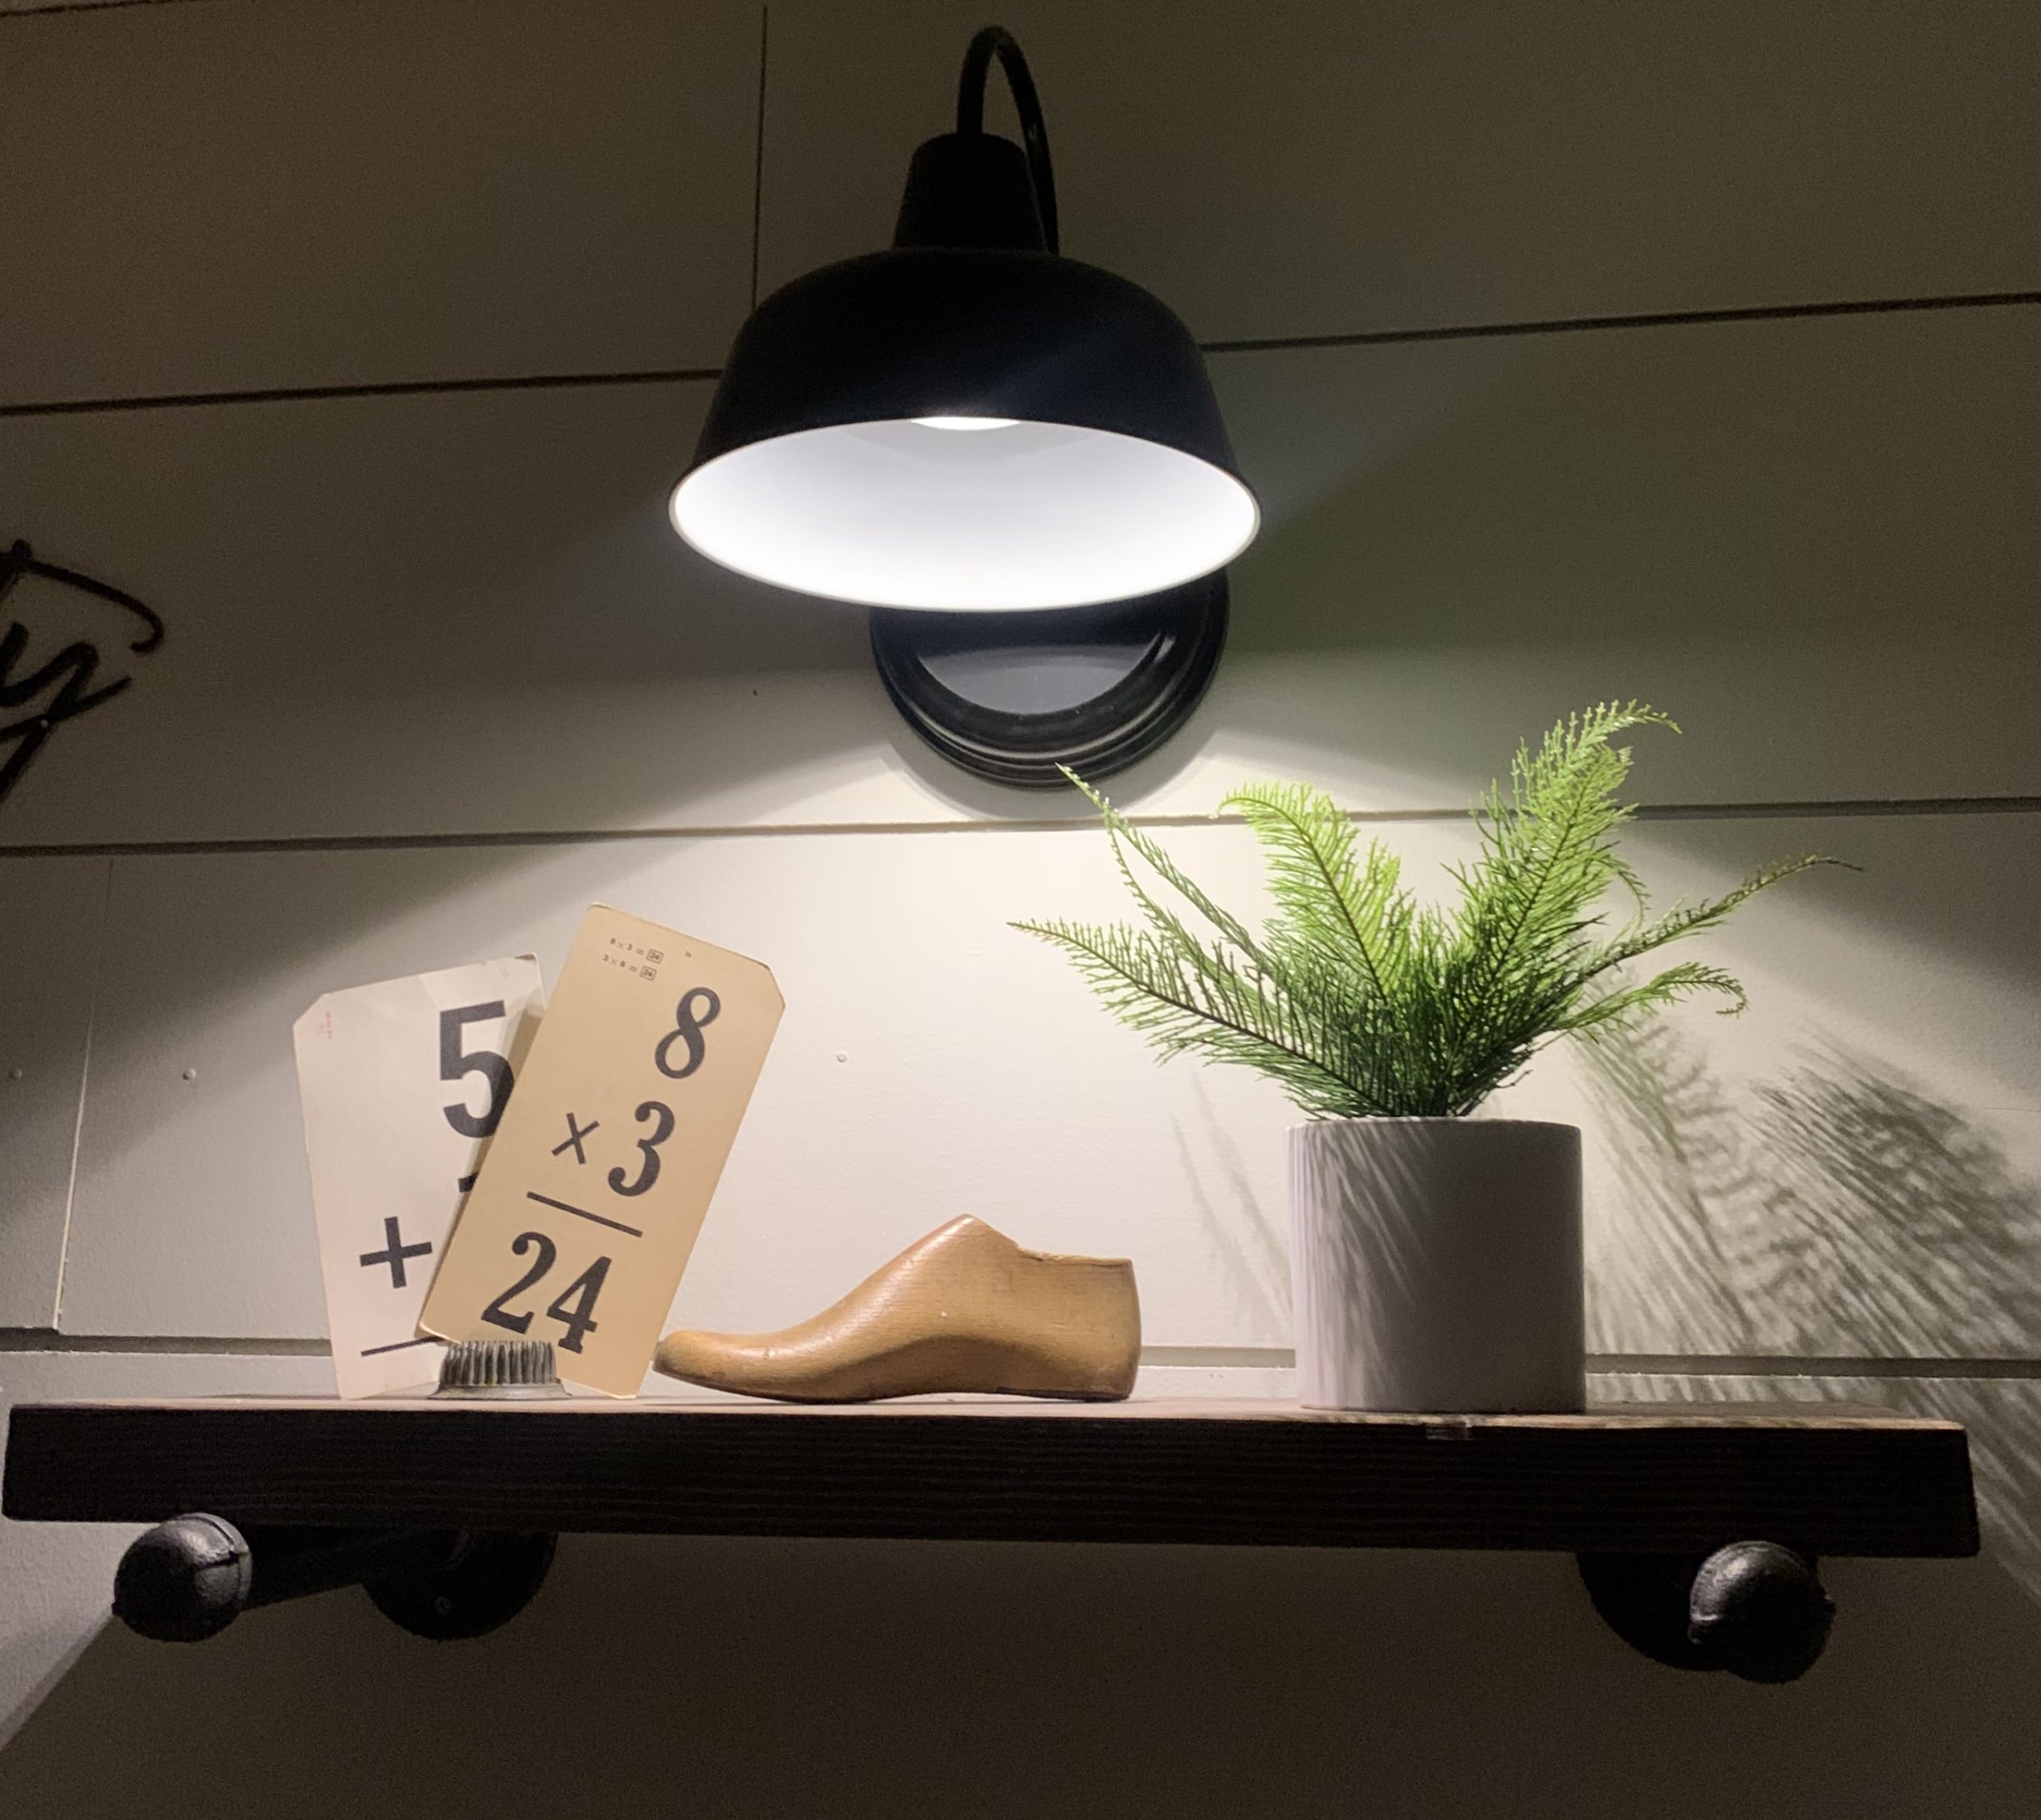
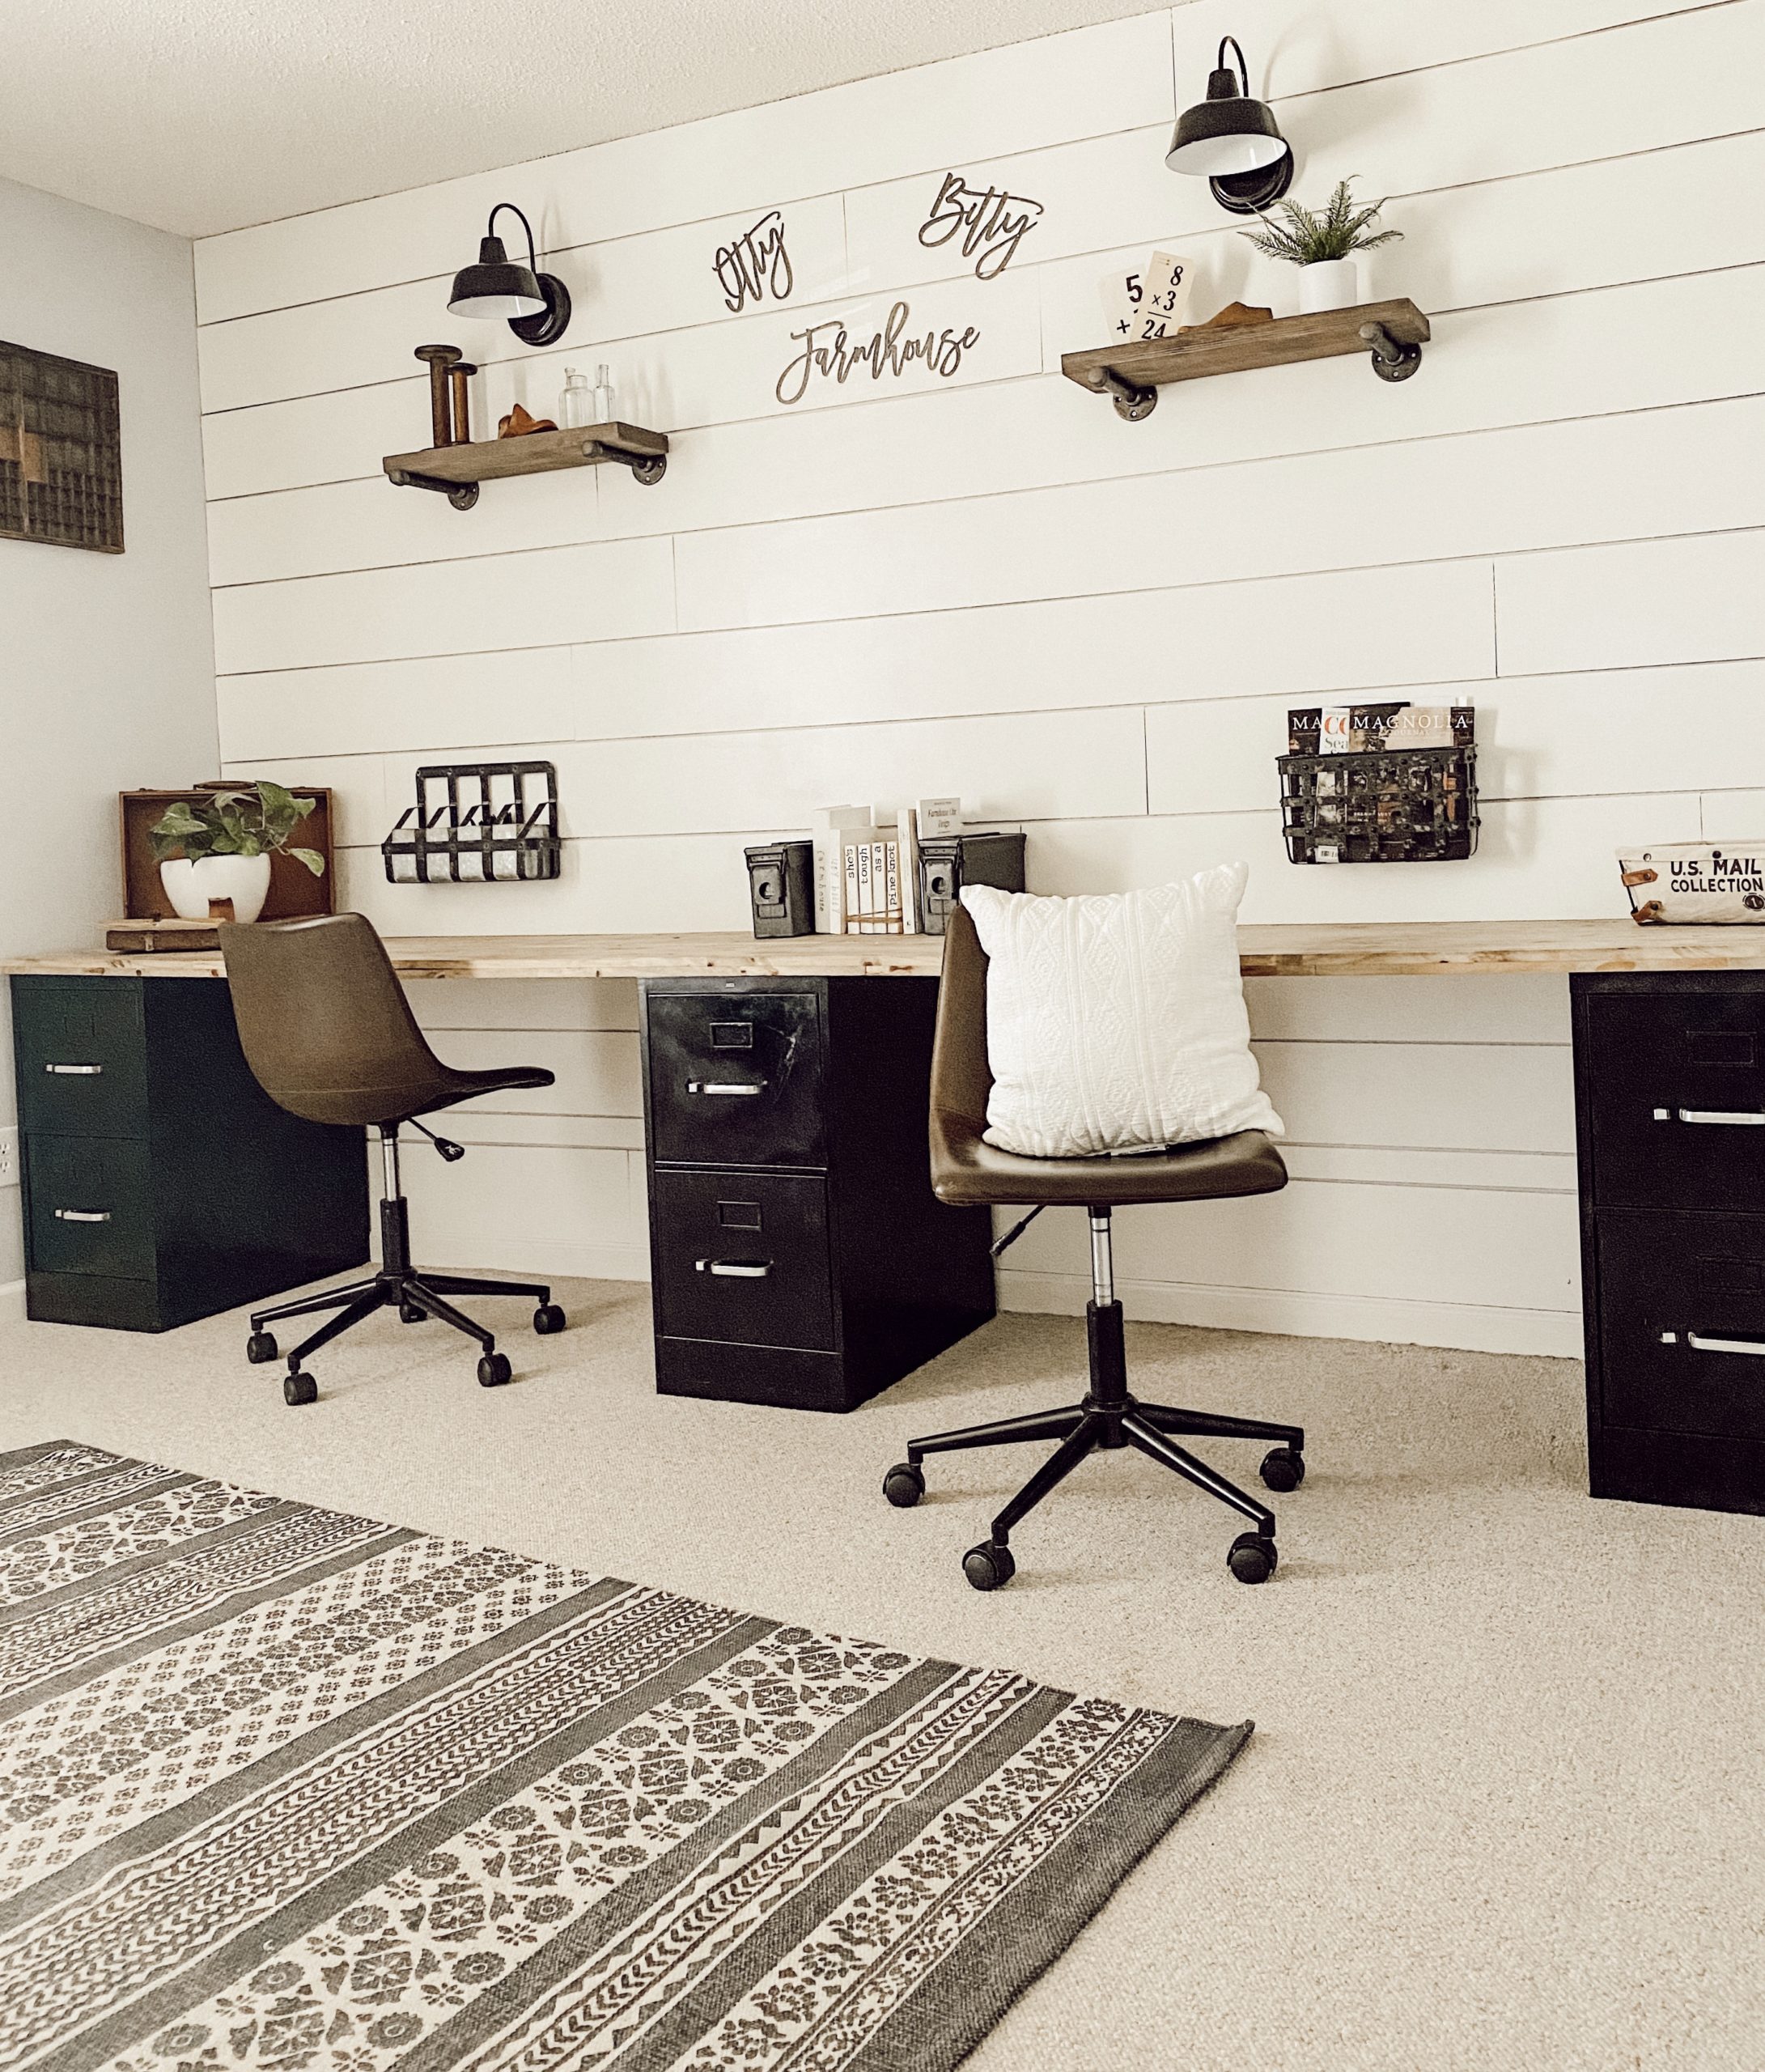
We added lights into the office. When I created this office I wanted to do a little more industrial feel with the rich leathers. Although the floating shelving was a great layer on the wall but it was messing something. This is when Jessie ask me to team up with her on adding these affordable lights into our homes. These adorable lights have a industrial farmhouse feel and how great will they be above my selves in the office room. The only part that made me nervous was that these lights have wire. That is where the best part came into play I did not have to wire them. I know that a lot of people feel intimidated when the word lighting is mention but, here is the trick to the adding lighting into any room.
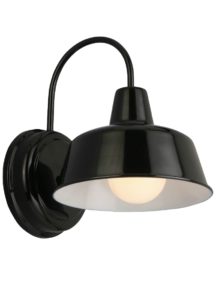
All of the products for this DIY are from Amazon. The two lights, the puck lights, and the handy plugs were less than $80, that is such a great deal. This DIY only required these products, a drill, a tape measure, and a pencil. The first step I took to get everything started on this project was to find the center of the shelf and how high I wanted the light base to be. I marked this space and then prepared the light to go on the wall. Since the light is made to be wired, I just taped the wires with electrical tape to hold them in place. Once I had those taped up I took the metal bracket onto the wall and marked the spots to be drilled. The reason I say drill, you want to start a pilot hole with the drill before you try to screw the screw in especially if you are going through shiplap like I did.
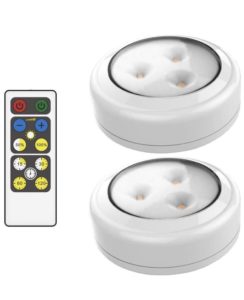
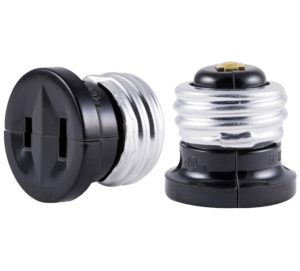
Once the bracket was up on the wall with two screws in each bracket, it is time to get the puck light into the the light fixture. Adding in these puck lights will make these light work without having to wire them . The way you add in these puck lights is to screw the handy plug into where you would put a light bulb and then you will use the adhesive tape that came with the puck lights to attach the puck like too the handy plug. This will then make the lights work like normal with the remote. These puck lights come with a remote that came be used to turn the lights on and off plus, they can even be put on a timer! Once I got these puck lights put inside each light fixture, it was time to put them up and attach that final bolt to hold them in place. That is all it took, a simple and easy DIY!
These lights can be placed any where in your home because they do not have to be wired into a wall. This DIY is something that anyone can do and the best part is that it took less than hour to complete. I hope that this will help inspire you to add some lighting around your home. Also if you have not checked out my friend Jessie over at @eyeinthedetail , she is amazing and built anything! Make sure you check out her bathroom remodel she did, it is amazing!!! Thank you for coming by the blog today, XOXO

