SHARE

Shiplap is something that is a fun way to add texture into your home!This past weekend I wanted to add some texture to a wall that I do not like to show in our house. The best part about this simple DIY is that it anyone can do it! I am going to share how I shiplapped the entryway with only two products and a few tools.
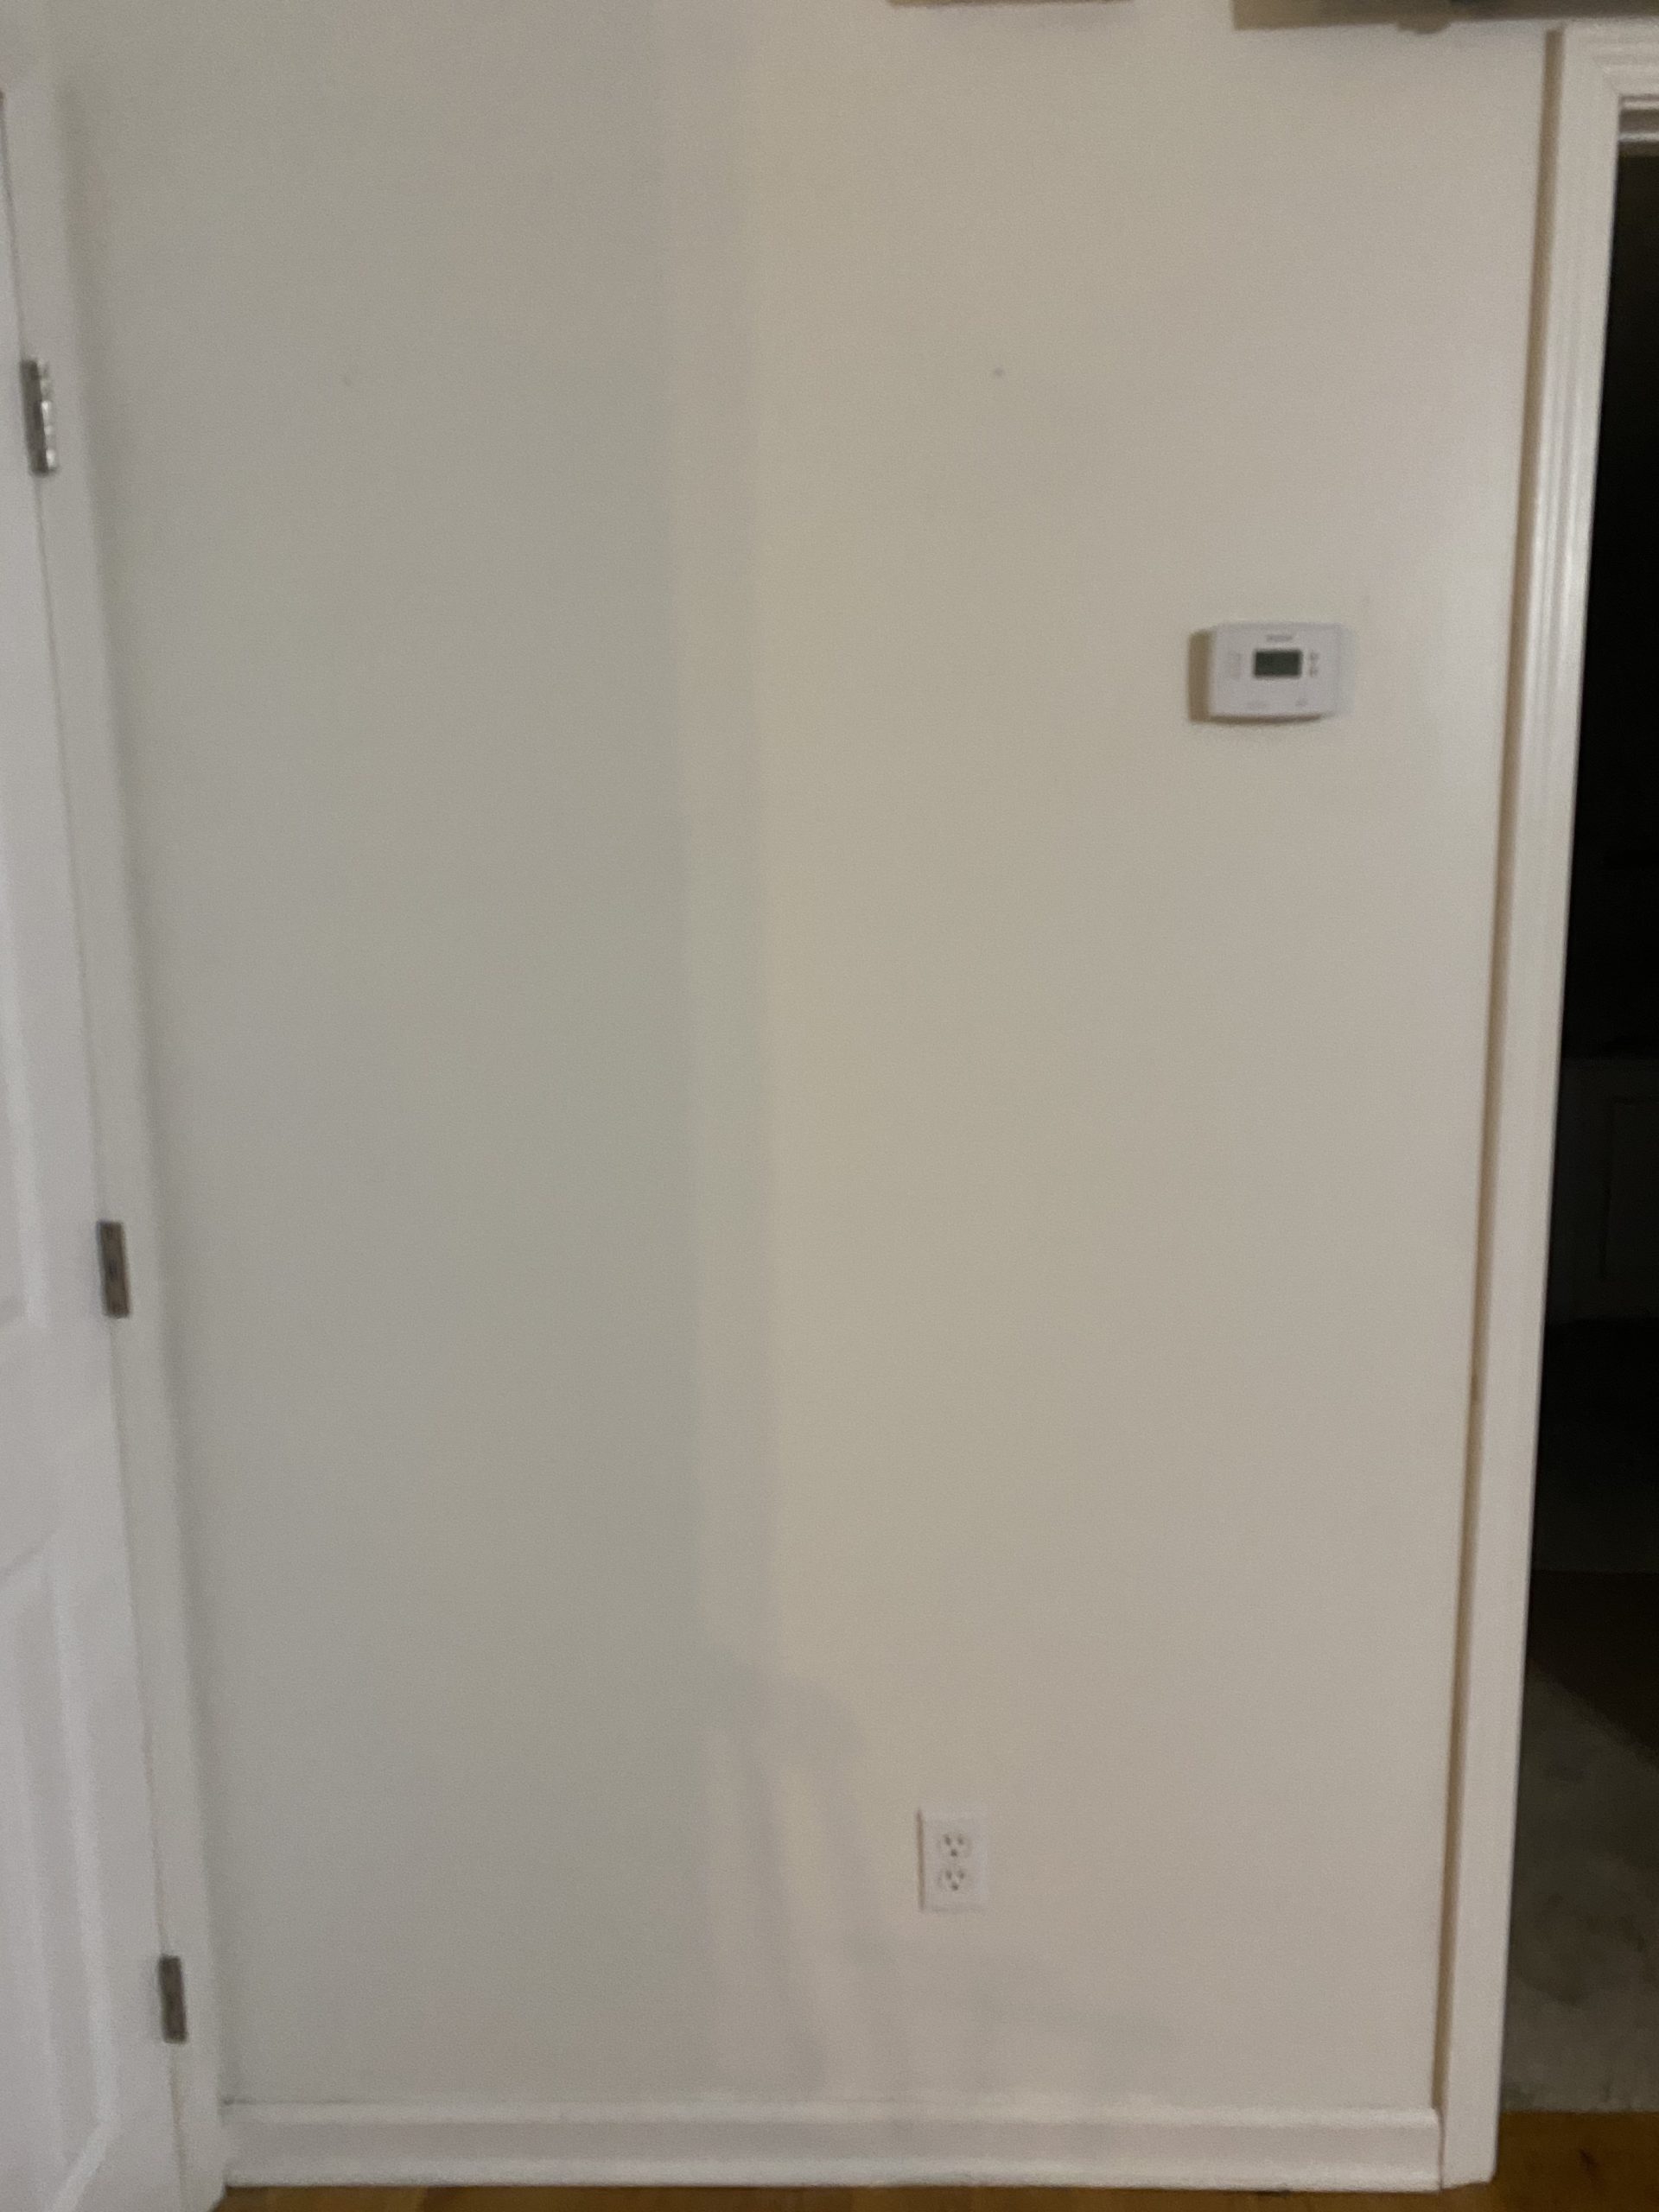
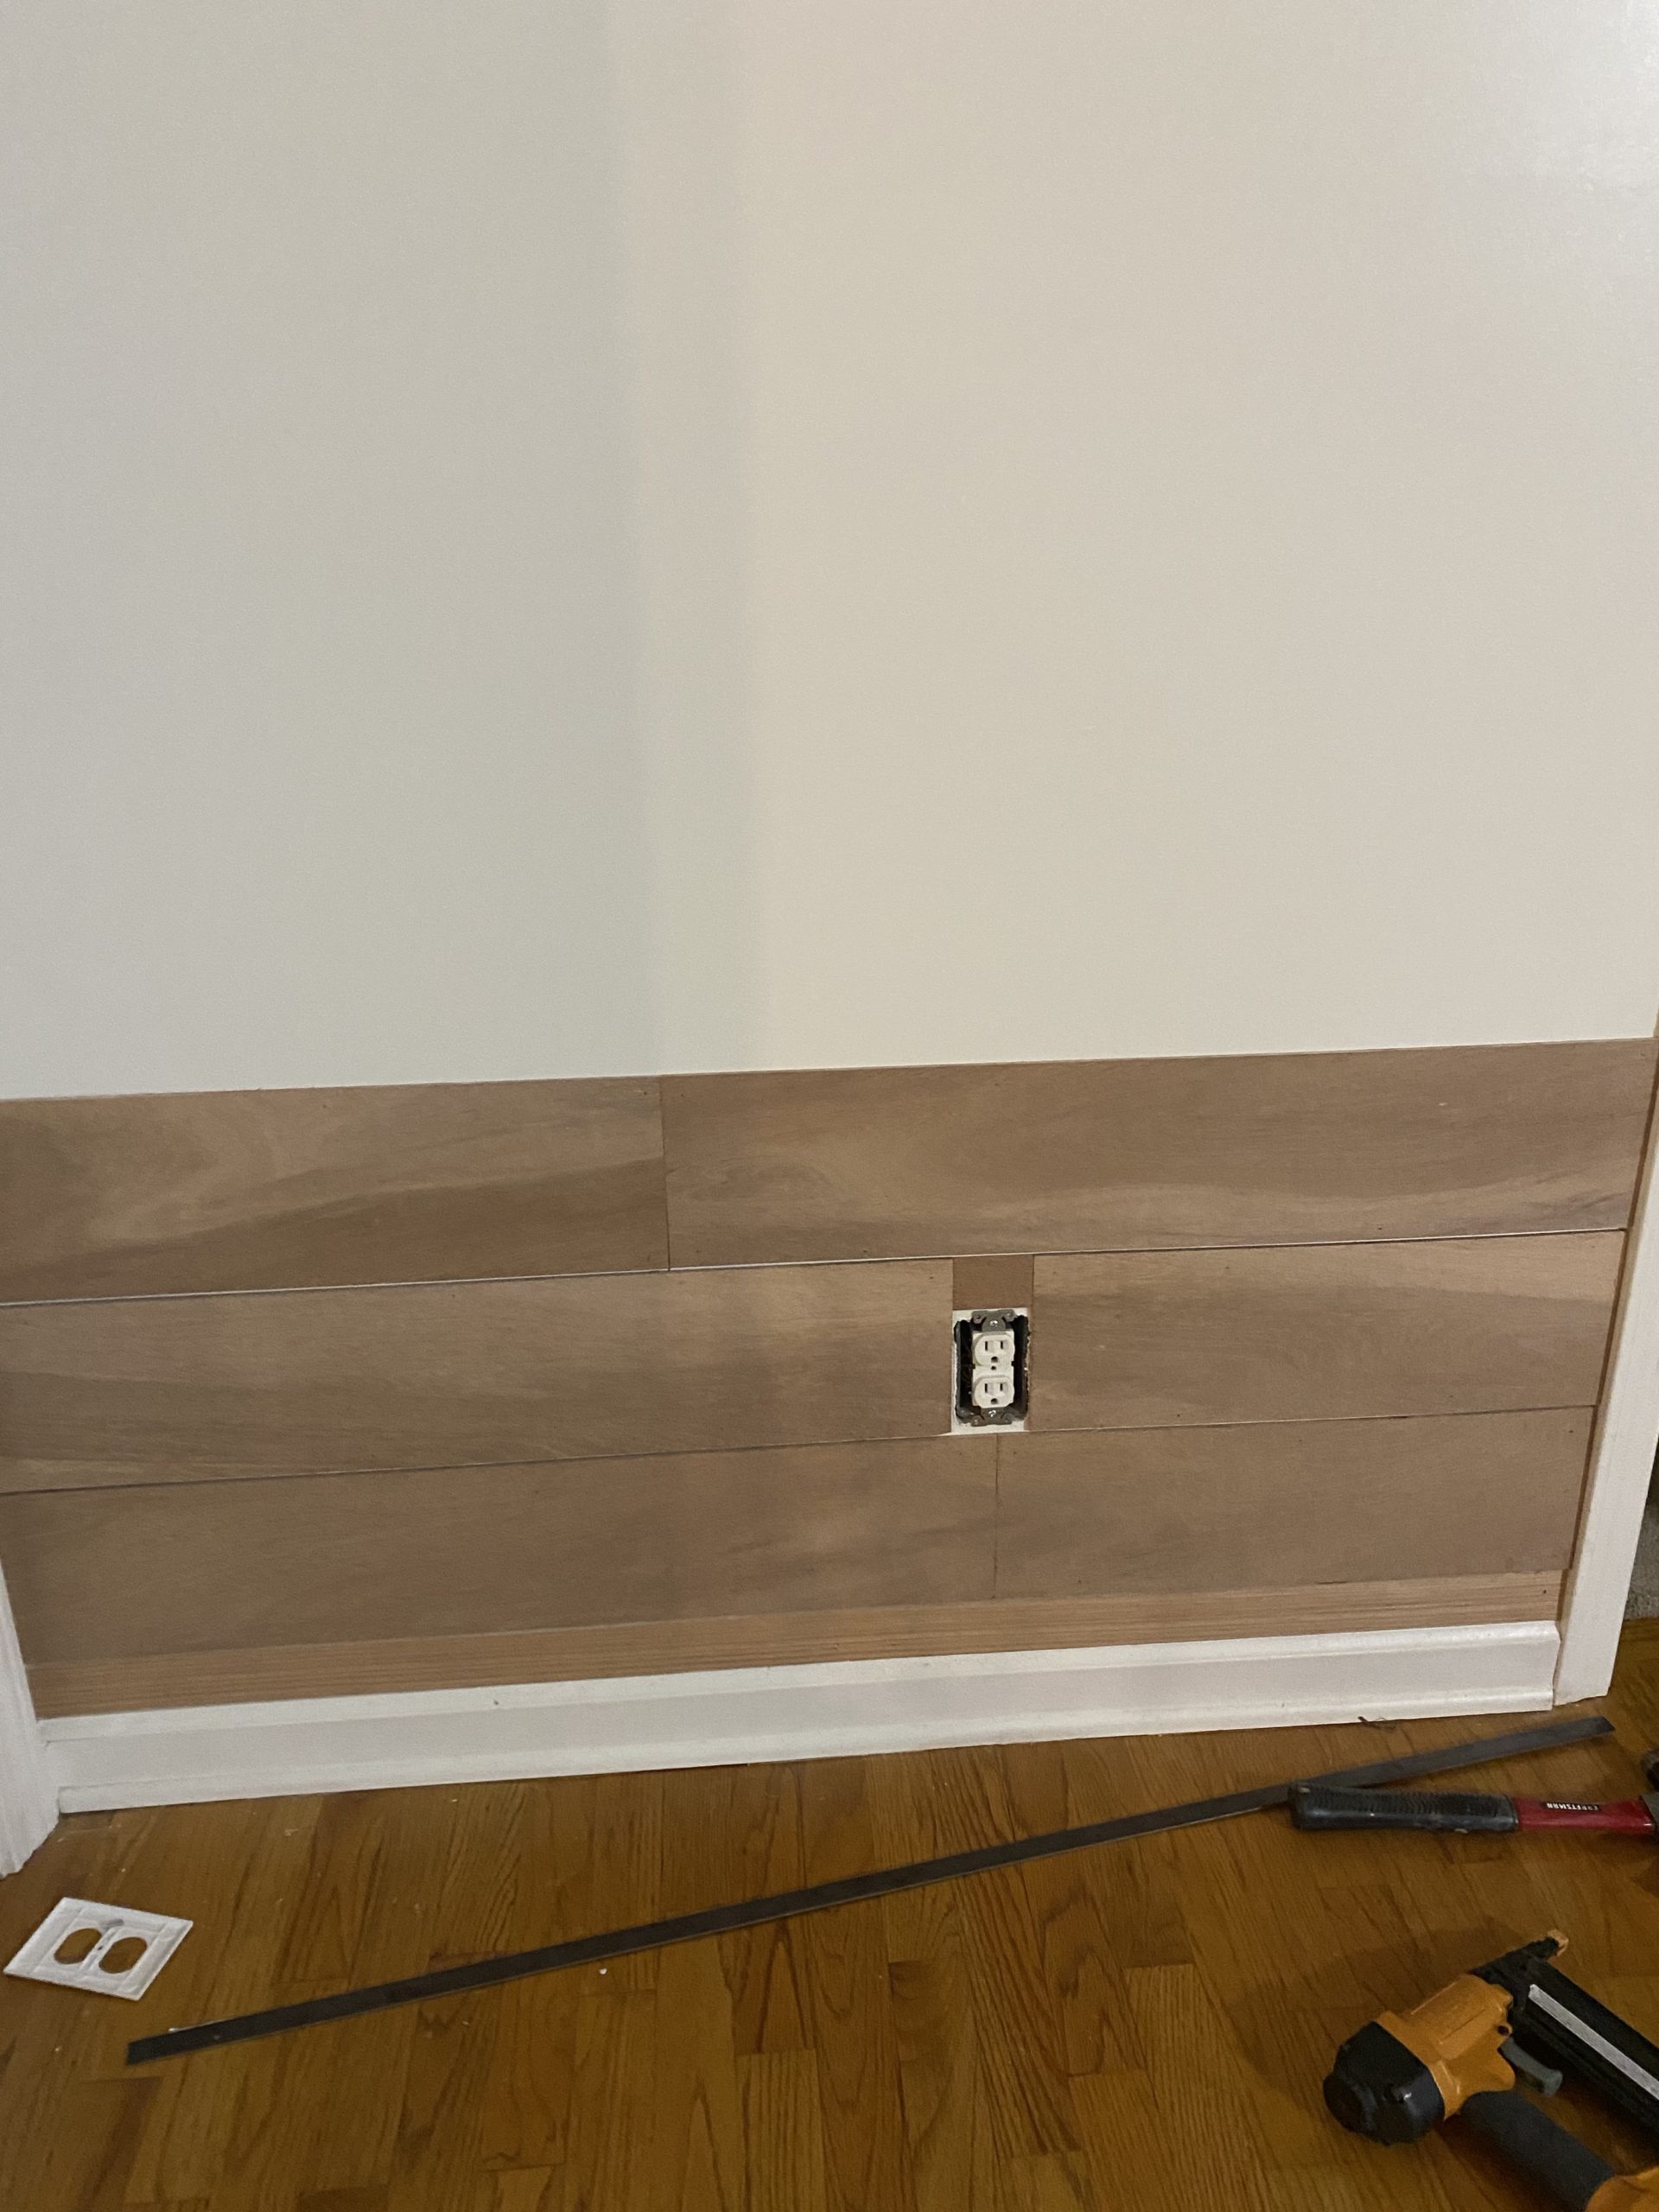
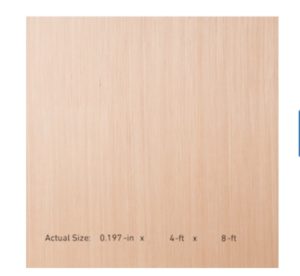
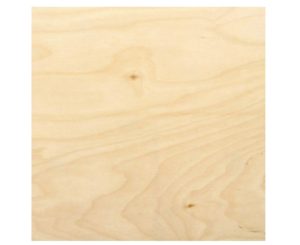
Since I already shiplapped the front side of the entry I measured how far I took the shiplap up on that wall. Everyone will have a different height on a wall that they will want to shiplap but you will still be able to use these tips to complete it. Once I knew the height of the space that I wanted to shiplap, I then measured the length because I was going to be using 4X8 sheets of paneling. After you have that measured , I decided to use 6inch wide pieces of shiplap. By using 6inch wide strips I was able to get eight strips. I used one sheet and another two pieces that I had left over from doing the front entry way. Each side of my entry way as nine pieces of shiplap.
Depending on how tall your wall is, will depend on how many sheets you will need. I always manage to have some left over , which means another DIY right? Once you have the number of panels that you will need, I normally have Lowes or HomeDepot cut the panel into 6 inch wide strips. I only have them cut the strips because when I get home I measure to see where I want to cut the pieces in half at. When I am deciding on where I want to cut the strips in half, I try to rotate the cuts that way all of the cuts are in a different place to make it more like the vintage shiplap.
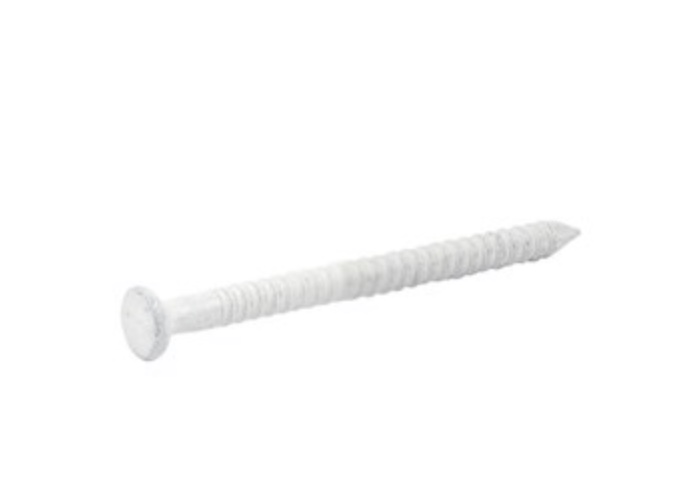
I prefer to cut as I go but it may be easier for you to cut everything at the beginning and lay it out in a pattern. Either way you chose to do it, once you have a piece cut and ready I started that the bottom since I was only going up so far but on the office room I started at the top since I was doing the whole wall. After finding your starting point, you want to line the first piece up with the corner of the wall and the ceiling or in this case the baseboard. Once that is in place the next step is to use a nail gun (which is what I did) or if you do not have one or just prefer not use one, you can use paneling nails and a hammer. The paneling nails will hold up the the shiplap since it is not a thick piece of board. The office room is the first room that was ever shiplapped in our home and I used white paneling nails to hold it up and it is still holding strong!
Once you have that first piece up, it is easy sailing from there. Now I did mention that I cut the strips in half well, even though you cut them in half you still want to make sure they are put together and even (you can see in the video, what I mean by this). Then it is time to nail that second piece up. Now here is the next part that this metal flat rod will be you best friend. I used this rod to space out the shiplap and it is so easy since you can sandwich it between the two strips and it creates the same spacing throughout. I did not have this the firs time I did shiplap and I wish I would have because it cut the time in half. After I got the first two rows done it is just smooth sailing from there because all you have to do is repeat. I will say a little tip I do want to share is that each row I cut the strip in half at a different spot that way it was not uniformed and looked more originally.
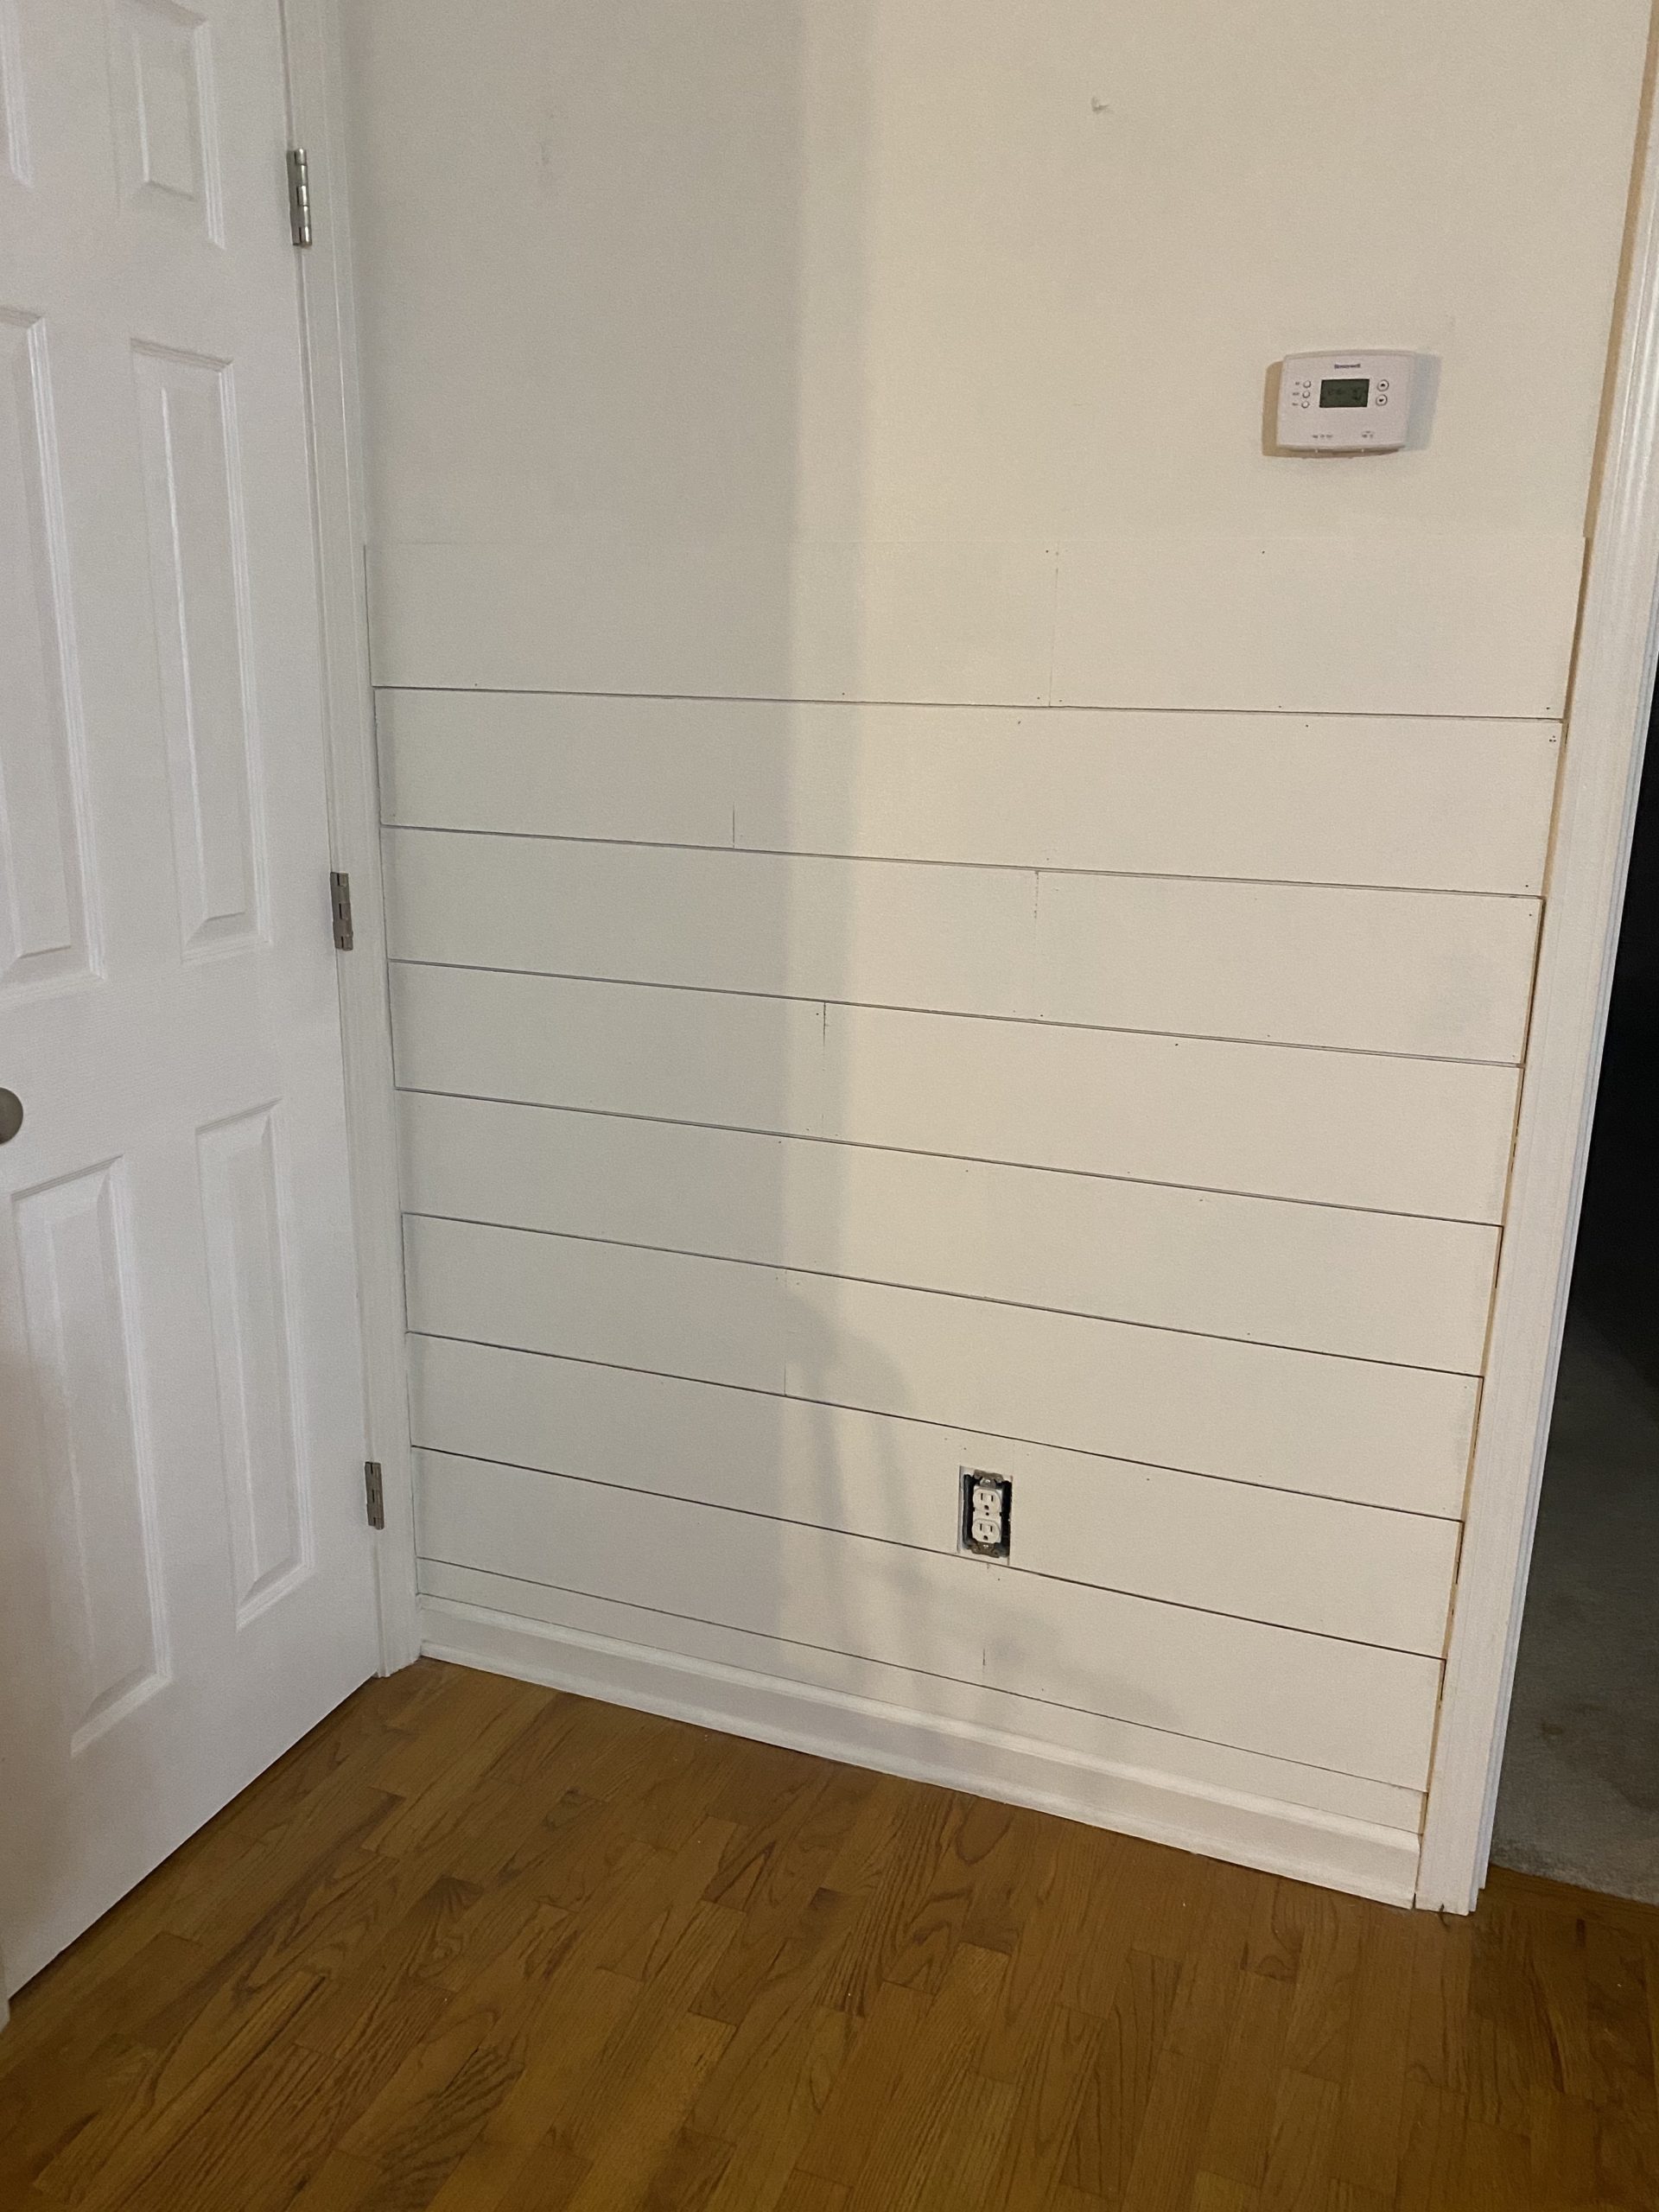
When you get all the shiplap up, all you have left to do is paint! I used Vaspar Paint from Lowes but the color was Benjamin Moore White Dove. I first did the outline since I could not get the roller in the small corners and then I just used an all purpose roller to finish the rest. I applied two coats and I was done. This was finished within and hour minus the two coats of paint because let’s be honest here I did not have enough left over paint and ran out after the first coat. What is a project without a few missing pieces, right?
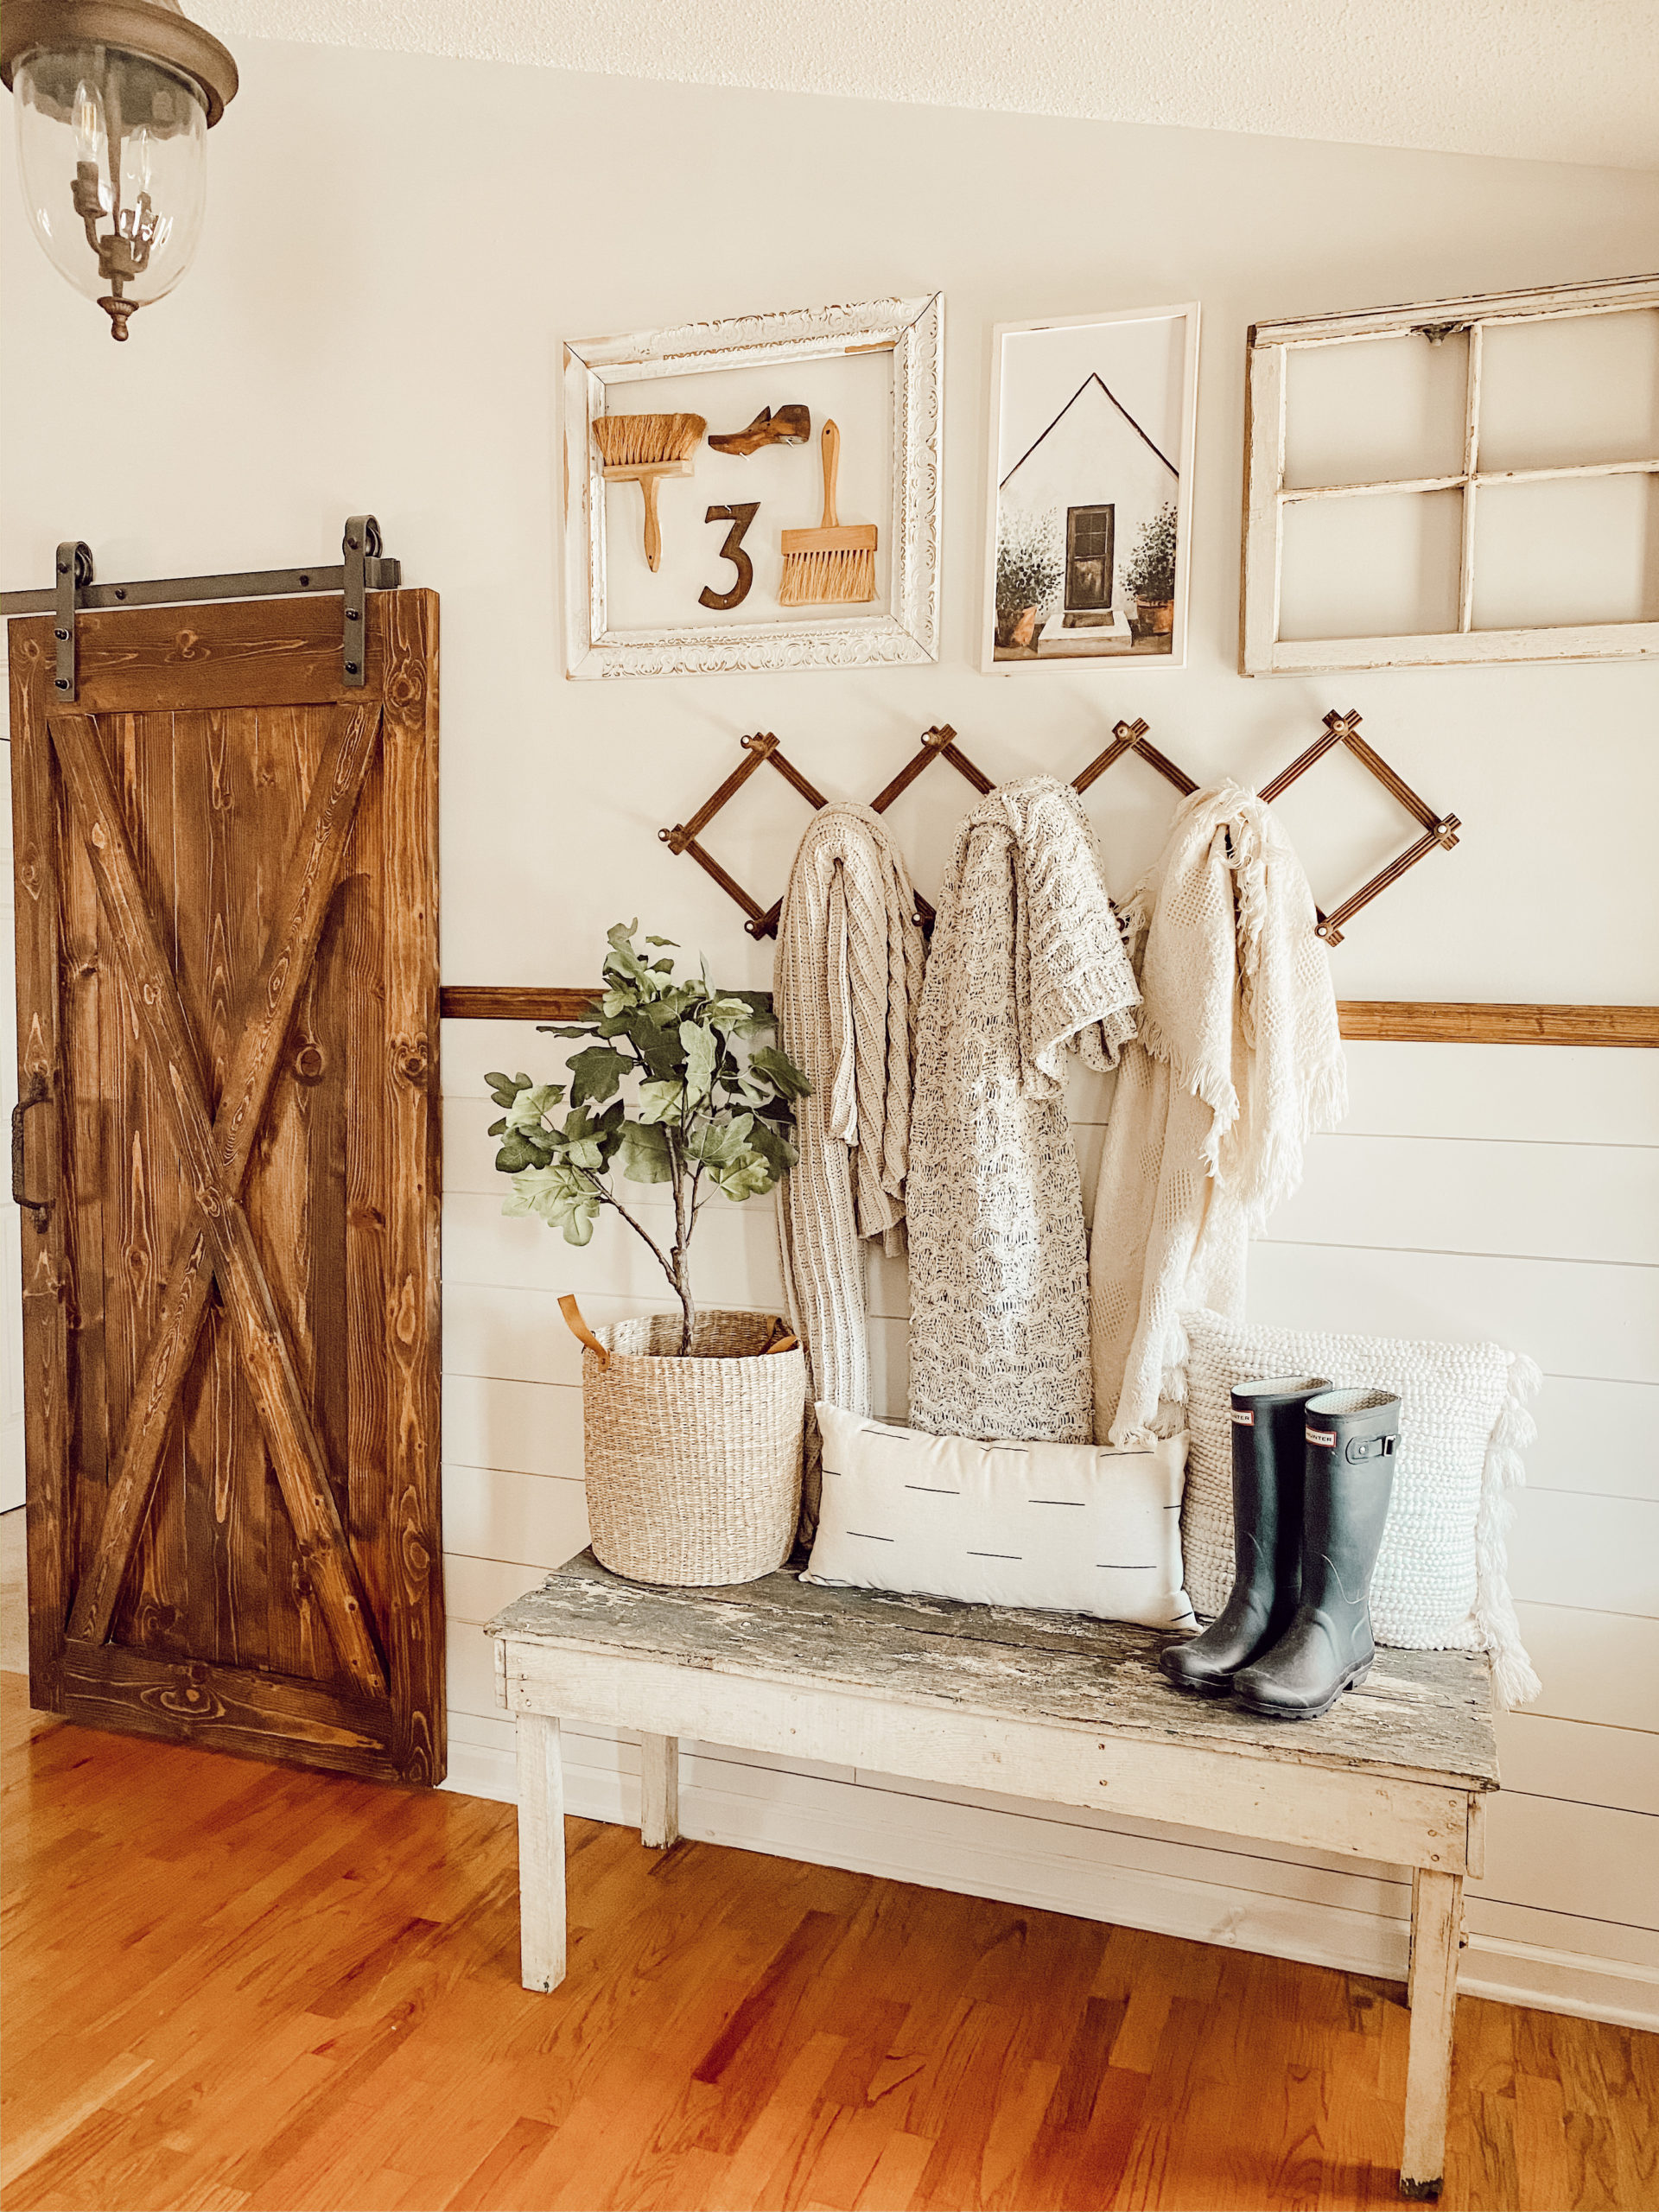
I really hope this helps you create your won shiplap walls in your home in a simple way. If you do decide to try this out, tag me on Instagram @itty_bitty_farmhouse , I would love to see! Thank you as always for stopping by the blog, XOXO

I’ve never tried to shiplap anything myself before. But sounds like I need too! Thanks for the instructions!
Hey, Jessica!
We are going to be doing this soon in our office! 🙂 What type of wood is this? It almost looks like paneling? Just curious when I go to Lowes if I will find this labeled as shiplap or something else! Thank you! I love it!
Hey there! I am so excited to see your DIY! If you click on the picture of the the paneling in the blog post it, will be able to take you to Lowes’s website and tell you exactly where in the store you can find it. I hope that helps because I know that every Lowes is different.