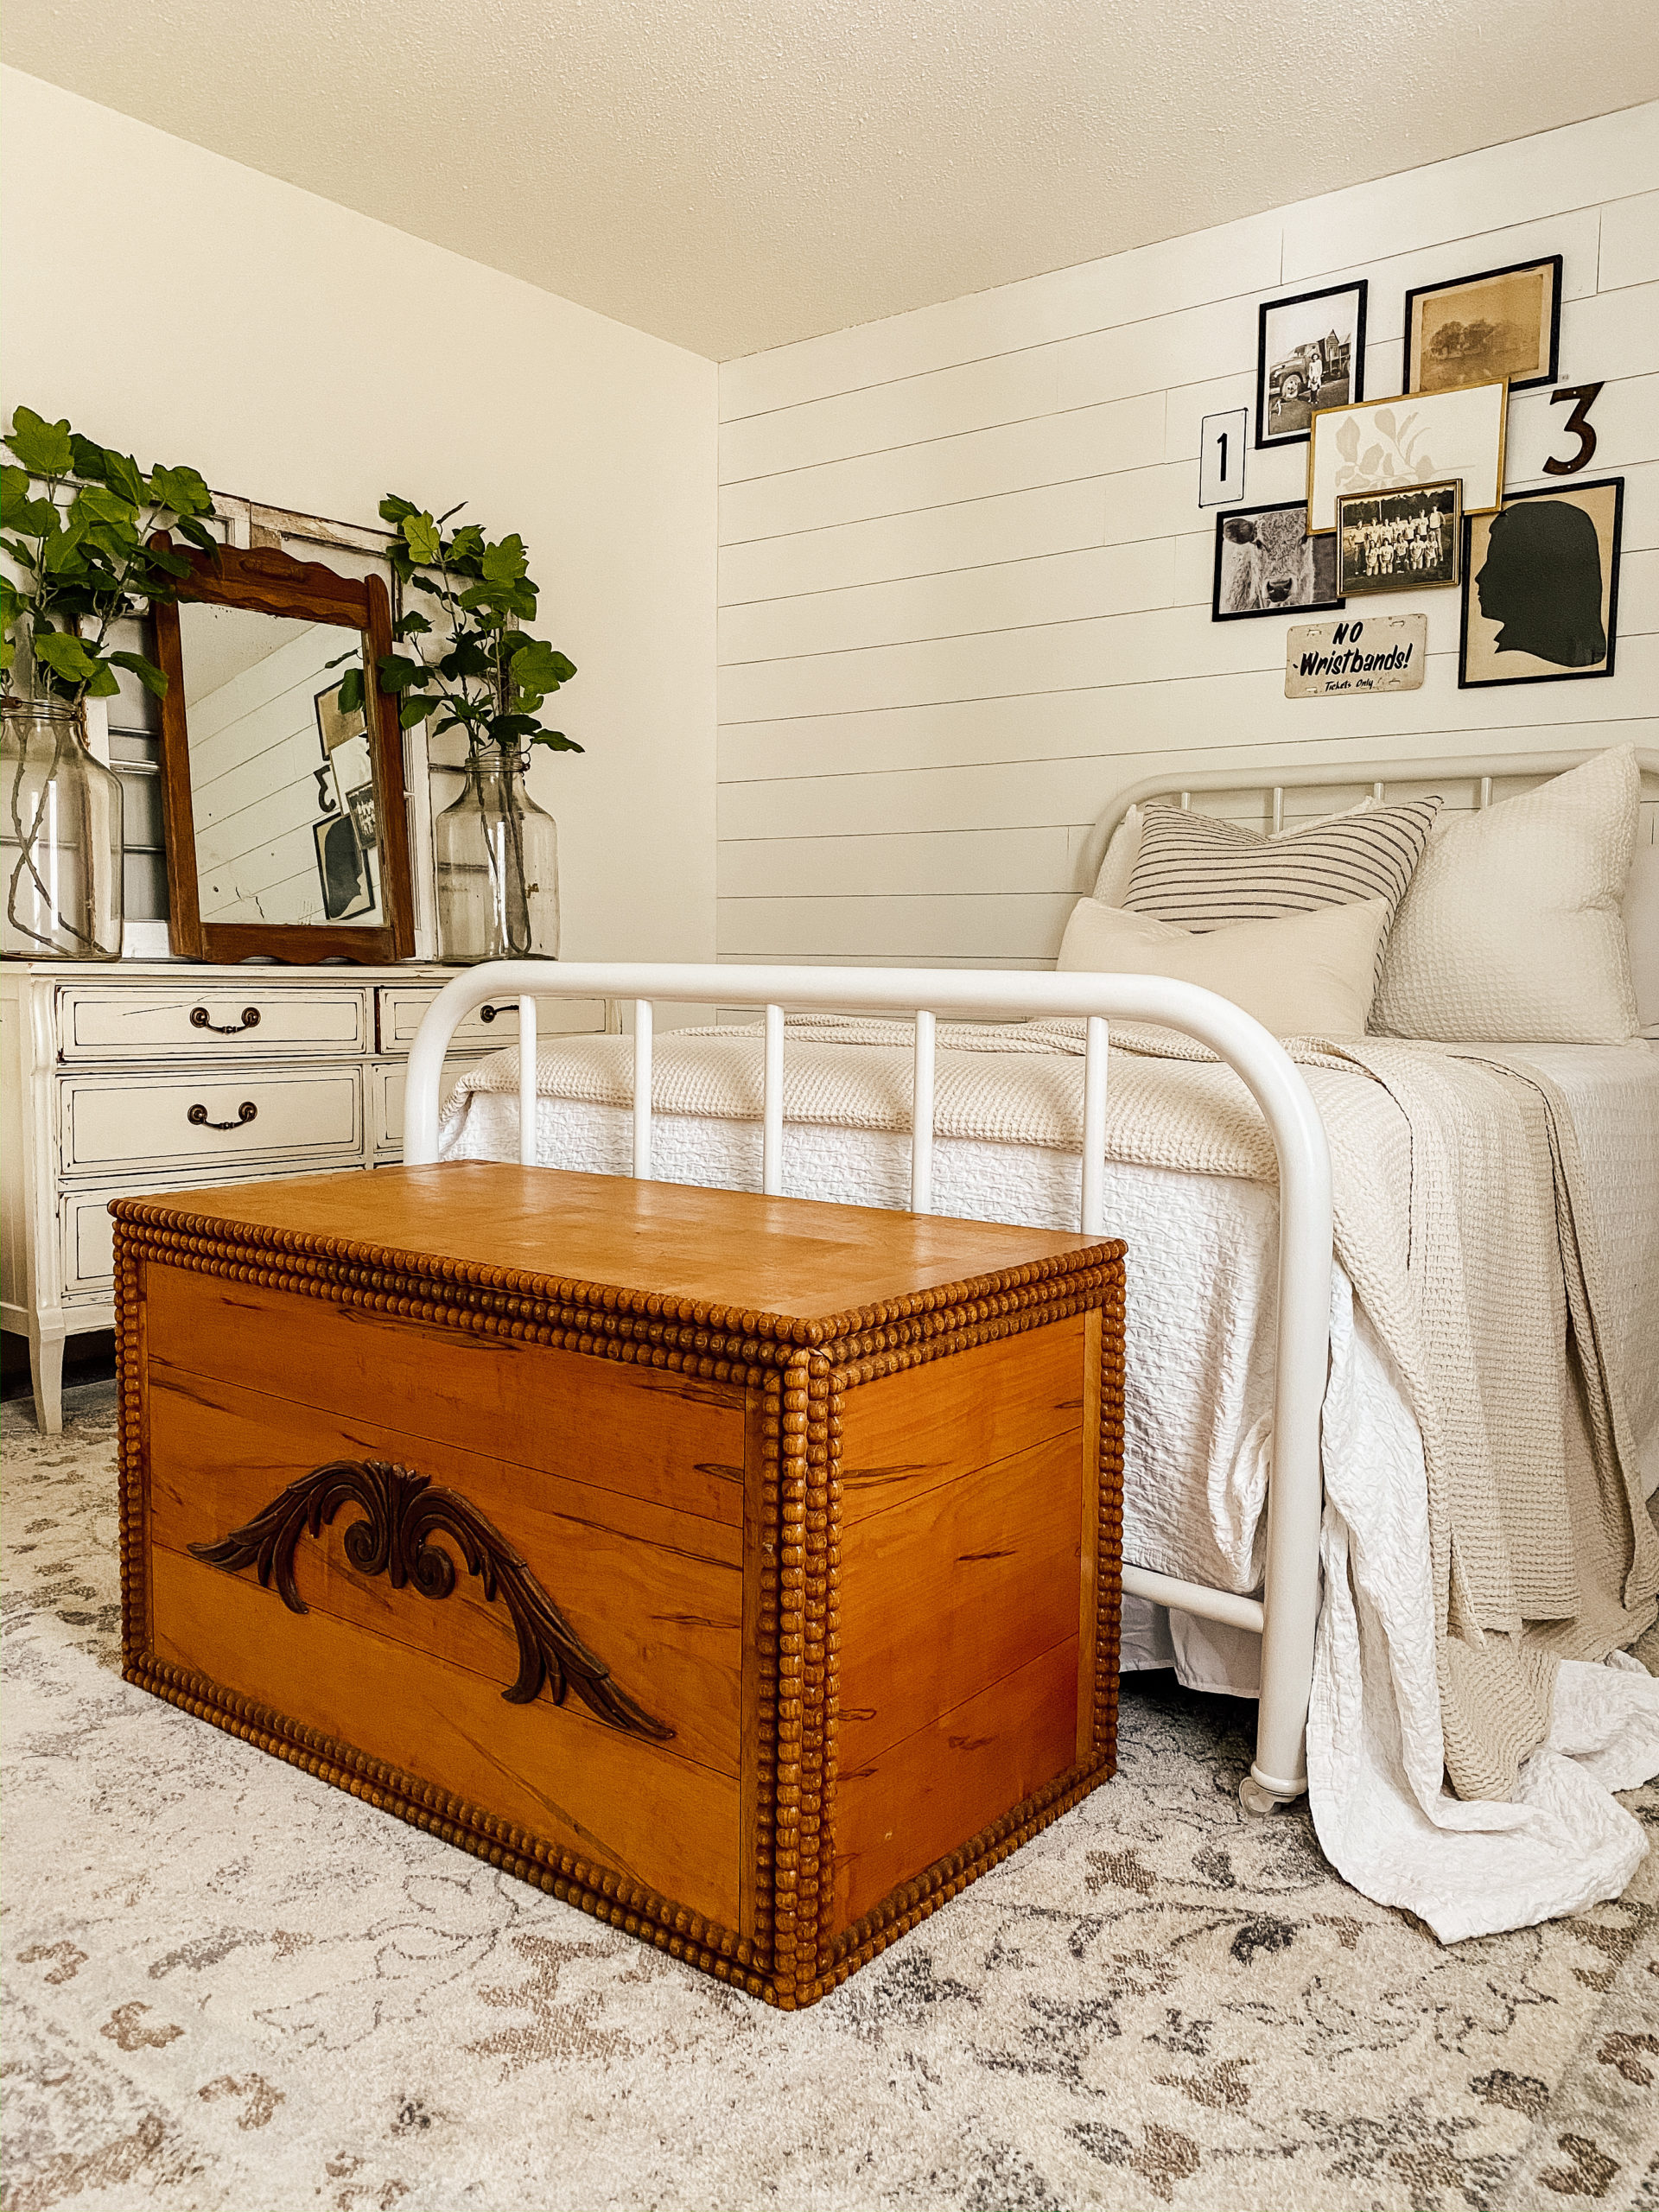
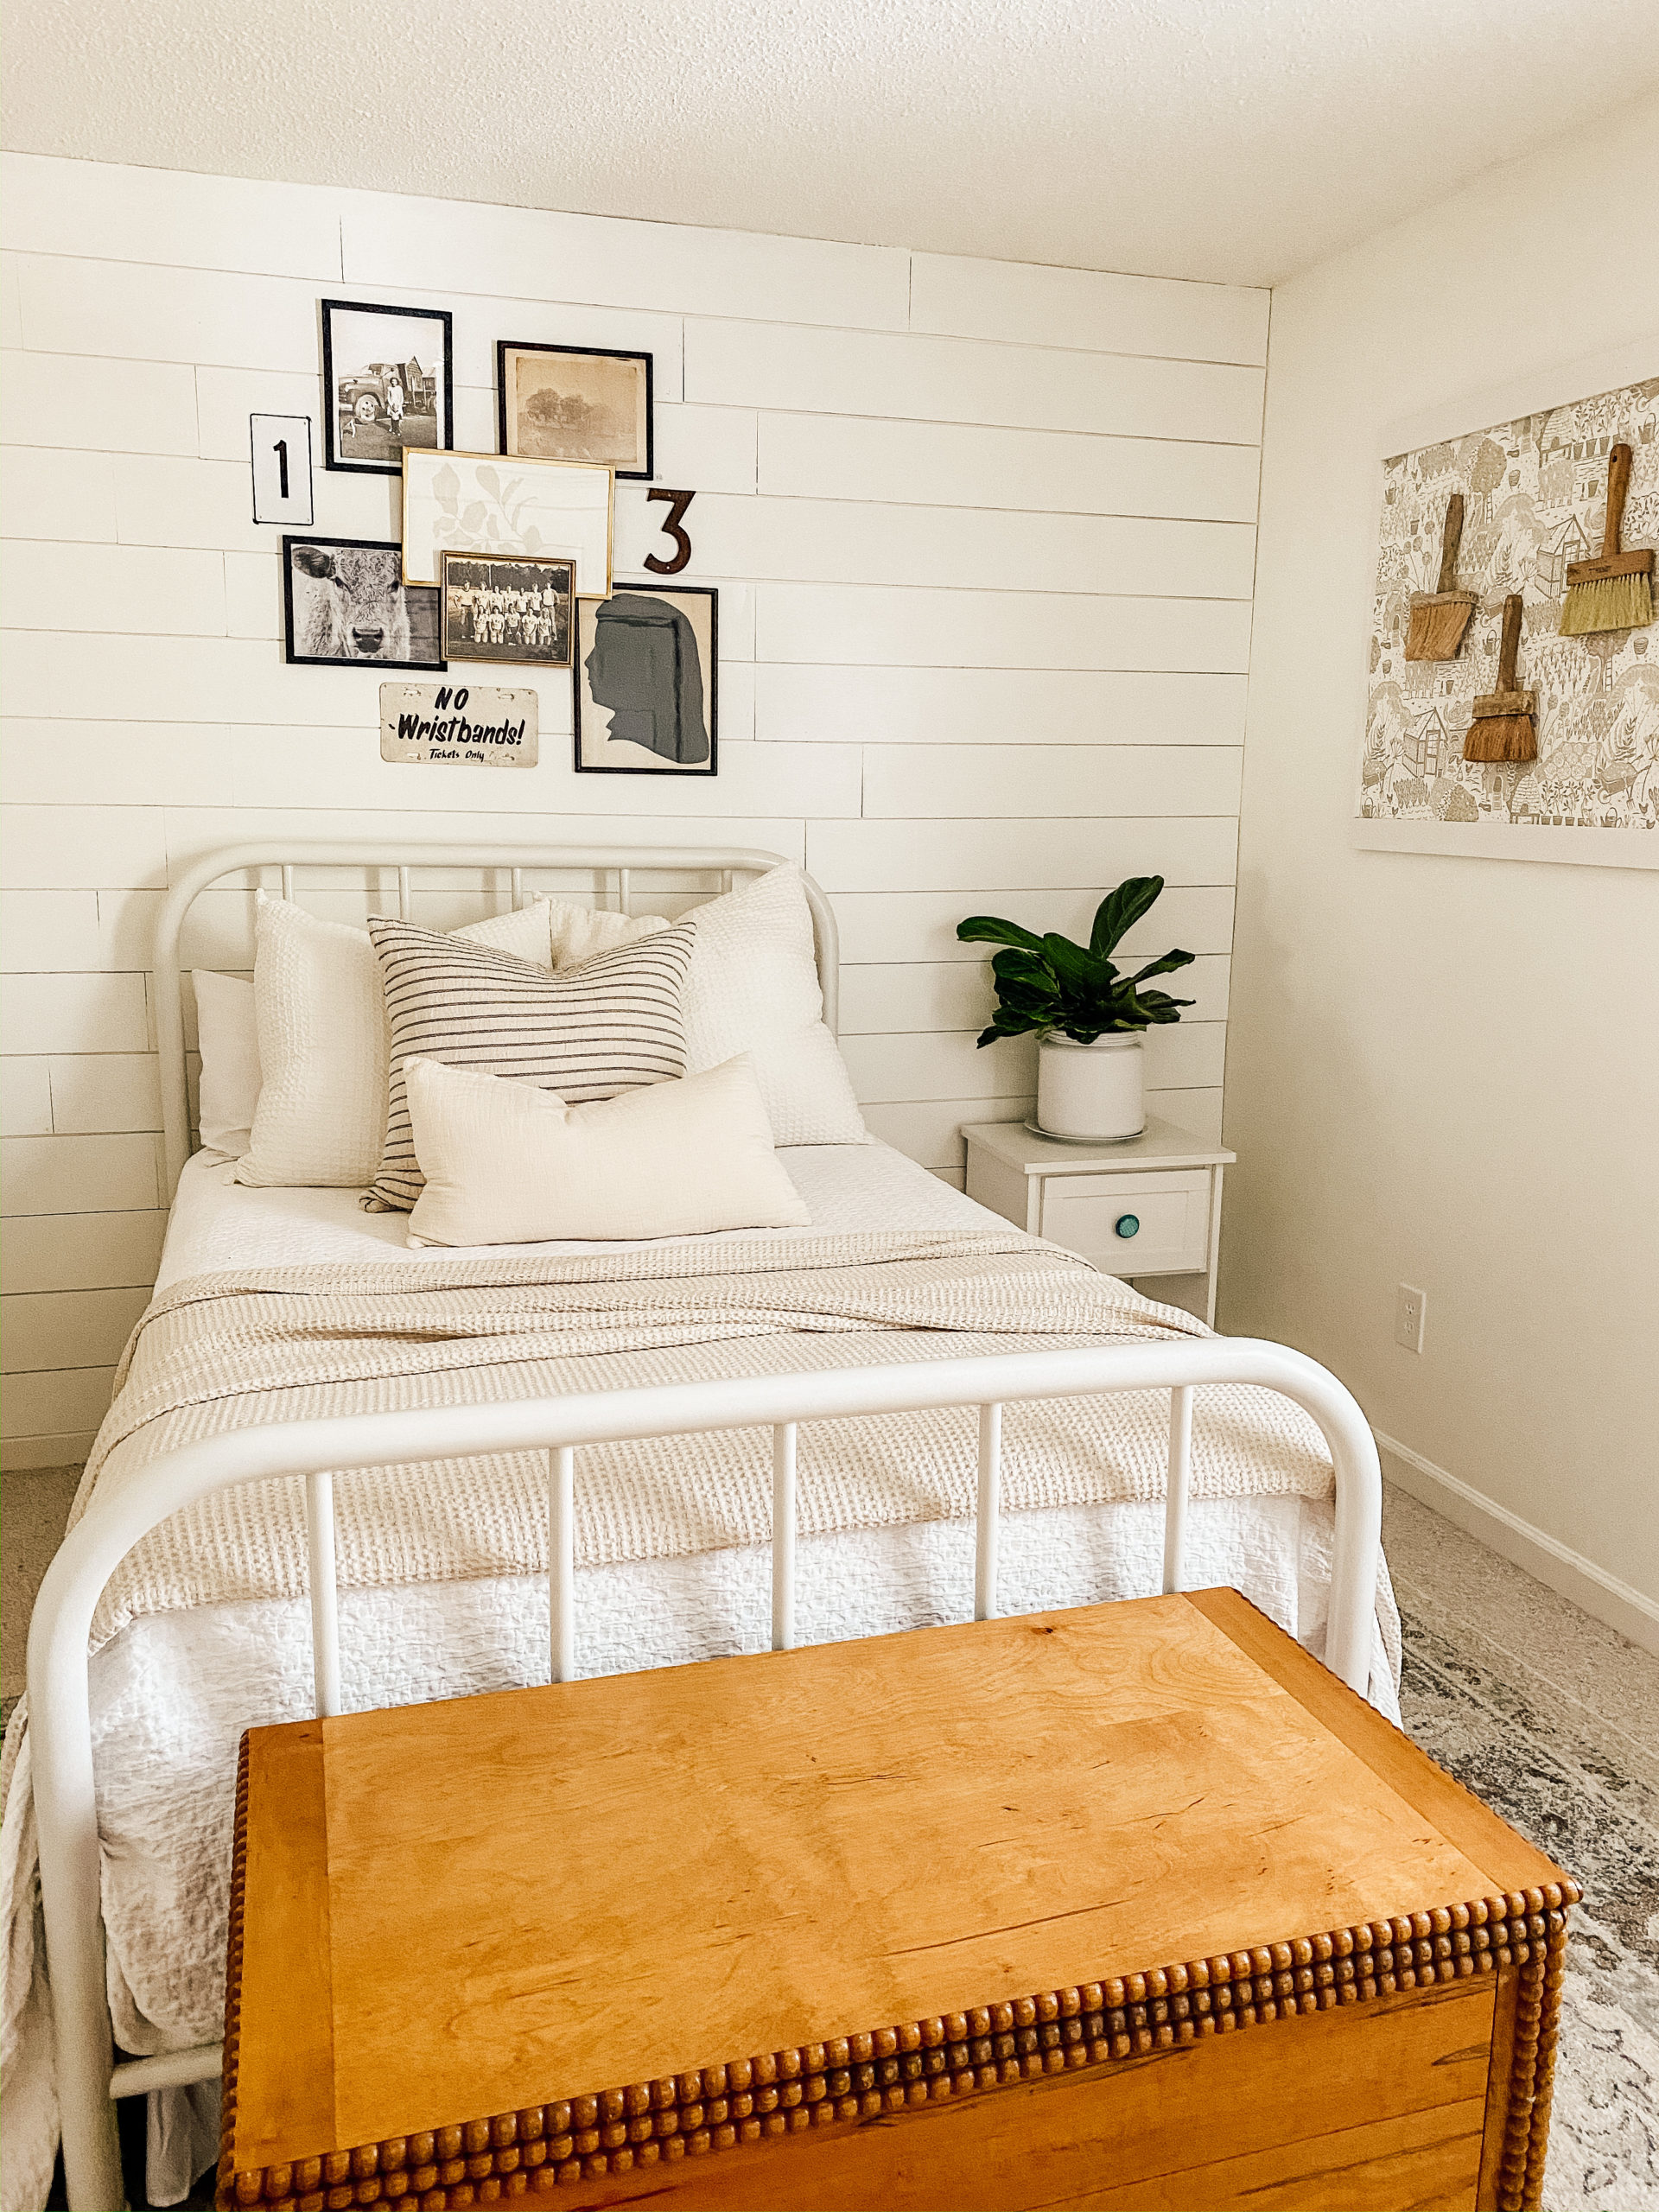
Gallery walls are a fun way to fill a space when you want to layer a room. As many of you know I recently took the center wall piece from the guest bedroom for the mirror in the guest bedroom. Which meant’t that I needed a statement piece because, it is the first space you see when you walk into the room. I started to think about what I could use there that I had in my home or even in mom’s home. The wheels started to turn and I remembered that one of my favorite bloggers Liz Marie Galvan did a fun layered gallery wall. I loved how she used old vintage pictures of different sizes to create this look. After thinking about what I could do and put my own twist onto it, I started to dig through photos at my house and at my parent’s house. This is where I found some photos of my mom and her old softball team and photos of her family on the homestead.
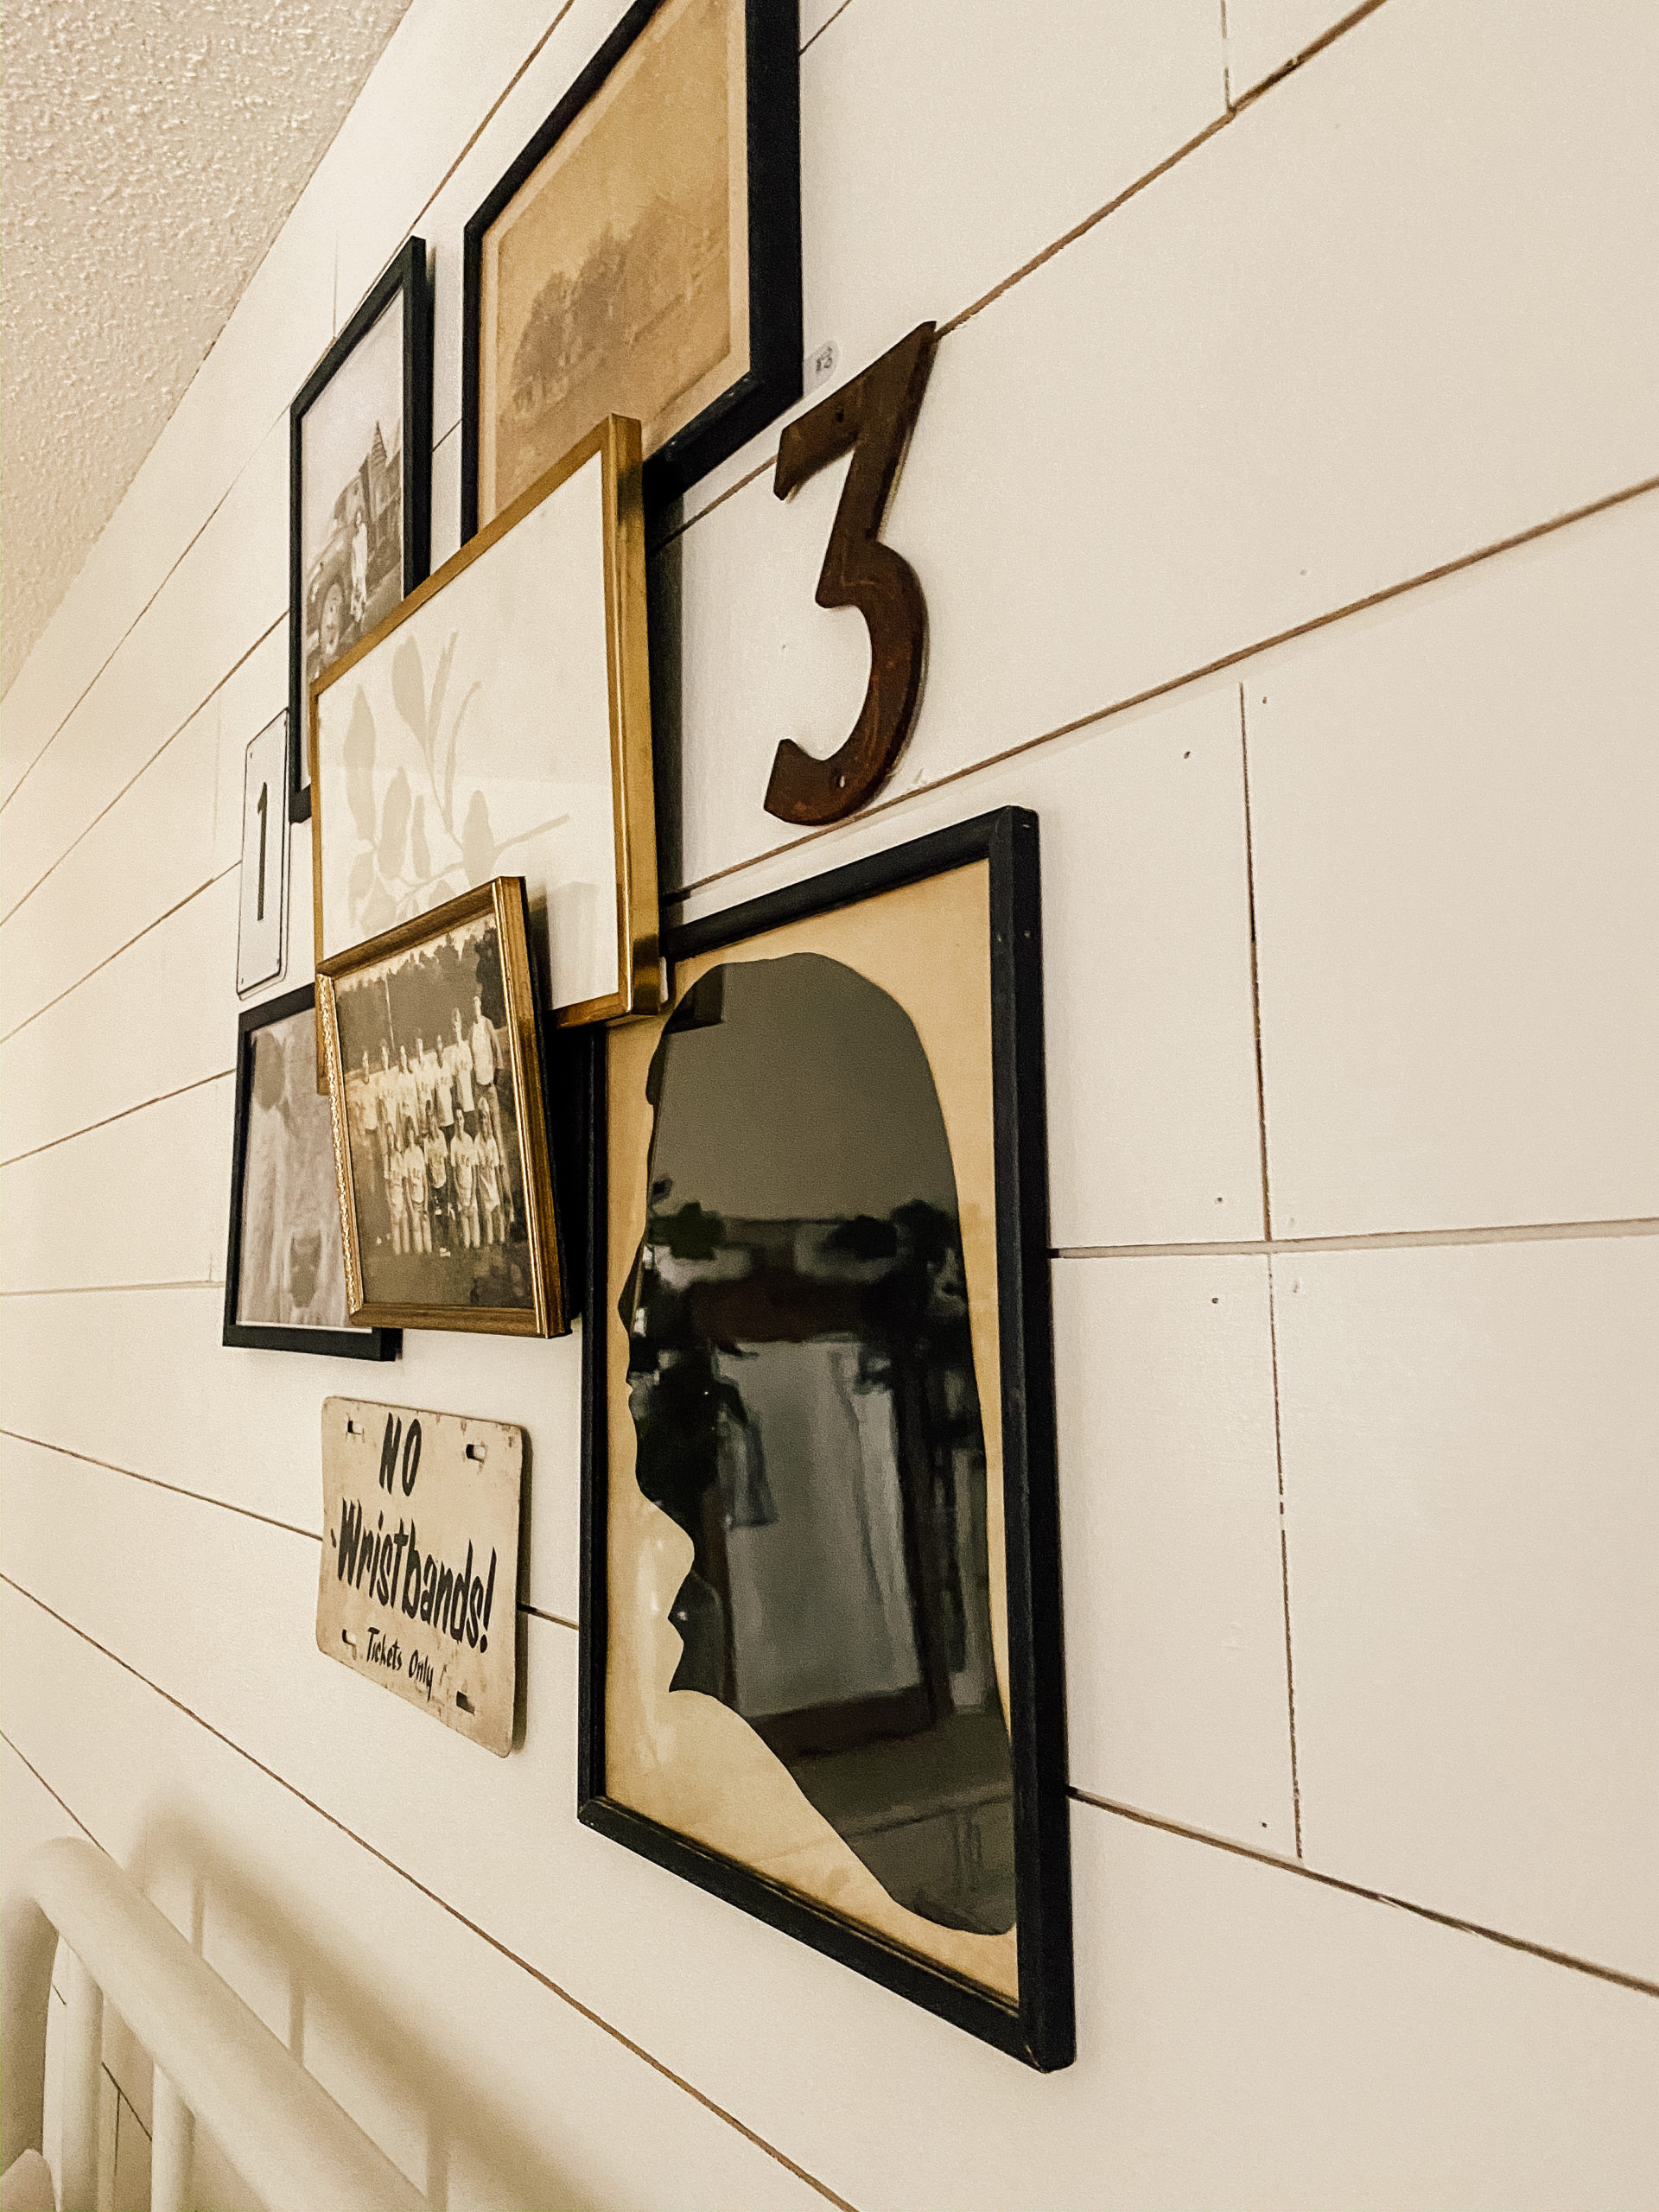
Since I knew the I would be mixing new with old photos. I wanted to do the same with the picture frames. Luckily, the photo of my mom’s softball team was already in a vintage gold frame and it was actually stuck to it. That mean’t that I could not take it out of that one. Some of the photos and silhouettes that I had, already had the wood black frames. I decided to use those and add a new photo in with the pop of antique gold frame.
I started by figuring out the layout on the floor that way when I went to hang it, it would be simple. The four main photos are the back pieces to the gallery and also the picture frames that will help hold the layering pieces. Once I had those placed I started with the horizontal photo the I was going to layer on top of all four photos. I played around with how I wanted to layer that. I then took the smaller photo and outside layering piece and placed it. Finally I did the vintage texture pieces, the numbers plus the sign and layered them in. Once I had the gallery just how I wanted, I took a picture and headed to the wall.
I took 4 paneling nails and hung up the four main photos that are the bones to the gallery and made sure that they were in place. I used command strips on the backside of each frame at the bottom to make sure they did not move around. You do want to make sure that they are not moving because they need to hold your other frames into place. I then took an extra long nail and 3 command strips to put on the horizontal gold frame that goes across all four frames. First, I put the command strips on the sides and the bottom of the backside of the frame and then I took the nail and put it right in the middle between the two back bone frames to help hold the gold frame up. Once I hung the frame on the nail I peeled the tape off the command strips and pressed them against the other frames to keep them from moving.
Now to add the finial frame, I made sure it was a smaller one and light weight. I used one long command strip and stuck it to the horizontal gold frame. Having the heavy duty command strips is a must because, you want to make sure that it will hold the frames. If you feel that a frame is heavy and you want to make sure that it holds up, you can put a paneling nail right underneath the frame. This is where the frame can rest on the nail, to help hold the weight.
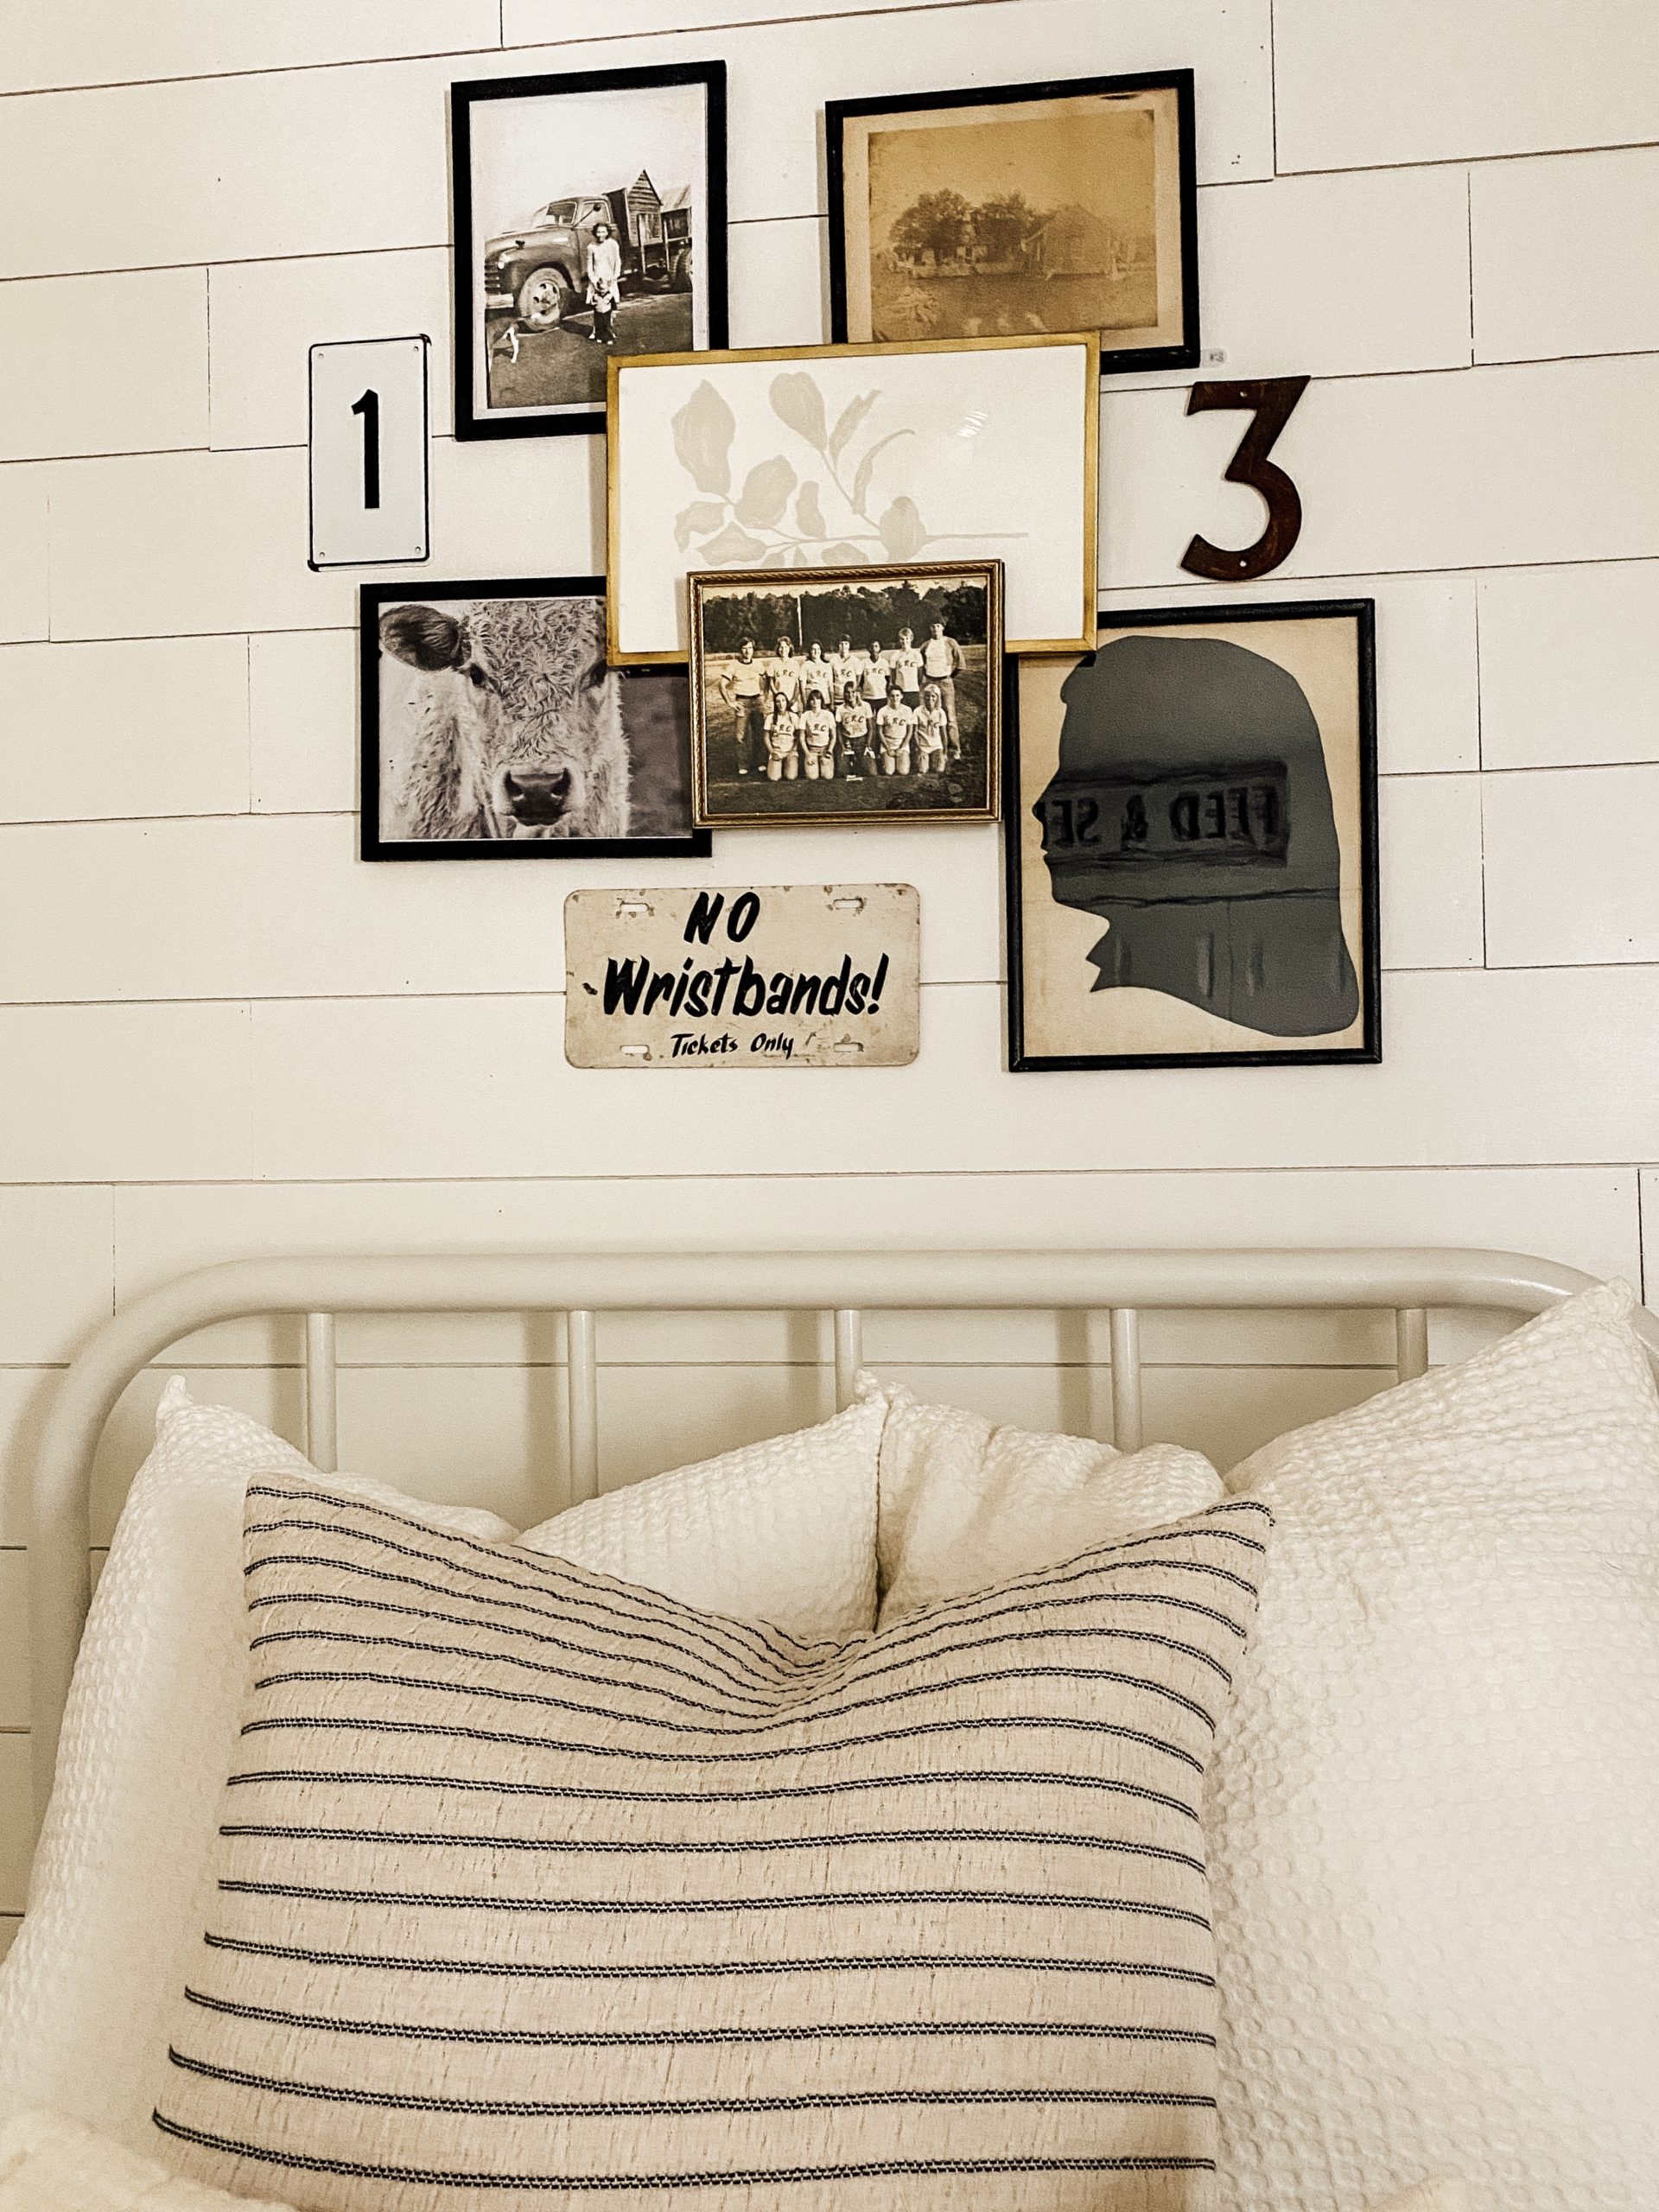
Once you have all the frames in order, you can now add your vintage pieces to help tie it together. I chose to do some metal numbers and a small sign but, you can use anything you want to layer it more. I really hope this helps you create a layered gallery wall. If you make one I would love to see, tag us on our Instagram! Thank you for stopping by the blog today, XOXO!

