SHARE
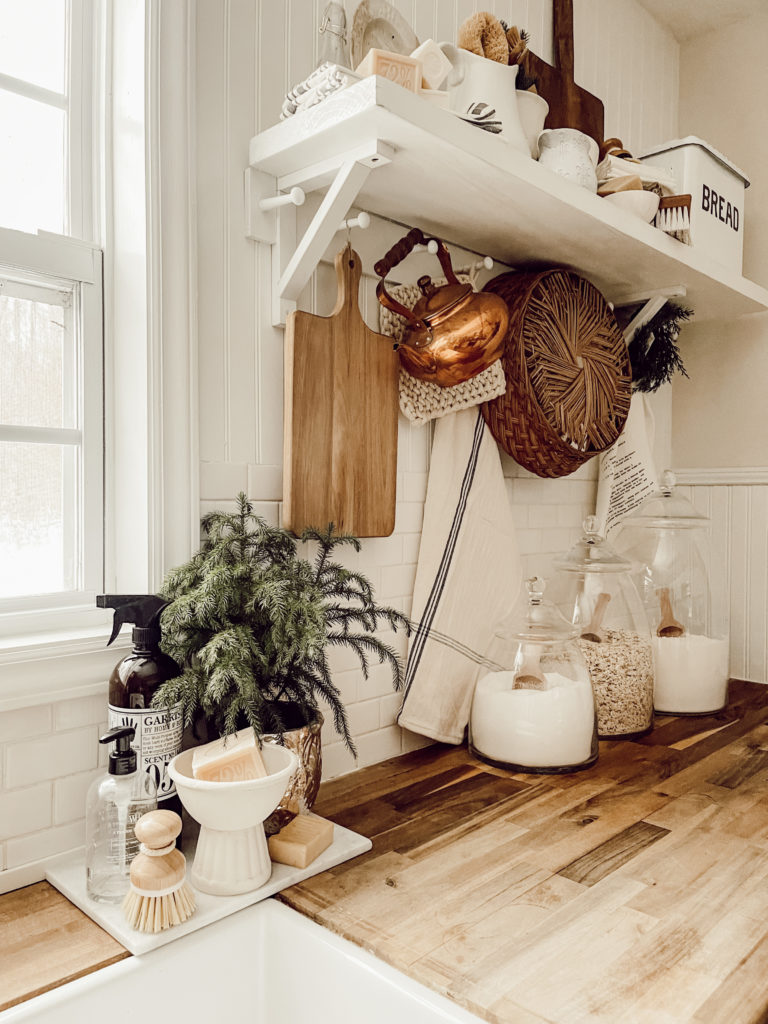
Simple changes are some of the most powerful ones. Right before Christmas and I am just now getting the blog up. Farmhouse kitchen revamp is coming your way friends! Things have been crazy around here but, I am so thankful to be able to share with you here friends! Let’s get into how you can make small changes for a big kitchen revamp.
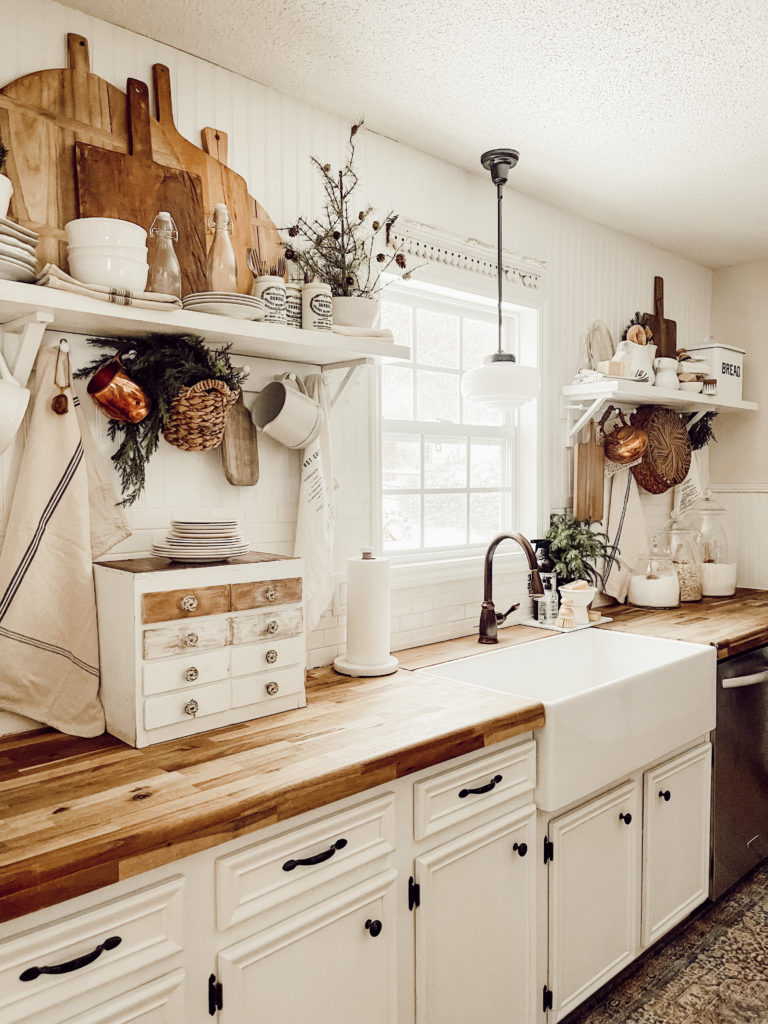
Our kitchen has been one of your staple pieces from the beginning. Honestly this room help me evolve my style and gave me the confidence that I needed to start this whole journey as a business. Since I shared a little back story now, it is time to share a simple change. Many of you know I use to have two open shelfs on each side of the kitchen.
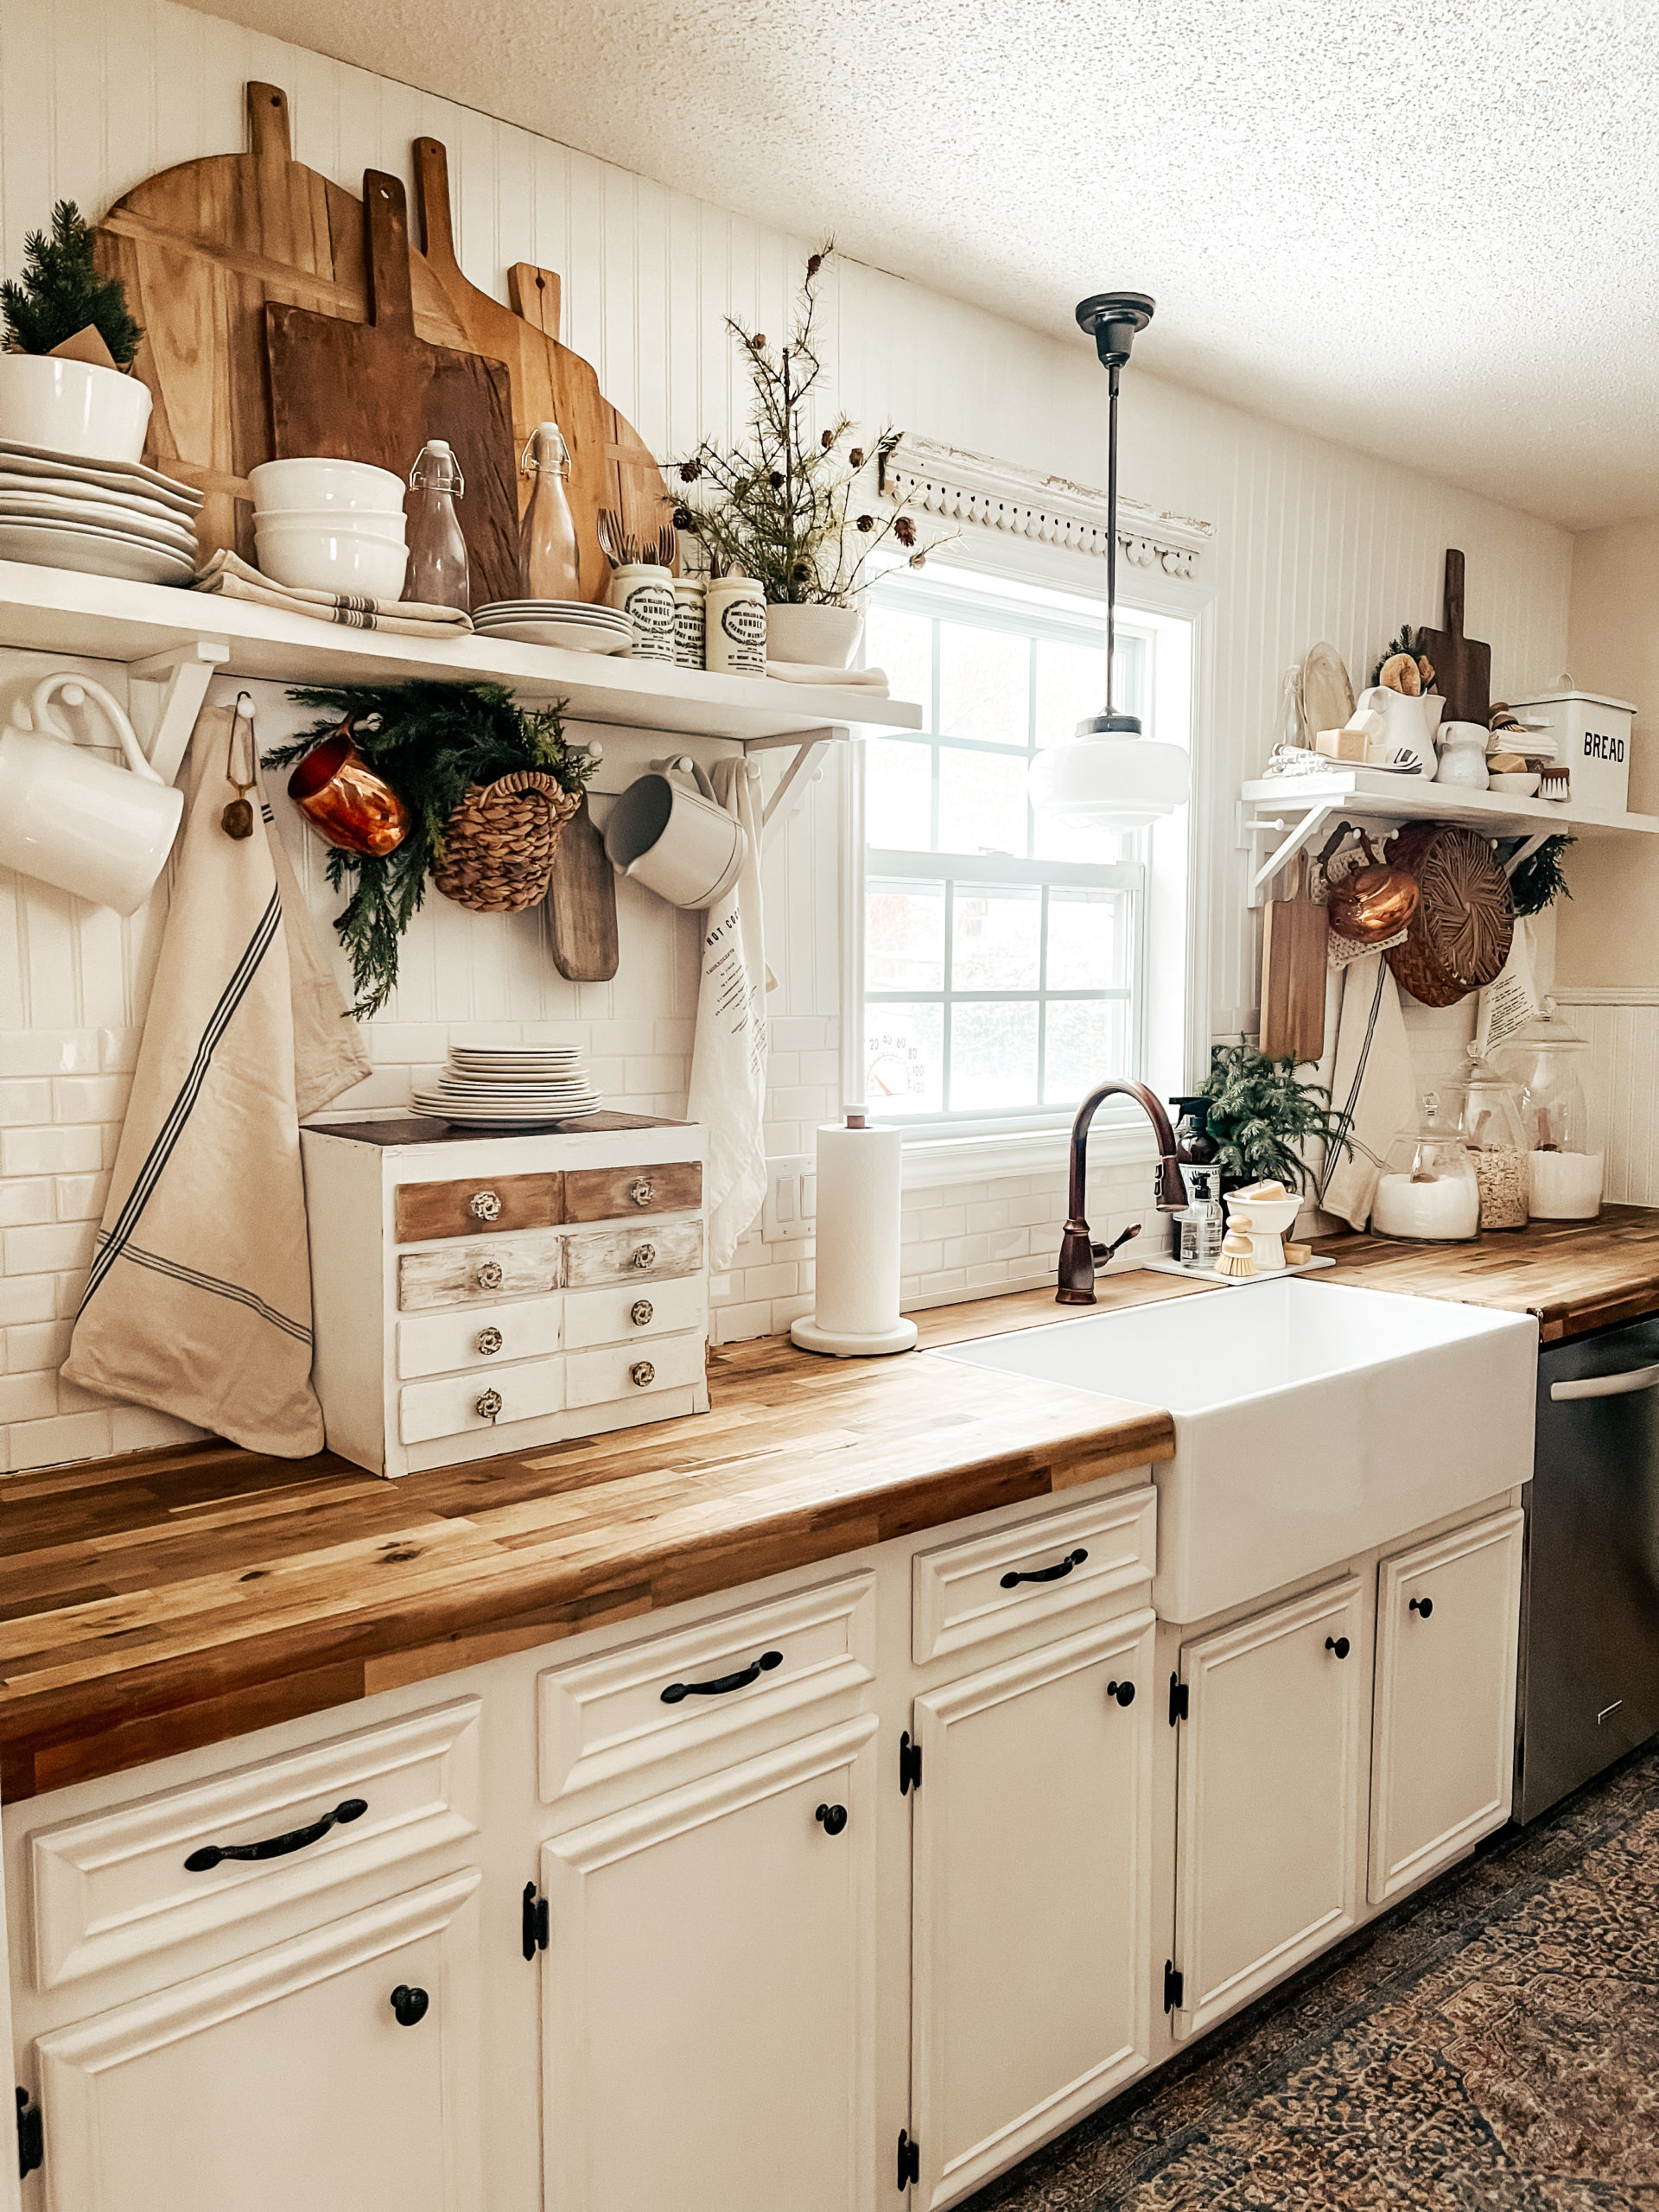
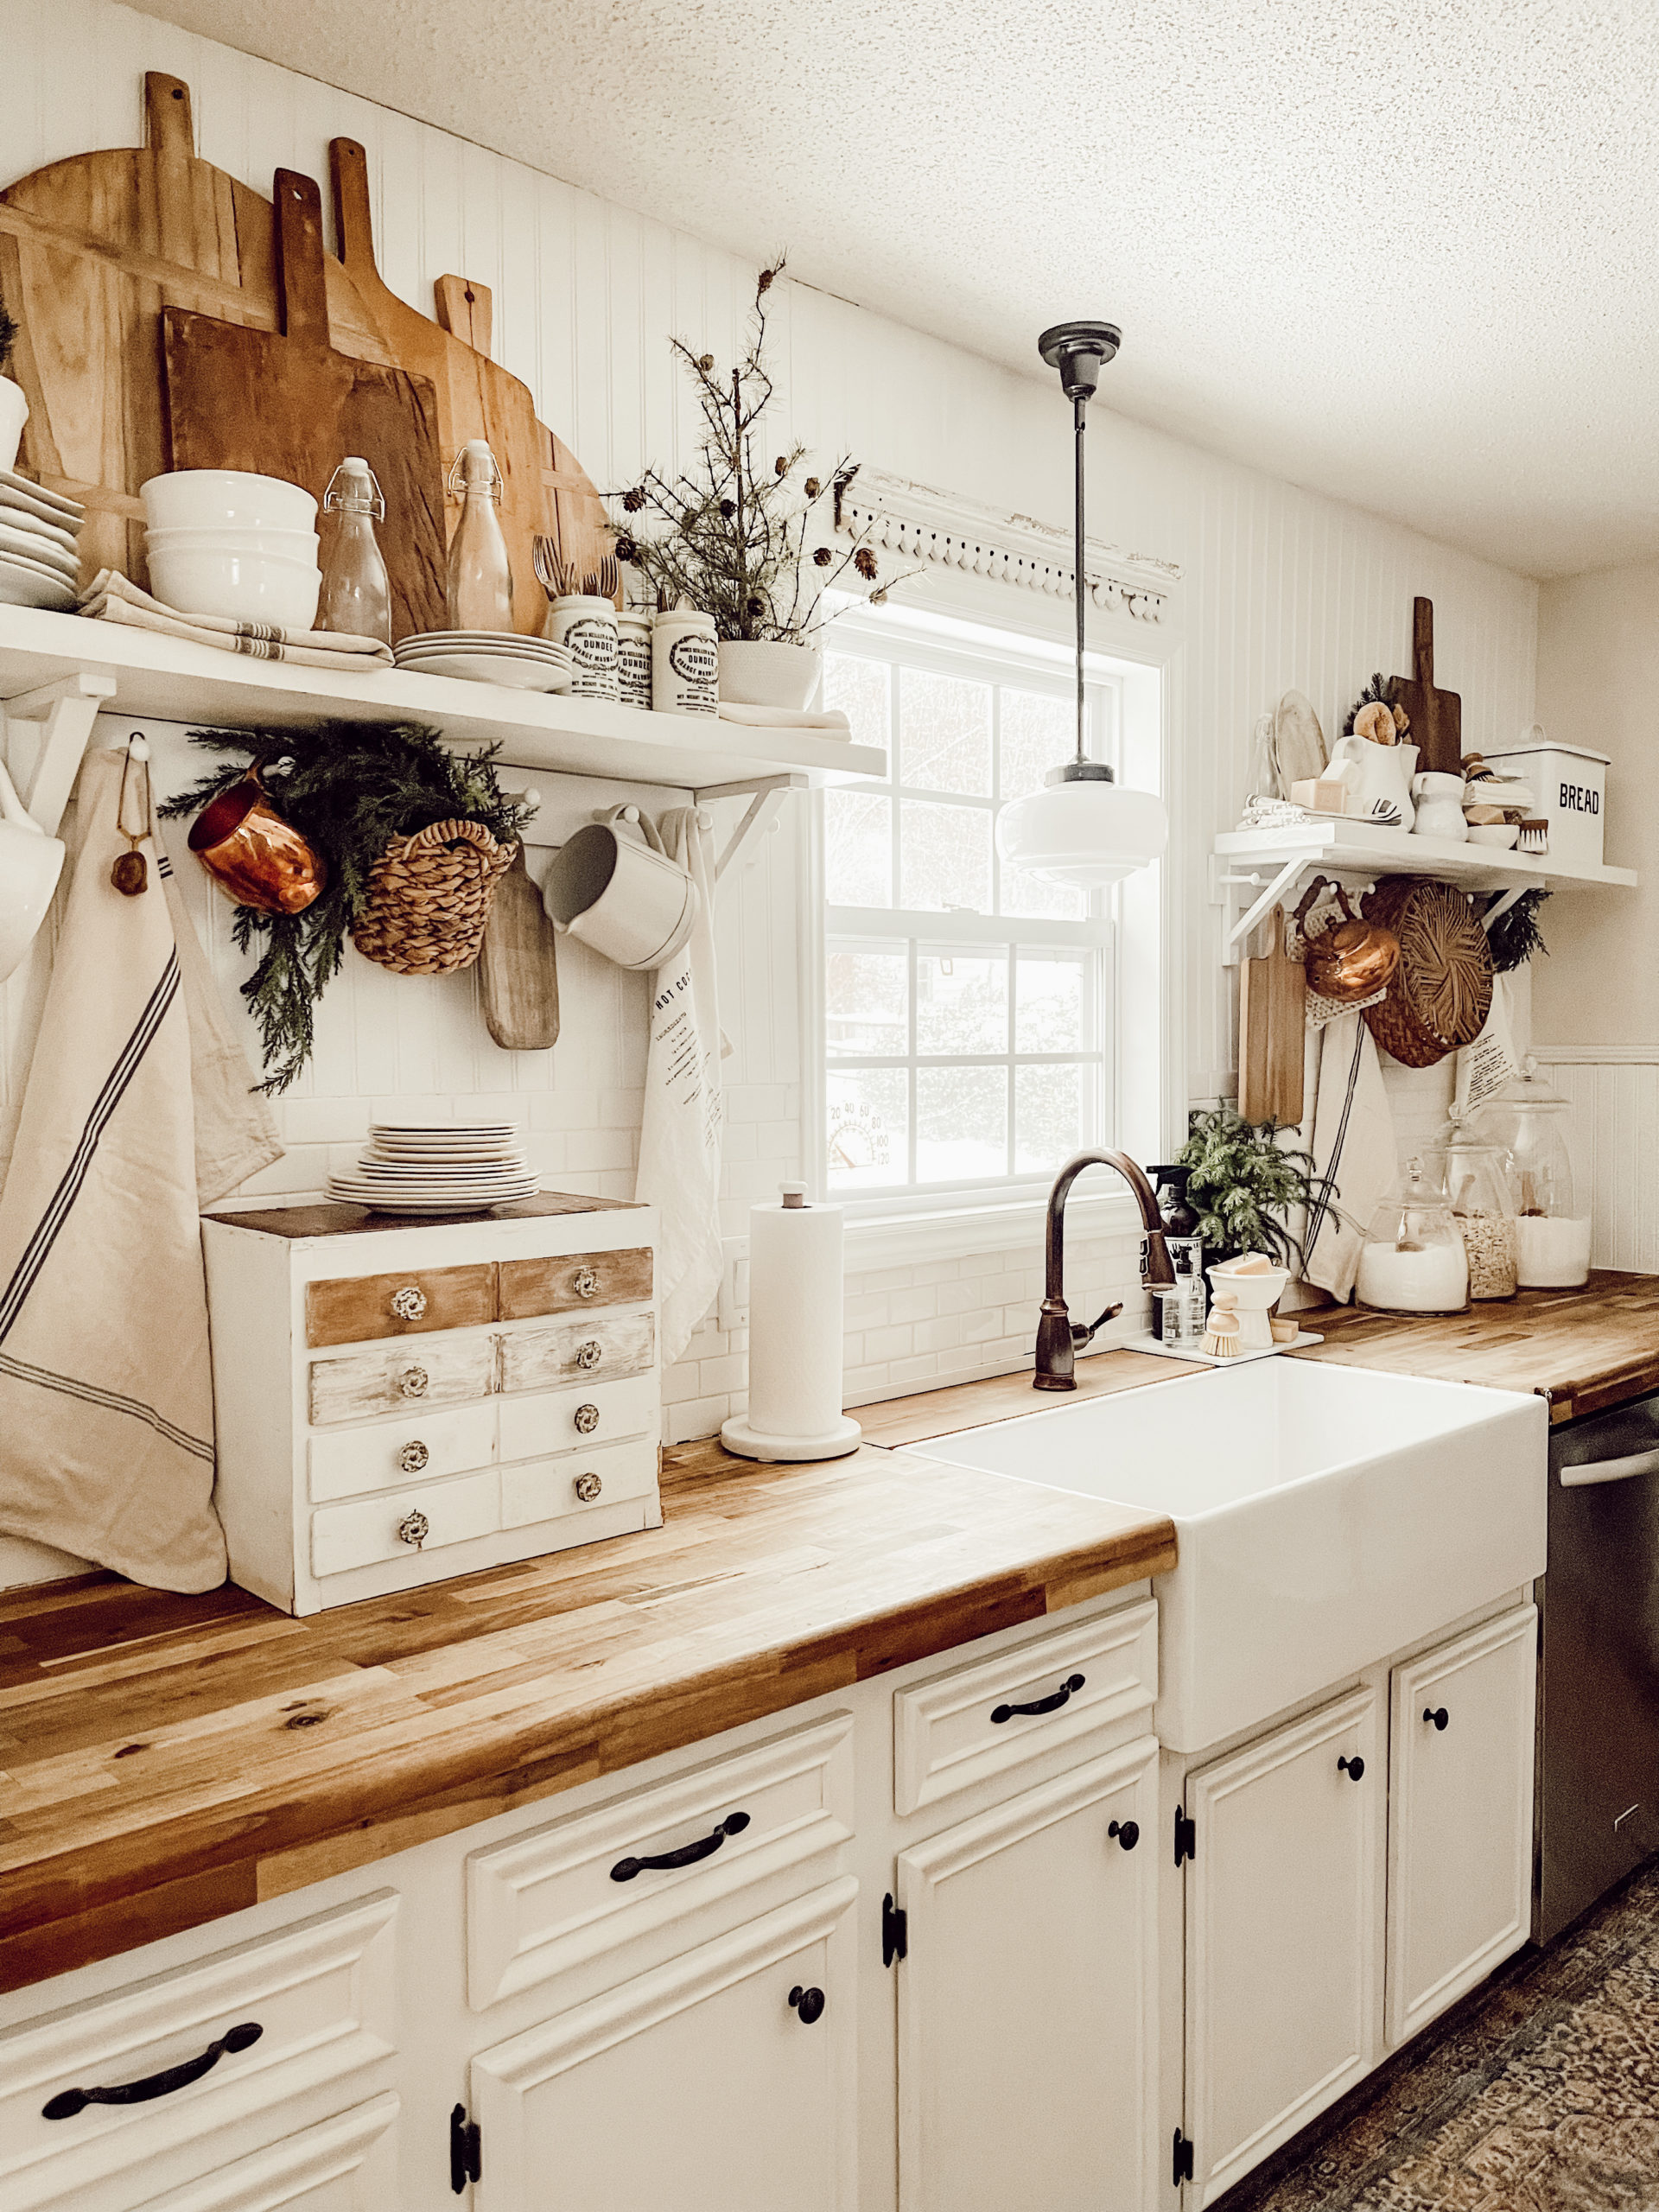
I started itching for a DIY project. After styling the kitchen for Christmas, I knew that was where I wanted to do a project. I decided that instead of two shelfs, I wanted to take it down to one. Many times I wanted to put a piece of decor on the shelf and I could not because of the space. What a fresh change this has been. Now we all know that I never do anything to too simple. After going into the garage to get the tools to take down the shelves, I spotted some extra bead board laying in the garage. That got my wheels turning that I could change up the wall as well.
Bye bye shiplap behind the shelving and hello bead board. I took down both sets of shelving in the kitchen and pulled down the shiplap and replaced it with bead board. In order to make this project simple I mark the wall in two places where the studs for the shelves are. That way when it came to put them backup it would already be marked and quick. Next I pulled the shiplap down and cut the bead board to size. Grabbed my favorite can of paint in the shade of Dove White and the white caulking to fill the holes and paint the wall.
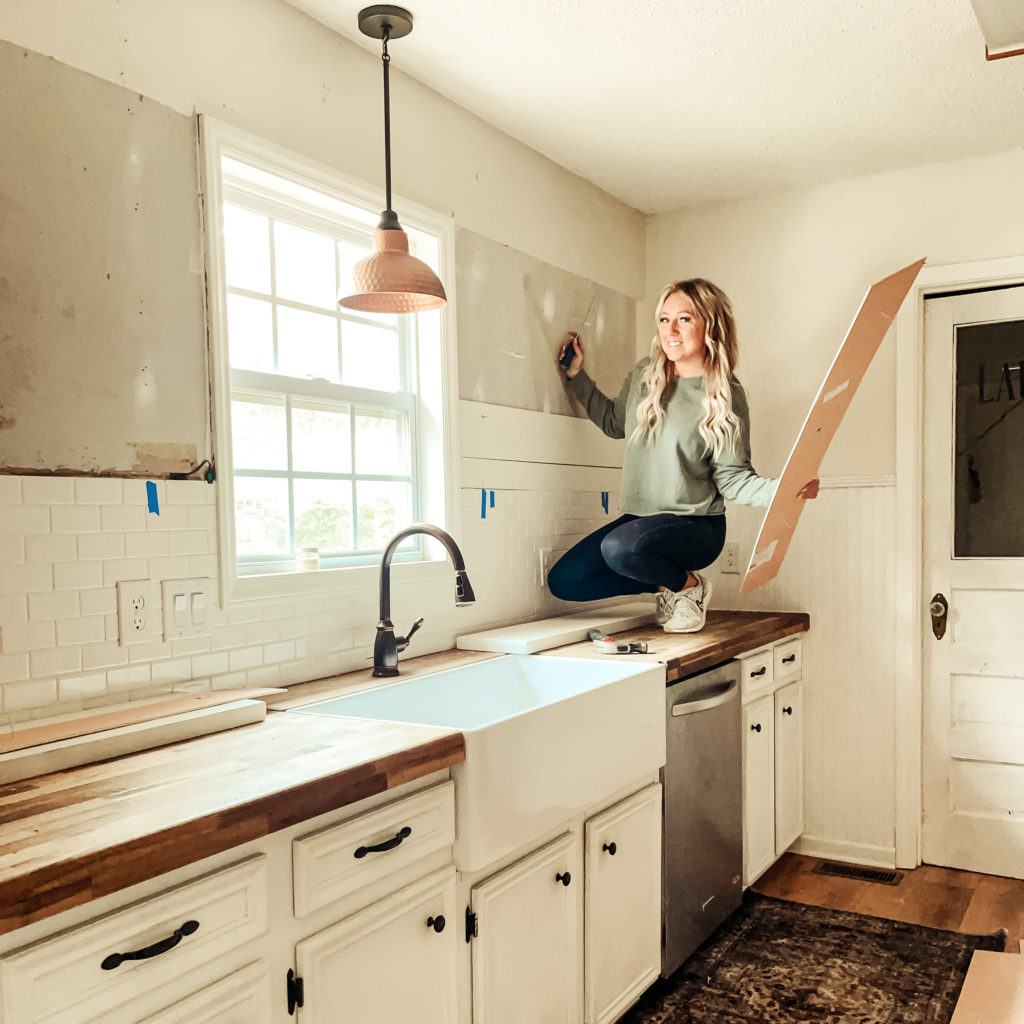
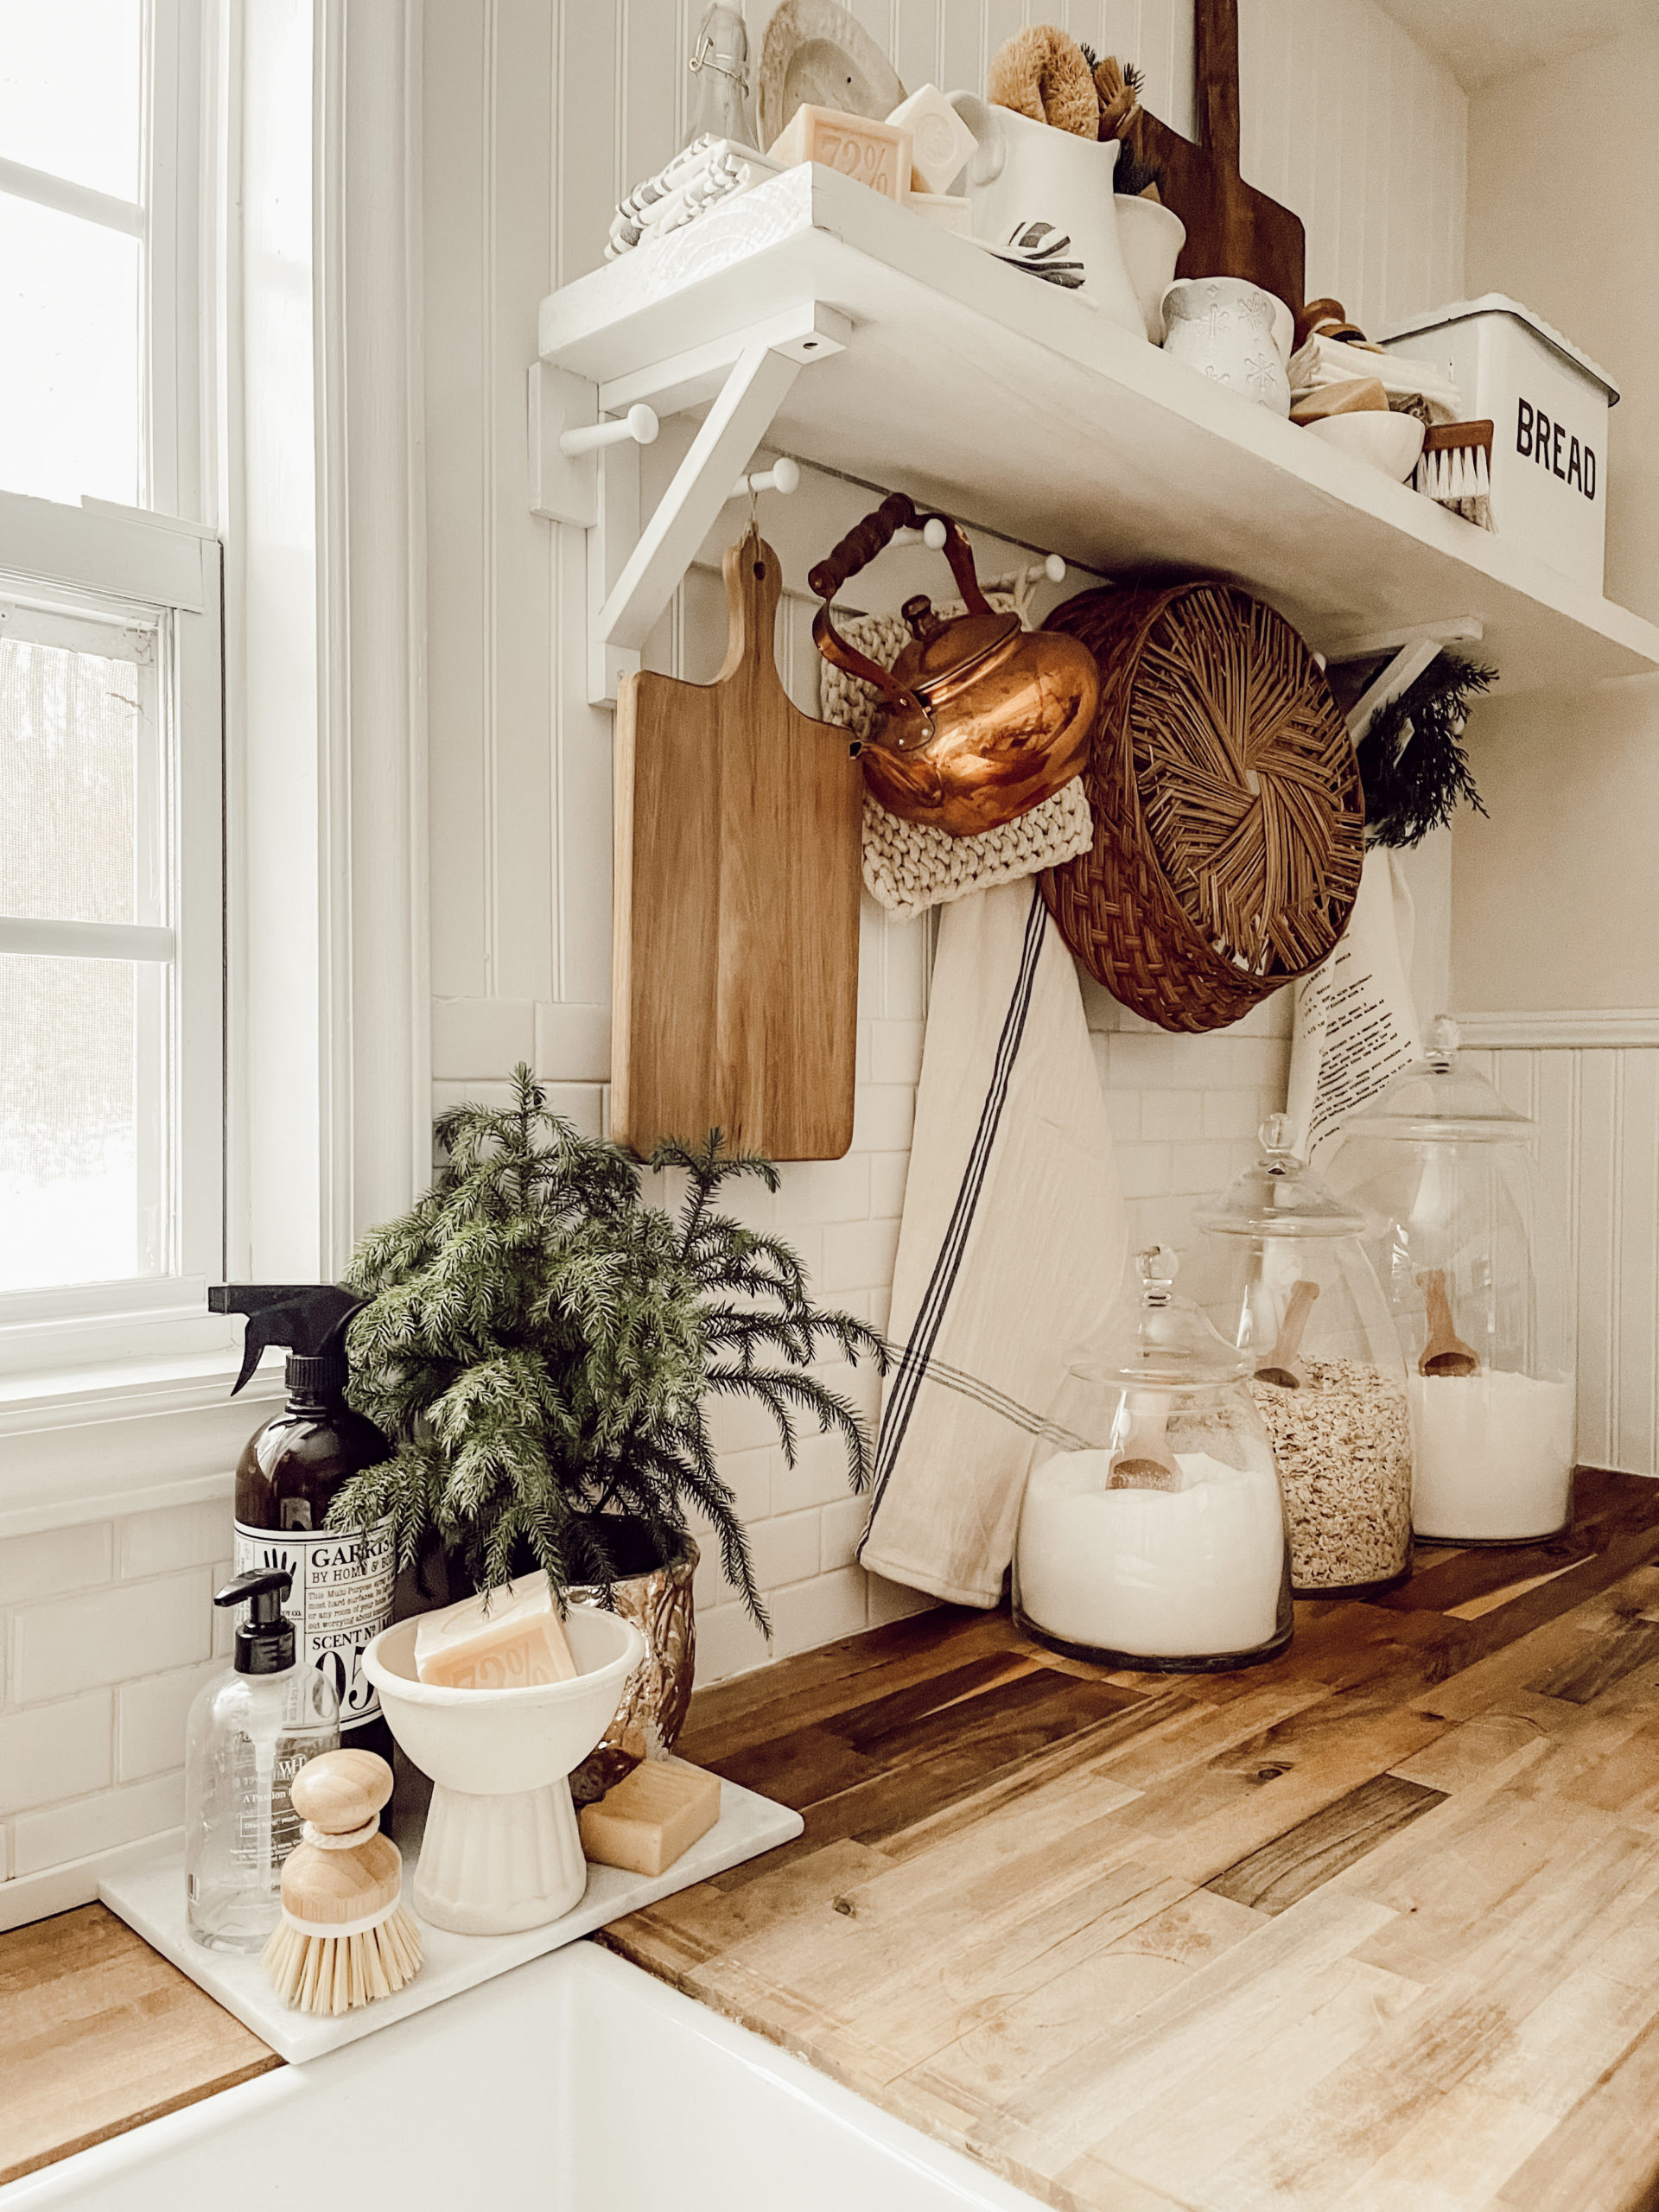
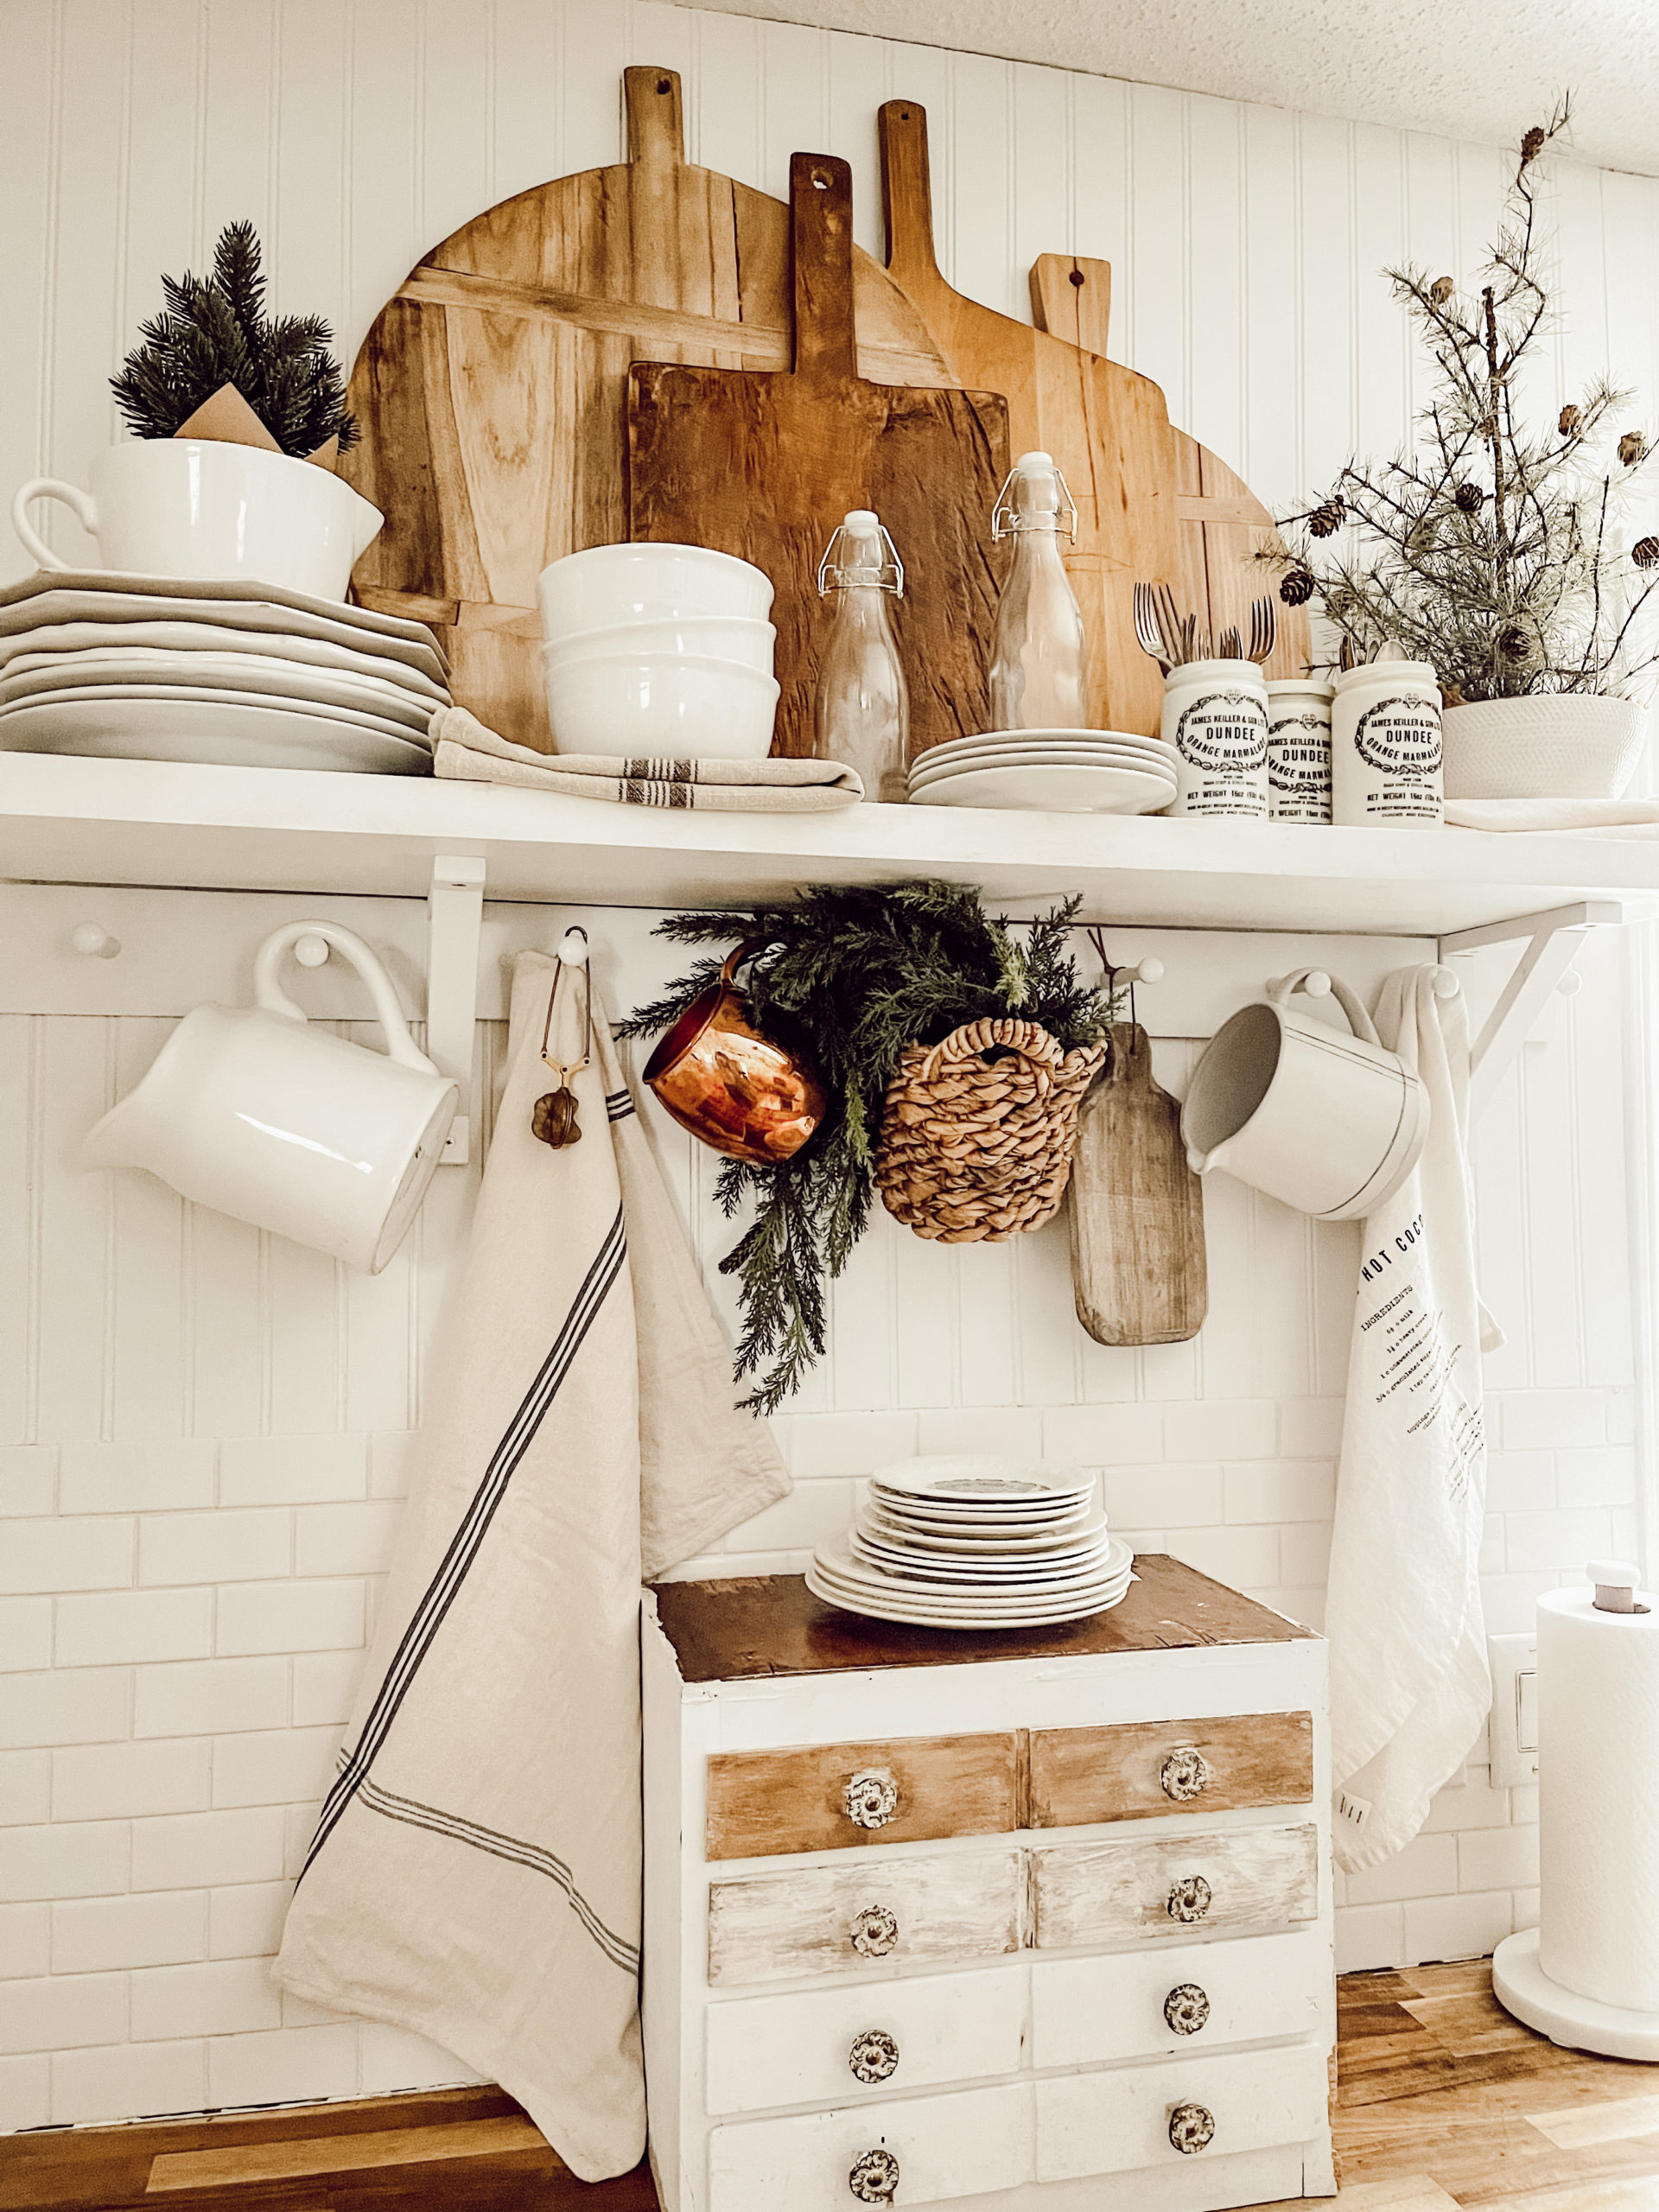
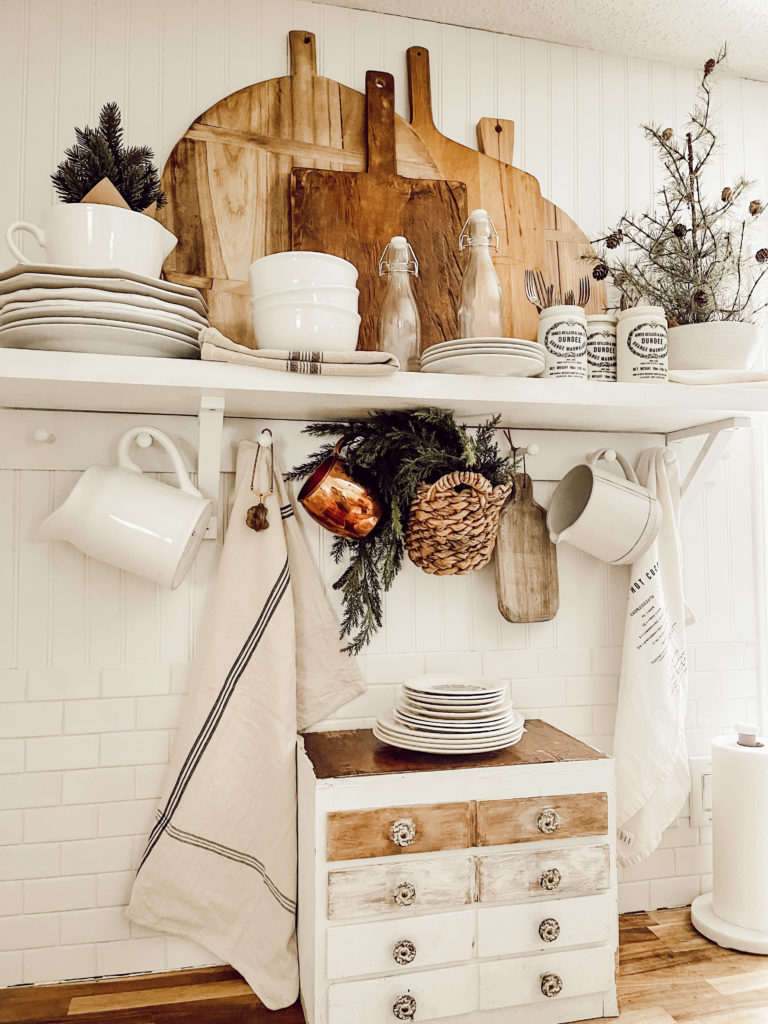
Once the wall was dry, I decided to put the one shelf back on the wall in the middle of where the previous two were. Since the studs for the wall are mark I grabbed the bracket and marked the holes. Easy peasy, drilled the holes and we were ready to put the shelf up. Just when I thought I was done, I decided to add one more addition. I love my shaker peg rail that I had behind what use to be my coffee station in the kitchen. Why not add it across the kitchen? That is just what I did.
That is all friends, all the small changes. The shaker peg rail is a simple DIY to make, see just how to here. I have to say that I love having this kitchen revamp. These shelves and the new peg rail has been so much fun to style. As I have shared with you friends before we love having pretty cozy spaces but, we also want them to be useful. Making these changes have made this space functional and easy to work in.
I hope that this inspires you to make small changes that can make a huge difference around your home. Behind all the pretty pictures just remember you can make these spaces functional for your family. Thank you for stopping by the blog today and everyday. Check out our Pinterest for more looks and DIY tutorials.

