SHARE
The last couple of weeks have been an honor and a fun adventure. American Farmhouse Style Magazine chose me as one of their 10 finalist for the Ambassador program and let me just say what an honor it was to be picked! Although the first project I had in mind for this did not work out, this other one did that was already in the works as soon as I got the lumber for my original project.
Creating a cozy farmhouse-style patio is not always the most affordable. We all love that beautiful wood sofa for our porch but, most of the time it is at least $800. This summer I wanted to refresh the back porch and this is when I realized just how much these sofas are. I decided to figure out a way to make one for less than $100. Check out this DIY Outdoor Sofa that is made out of 4 products.
Materials:
- (8) 2×4 boards at 8ft
( make sure these are straight and non cracked)
- (2) 1×4 boards at 8ft
( make sure these are straight and non cracked)
- 2 ½ inch weather resistant screws
- ⅜ inch Dowel Rod
- Wood Glue
- Exterior wood stain
- 2 inch brad nails
- Wood Filler
- 120 Grit Sandpaper
Tools Needed:
- Drills
- Tape Measure
- Pencil
- Miter Saw or Table Saw
- Kreg Jig
- Drill
- Band saw or Handsaw
- Nail Gun
- Clamps
- Rubber Hammer
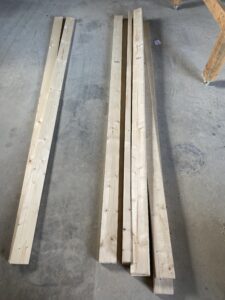
- Cutting your 2×4 and 1×4 boards
You can use your miter saw or your table saw to make these cuts.
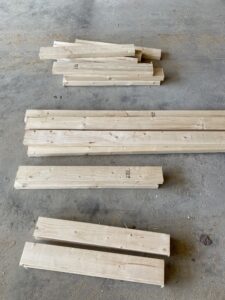
- (5) 2×4 at 57 ½ inches (these are for the back and front)n
- (8) 2×4 at 27 ¼ inches (these are for the side and bottom)
- (4) 2×4 at 24 ½ inches (these are for the sides)
- (2) 2×4 at 30 ¼ inches (these are for the side frames)
- (6) 1×4 at 27 ¼ inches ( these are the side pieces for the side frame)
- Make your pocket holes
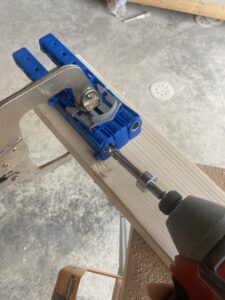
Now you will take your Kreg Jig and make pocket holes at the end of each of these boards. I did all of the pocket holes at the same time to save time later when you will be assembling the DIY couch.
I set my Kreg Jig to 3/4inch on the adjustable bit and on the pocket hole that attaches to the wood.
- Add two pocket holes to each end of the (8) 27 ¼ inch boards
- Add two pocket holes to each end of the (5) 57 ½ inch boards
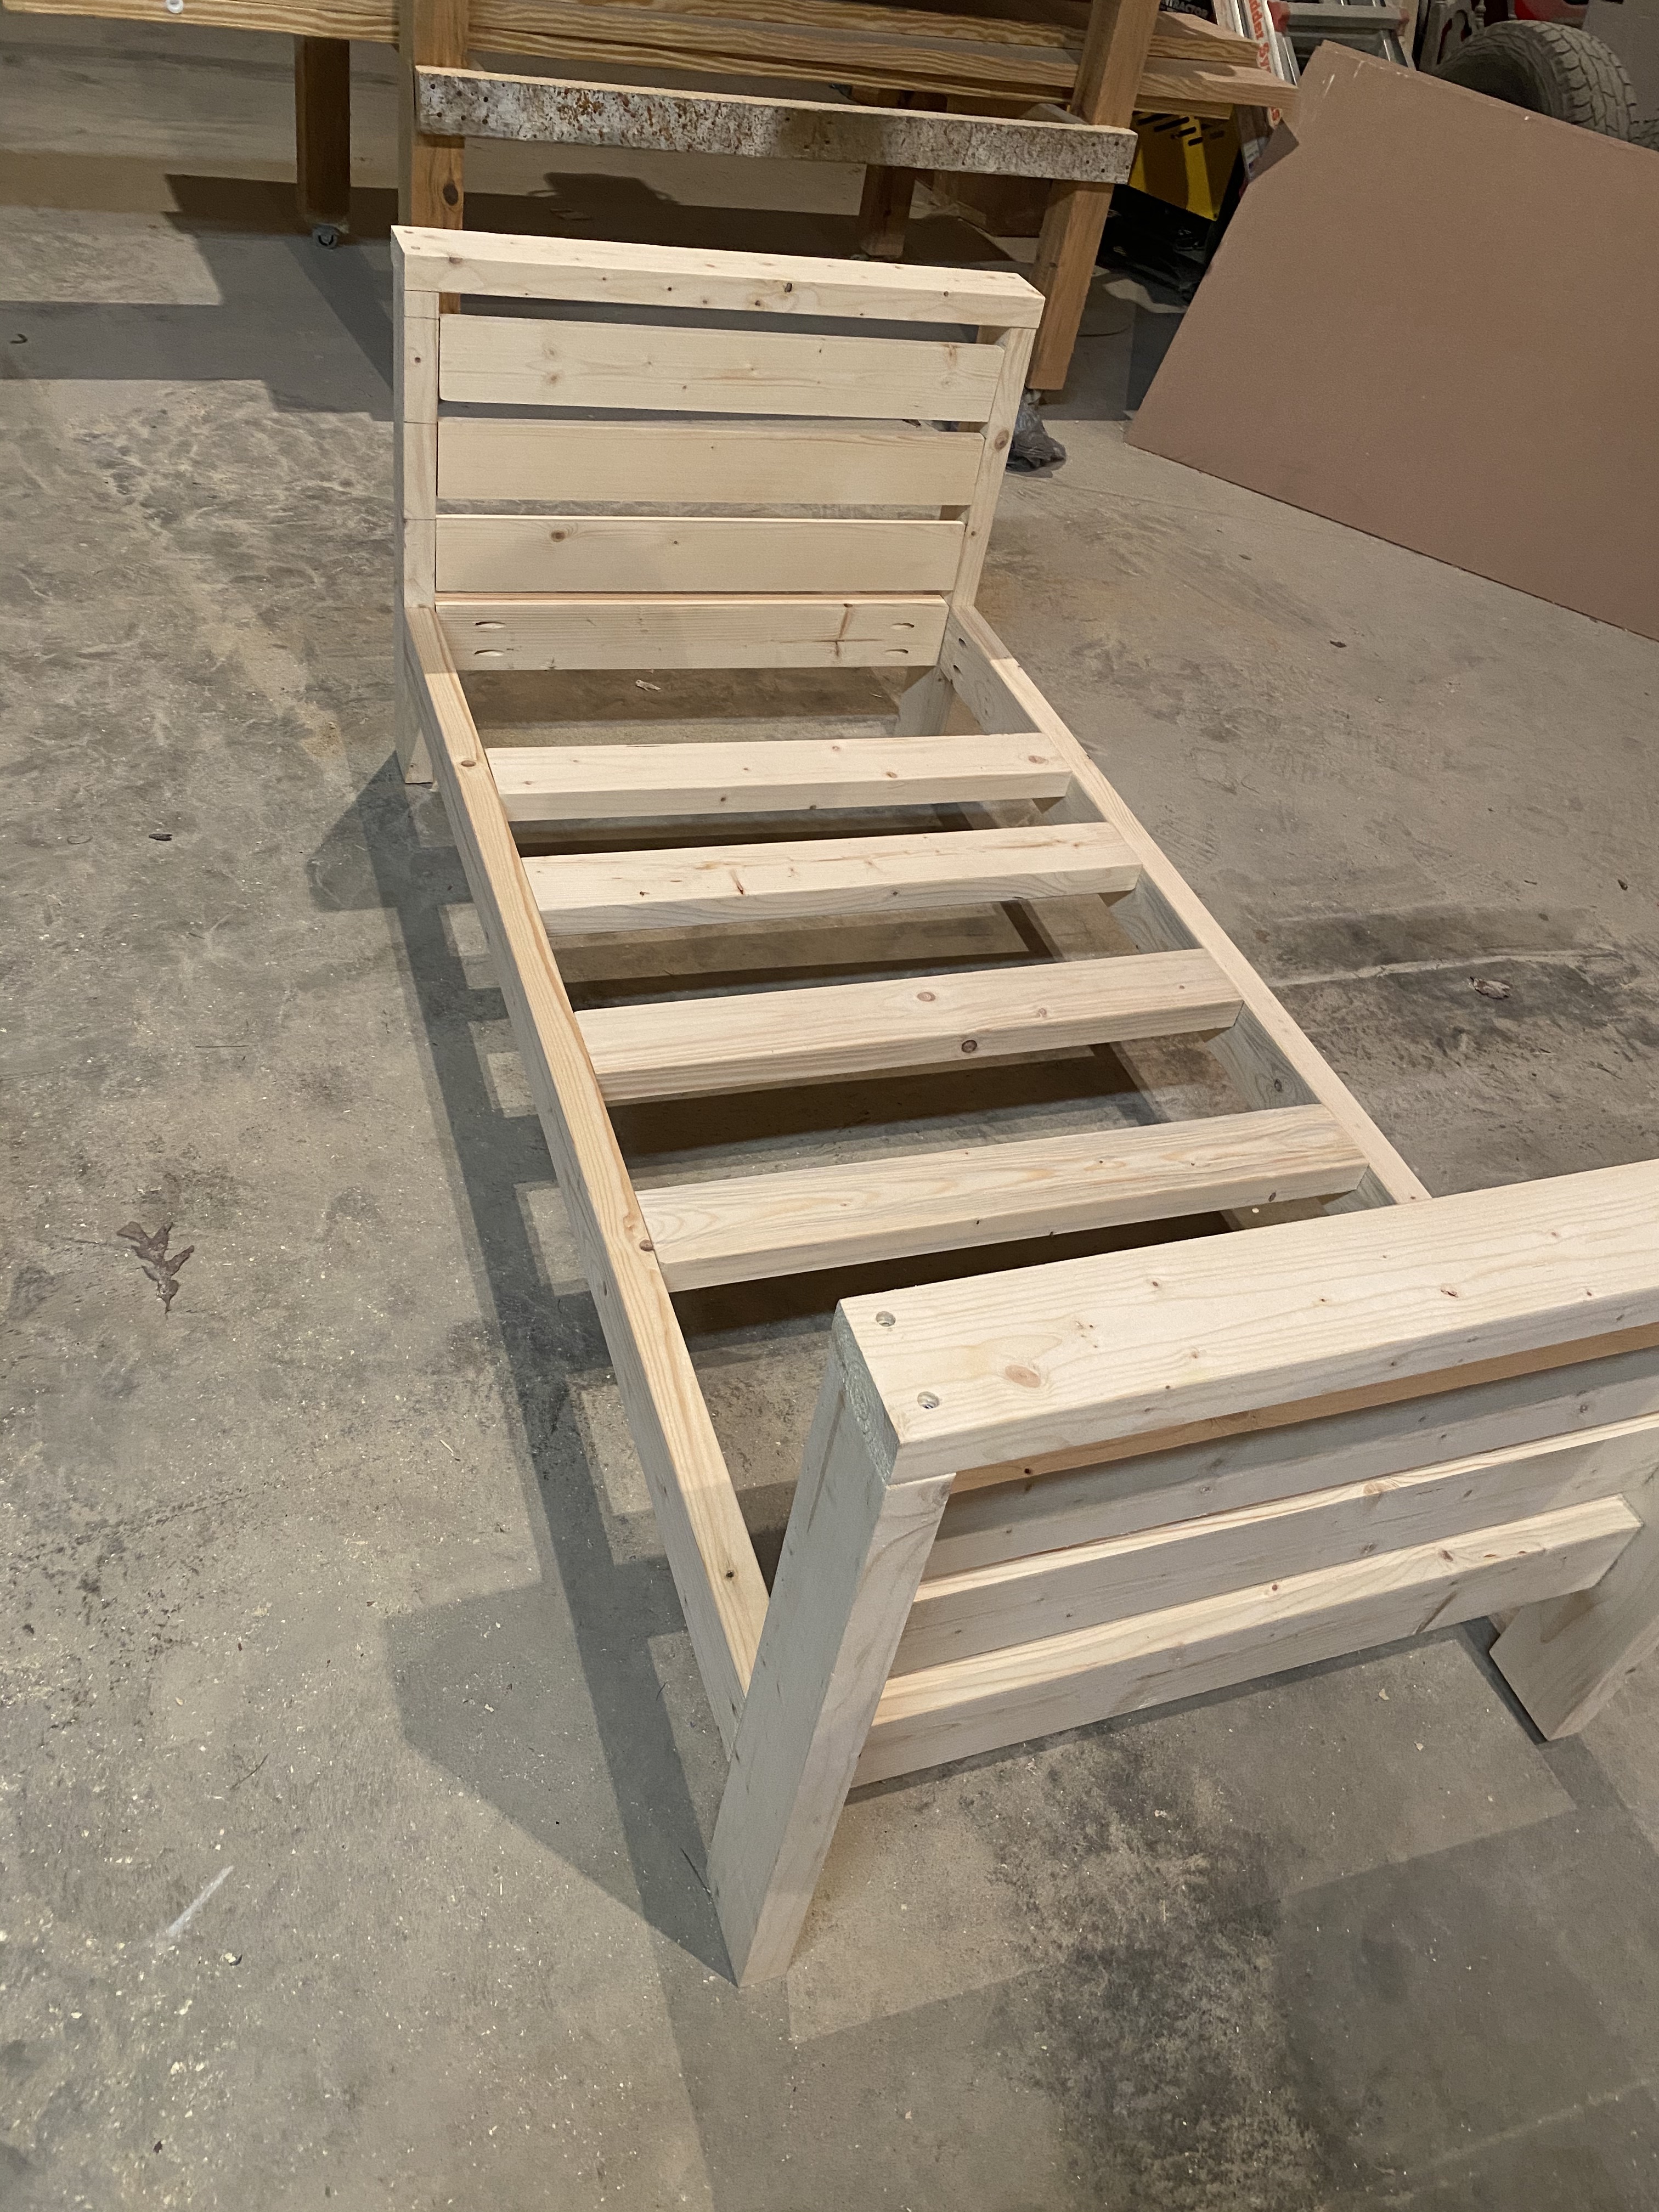
- Assembly your side frame
Take (2) of your 24 ½ inch boards and make a mark at 10inches from the bottom of each board. Then you will take one of your 27 ¼ in boards and put it perpendicular to the 24 ½ in boards at the 10 inch mark on each board. Use your 2 ½ in all weather screws.
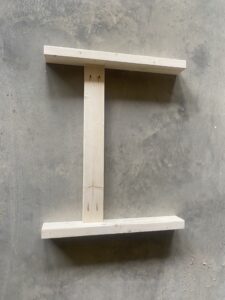
Next, you will take your 2 ½ in all weather screws and attach one of the 30 ¼ in boards to the top of the two 24 ¼ inch. This is where you counter sink your screws into the wood ( you can do this by using a drill bit larger than the screw to do this)
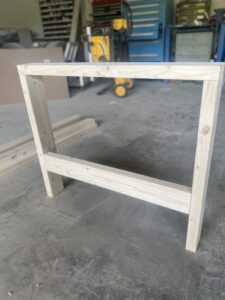
Repeat this for the other side frame.
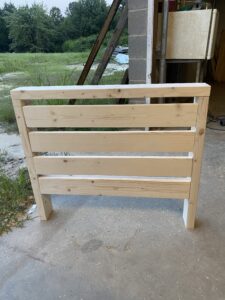
- Now time to add the side slate boards (optional)
This step is optional. Even though it is optional, this step will add texture to your design.
You will take your (3) of 1×4 boards that you cut at 27 ¼ inches and place them inside of one of the side frames.
Next you will take your 2 ½ in brad nails and the nail gun and place the 3 boards inside of the side frame at 1 inch apart . Use the nail gun to attach the slates into place on the frame.
You will then repeat the process in the other side frame
- Make the Bottom Frame
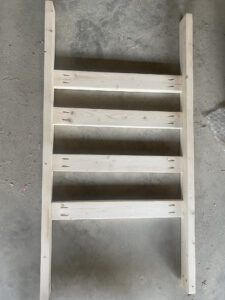
Start with laying out your bottom frame pieces. Take (2) 57 ½ inch boards and lay them perpendicularly to (4) 27 ¼ inch boards.
When attaching the boards together make sure the pocket holes are facing toward the inside of the frame on the 57 ½ inch boards. Also make sure that when attaching the 27 ¼ inch boards the pocket holes are facing up.
Start by placing the first 27 ¼ inch board to one 57 ½ inch at 14 inches in.The continue to place the other three boards down the frame board at 6 ¼ inches apart.
Do not place the other two boards that are cut at 27 ¼ inch because you will need to have the space to attach the sides. Once the sides are in place you will attach these boards.
Now Attach the Side Frames
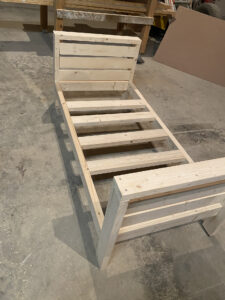
First attach your bottom frame to one of your side frames at 10 inches up from the bottom. Repeat this process on the other side with the other side frame.
When you have both side frames attached you will then place the final two 27 ¼ inch boards. You can use a rubber hammer to help get the last two boards in because they will be snug and hard to get into the frame. Once you have them in, attach them with the screws. Then it is time to flip the sofa upright.
- Put the Back On
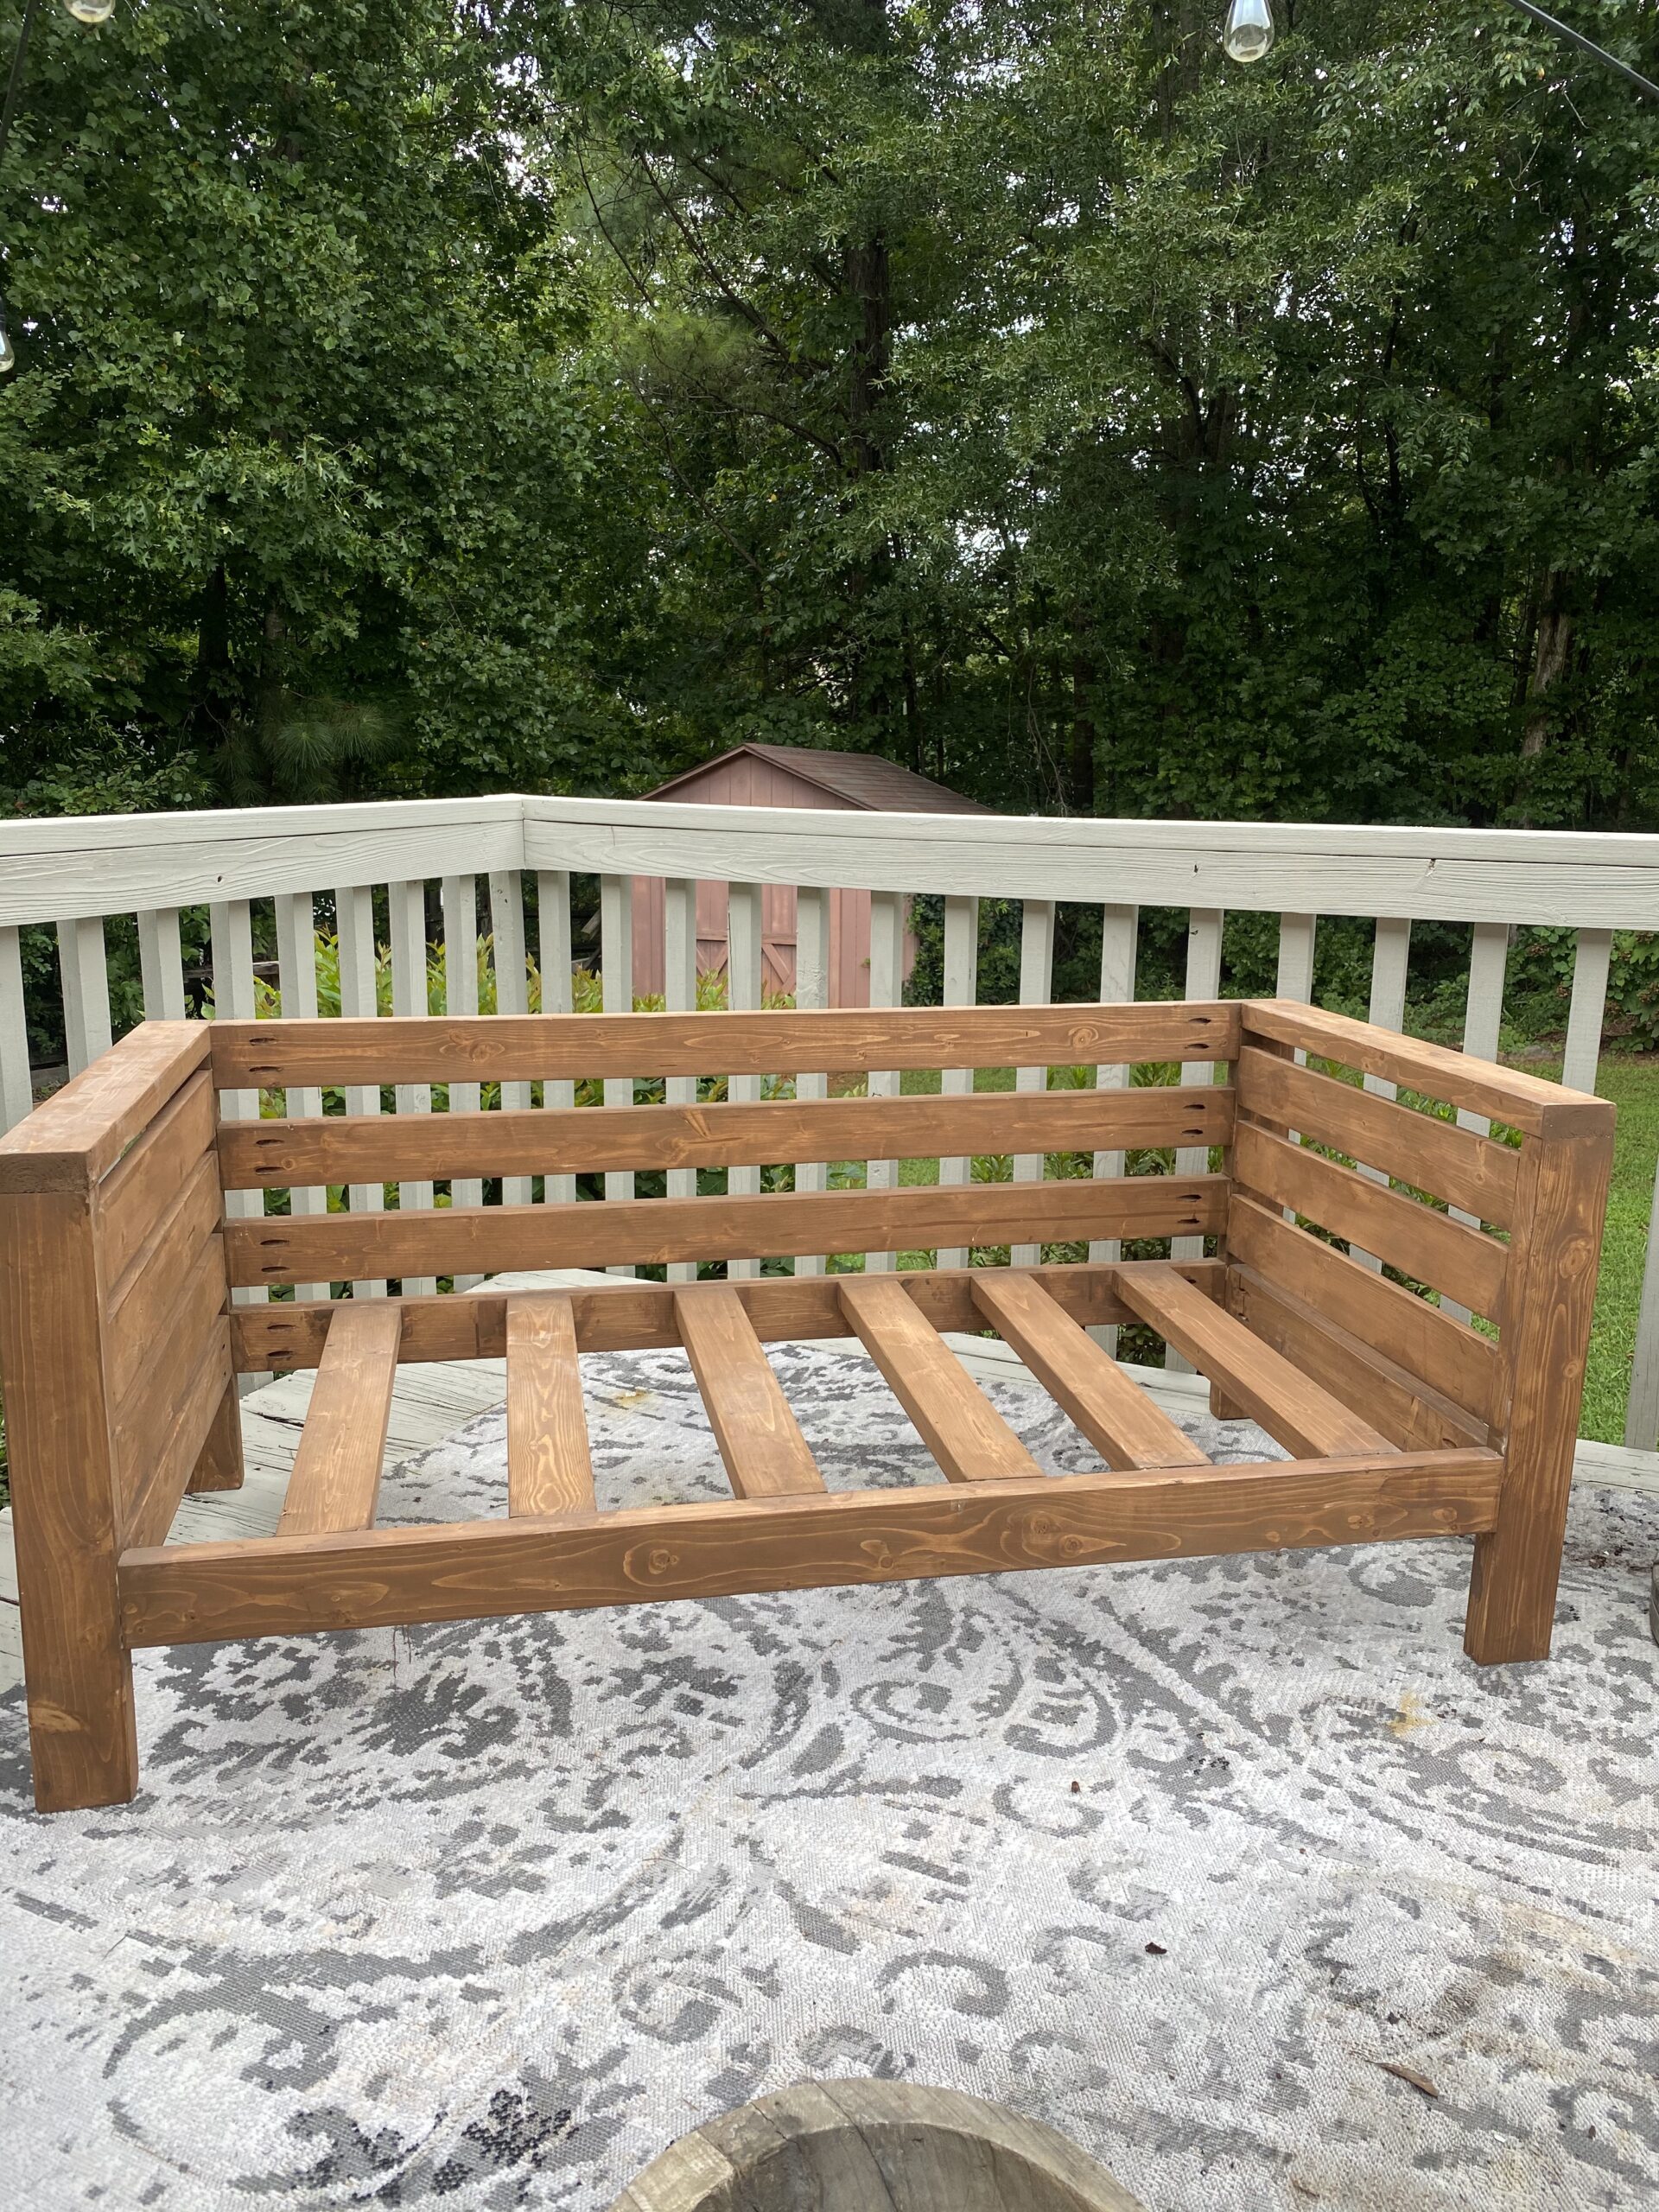
This is where you will attach the (3) remaining 57 ½ inch boards to create the back of the sofa.
Turn your sofa on the side and start by placing the first board 2 inches apart. Work from the bottom up and make sure the top board is even with the side frame top board.
Now your sofa is done!
- Final Step, Make it Pretty!
Now it is time to make your sofa pretty!
There are many ways to hide your screw holes. I chose to use a ⅜ dowel rod to fill the holes. You will put a little wood glue in the screw hole Then take the dowel rod and out it into the screw hole. You will take a hammer and tap the dowel rod snug into the screw hole. Once the dowel rod is in place you will take a hand saw and cut the remaining dowel rod off and then fill around the dowel rod with wood filler.
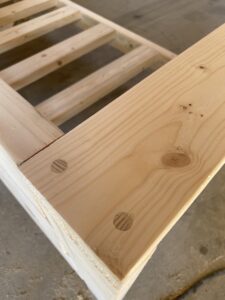
Repeat this process on the other screw holes.
Once the wood filler has dried, you will sand the putty until smooth.
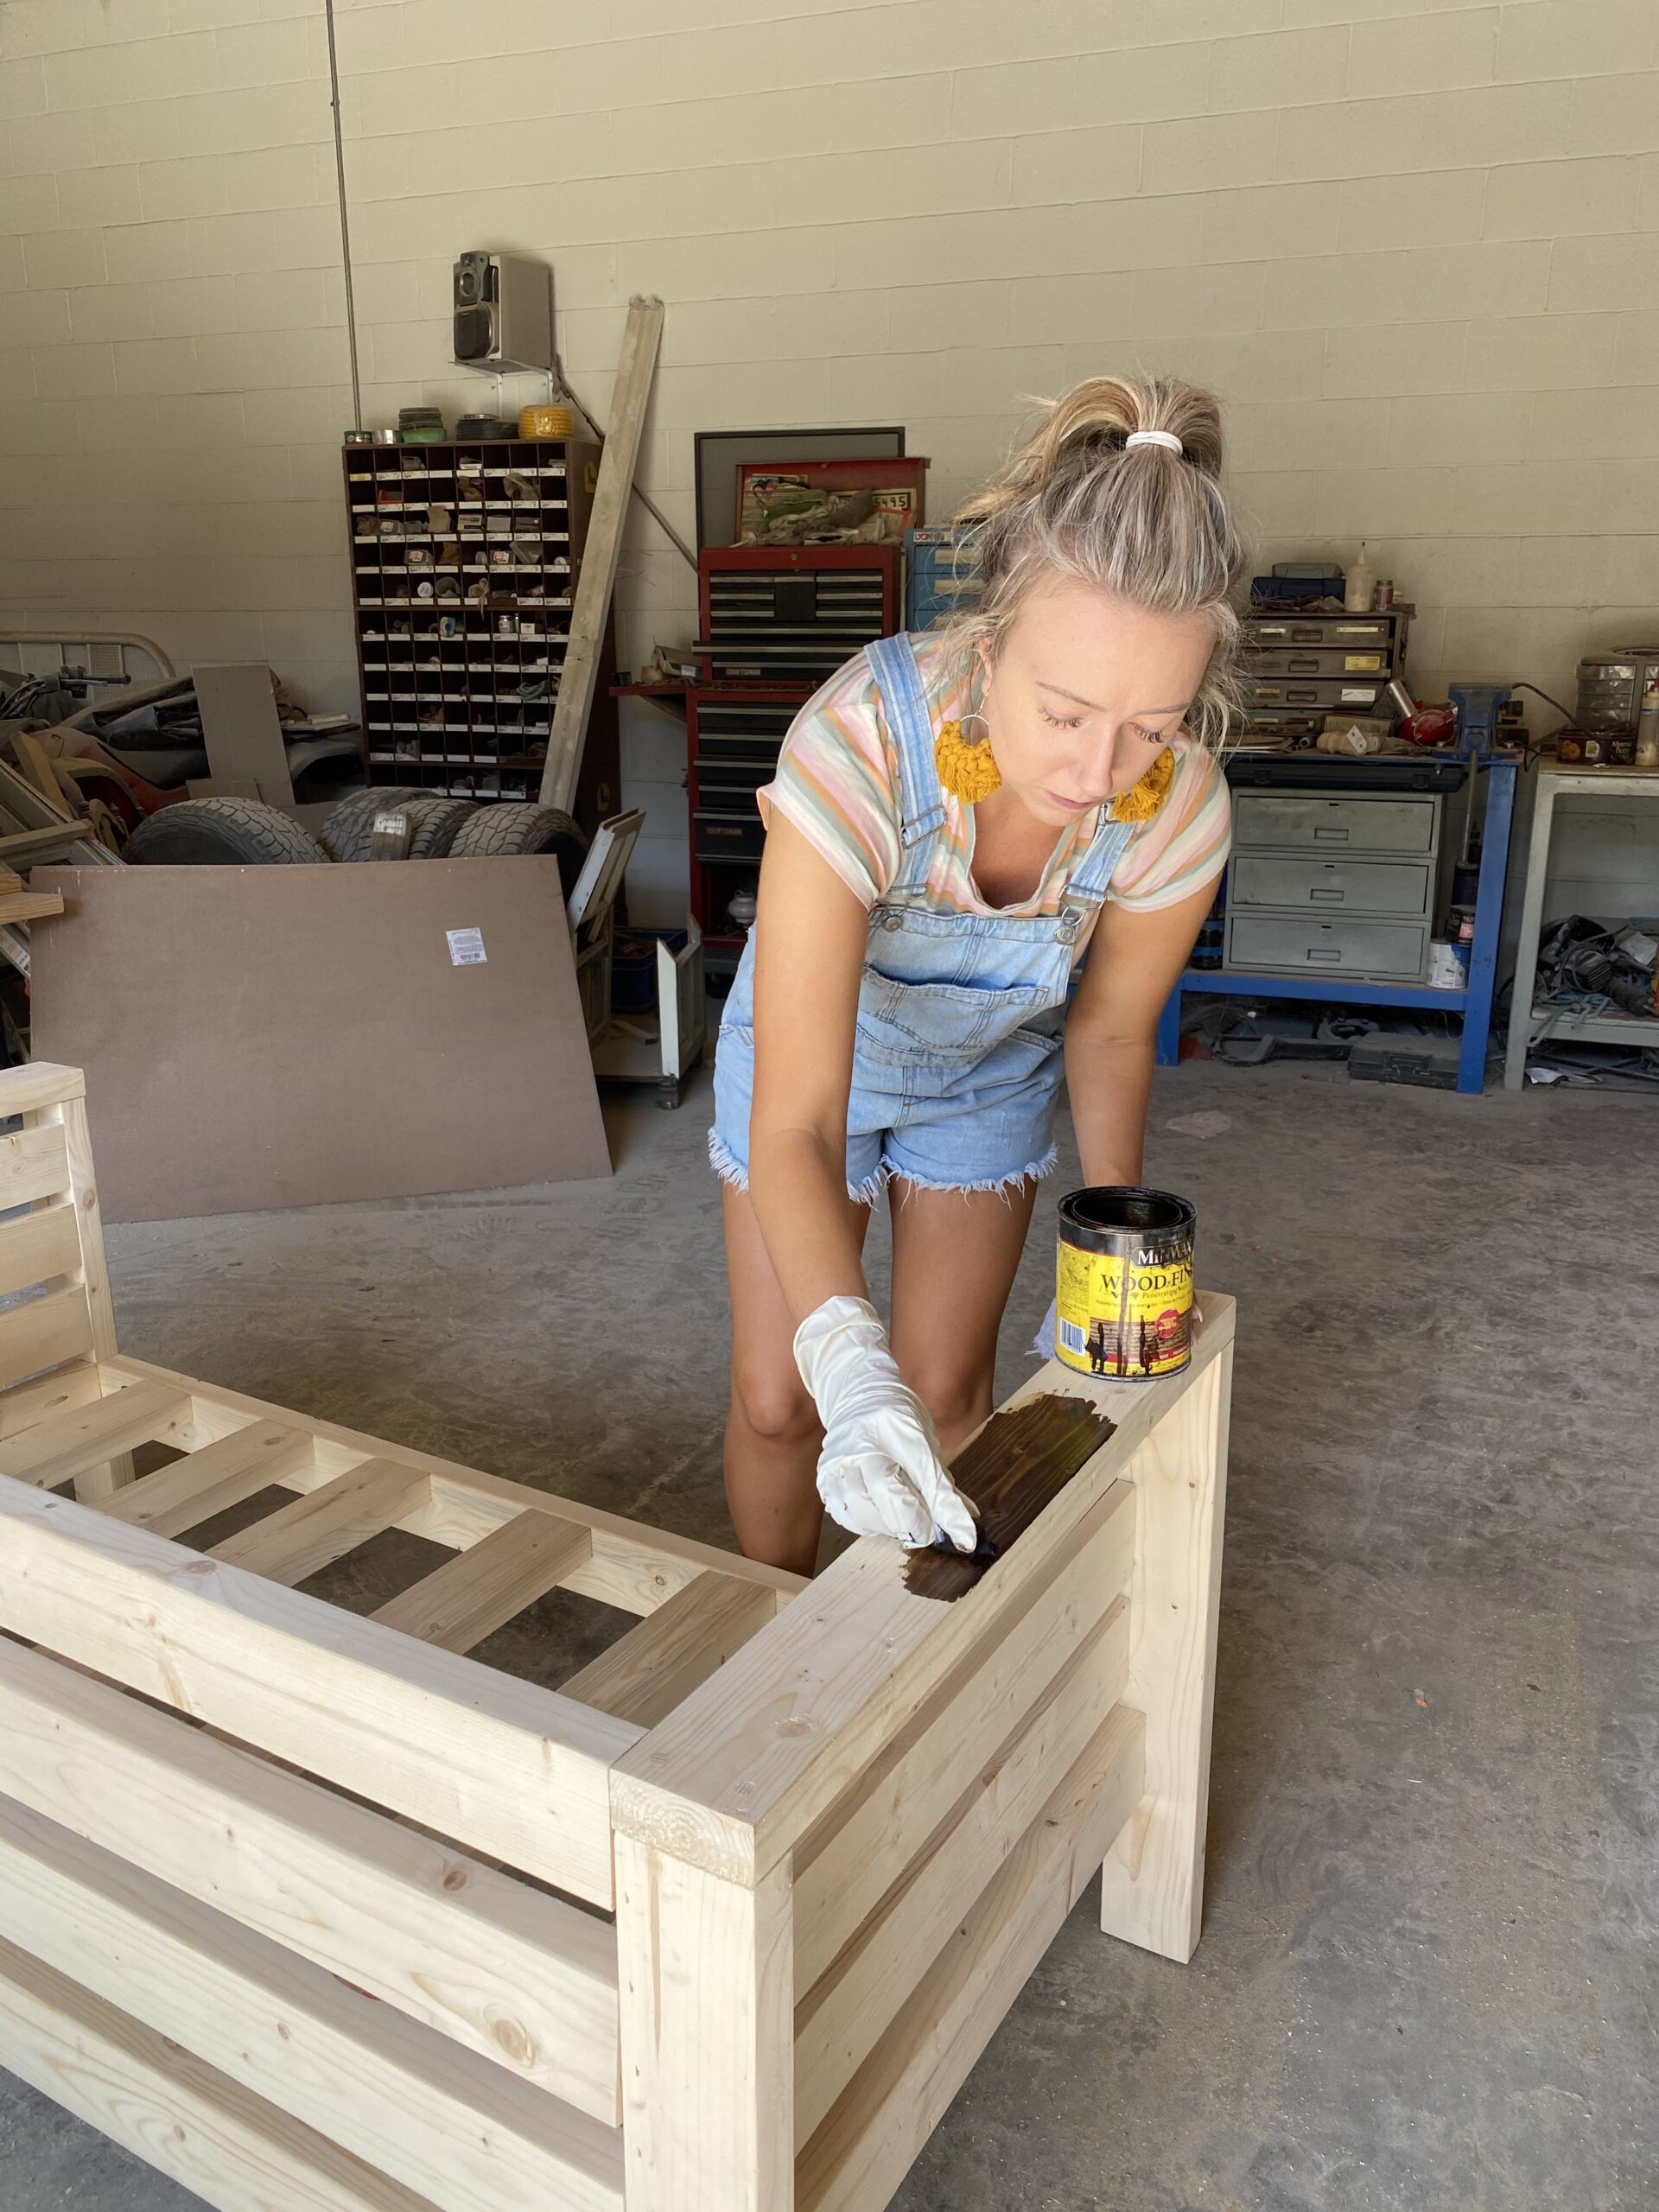
Finally it is time to stain.
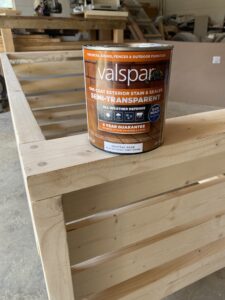
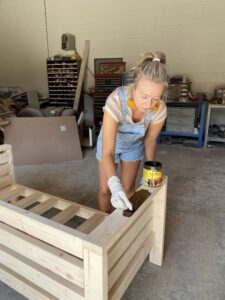
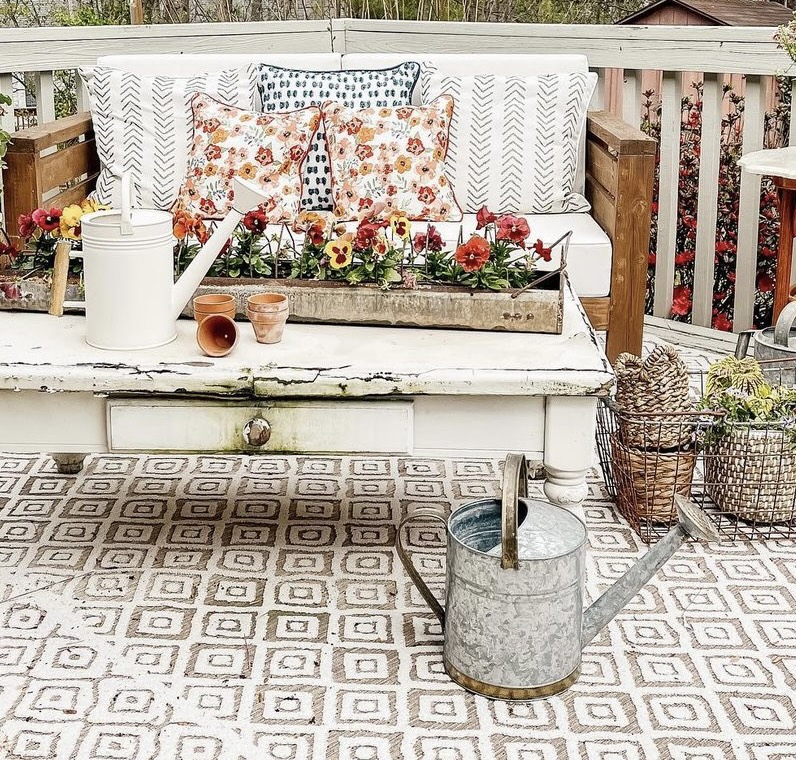
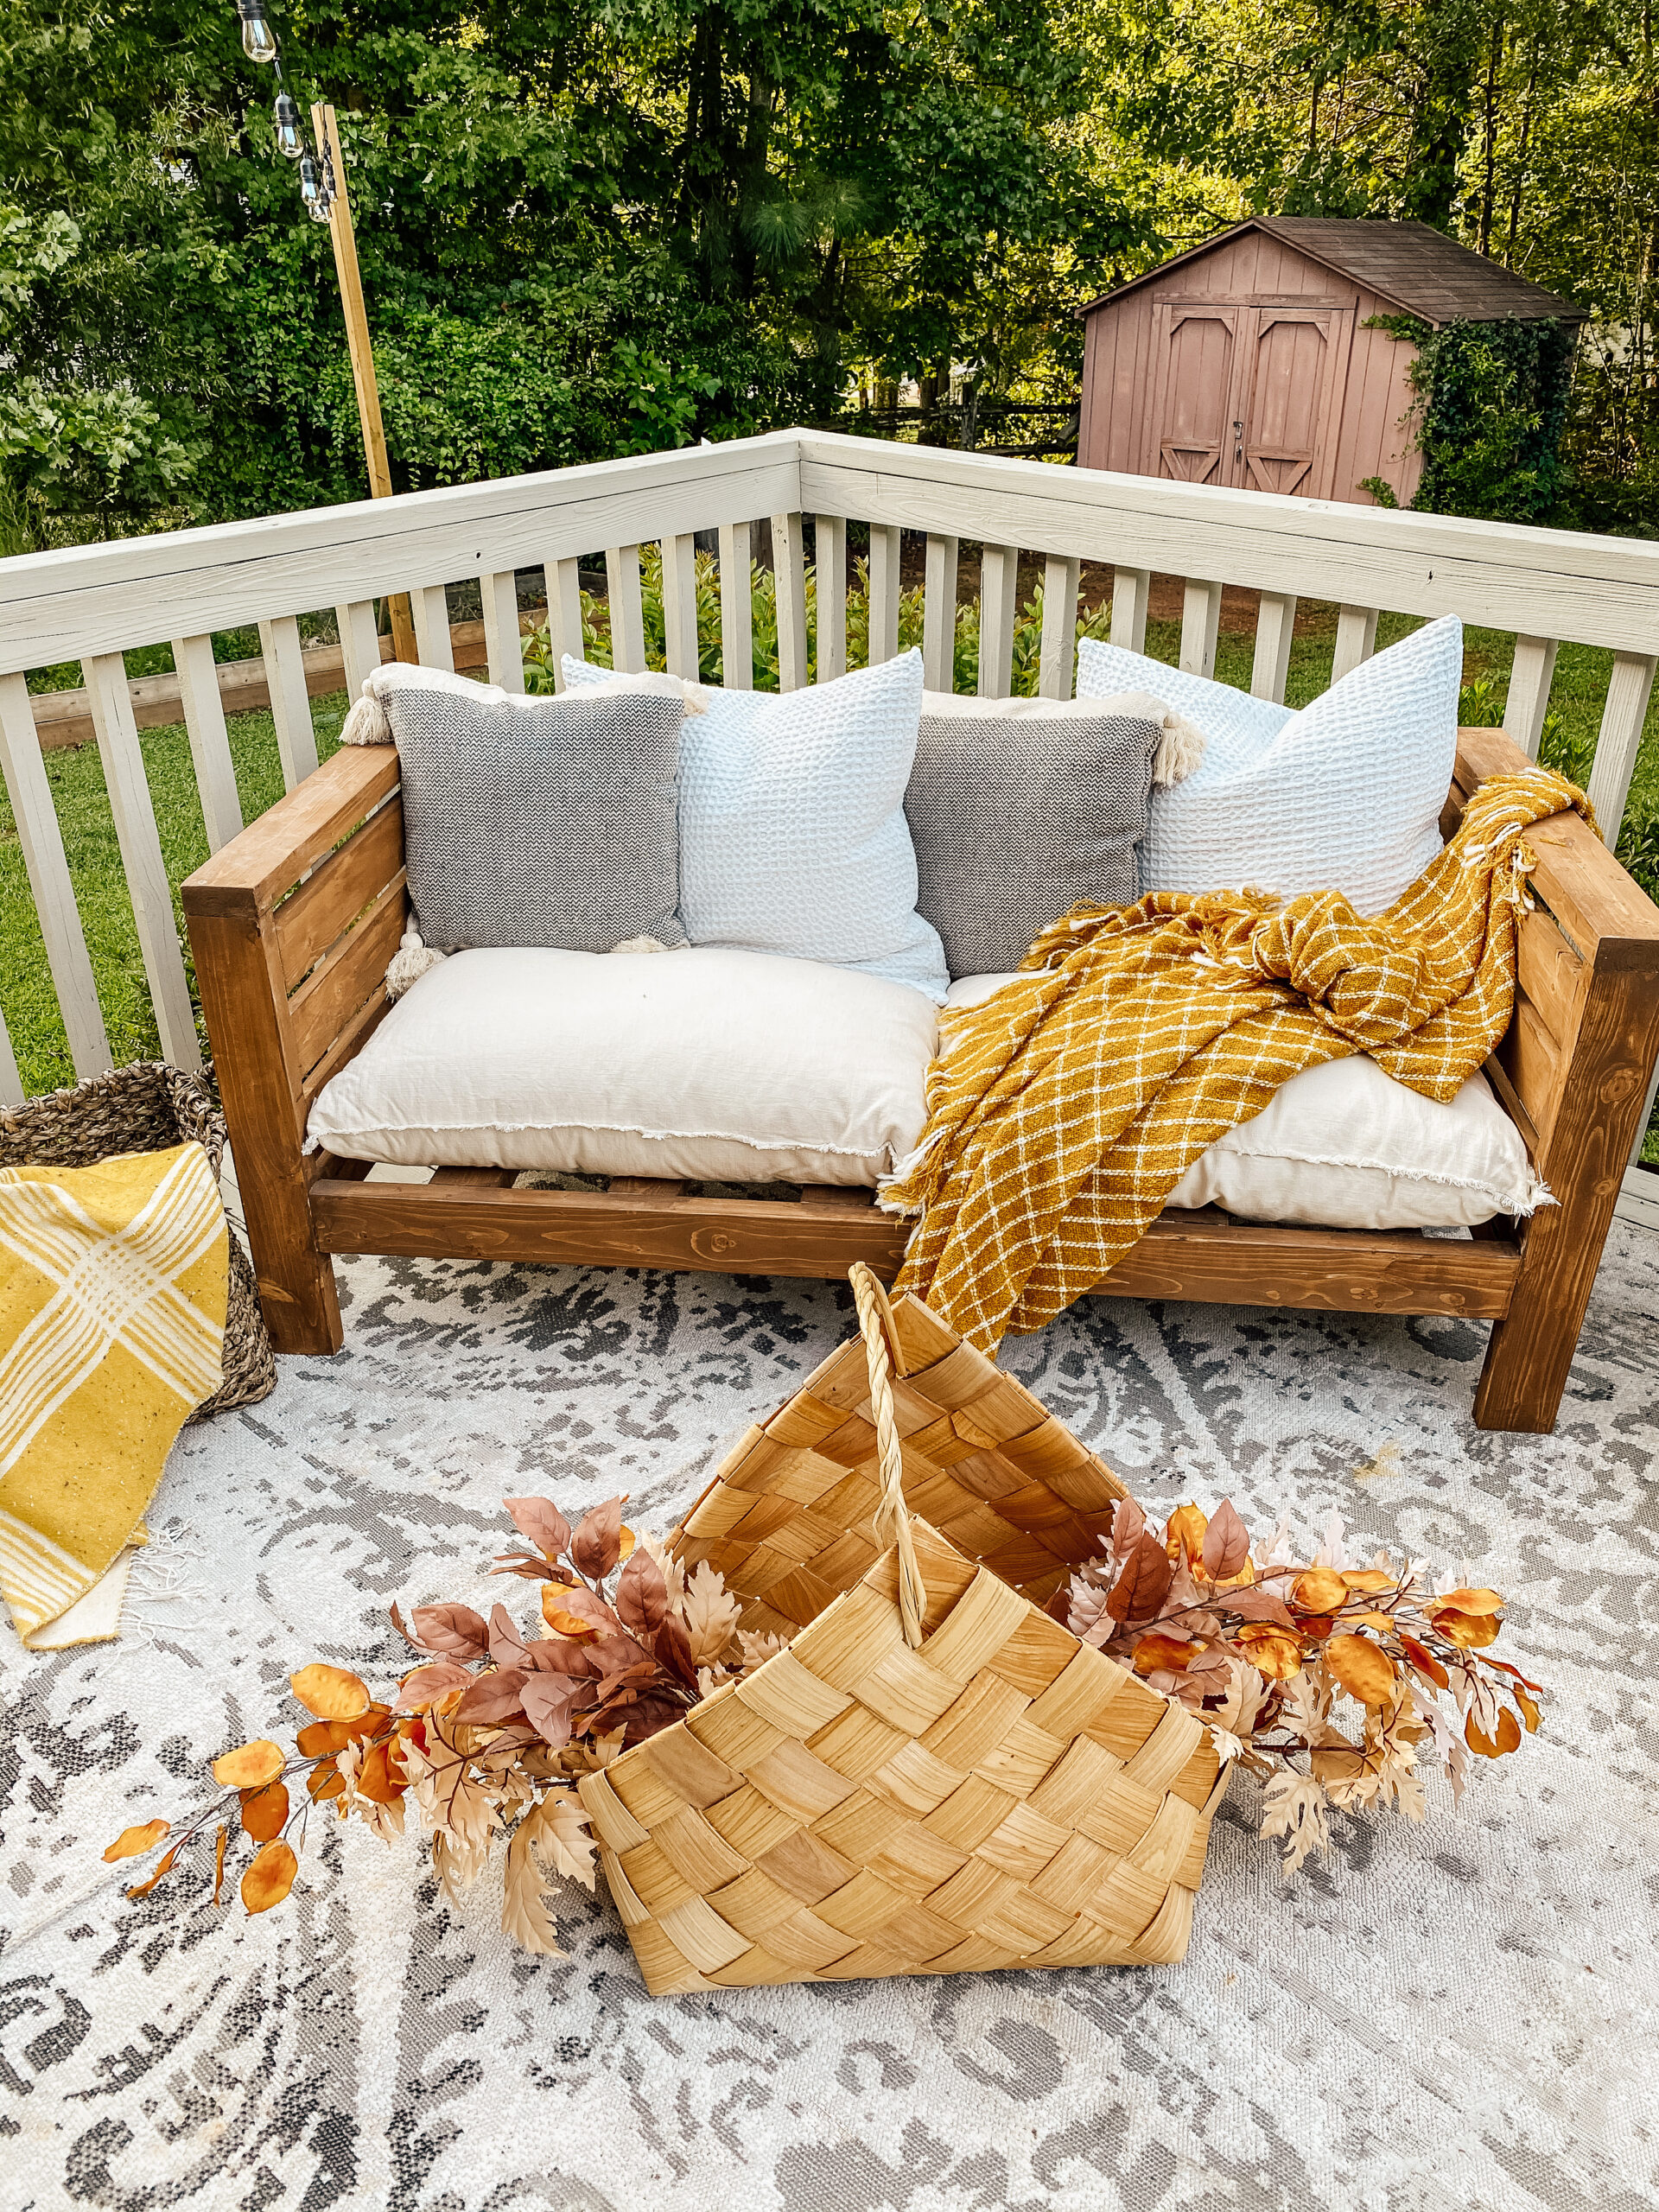
Now your DIY outdoor sofa is finished!

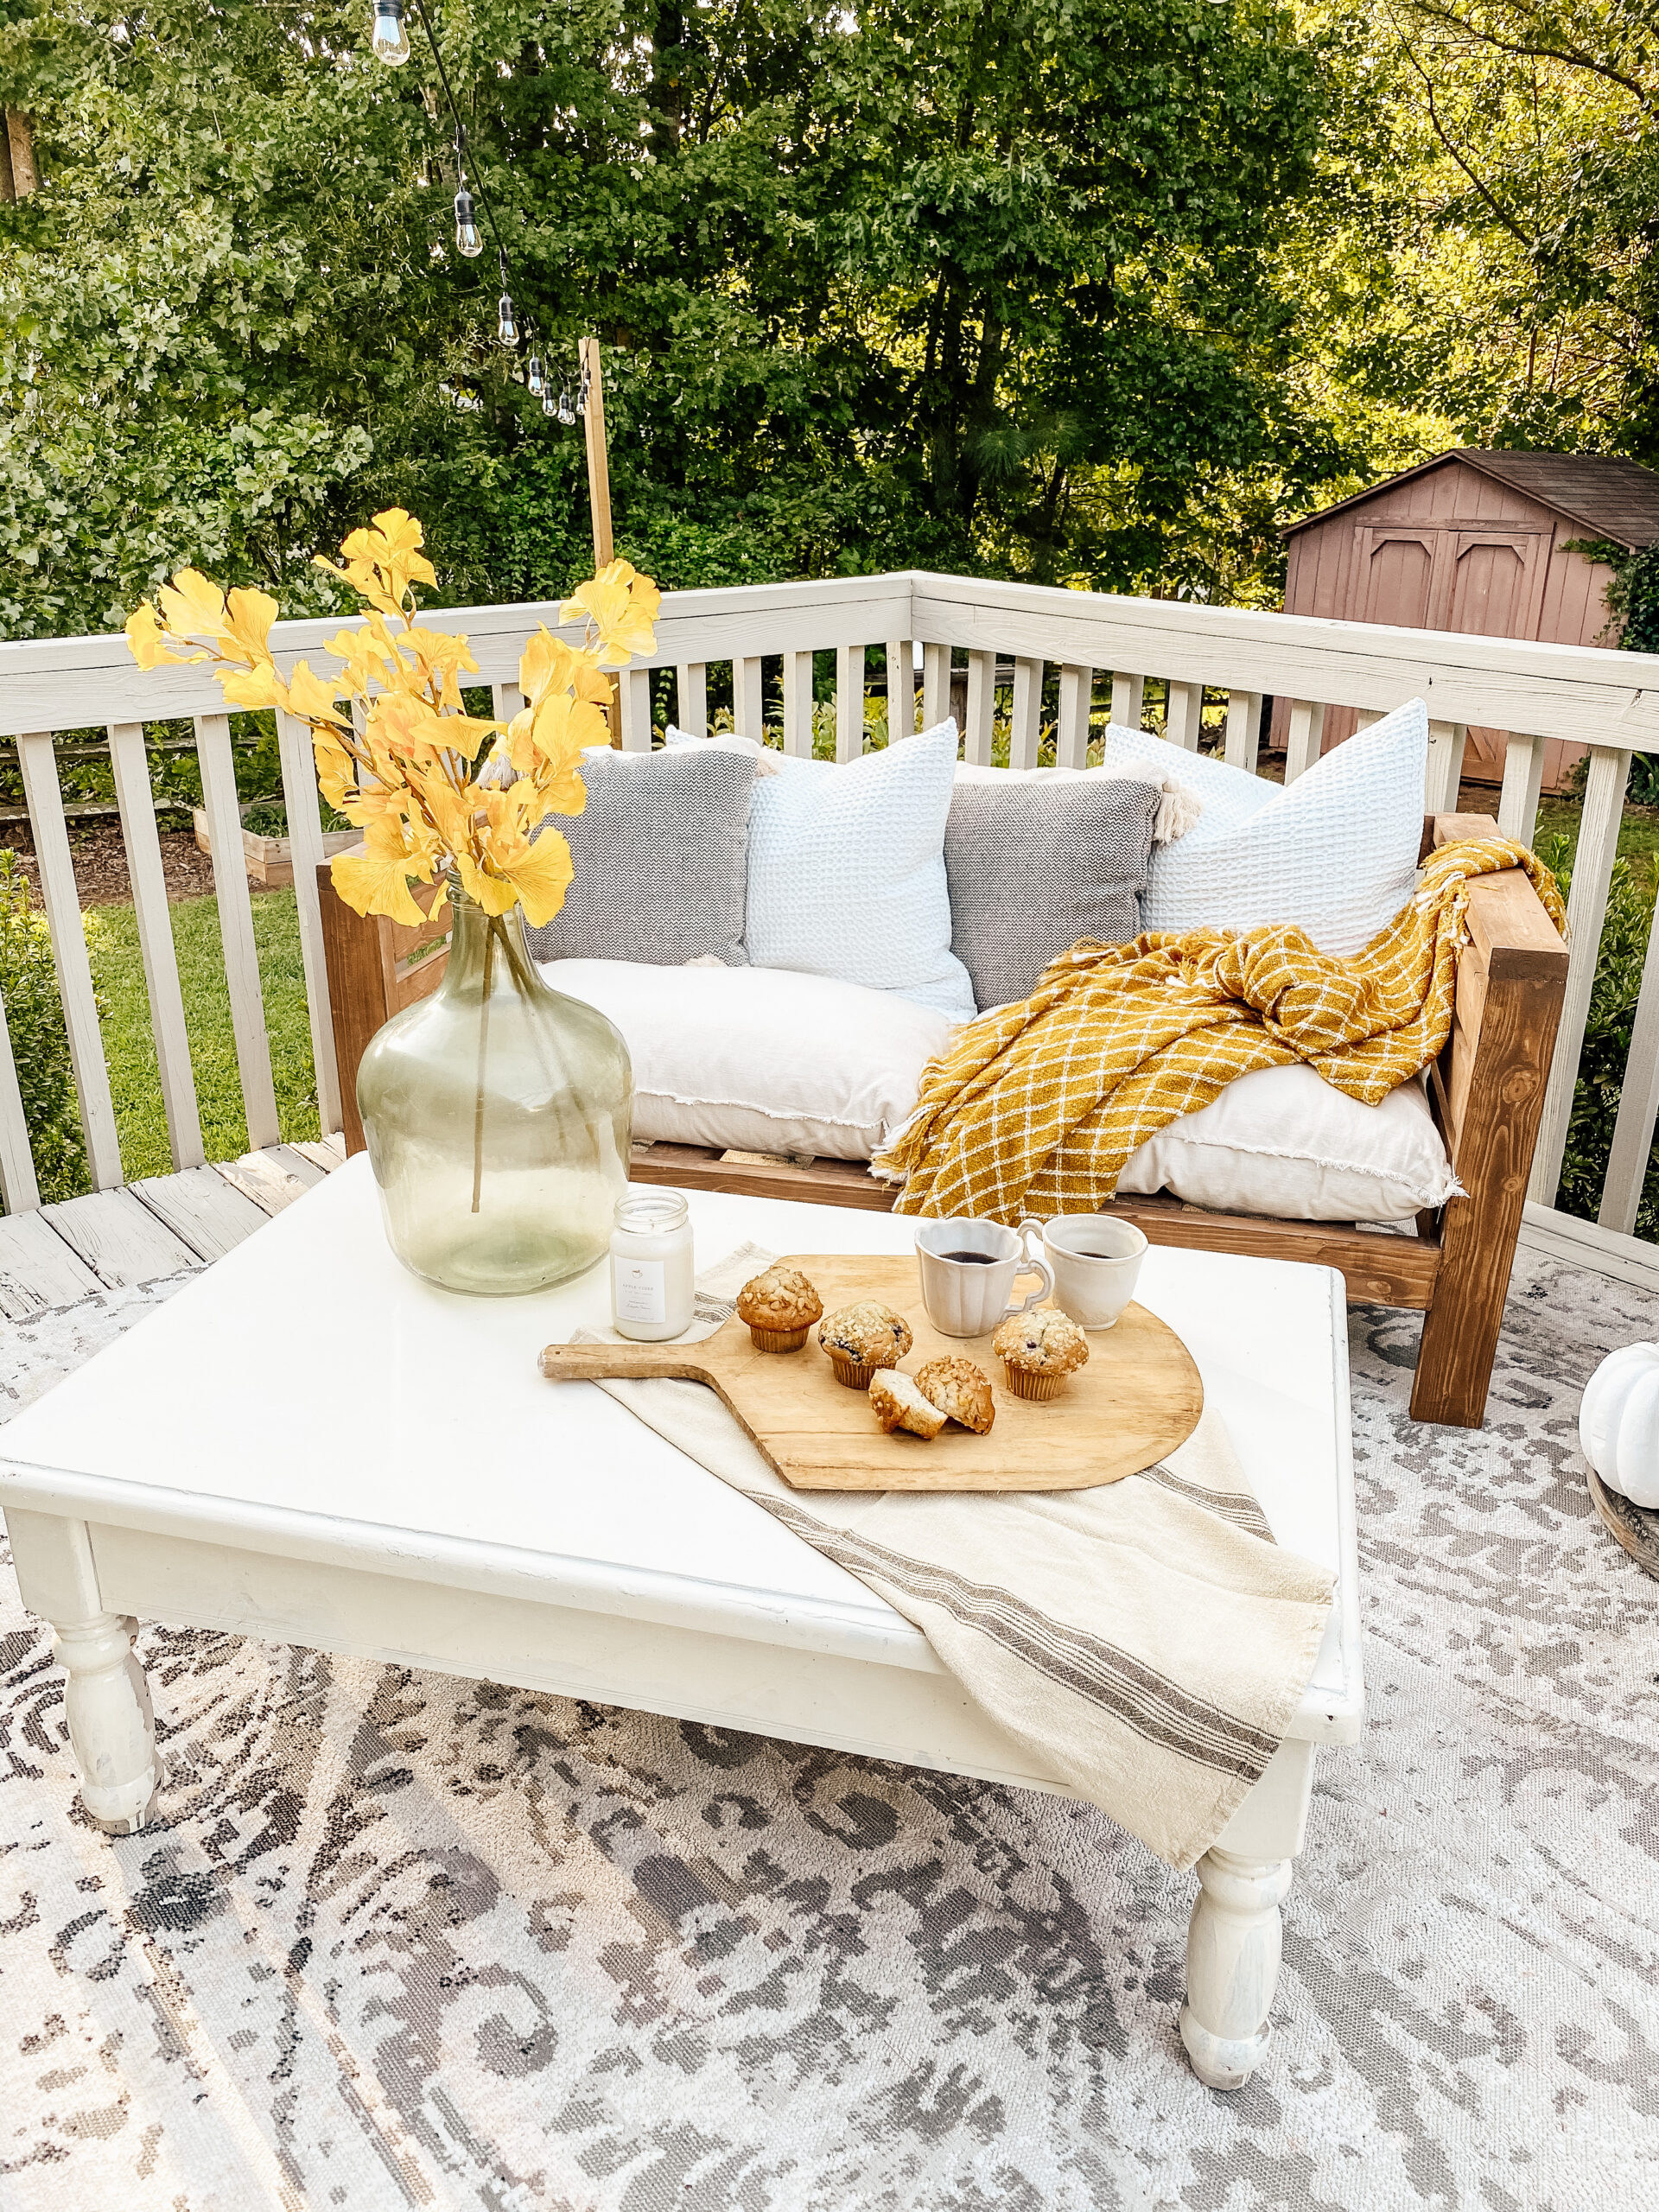
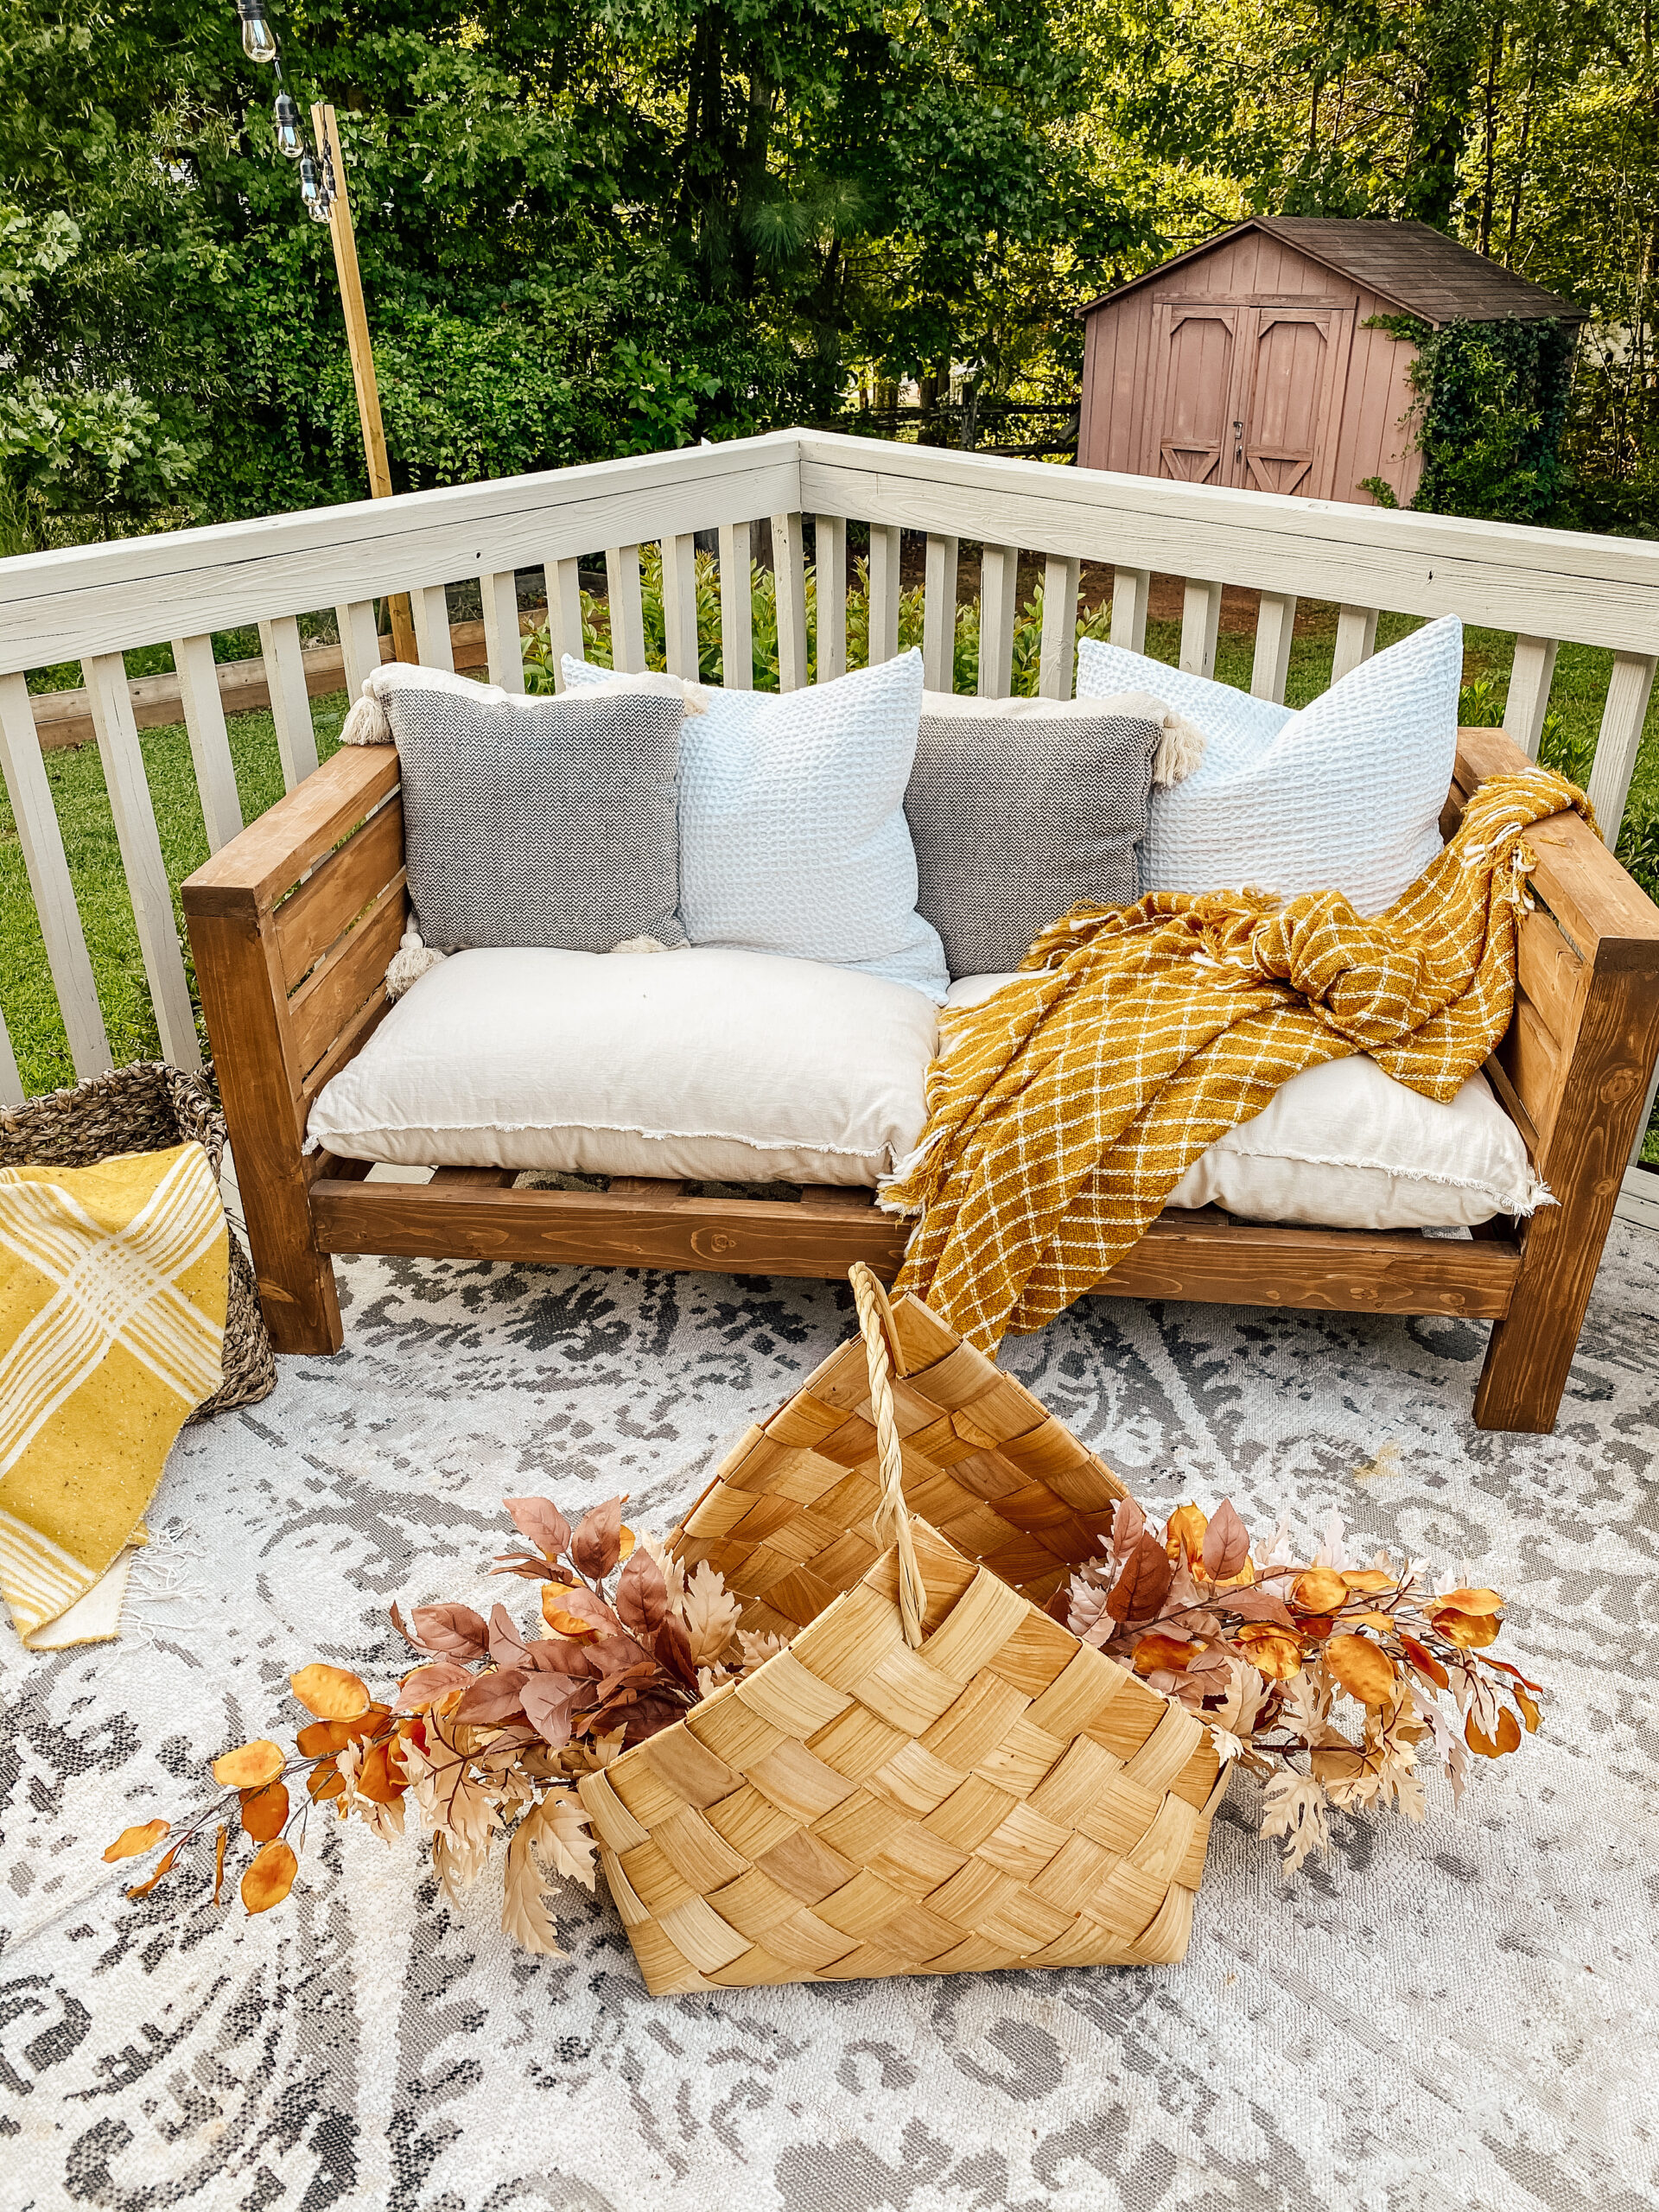
OMG Jess this AWESOME! I so want to try making one. Great job!