SHARE
Are you ready for the bunnies? Before I headed out of town, I created this bunny garland for a fun DIY round up over the next month. This garland is so easy to make with the steps below and things already in your home.
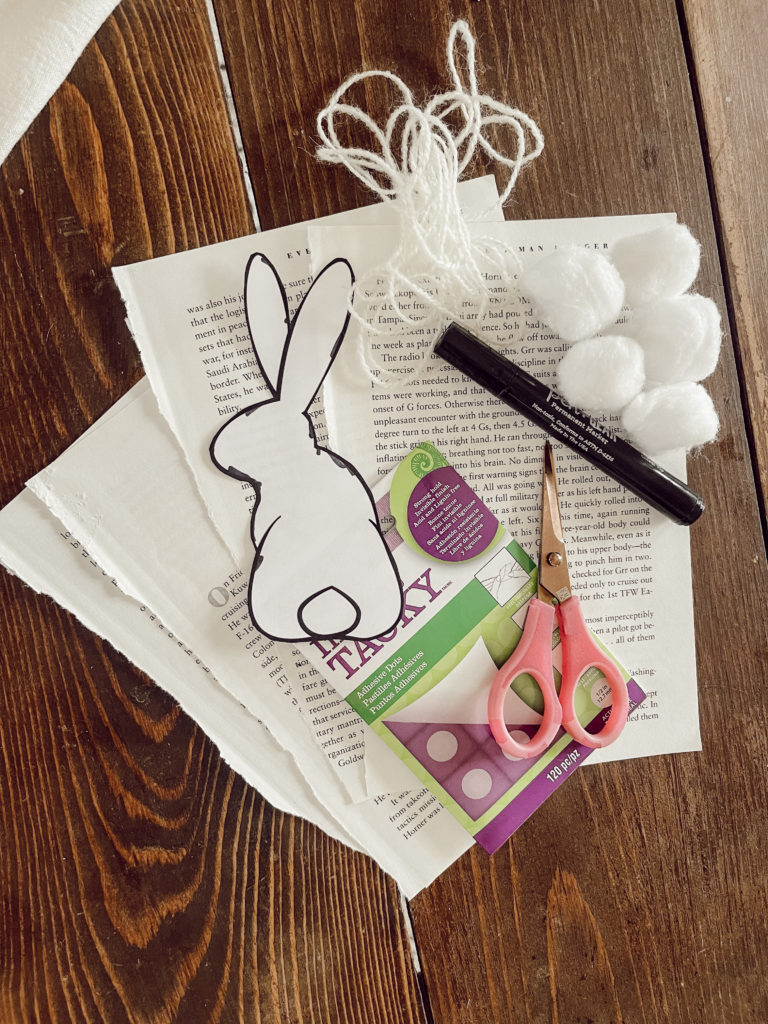
Materials Needed:
- Sharp Point Scissors
- Bunny Graphic or can hand draw
- Book Pages
- Cotton Balls
- Tacky Dots or Glue or Hot Glue
- Black Marker or Pencil
- Hole Punch
- Yarn or Twine
Grab your materials and let’s make a bunny garland that you can put anywhere in your home! Seriously friends it is so easy with these steps and maybe will take you 30 minutes.
Step 1:
Get your bunny stencil. I printed mine off of Canva. You can always hand draw one as well. Print it off or draw one for a stencil. Once you have a stencil, but it out and you are ready to begin.
Step 2:
Decide how long you want your garland and cut your twine. Then decide how many bunnies you want and gather that many book pages
Step 3:
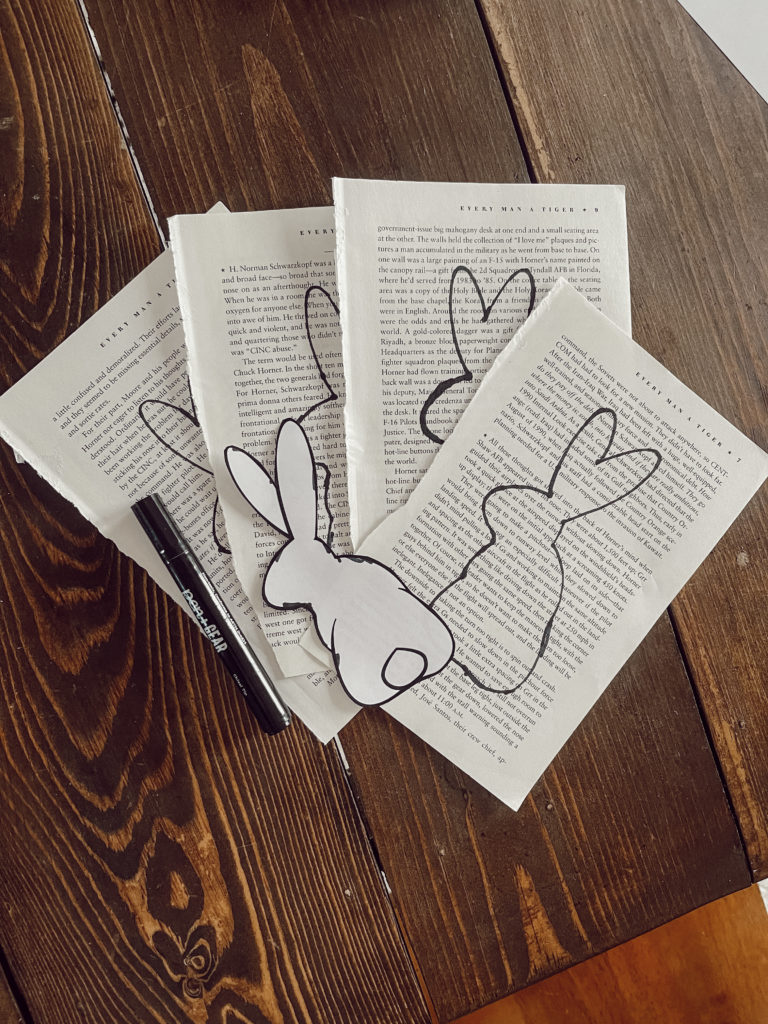
Take your stencil and trace it onto the amount of book pages you have out. Once they are drawn cut them out.
Step 4:
Take all of your cut out bunnies and add a hole to one ear with the hole punch to put the twine through.
Step 5:
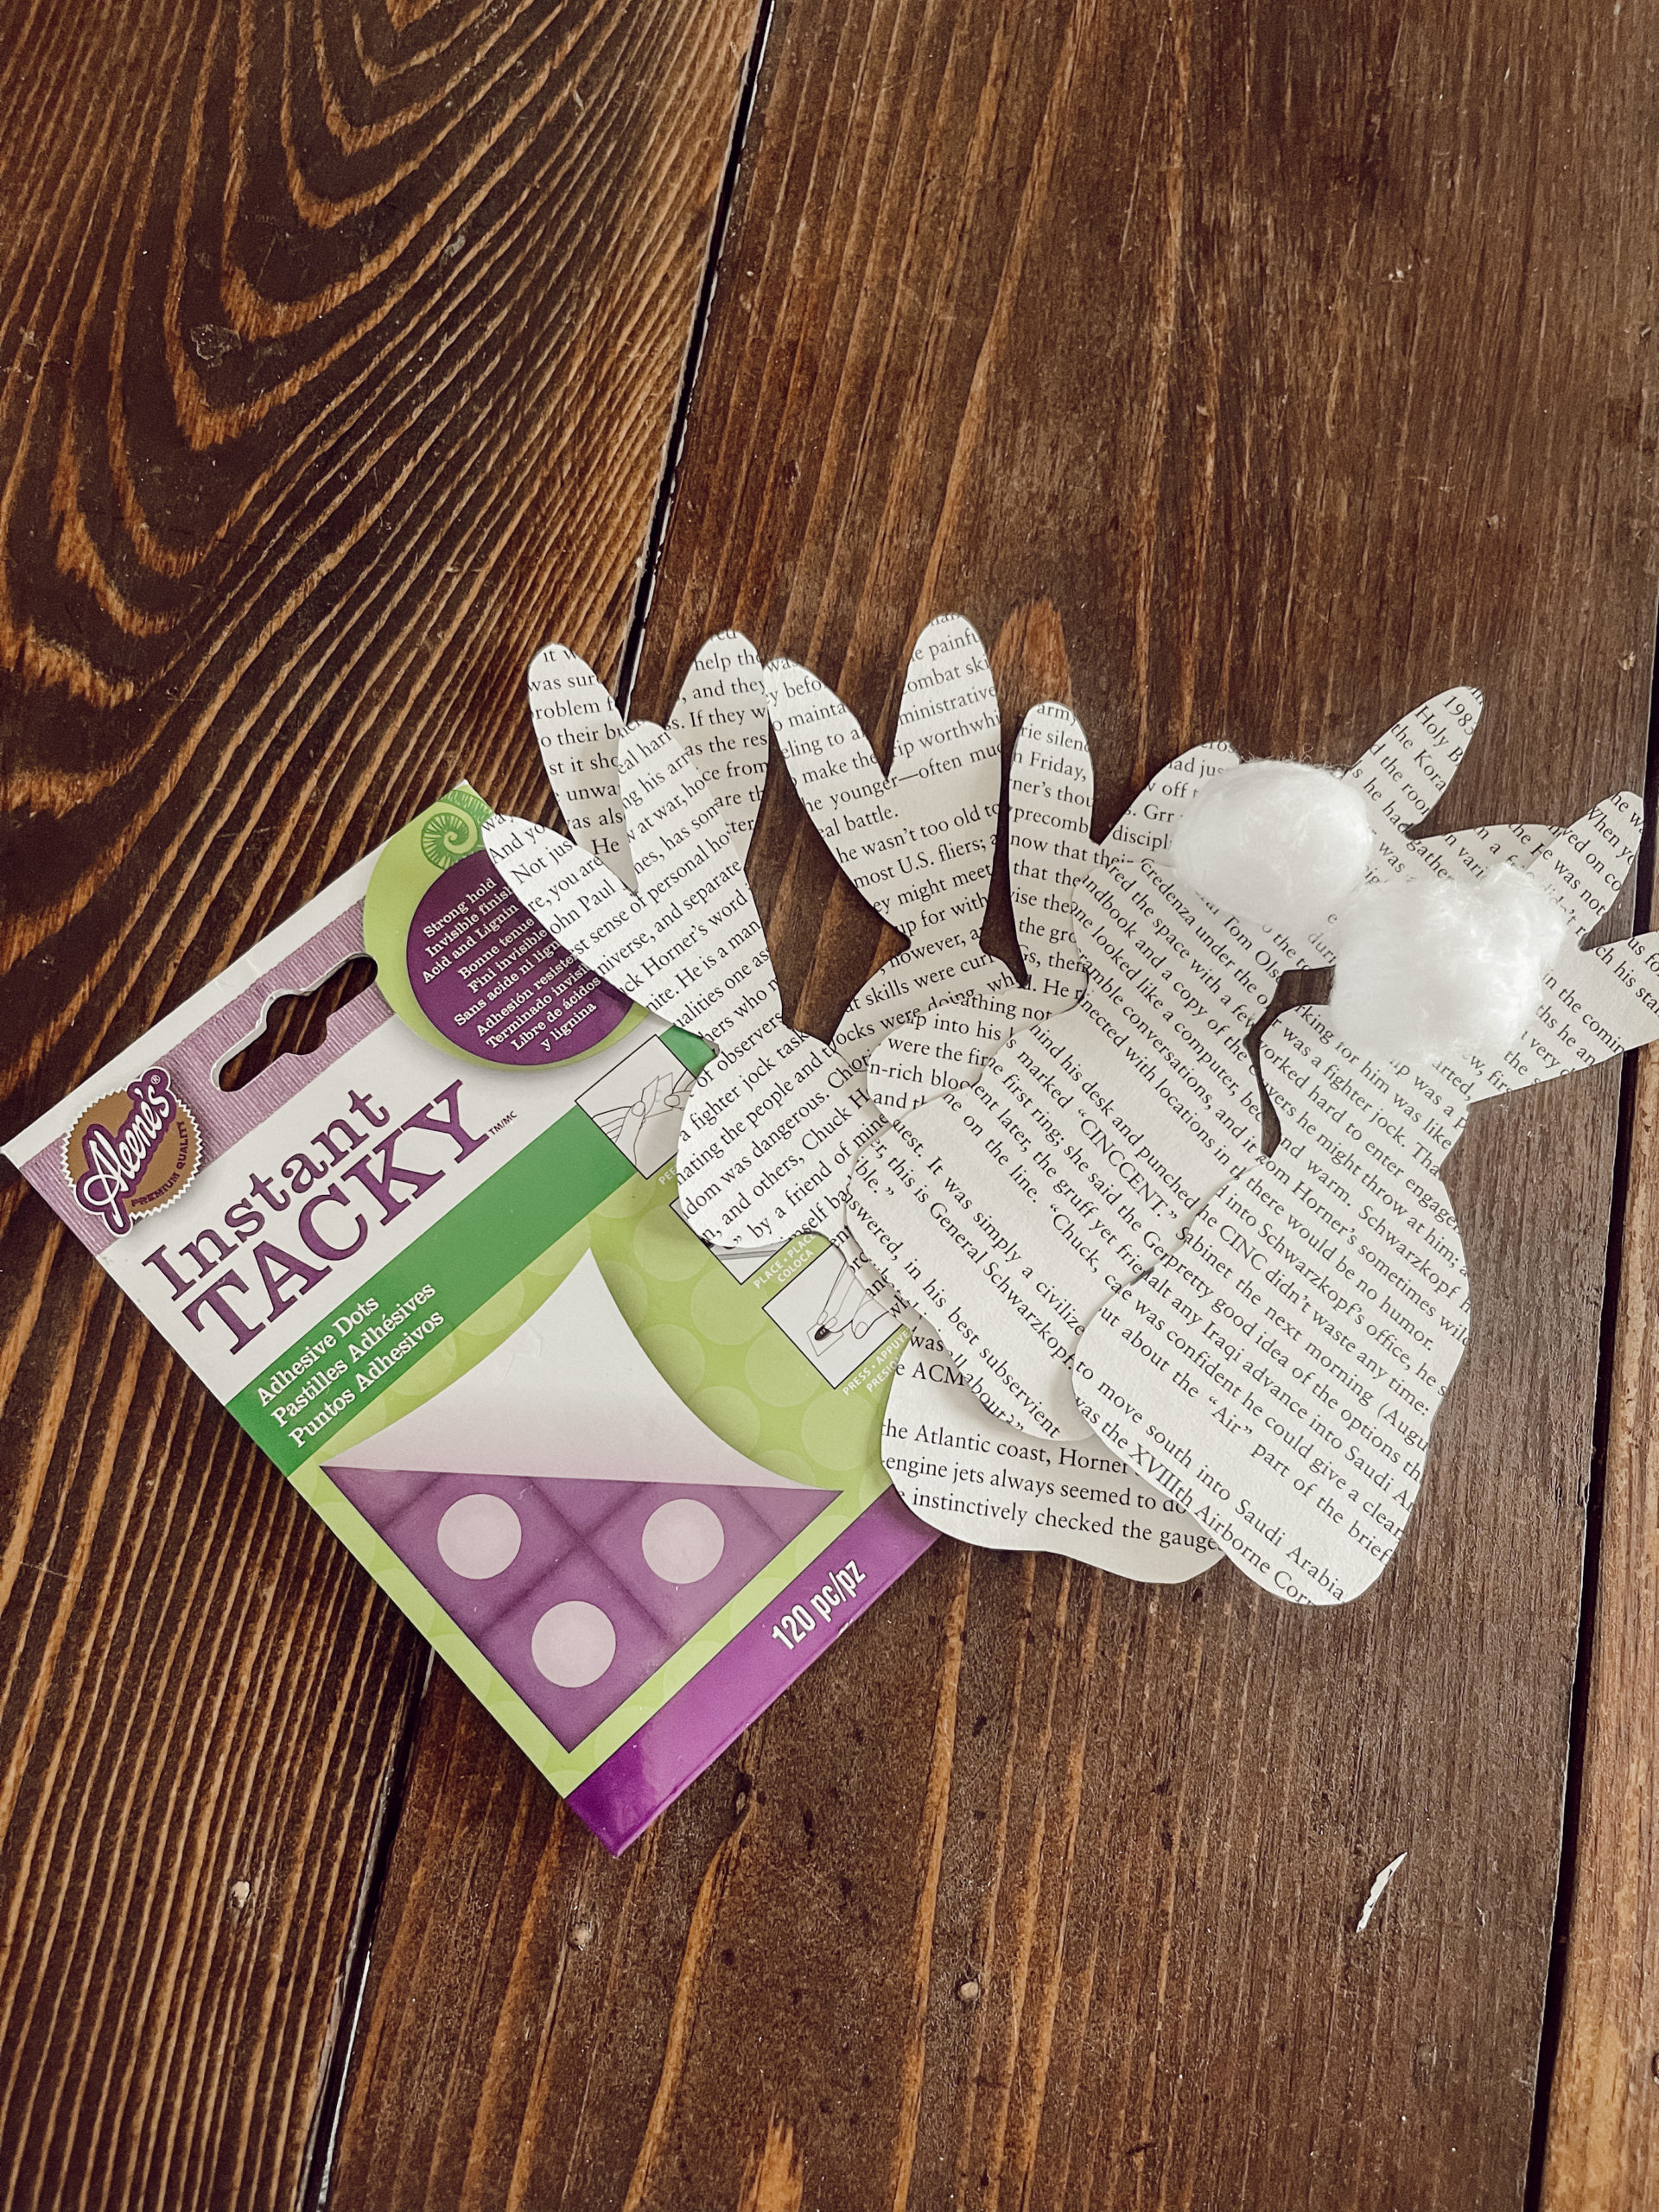
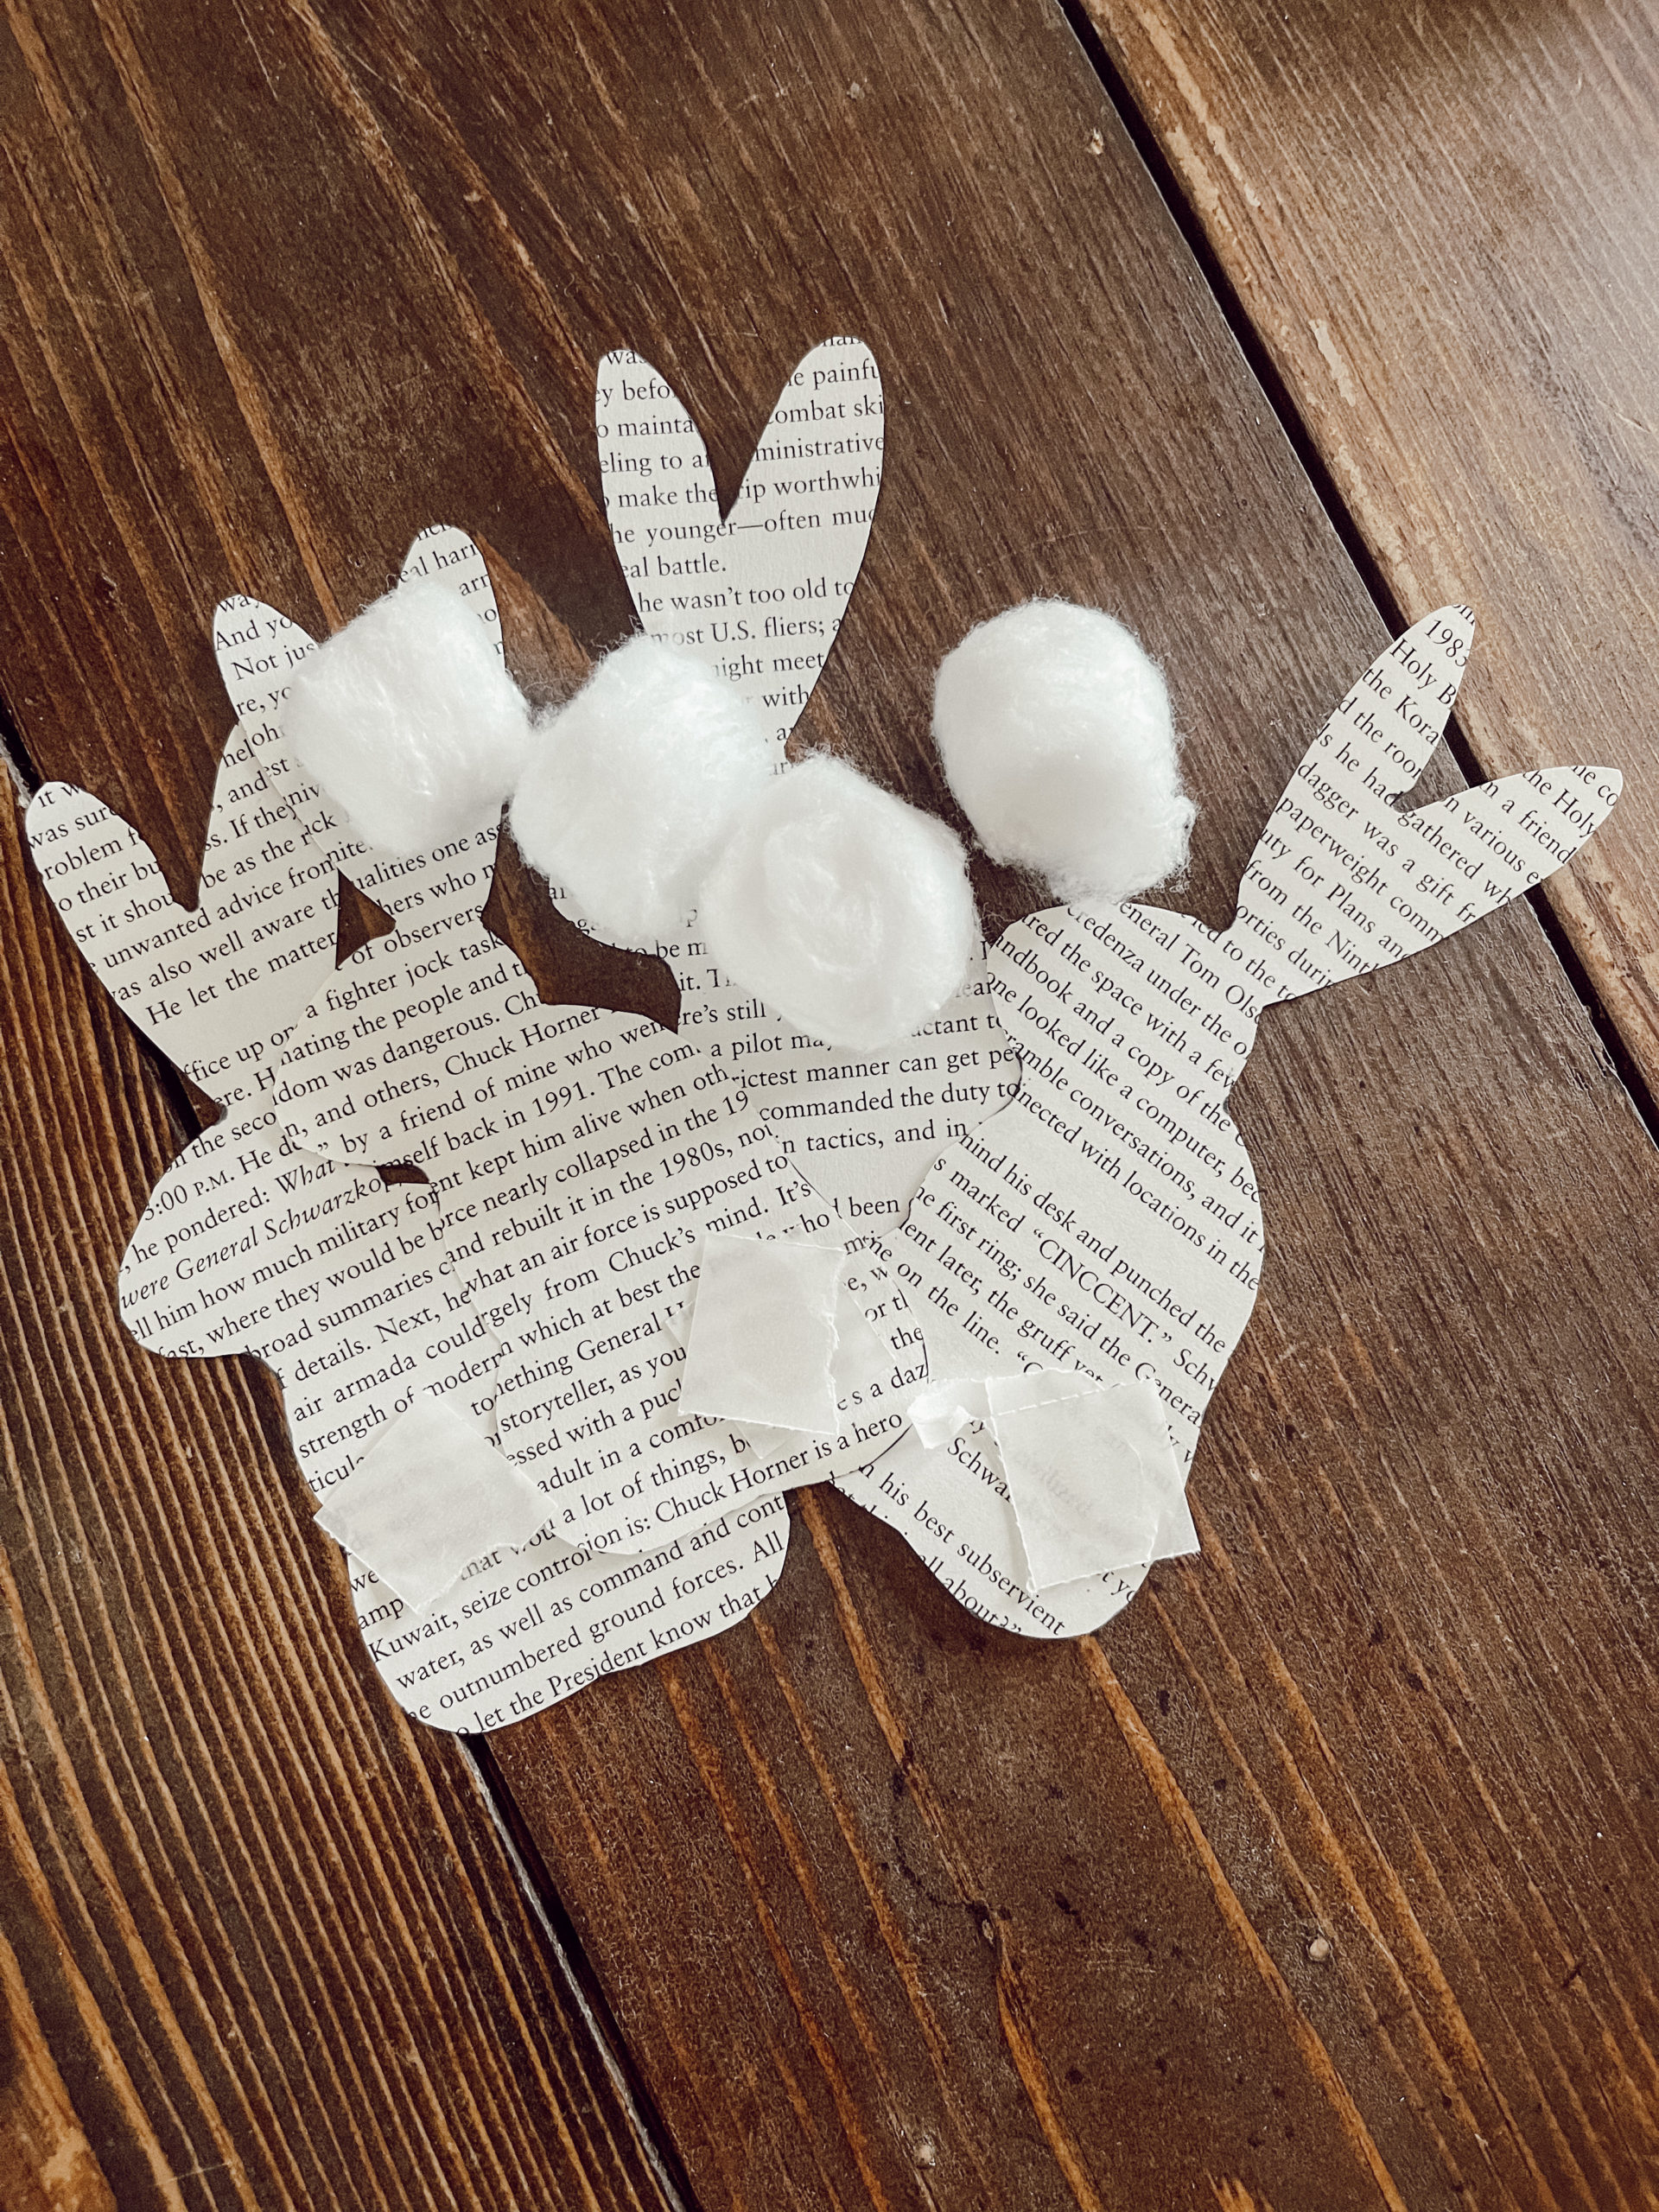
Use your tacky dots or glue to attach the cotton ball to the bunny butt for that 3D look.
Step 6:
Finally put the bunnies on the twine and style it in place!
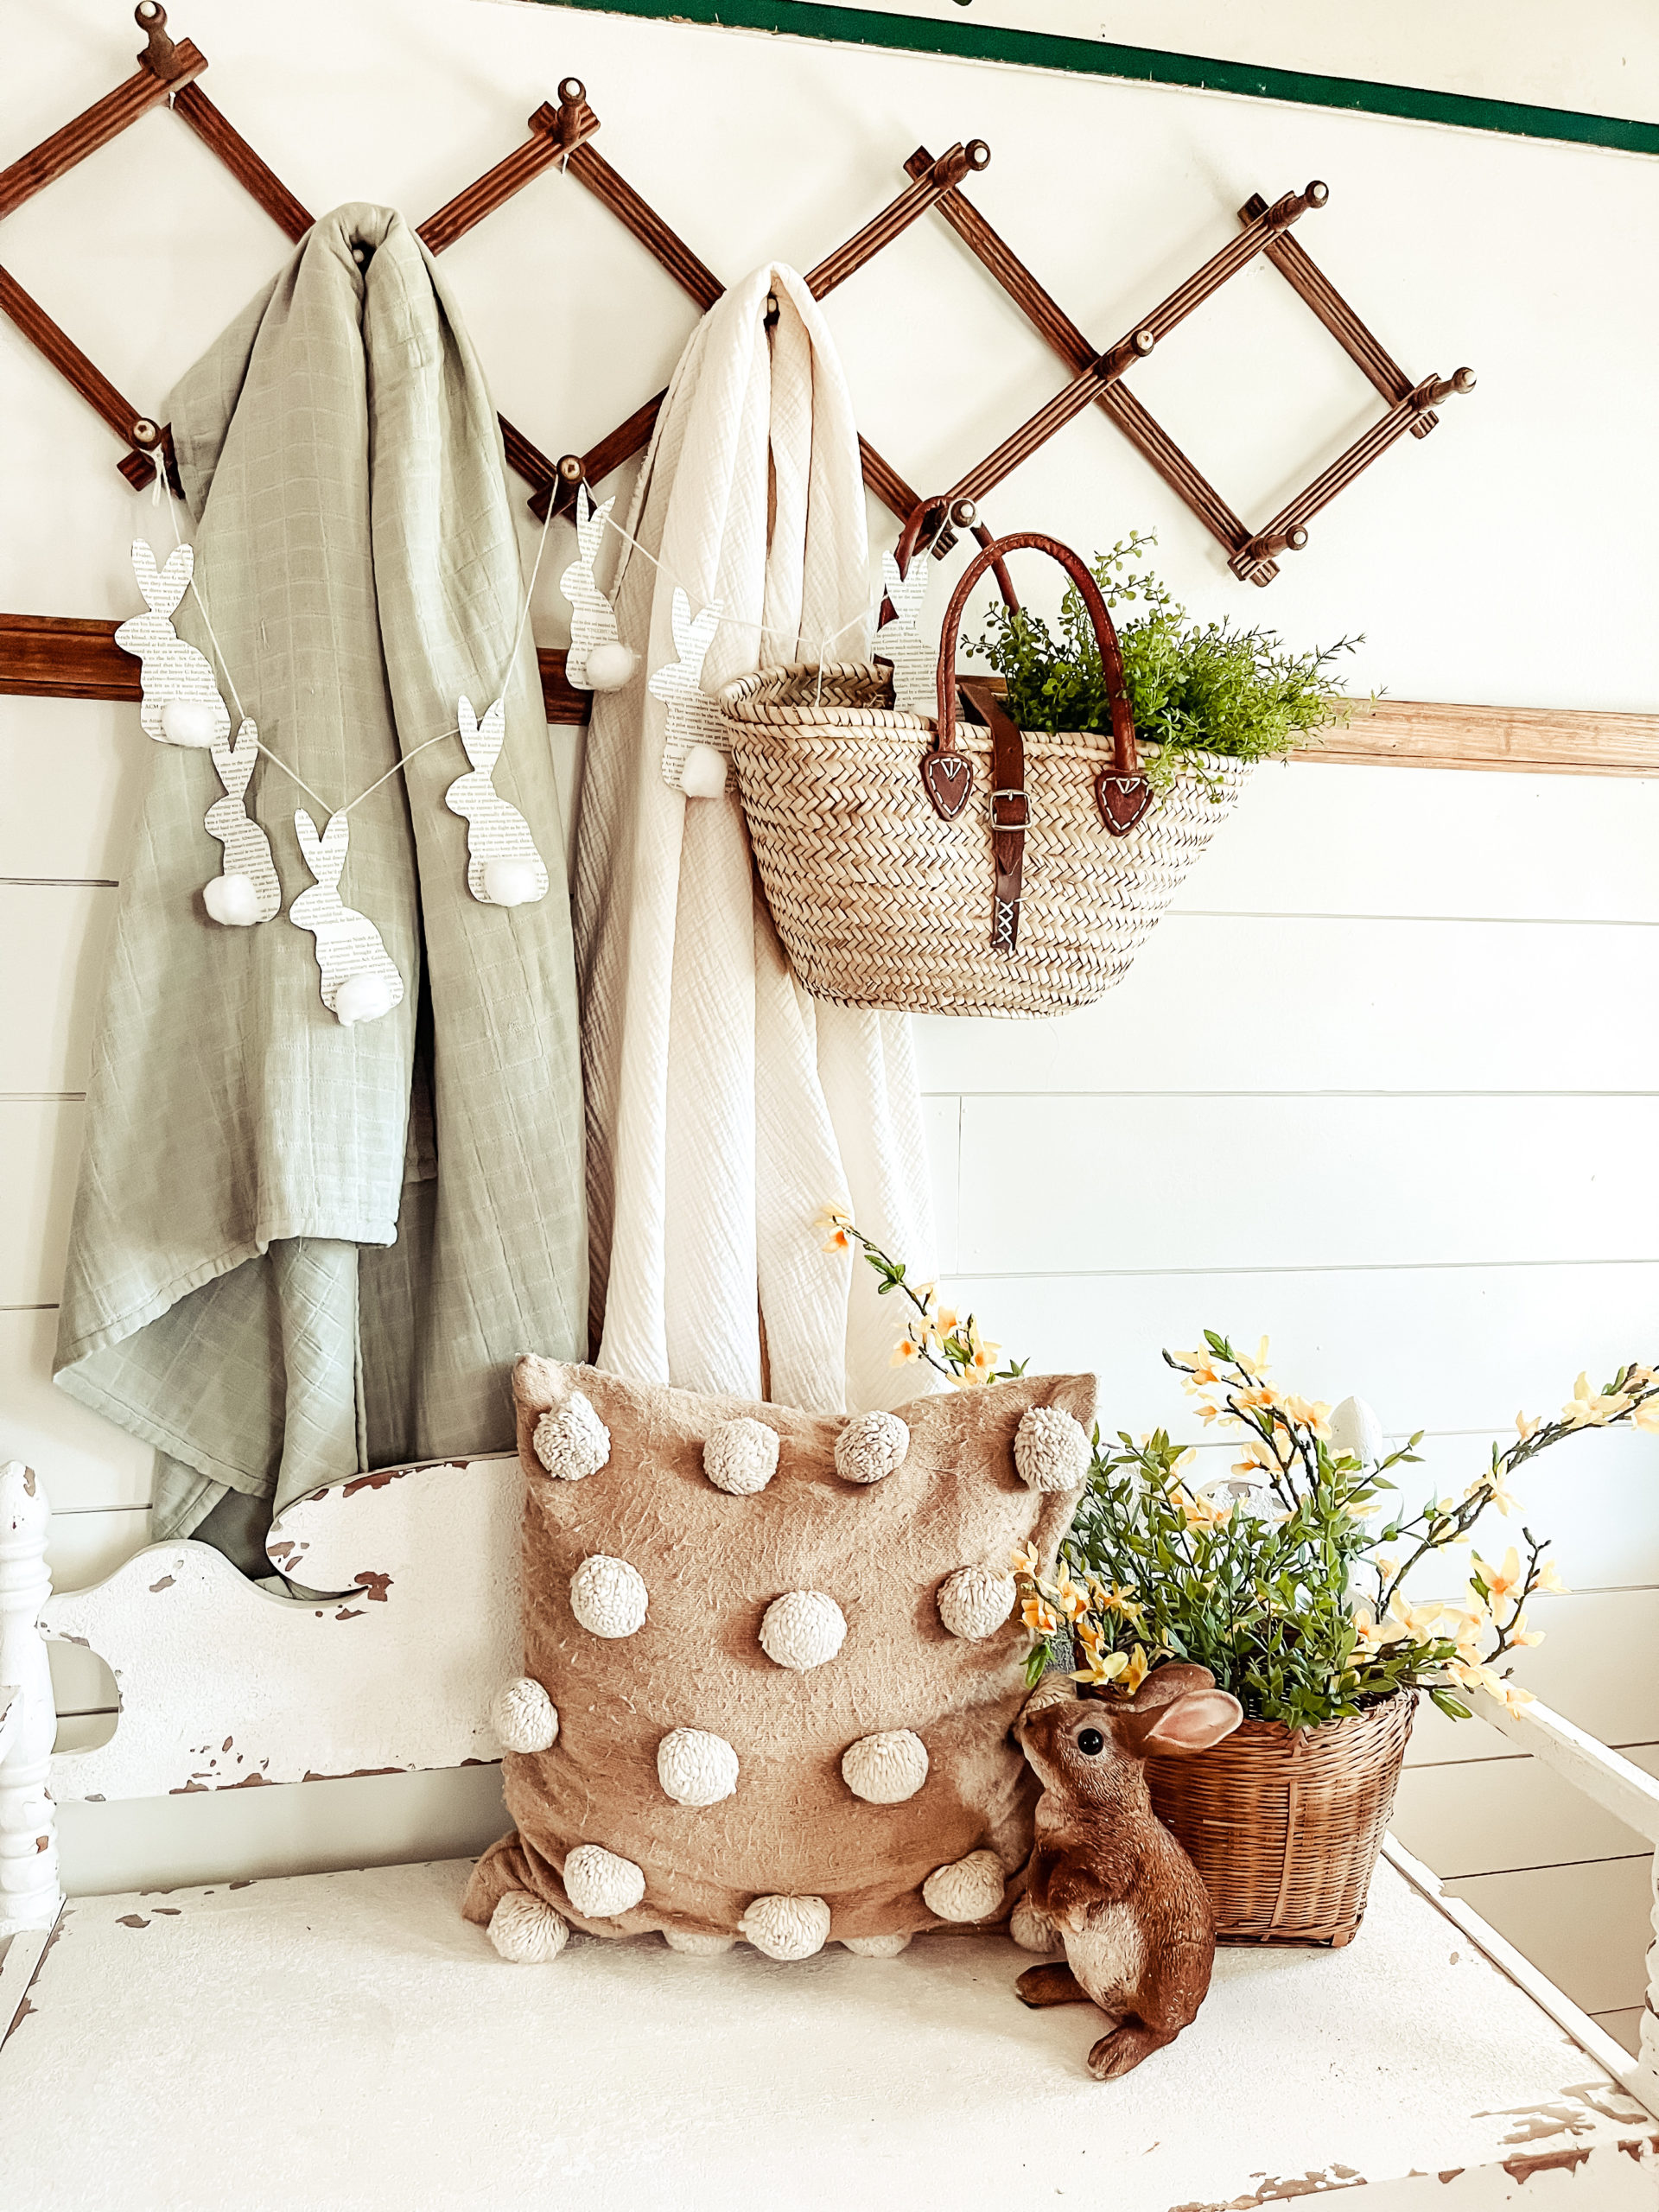
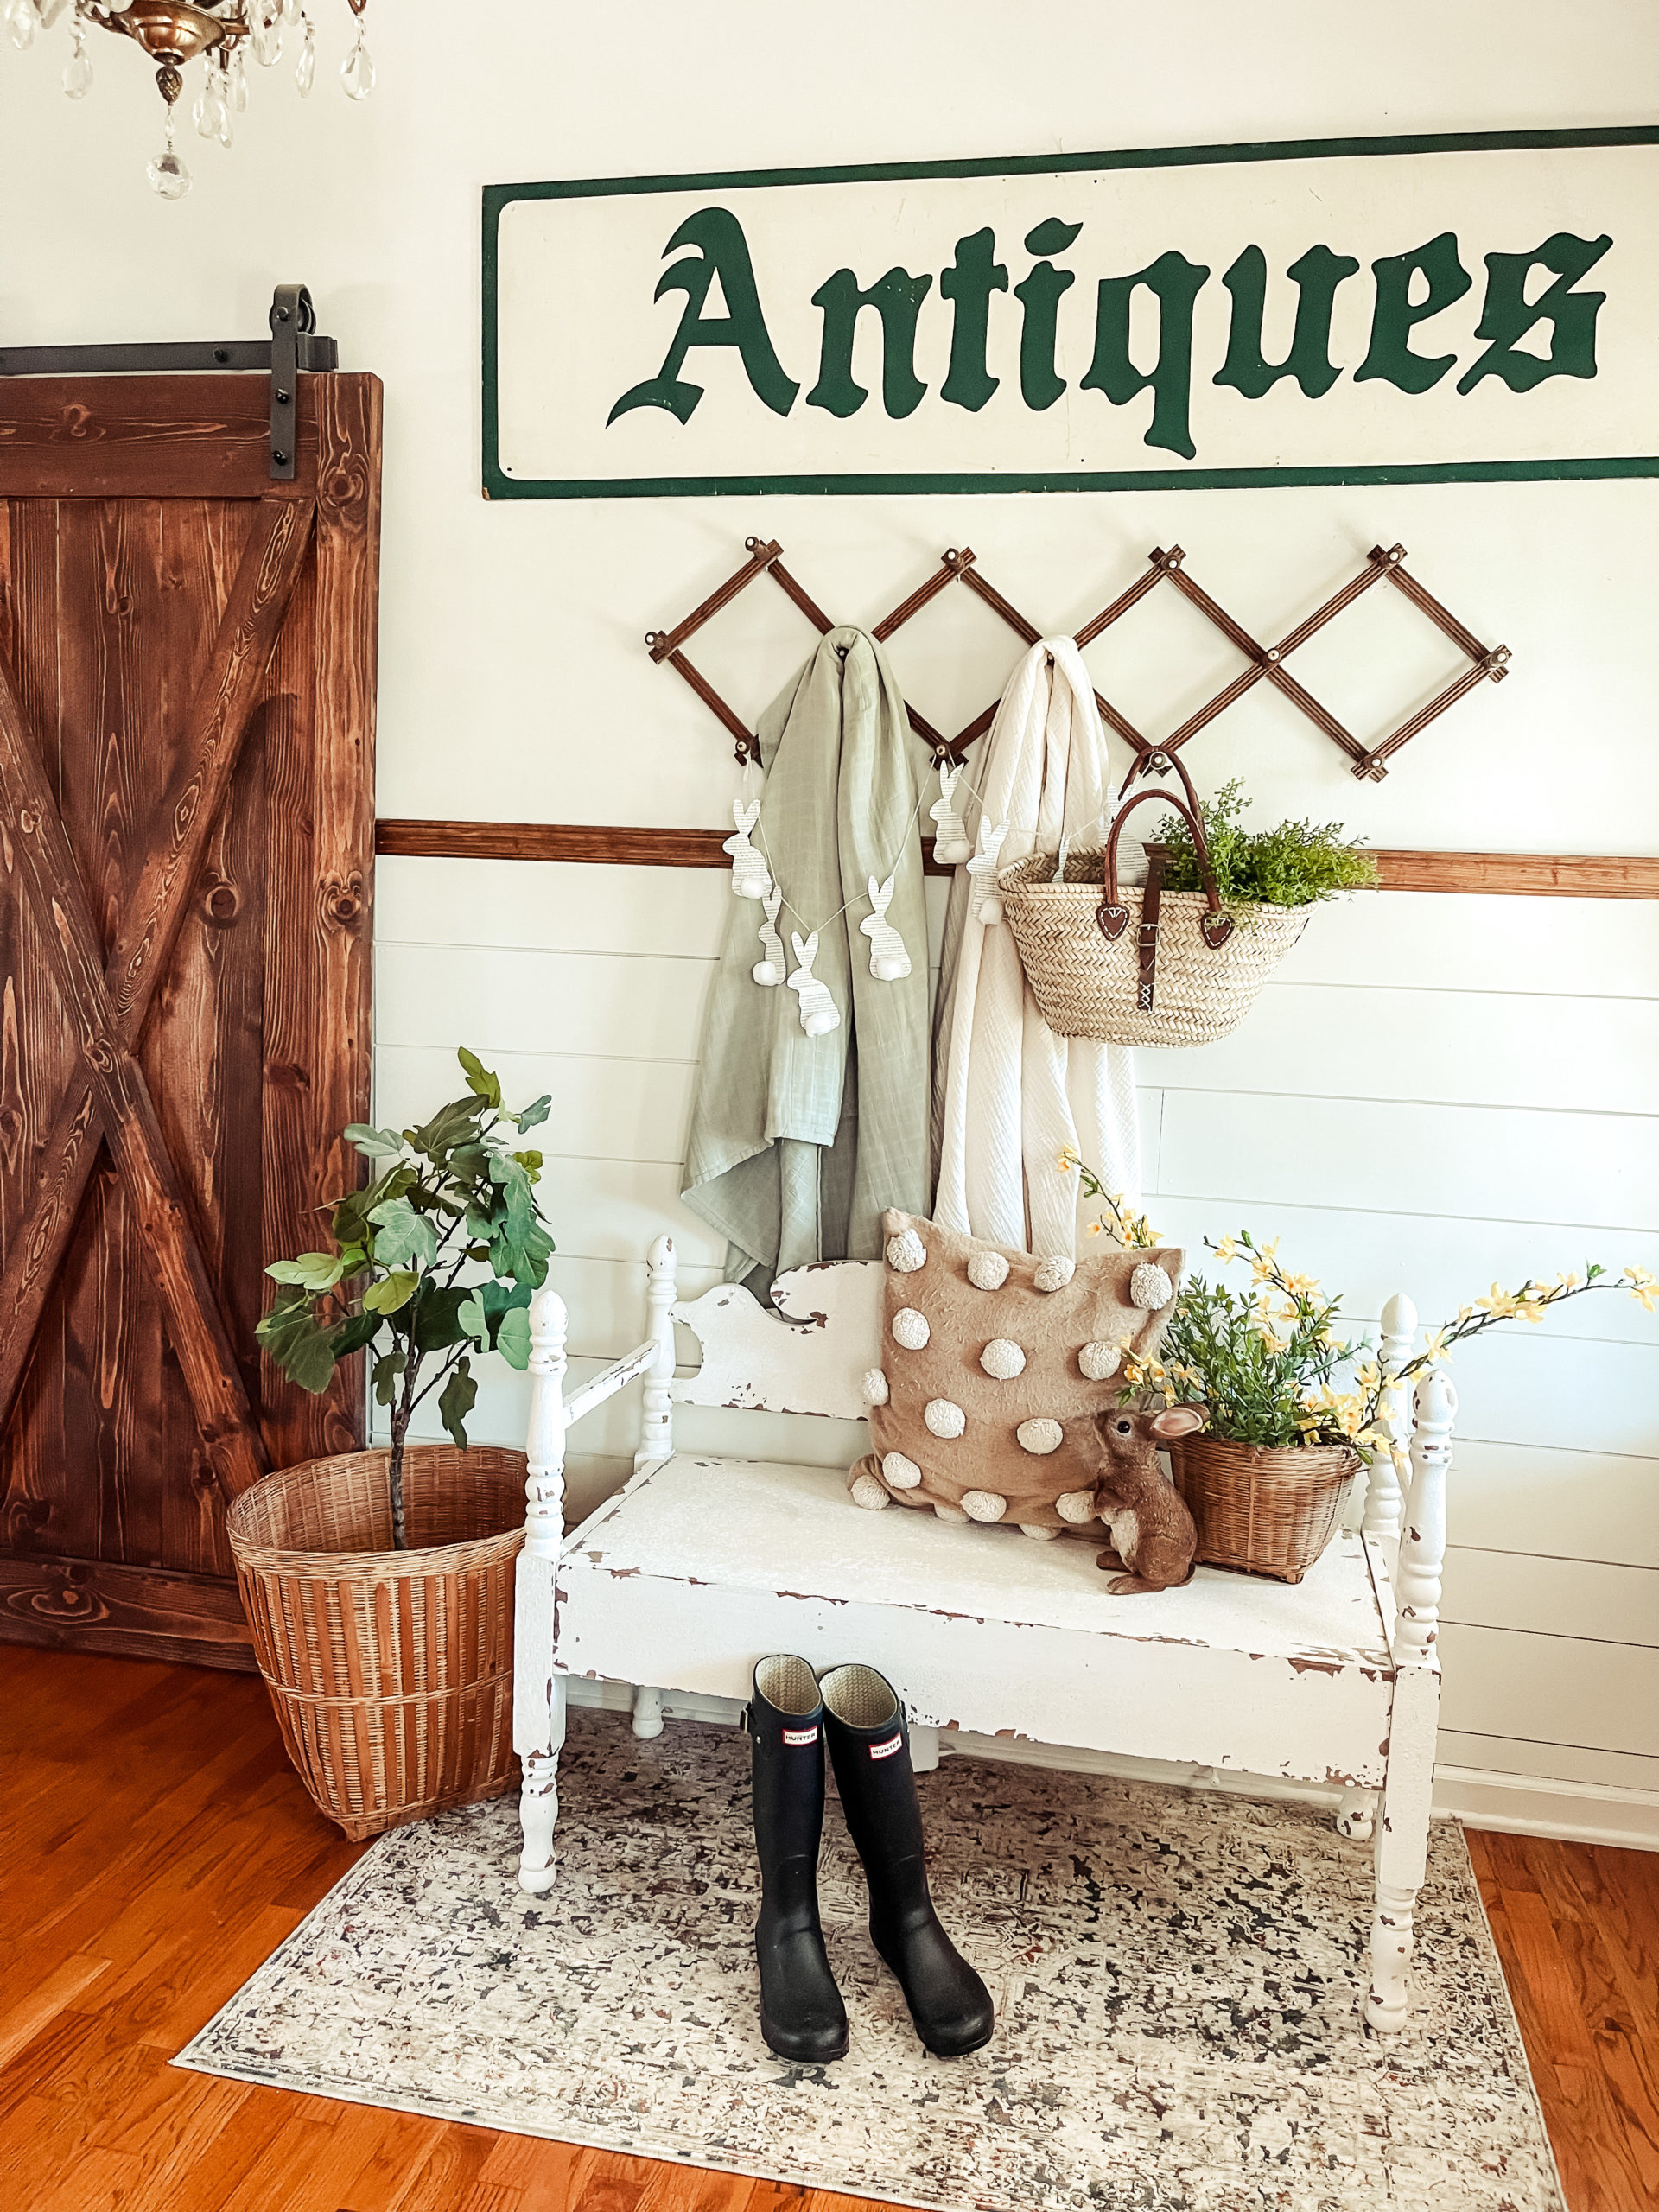
Creating fun simple DIY’s like this is one of my favorite things to share with you. I hope simple quick projects will inspire you to create this vintage inspired bunny garland or even another fun spring DIY. For more looks of spring head over to our Instagram, Pinterest, or even TikTok. As always thank you for stopping by the blog today and every day!


[…] THIS vintage inspired bunny garland. […]