SHARE
Well, everyone finally I can share a bathroom with you! When I first moved into my home, I did not really know what my style was, my niche, or even what I wanted. I started by picking out gray tones to paint everything and I quickly found out that was not who I was! Even since I found my style, I have been transforming this home to that look. I knew that I would eventually need to revamp the guest bathroom but, it was always one of those rooms that I just did not think was a must do right away. Well, many of you started asking me why I never showed my bathrooms and I knew that it was time to get started on this.
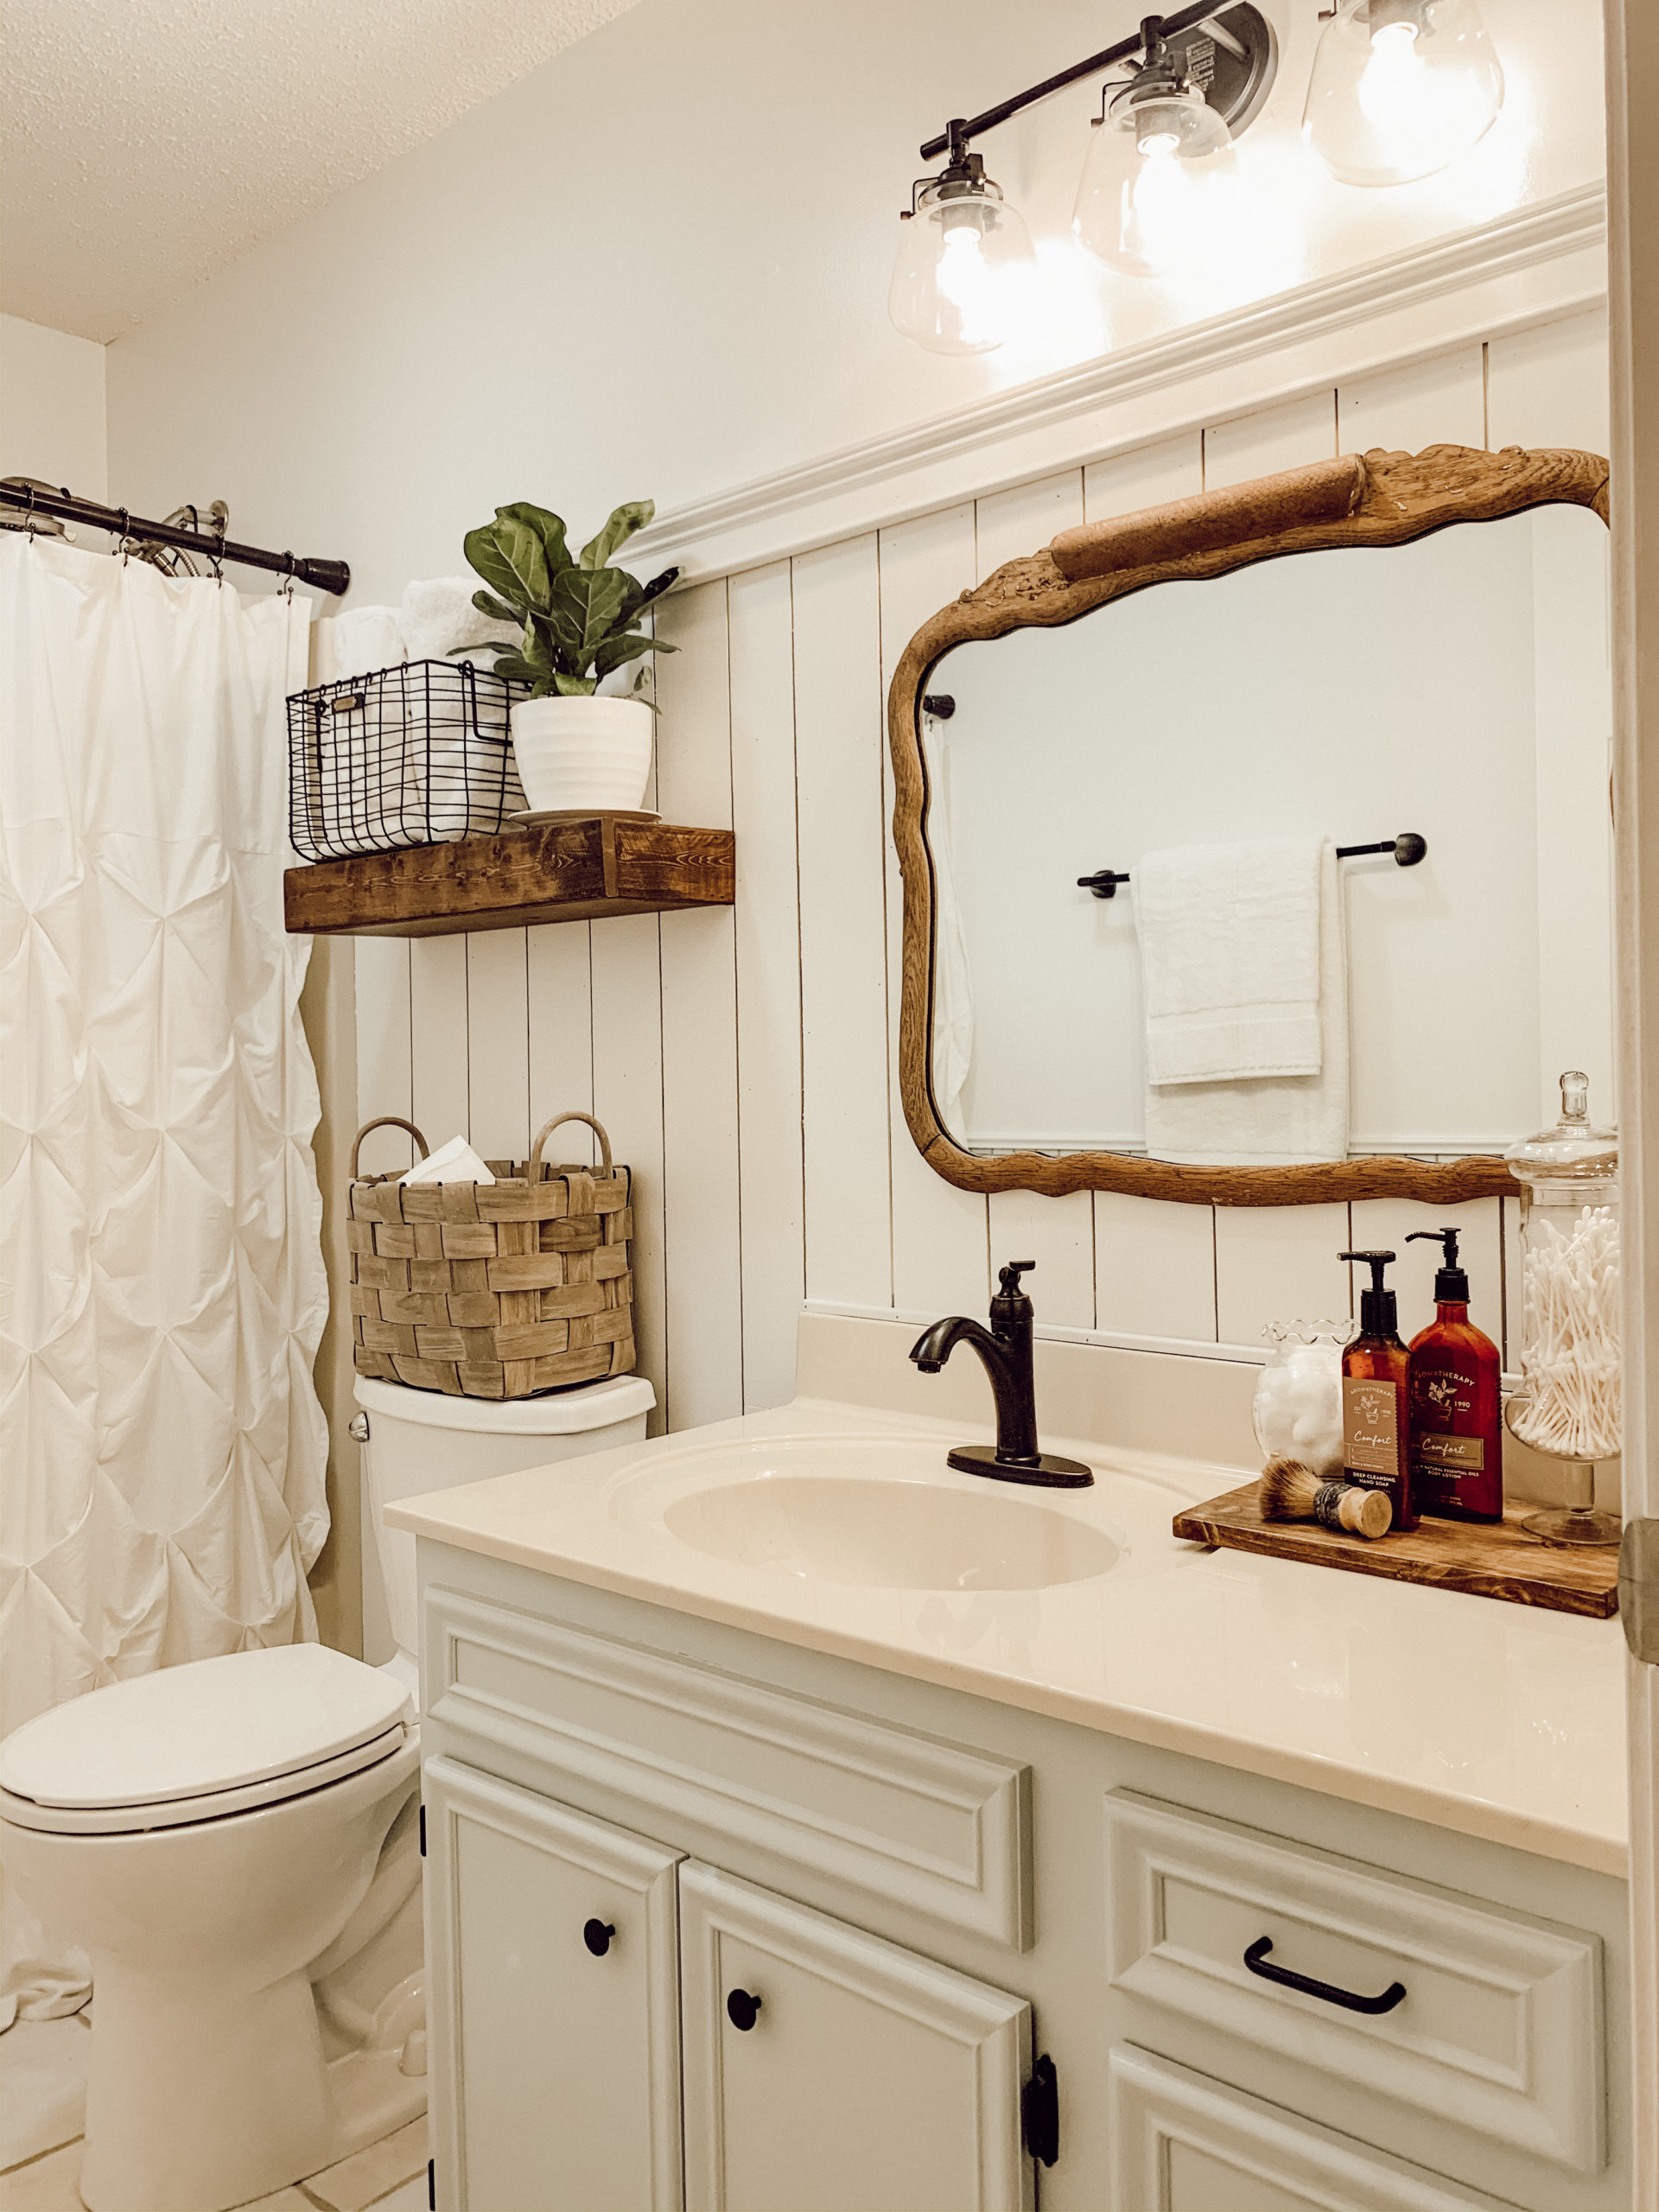
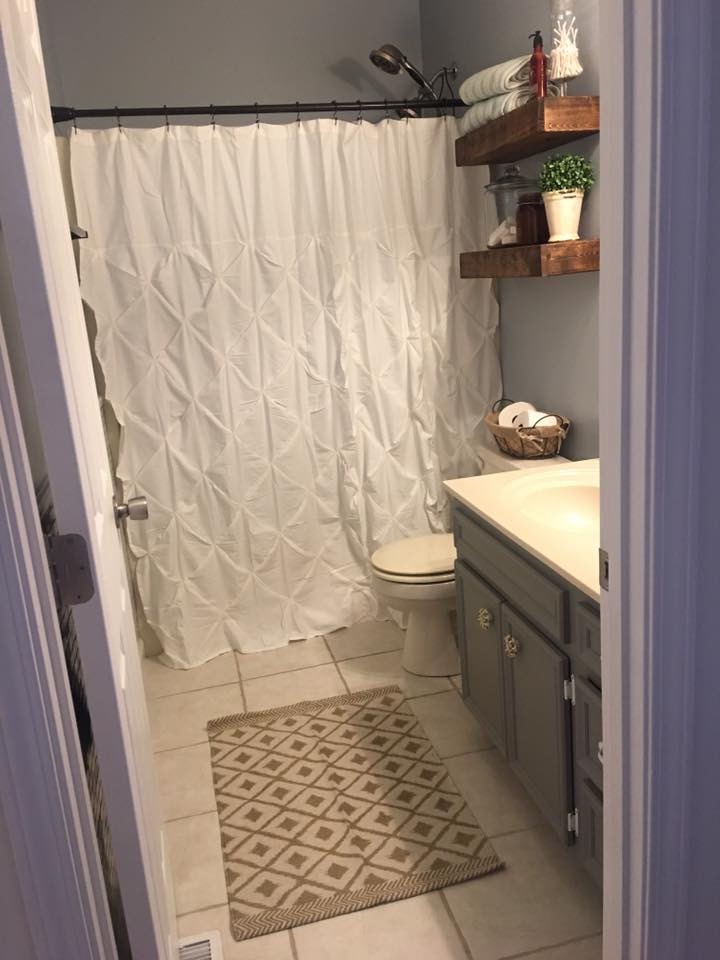
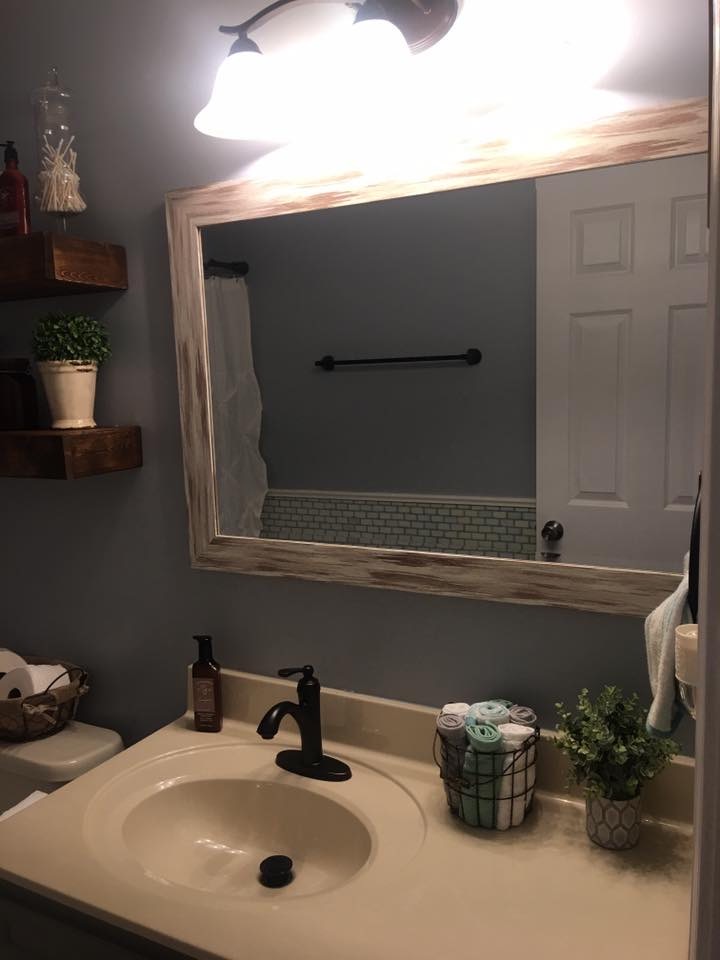
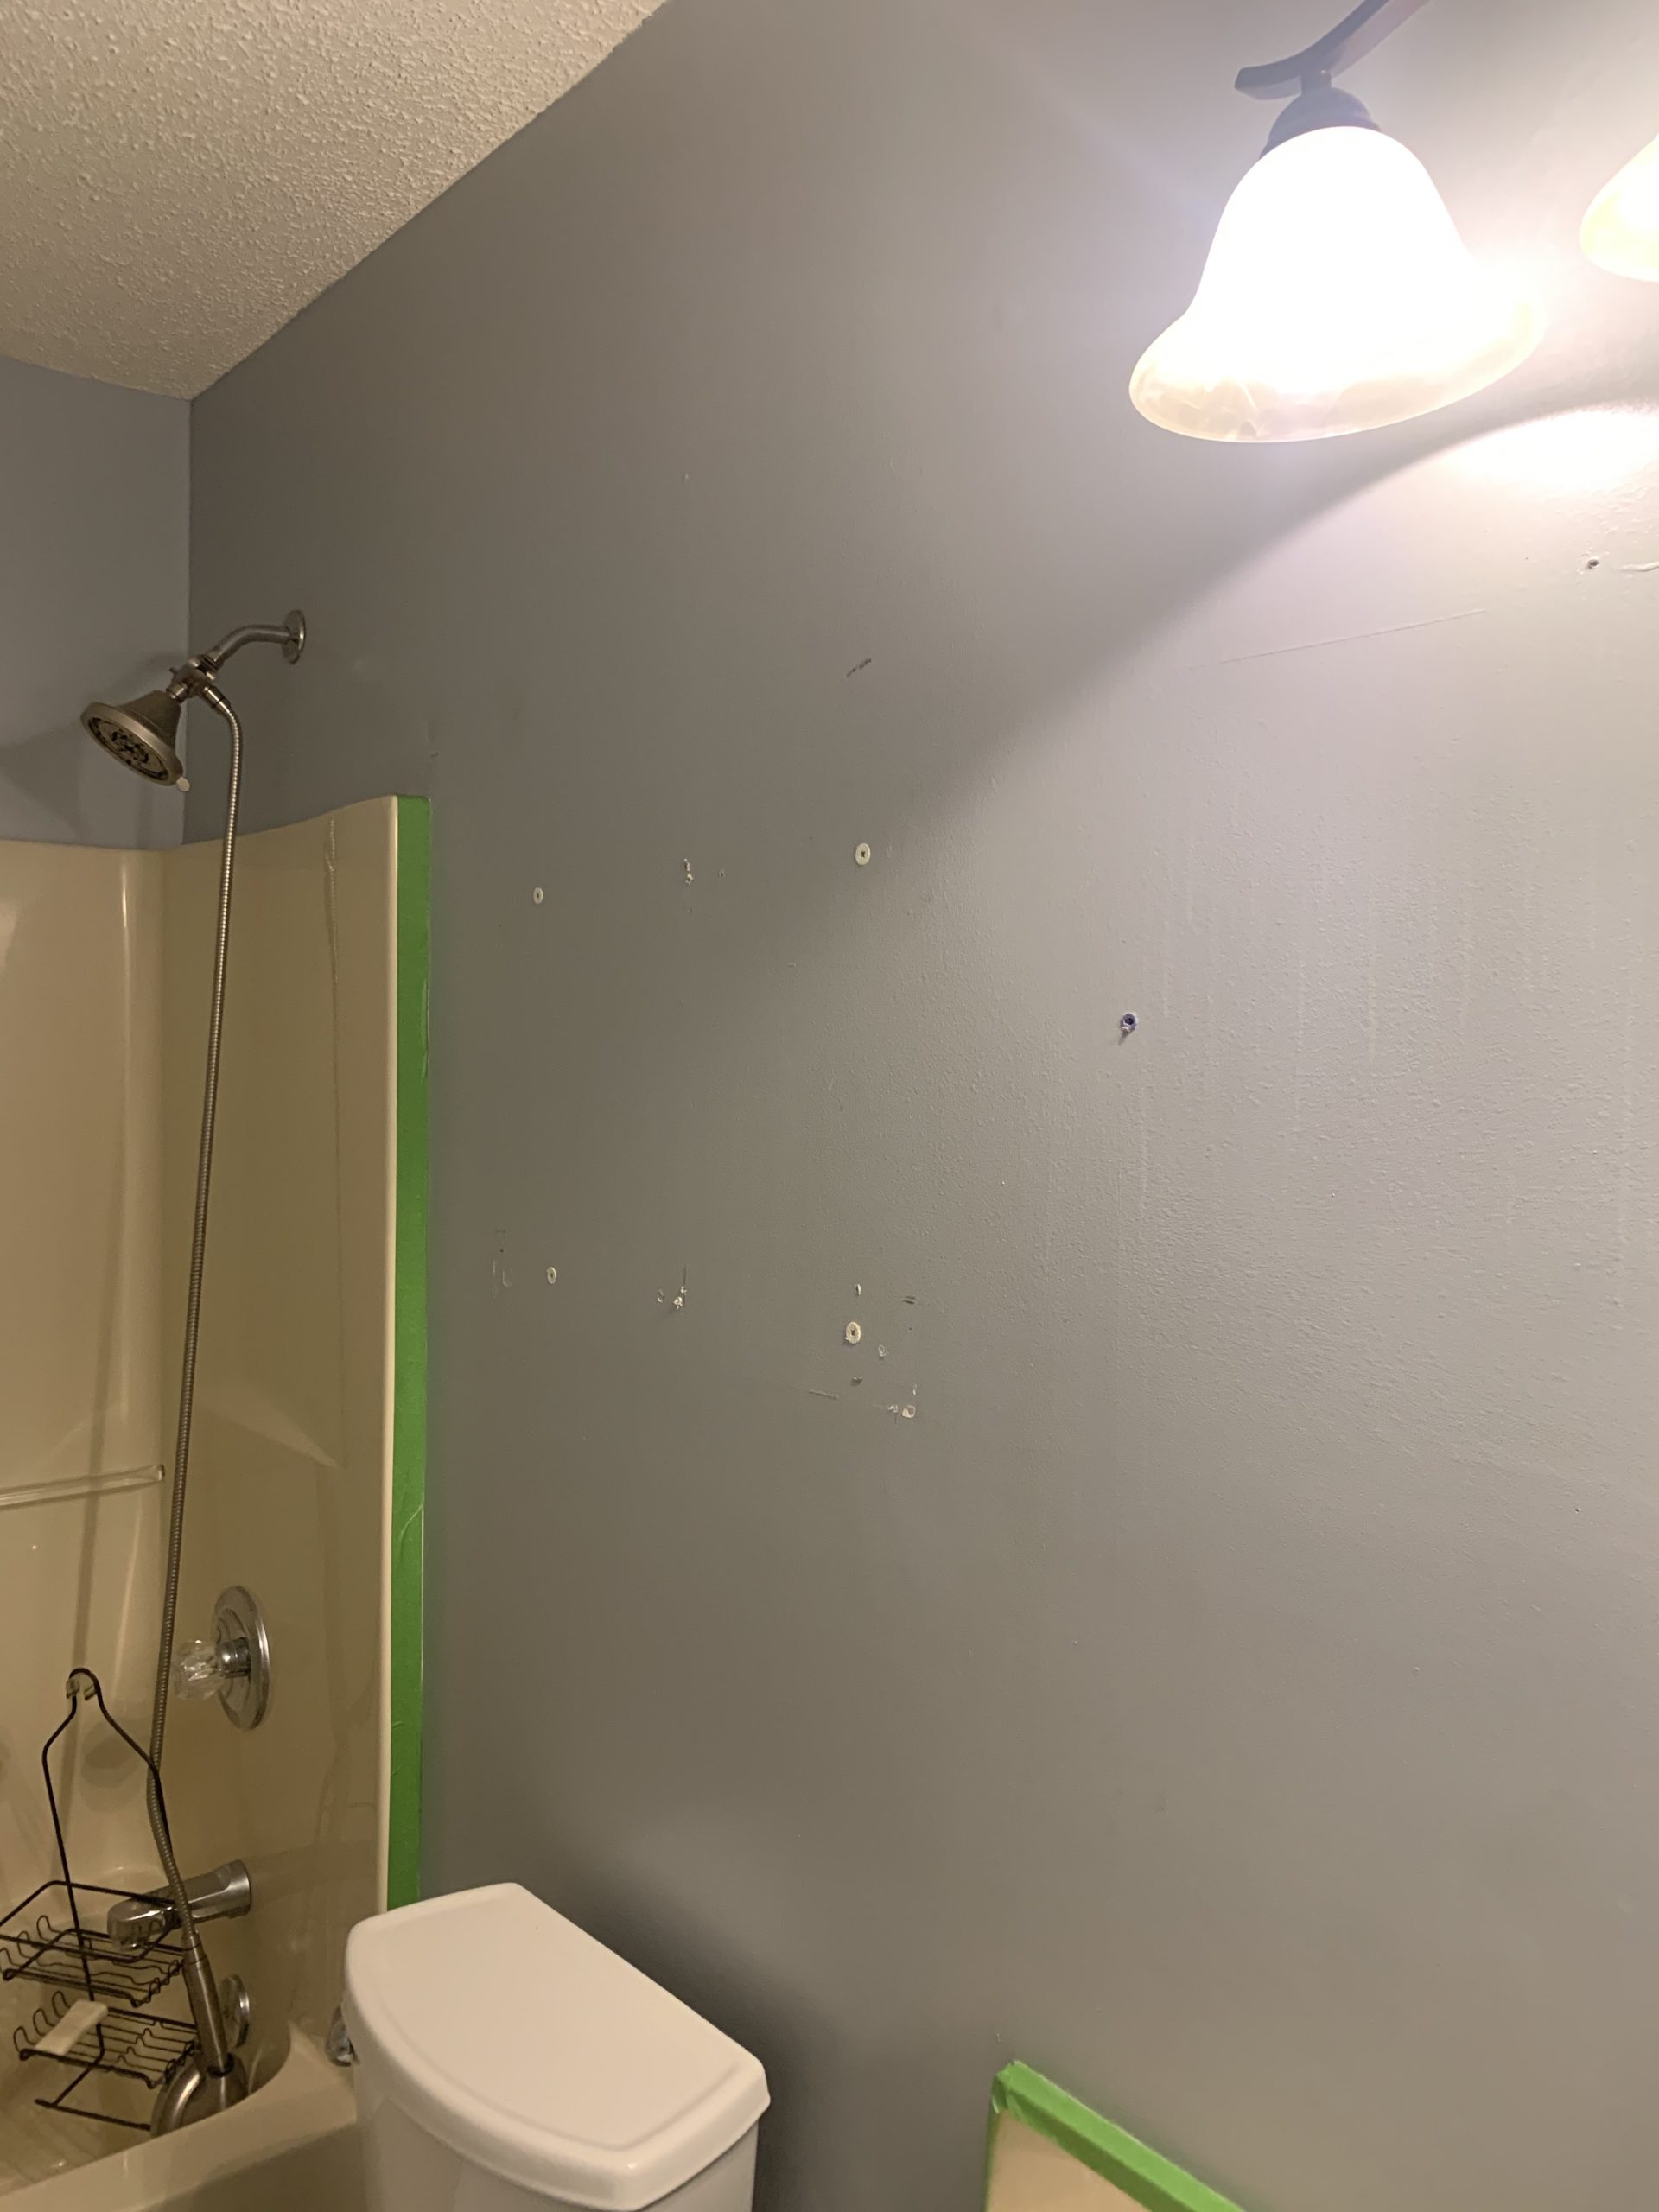
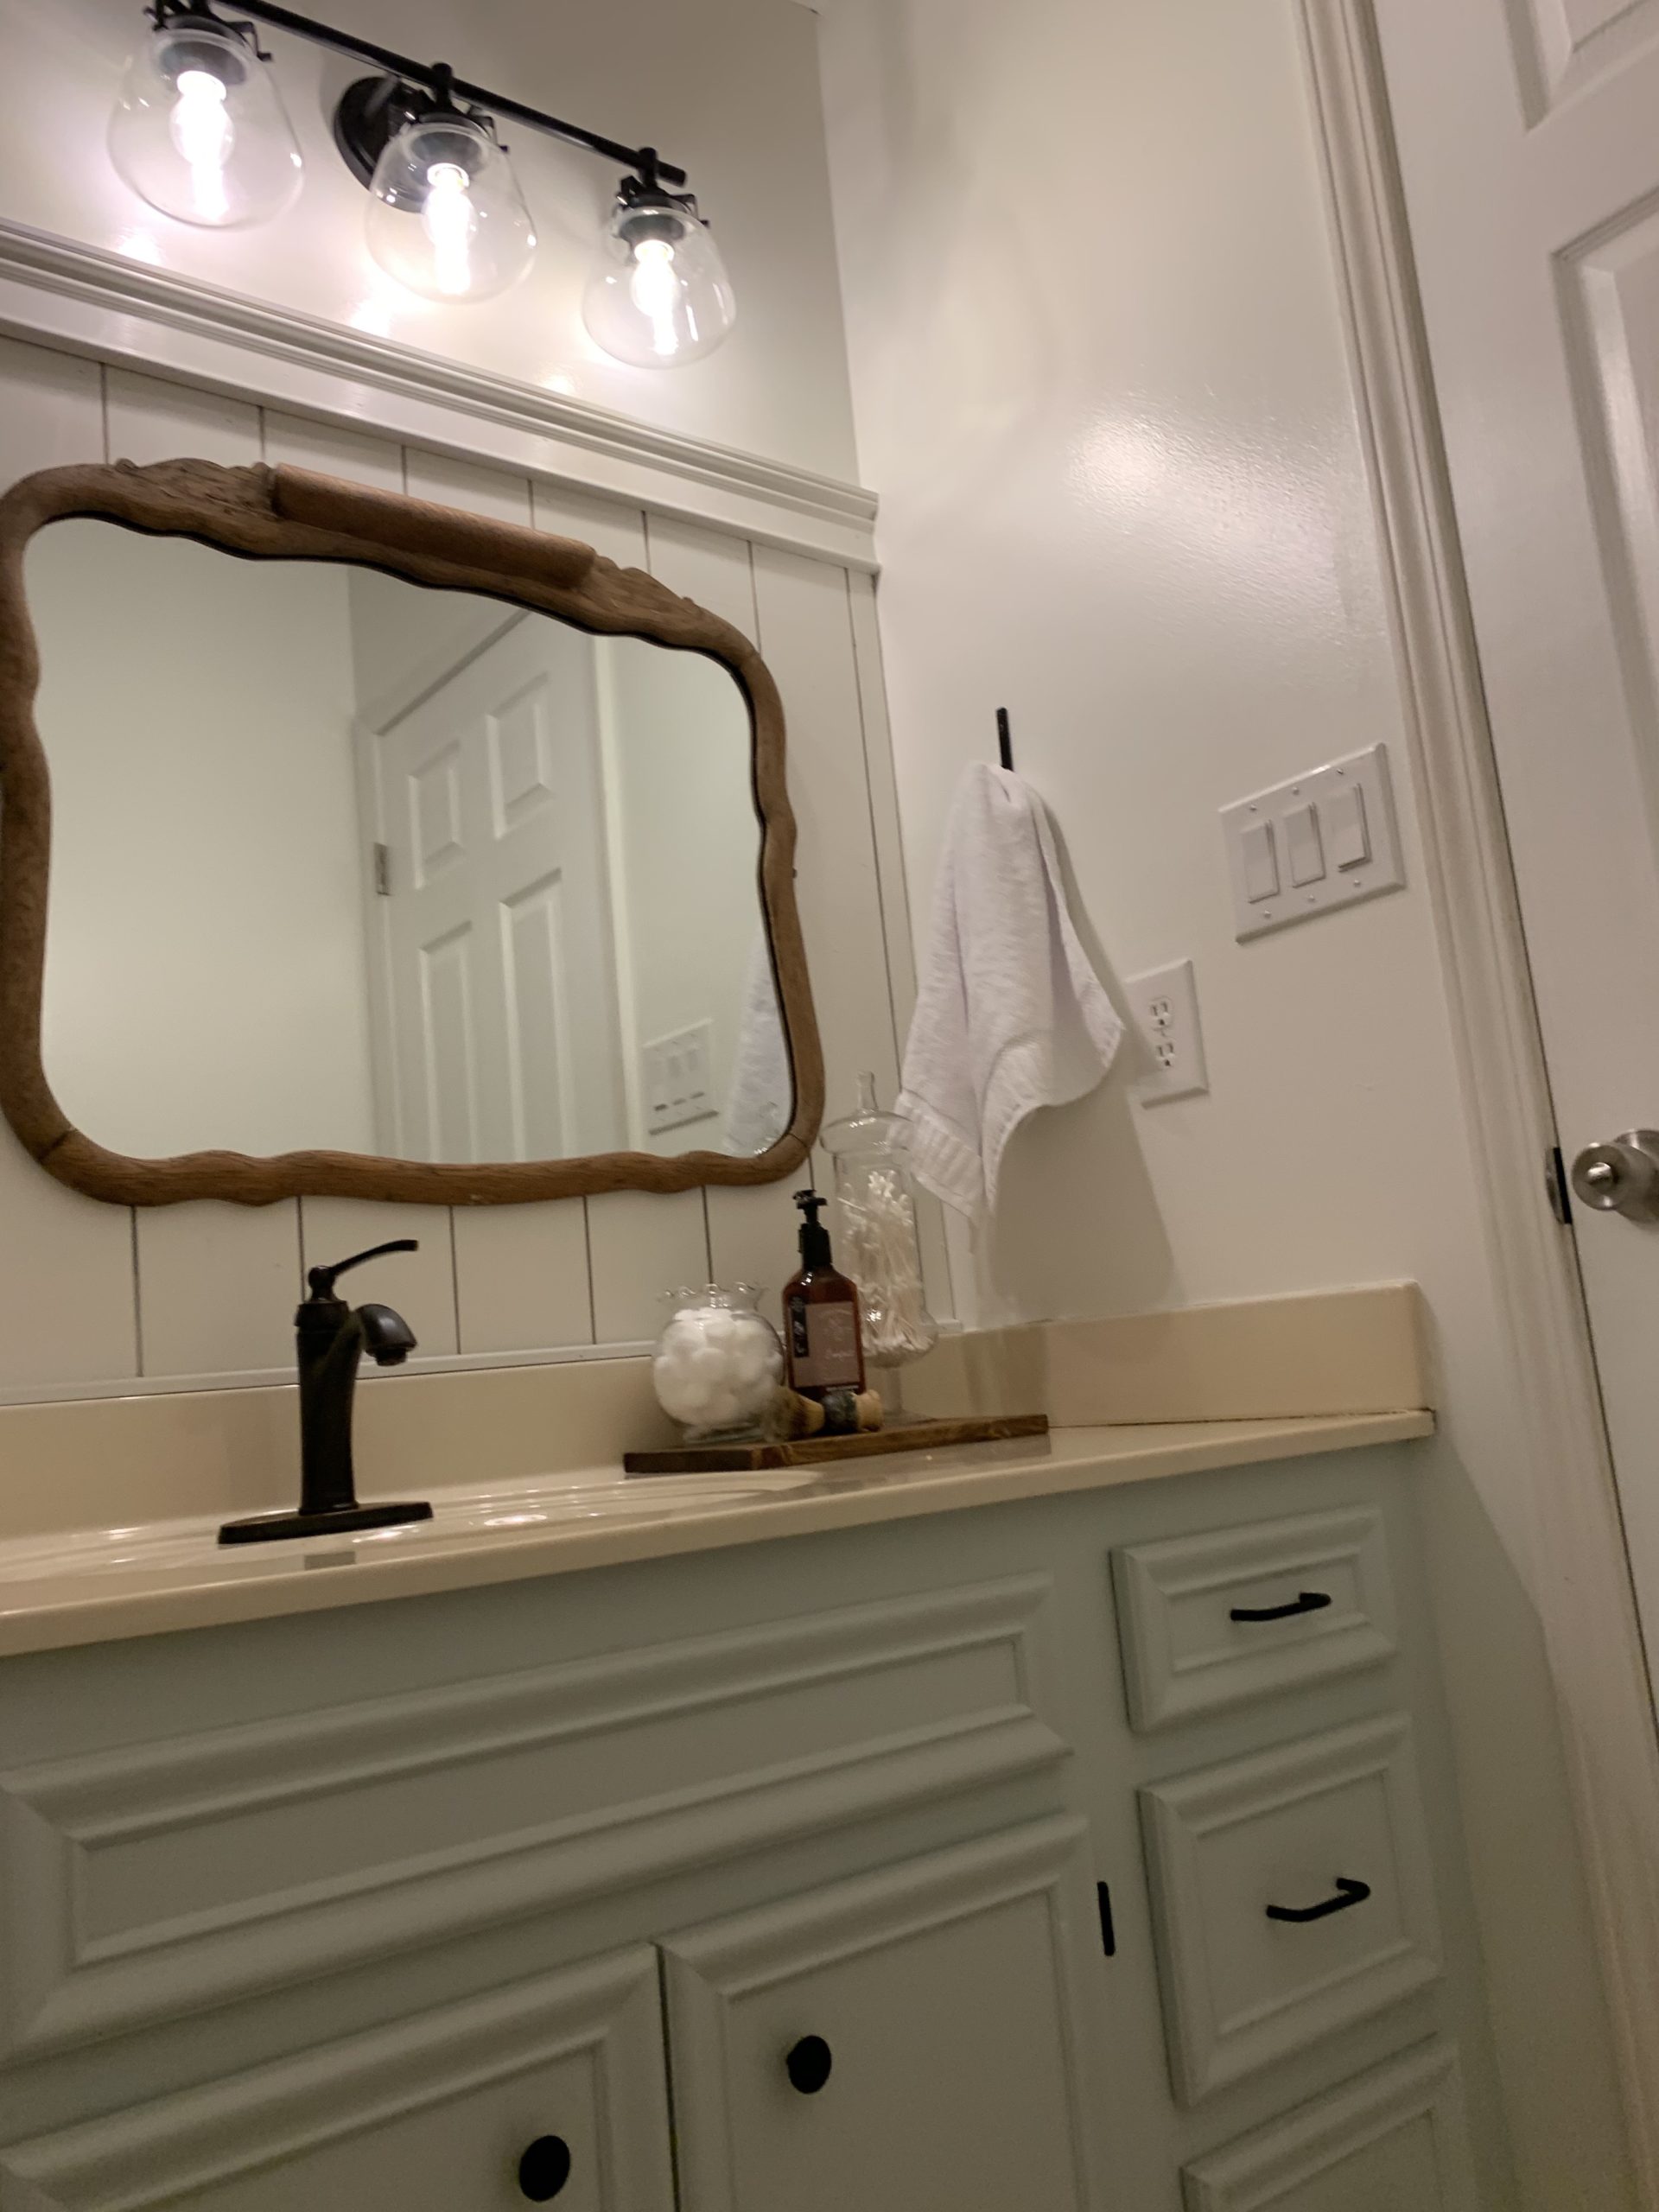
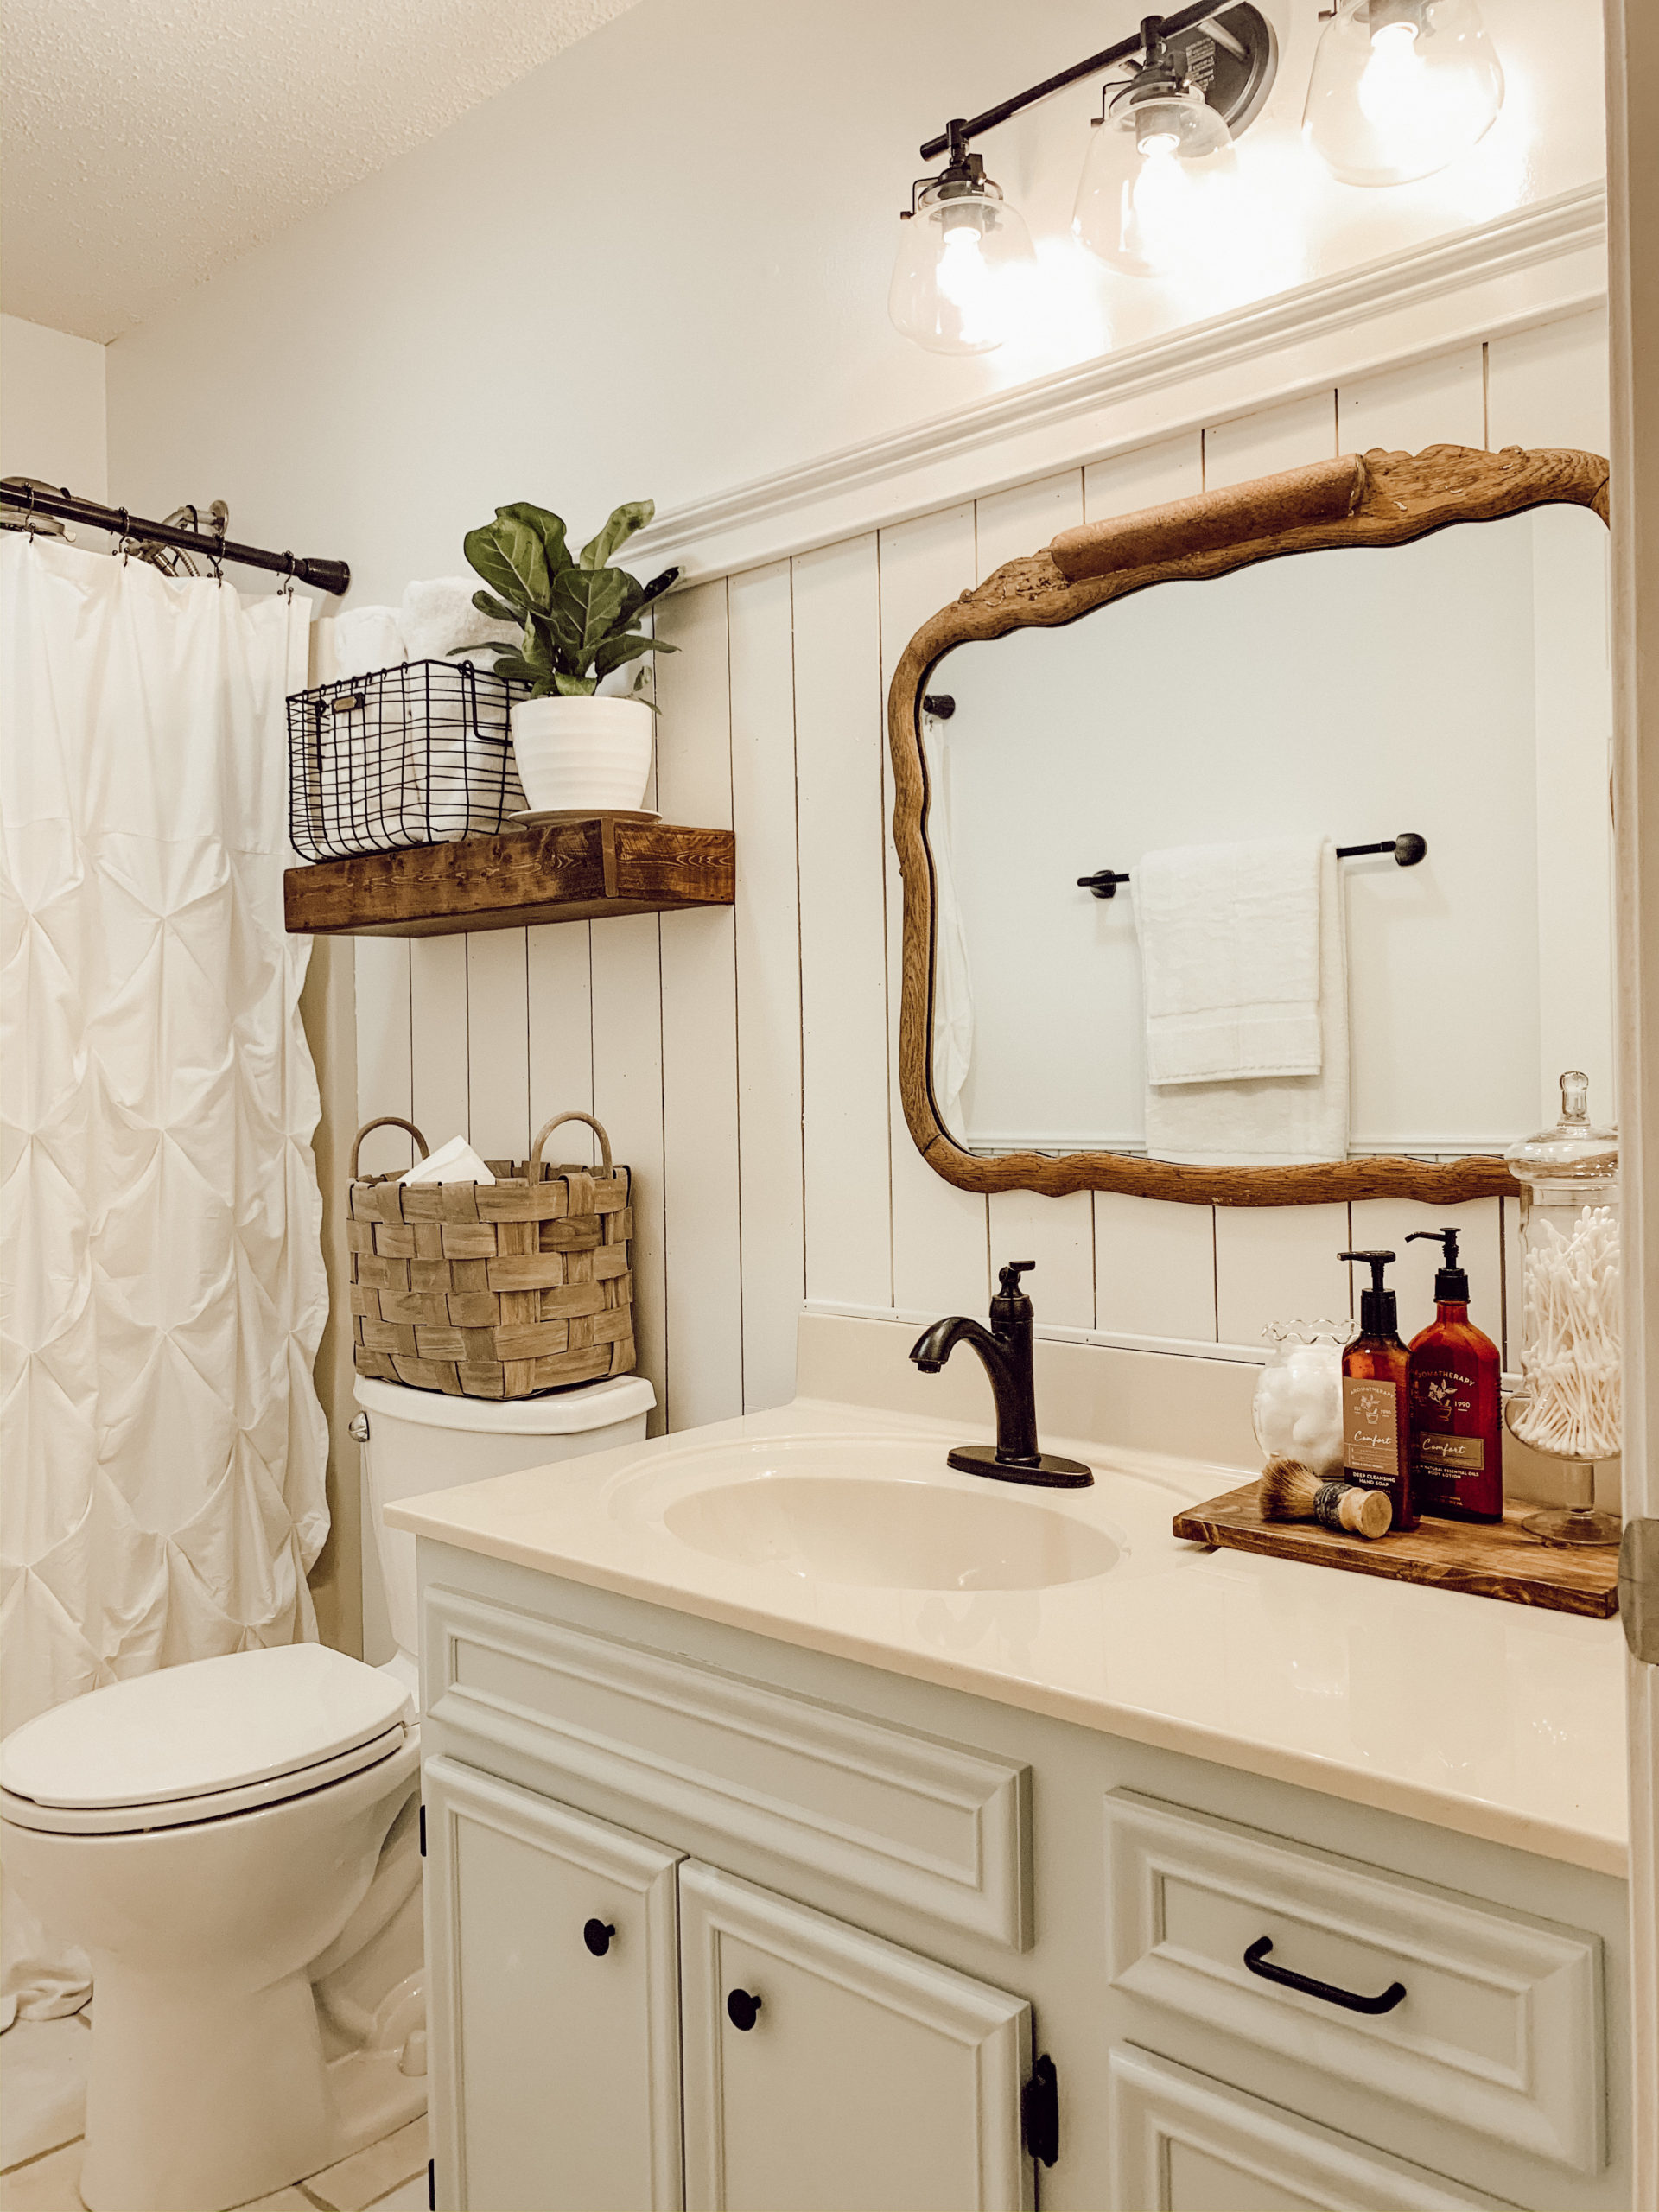
The guest bathroom revamp was a simple DIY, that did not cost over $200. Many things in my home change very often, which means that I love simple and affordable DIY projects. The guest bathroom does not have any windows, which makes it dark and then it was painted such a dark blue gray. This space was in serious need of a revamp! I went in and took down the floating shelves, the mirror, the light fixture, and all of the wall decor. I wanted to start with the blank canvas of walls. I knew that I wanted the wall colors to be White Dove by Benjamin Moore but, picking my cabinet color was a thought I had to really think on. When I first moved in I tried the color Sea Salt on the walls in this space and it did not turn our pretty. Even though I had my heart set on that color, I had chose another color. Now that I was choosing white paint for the walls, I thought let’s try this Sea Salt by Sherman Williams again. I did a sample of a 60% diluted Sea Salt and then a sample of the full color. My favorite was the full color and this time it actually turned out the way I wanted it on the cabinet, since it was against a white wall and had great lighting above.
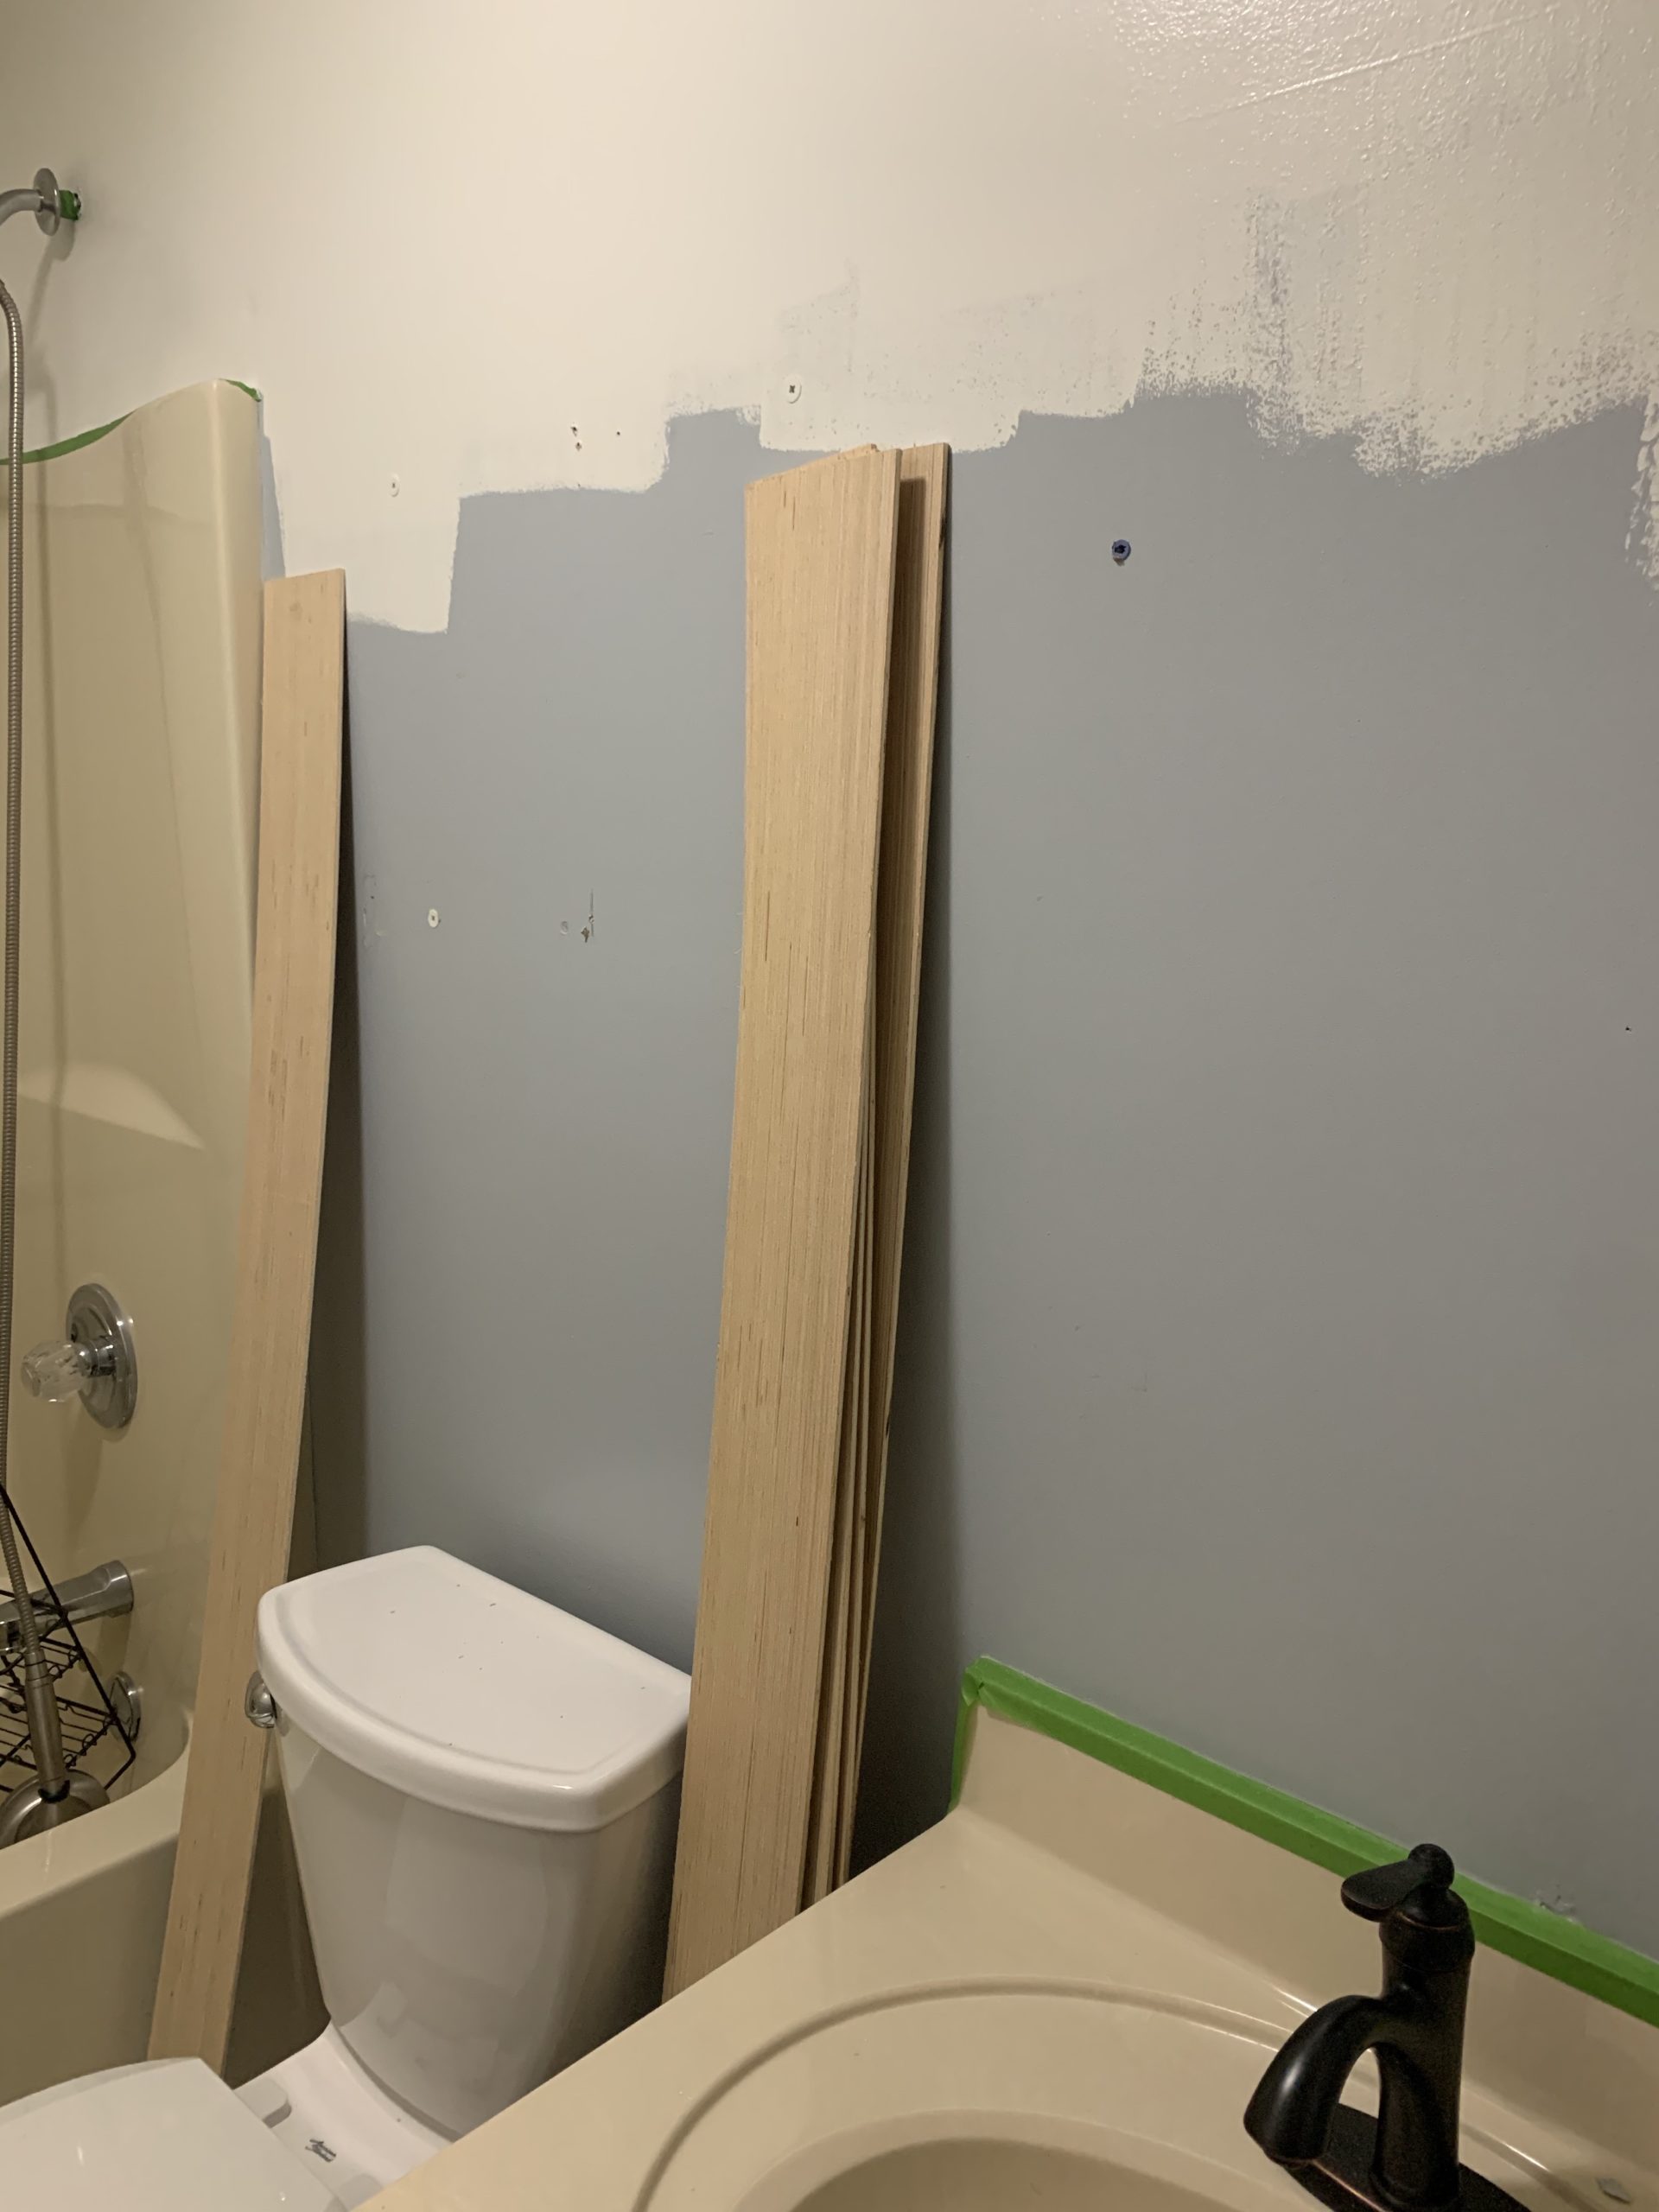
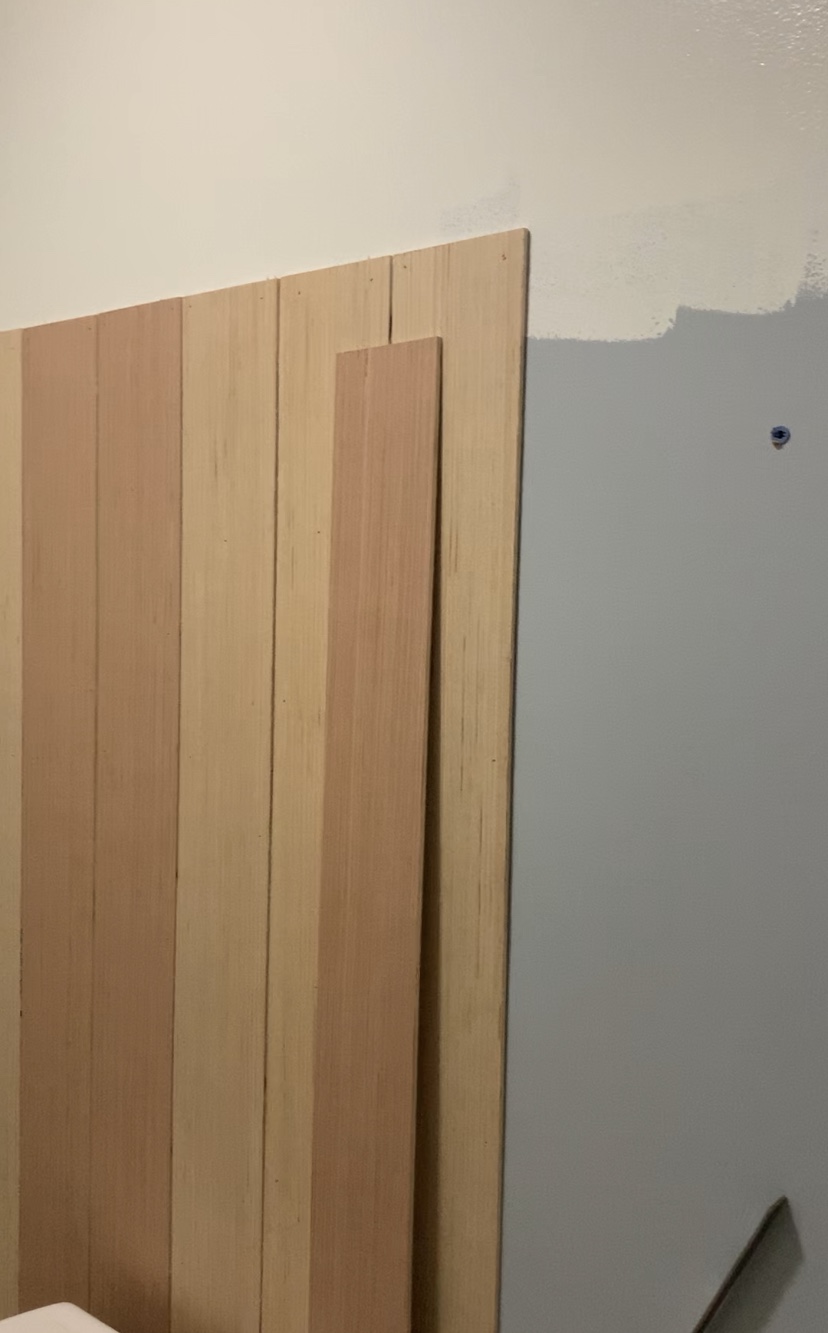
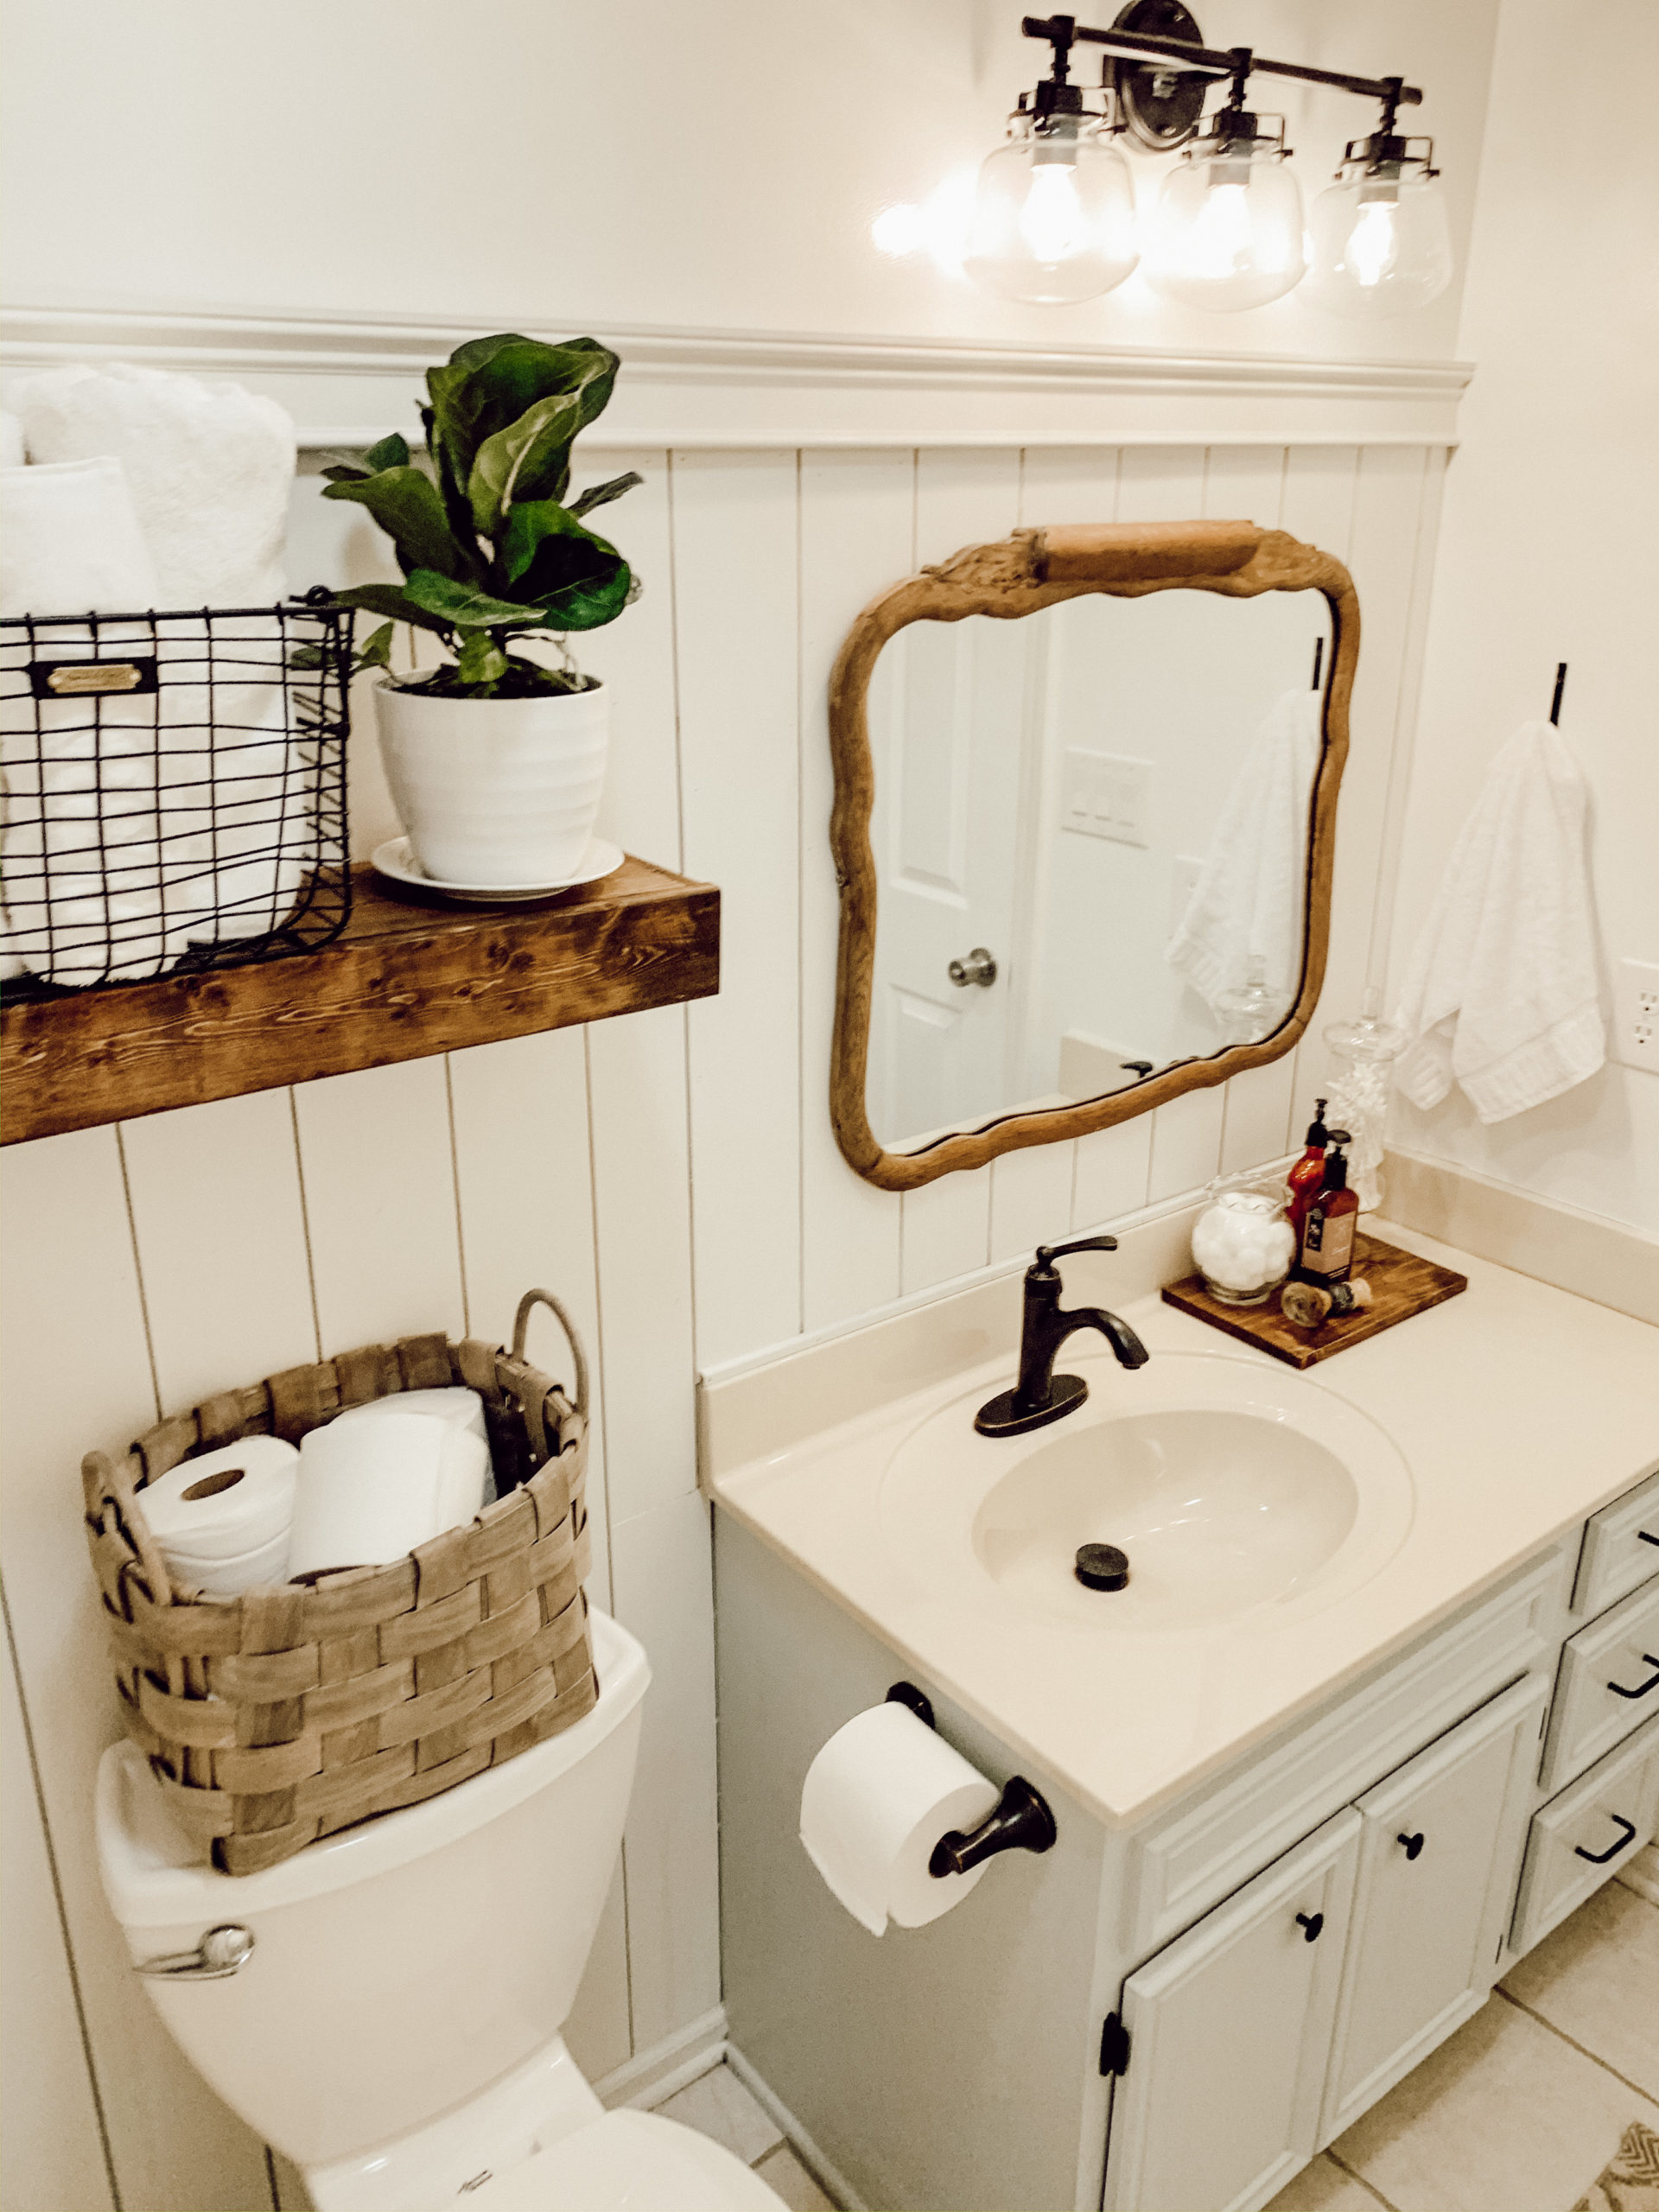
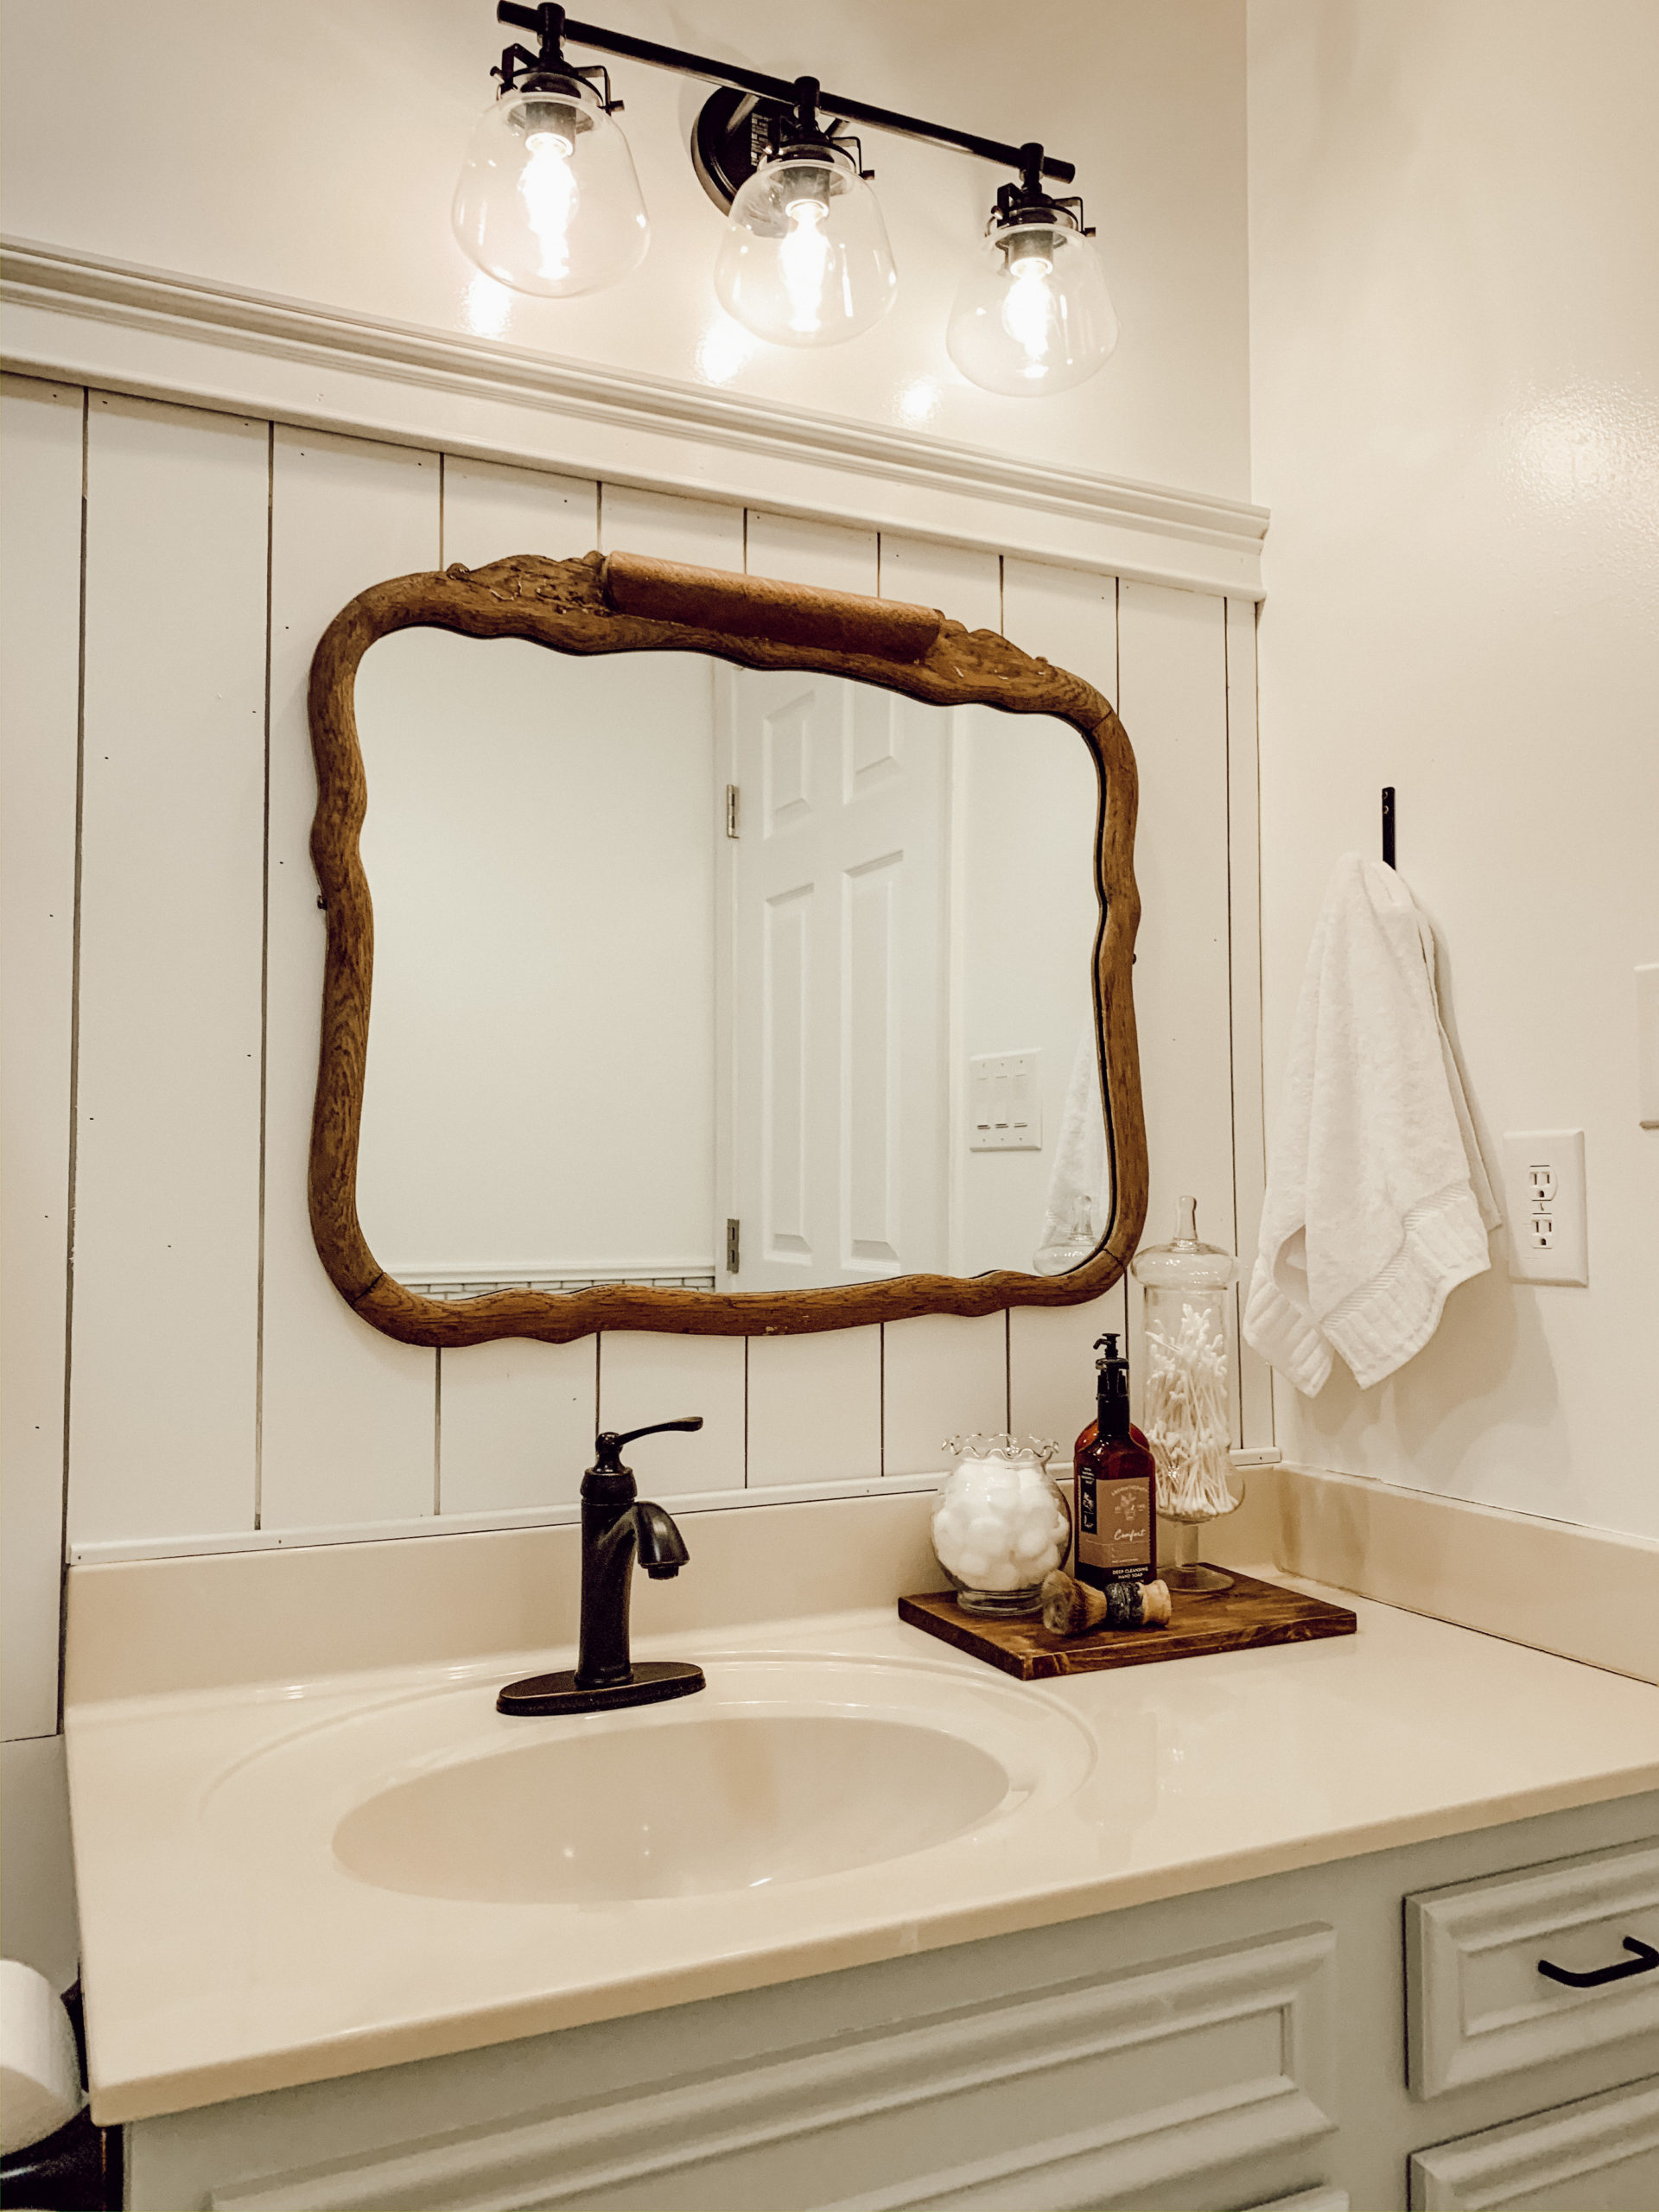
Once I had the colors picked out, it was time to figure out how I was going to layer the wall with texture. Two thoughts came to mind when I thought about what to do here. My thoughts were shiplap or wallpaper. Everyone knows how much I love shiplap but, I wanted to add a flare too. I decided to go with the shiplap because the wallpaper would be tricky to do with the light and shower. Although I went with shiplap, I wanted to do it differently than the other shiplap in my home. I have never done vertical shiplap before, so I thought why not try this and then have a piece of molding to cap it off. That is what I did! I went to Lowe’s Hardware and got one sheet of my favorite utility panel and had it ripped into 5 inch strips because, I wanted it to be smaller stripes in such a small space. I also picked up a piece of molding that I liked to go across the top and cap off the vertical shiplap. You can pick any molding that you want to do this; I suggest one that fits your style of your bathroom.
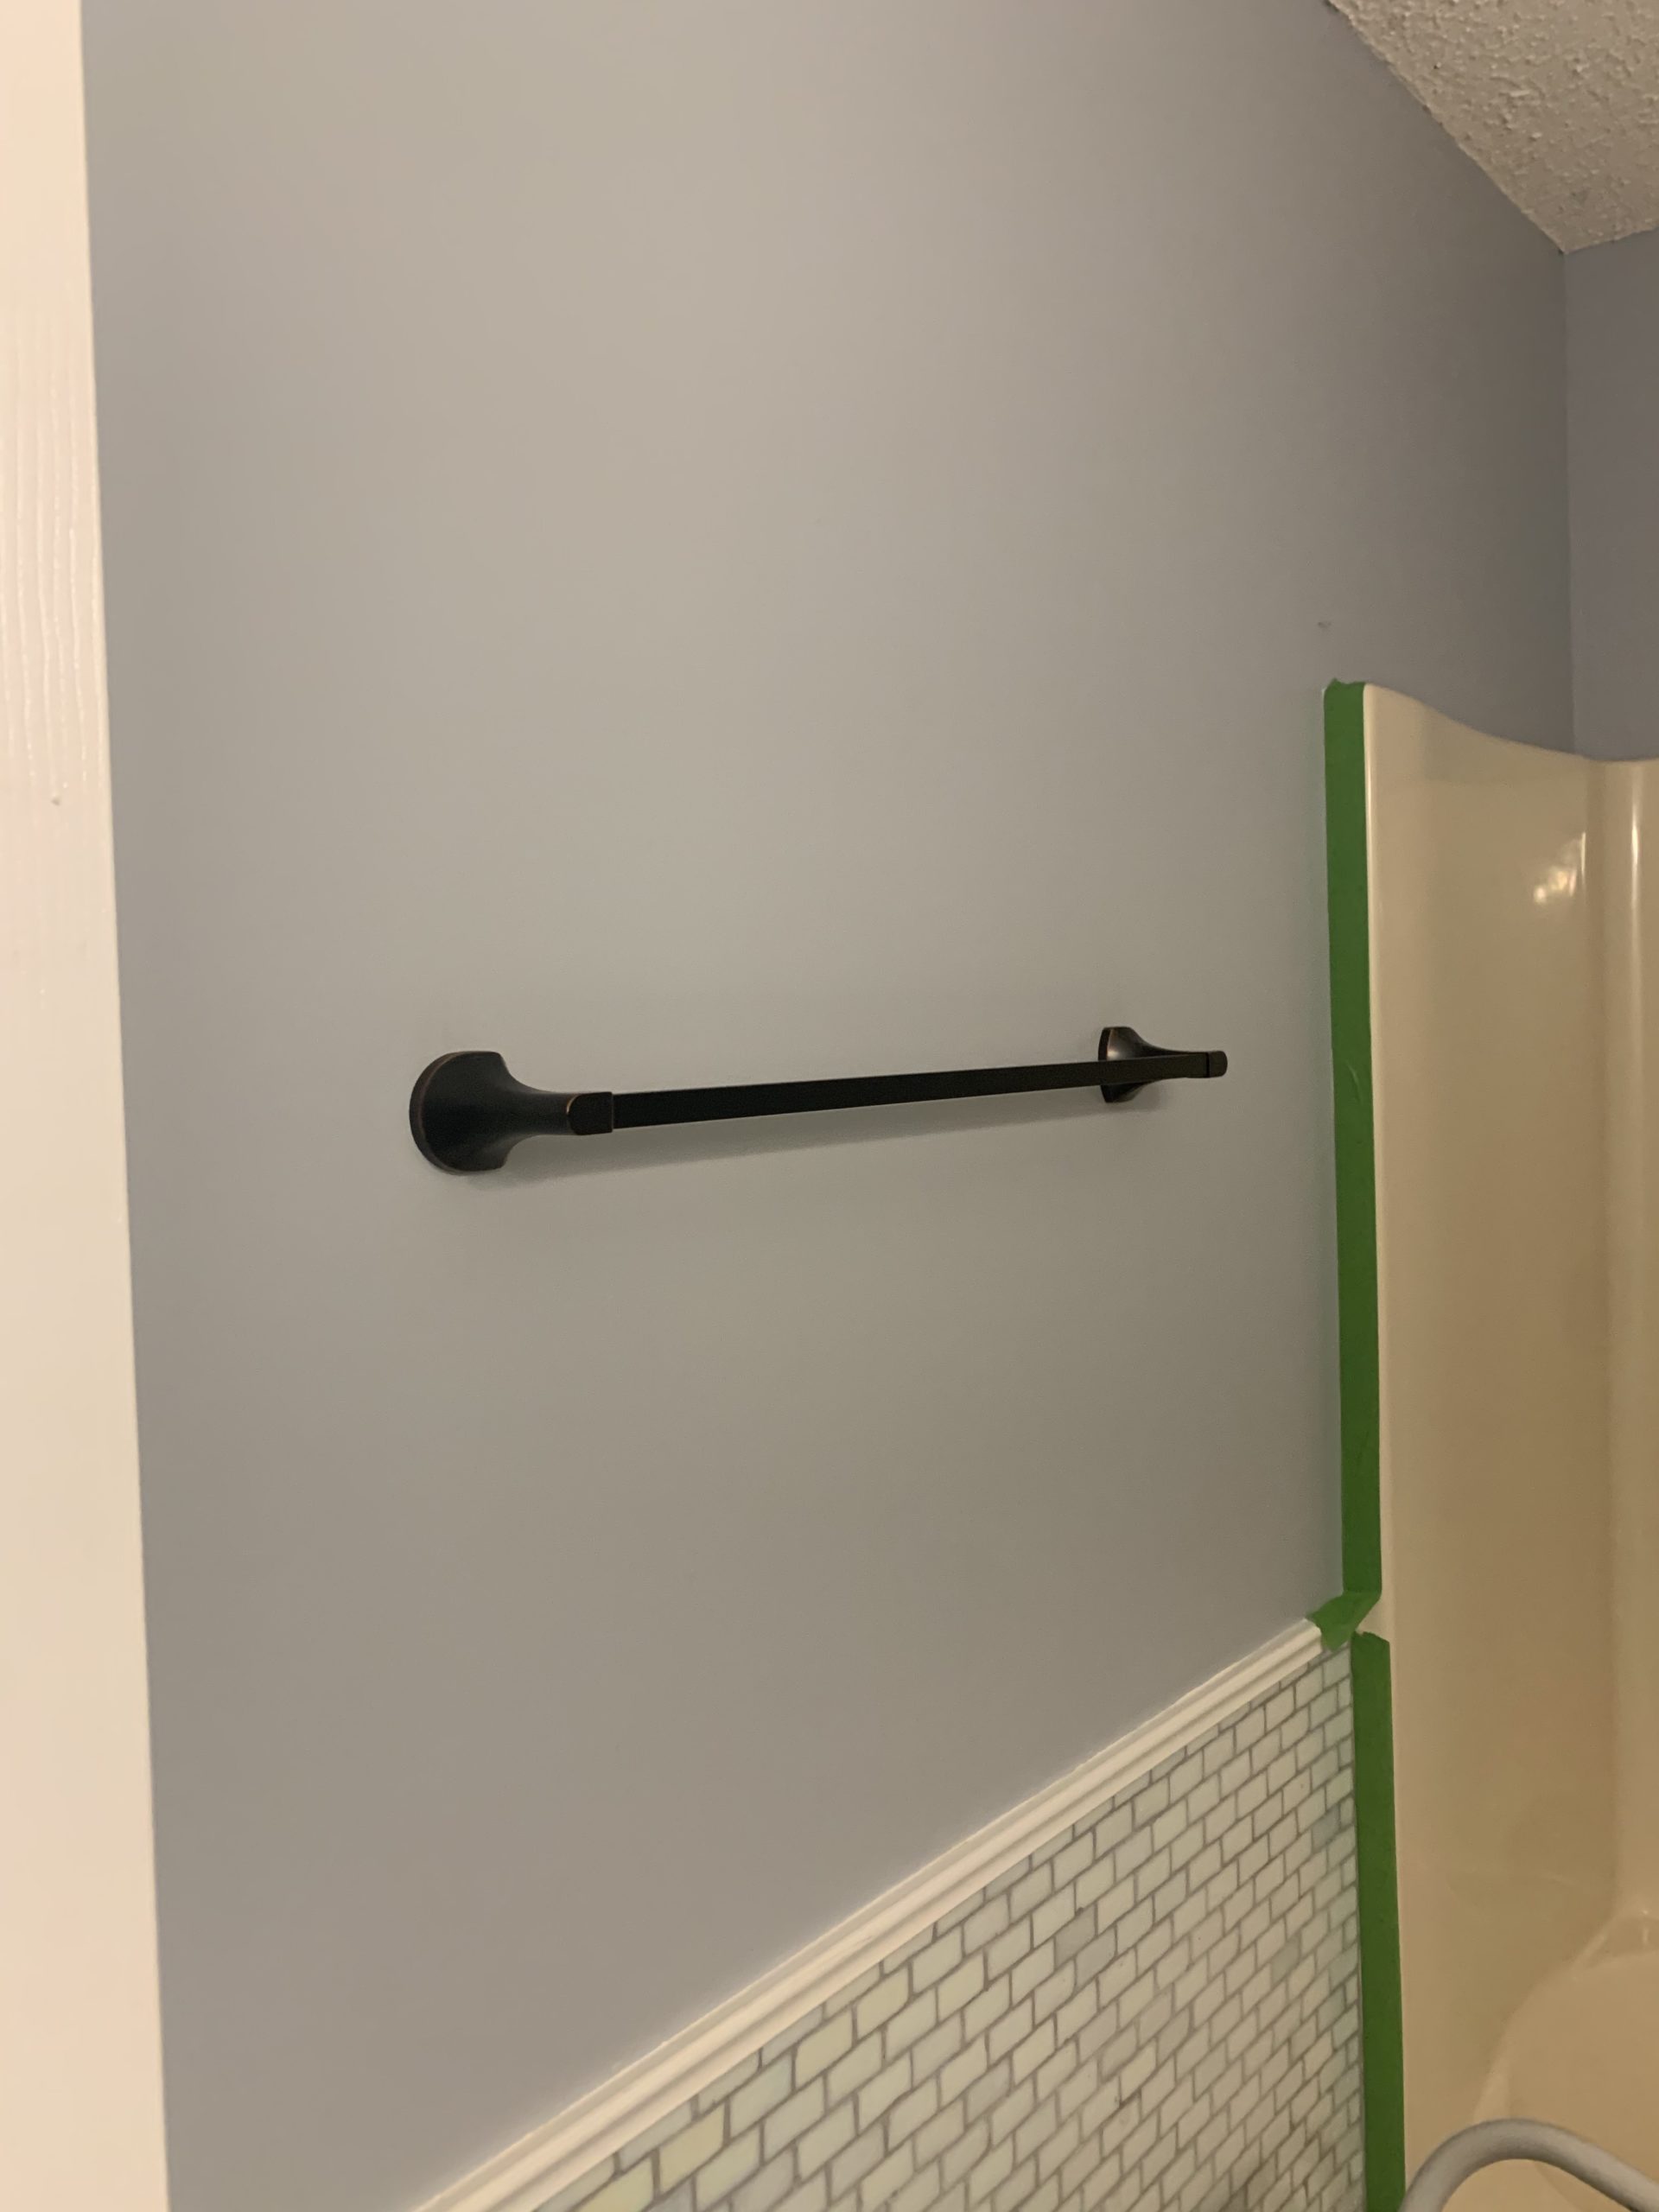
I started by measuring to figure out how far up the wall I wanted to have the vertical shiplap. I decided that I was the shiplap and the molding to be the height of the shower top, to create an even line. I marked the wall there, to ensure that I did not paint that section white because, I wanted to leave the dark color to create the line depth in-between the shiplap spaces. Once all of that was marked, I painted all of the wall minus that section with White Dove with two coats of paint and let it dry for a few hours.
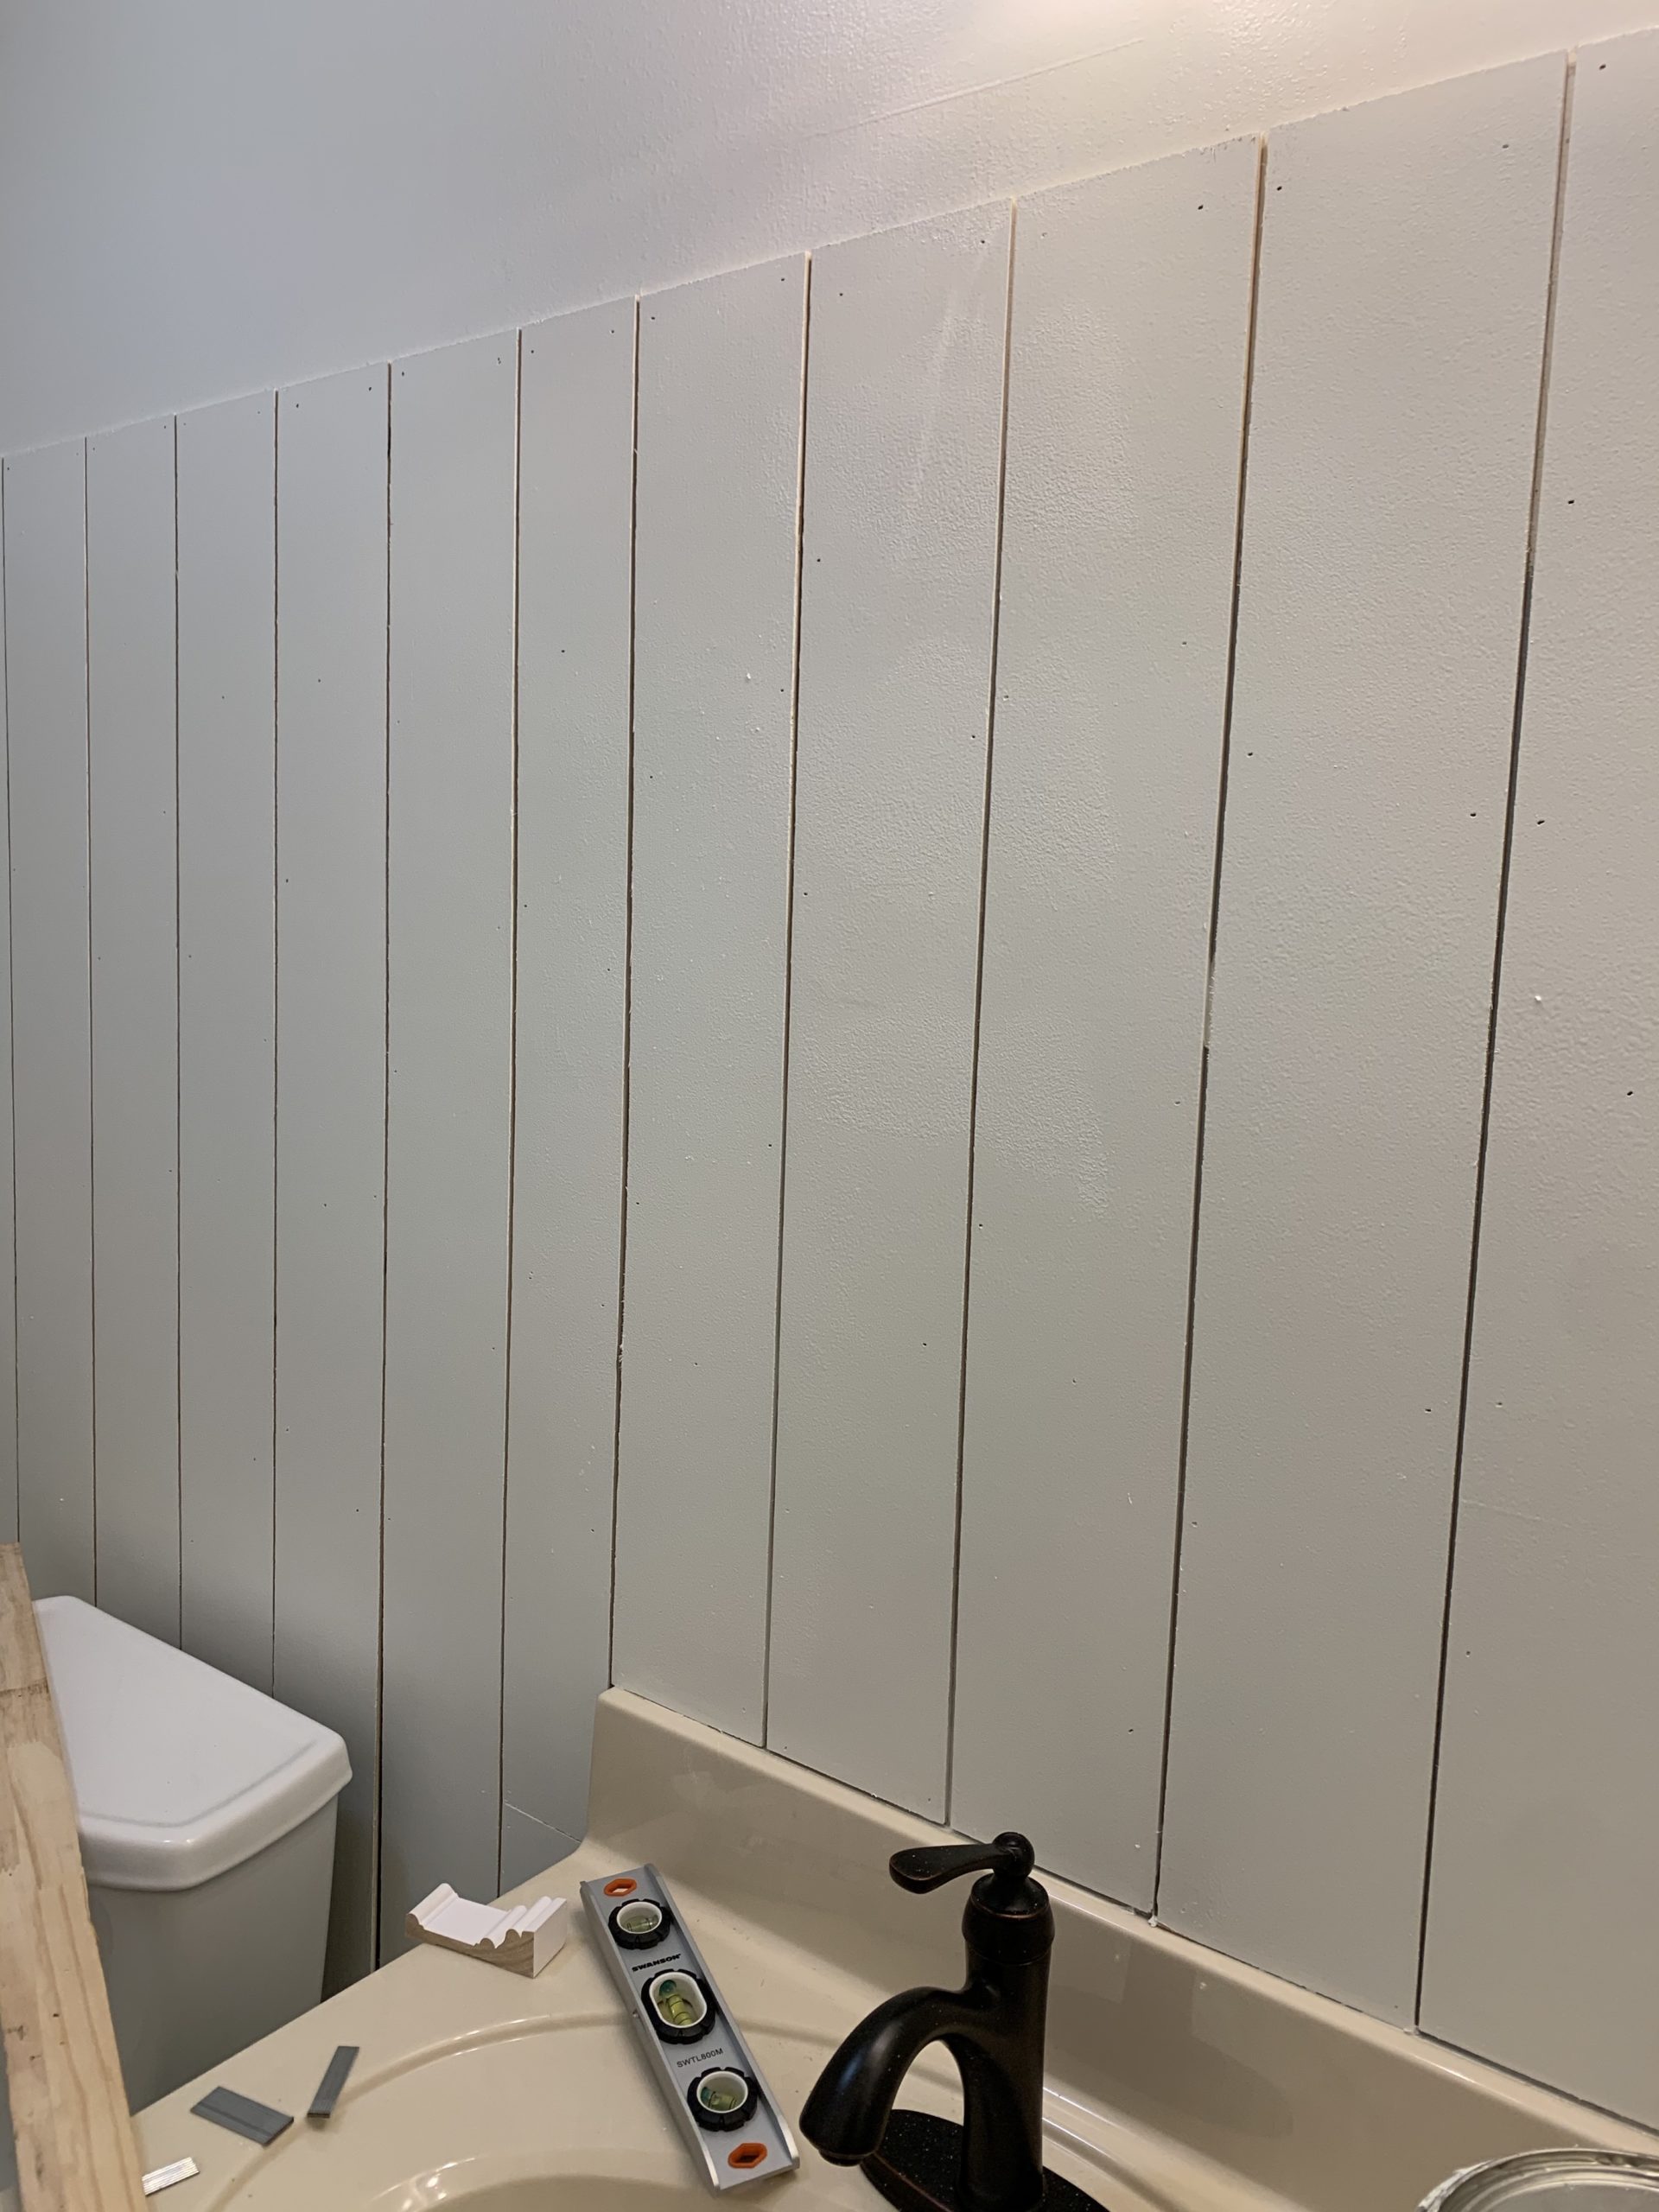
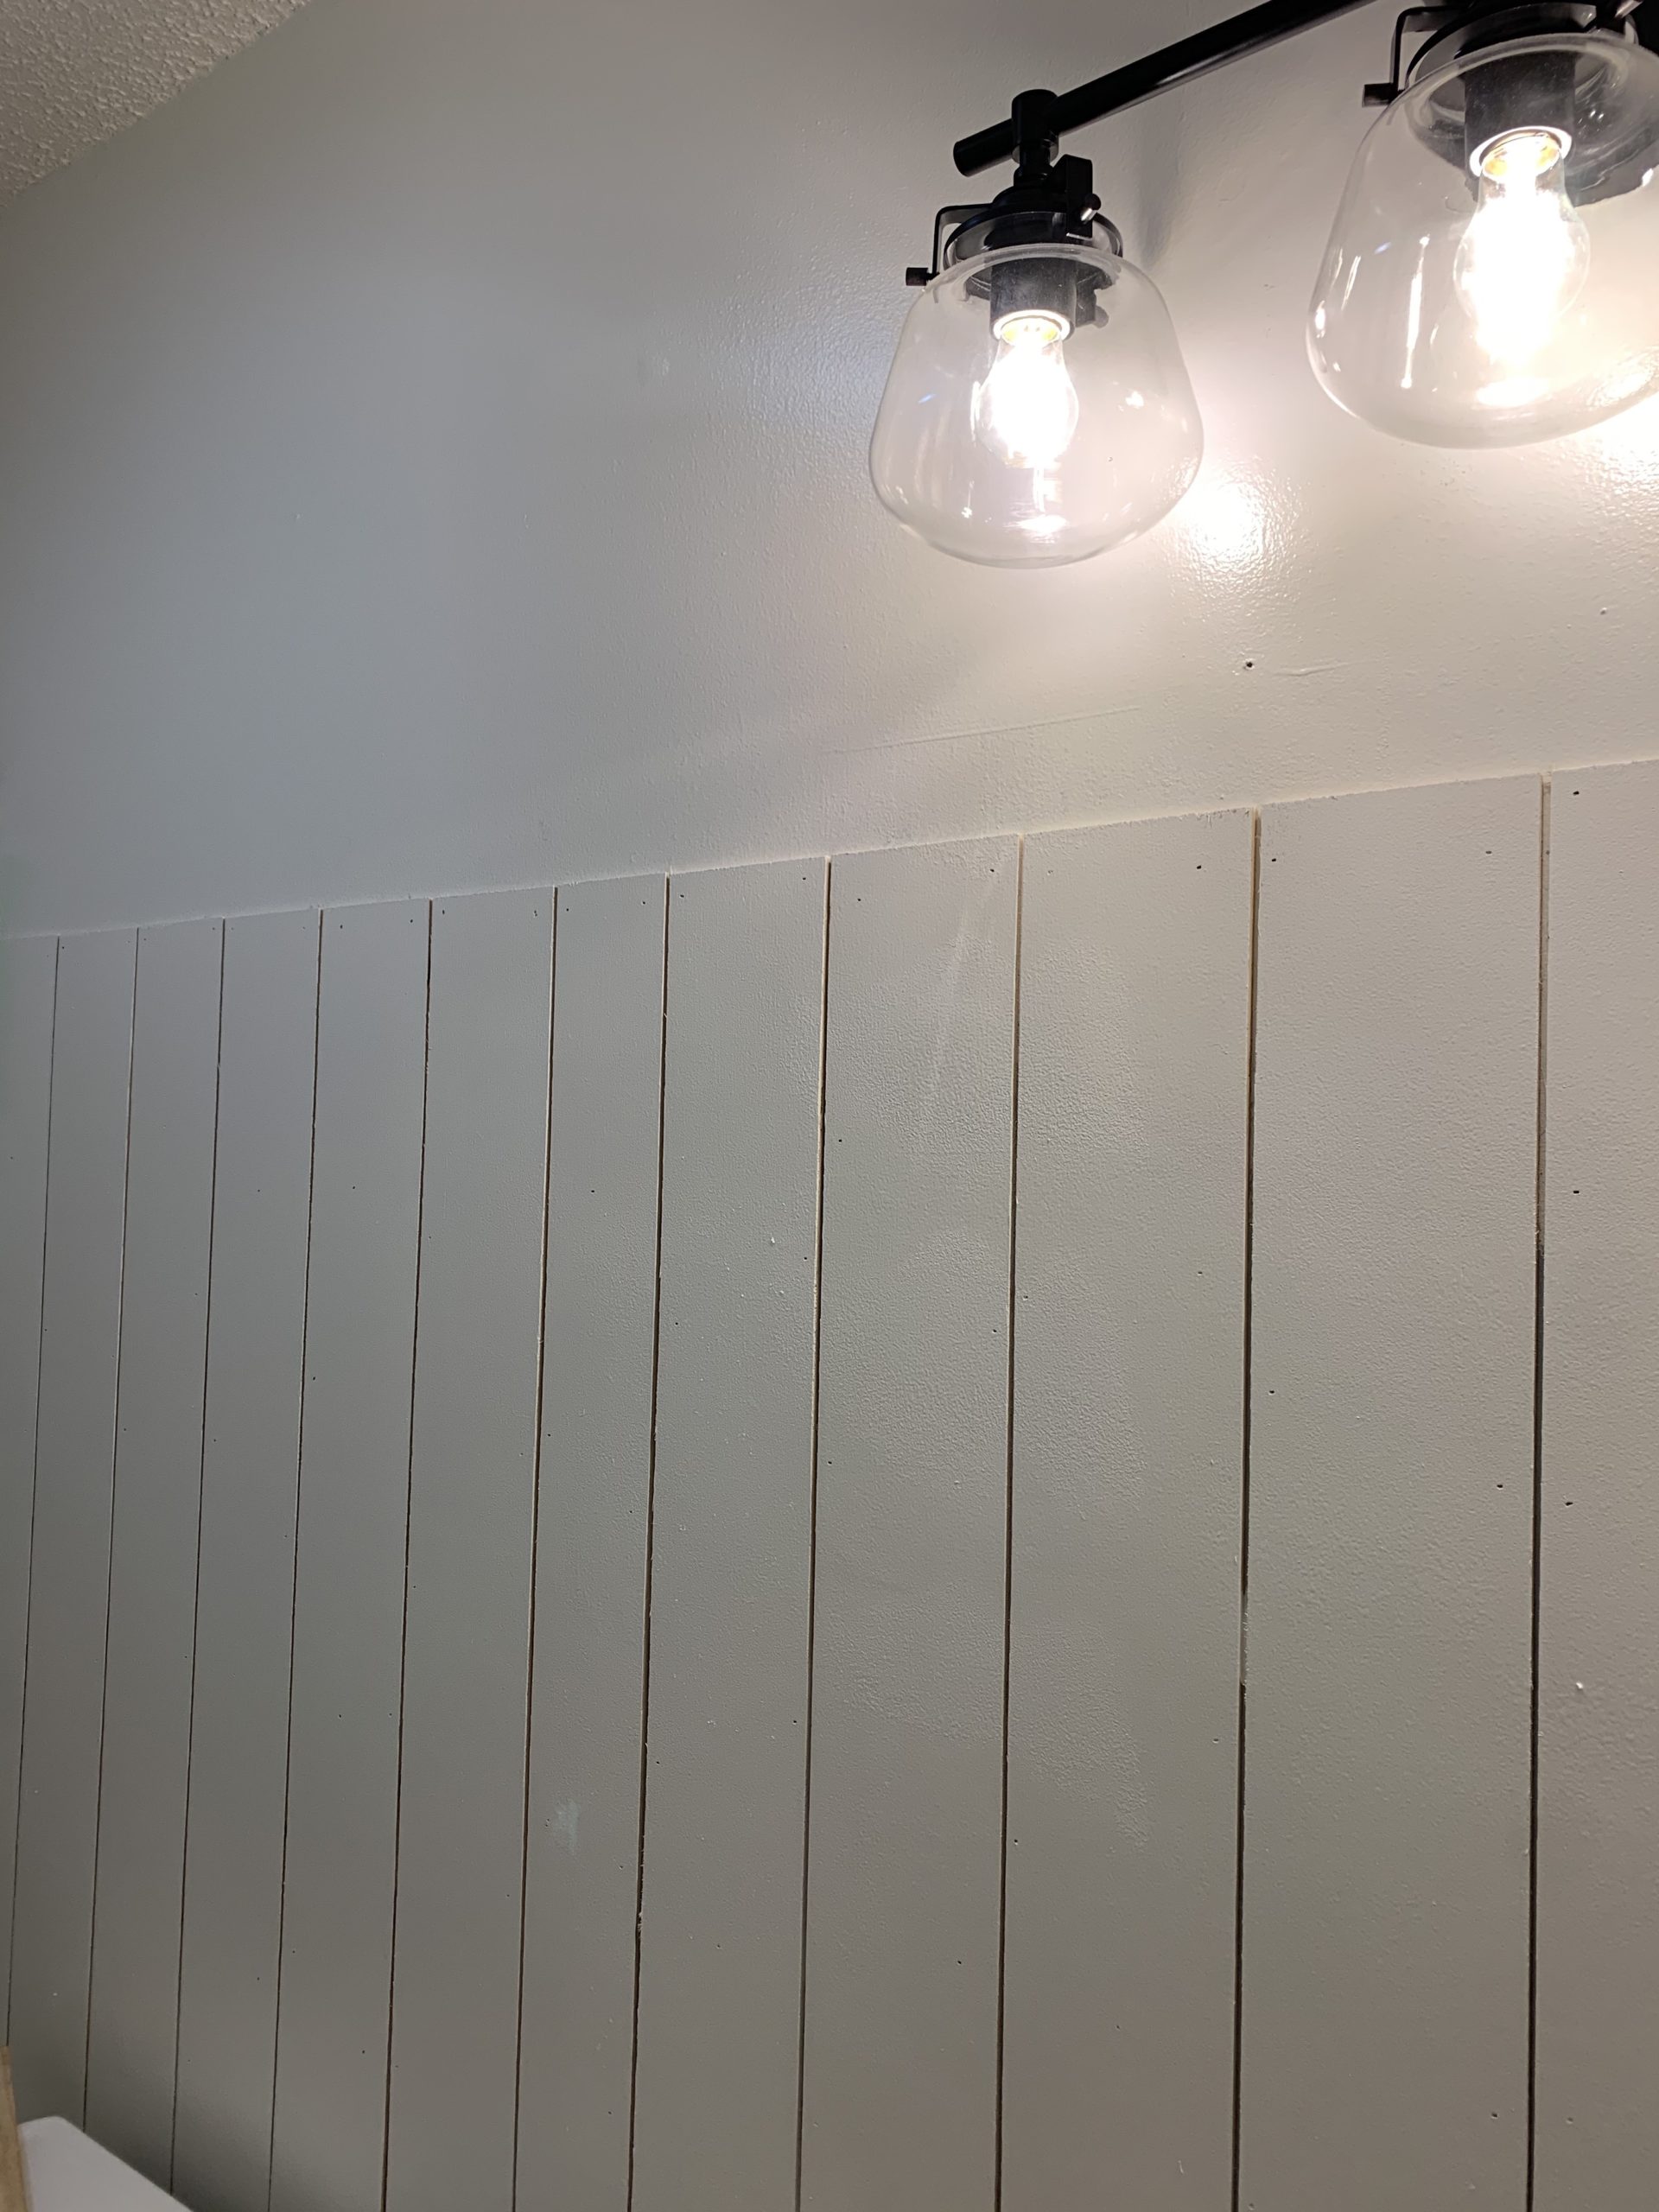
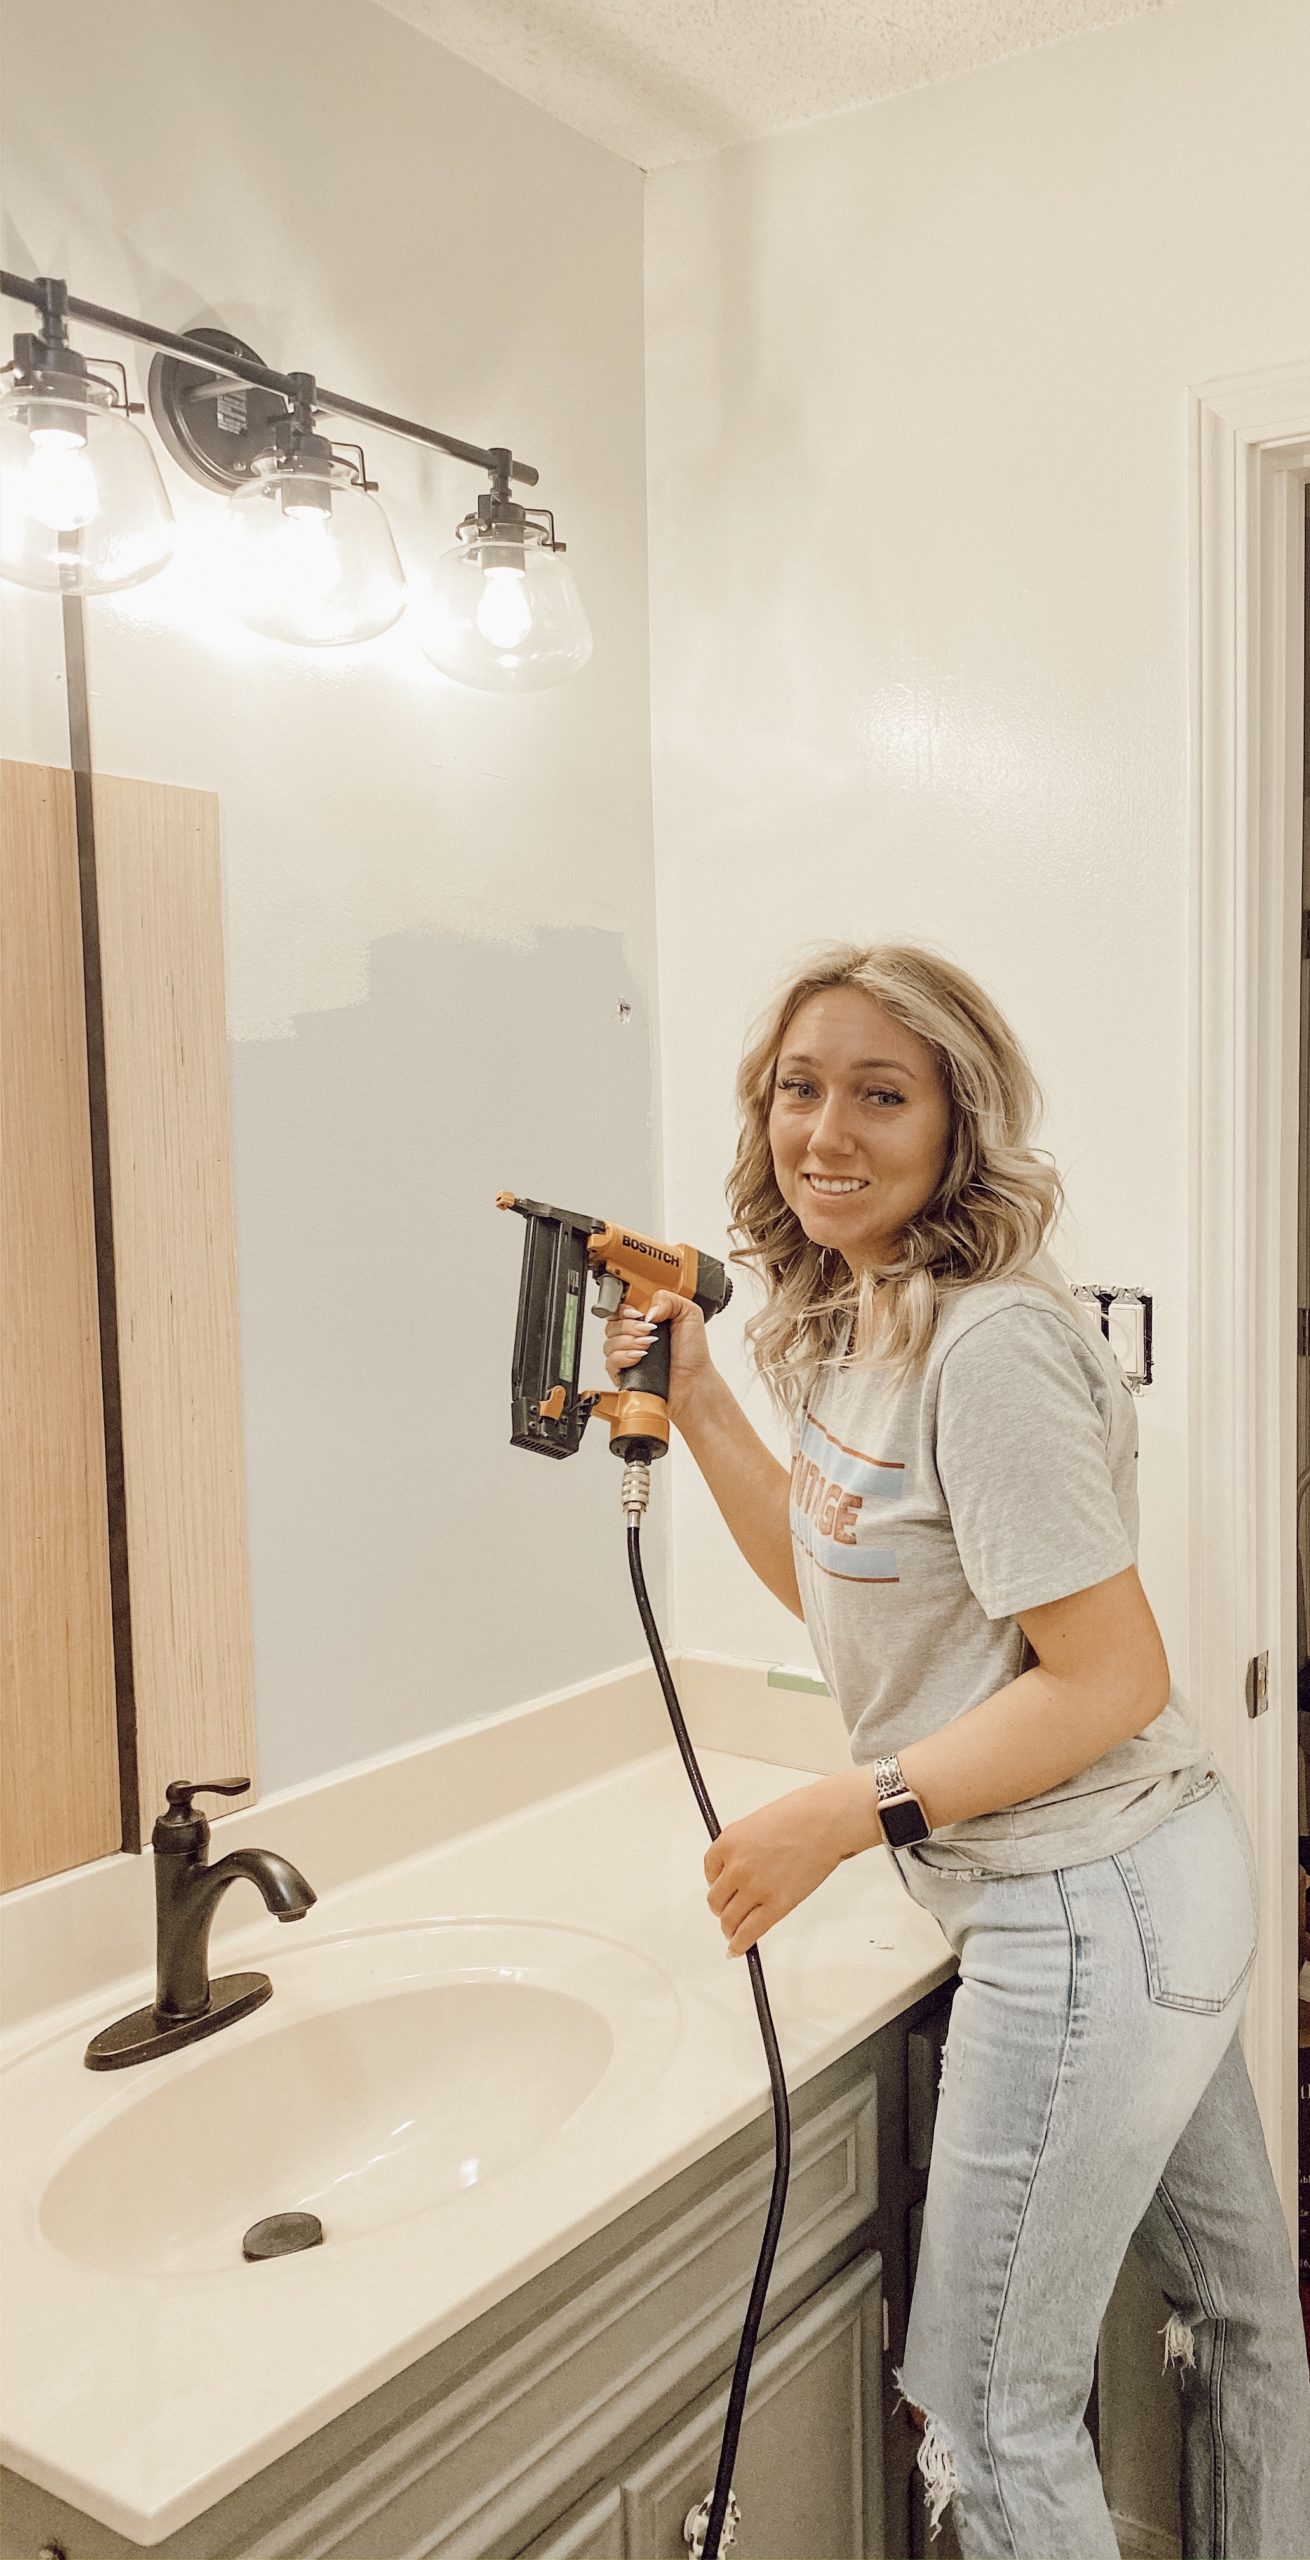
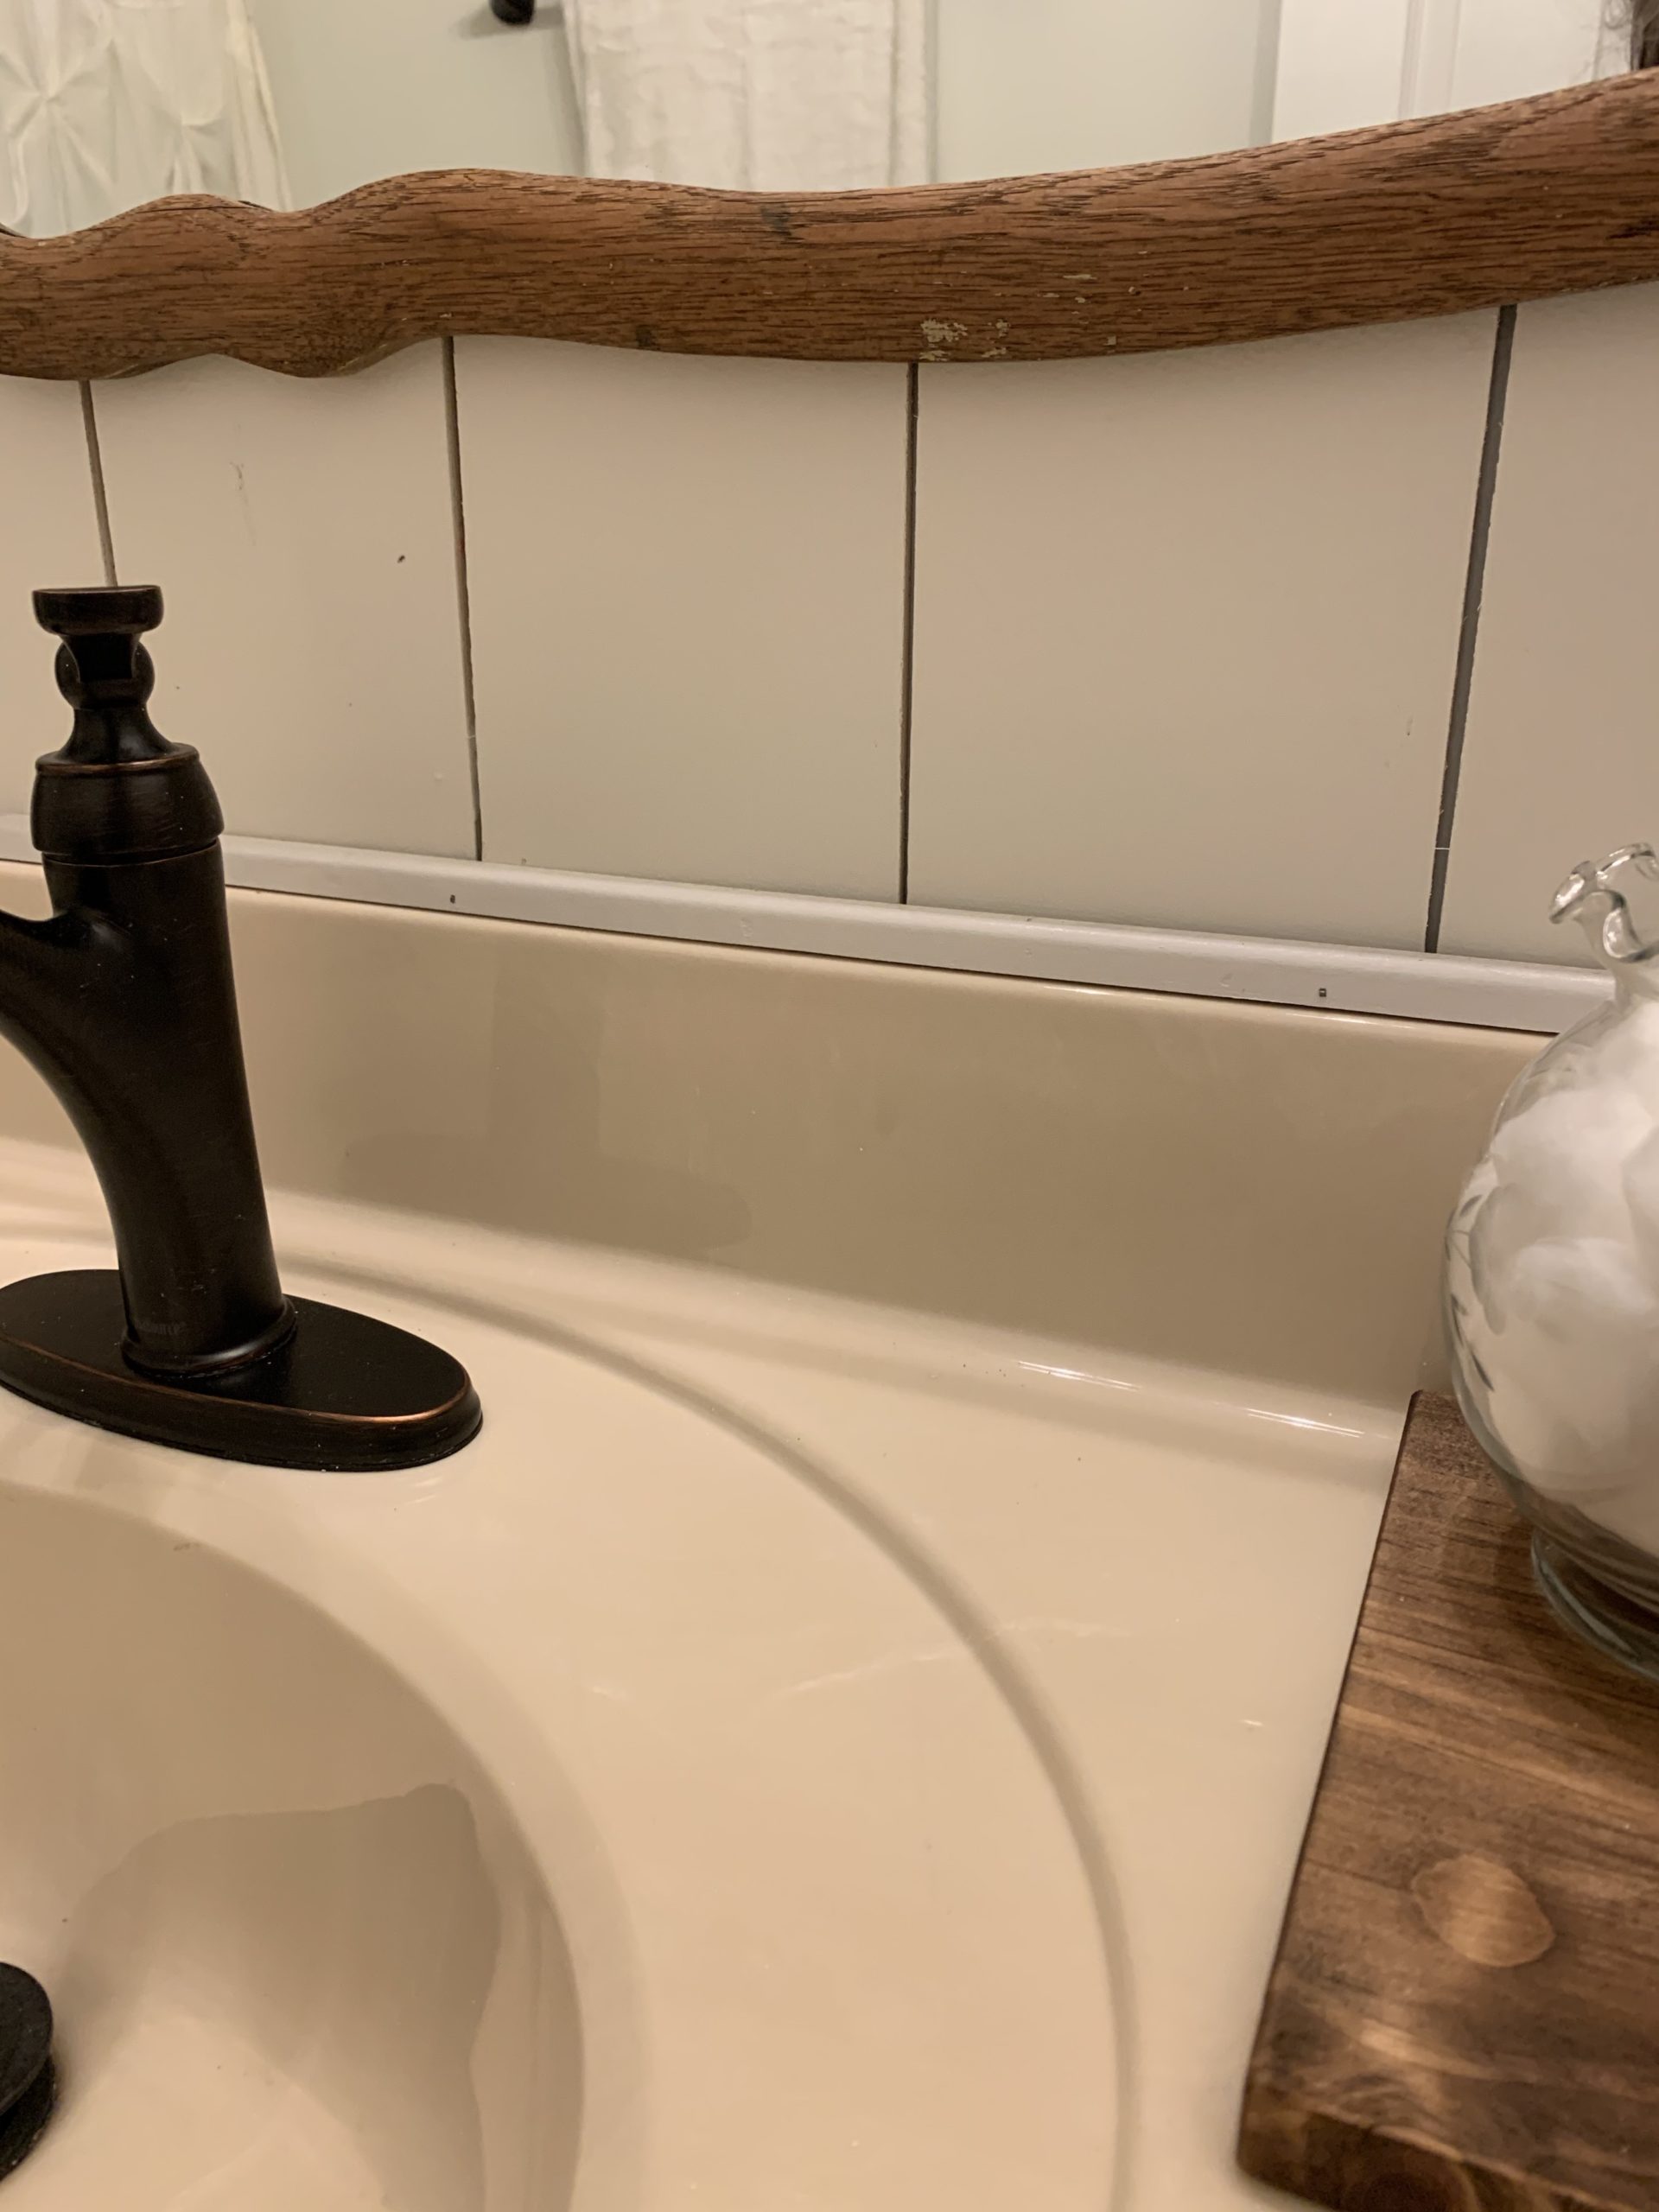
Once it was dry, I went in and start to shiplap the sections. I started the first piece of vertical shiplap against the shower and worked my way across to the cabinet. How I cut my shiplap was I measured the total height of the space that was being shiplap including the molding. Then I measured the height of the molding. For example, my total height of the section was 67inches and the height of my molding was 3inches. That mean’t that I would need to subtract 3 inches from 67 inches, to get the length that I needed to cut my shiplap board. Once I knew the length to cut the shiplap board, I did that length, cutting one piece at a time until I got to the cabinet. Once I put up the first piece I used my flat metal rod to create and even space between the shiplap, just like I use when doing horizontal shiplap. Personally I use a nail gun to attach the shiplap to the wall but, if you do not have a nail gun you can use paneling nails and a hammer. Once, I was at the cabinet the height changed. I then remeasured the space. I measured from the top of the cabinet to the top of the last vertical shiplap board that stopped right beside the cabinet. Then I began to cut those lengths one by one until I was only my last piece. The last piece will most likely always be smaller in width. I took my handy dandy metal rod and put it next to the shiplap piece and measured from it to the wall to find the with of the last piece.
Now with all of the shiplap up, it was time to measure the length of the space to cut the molding. Once I knew the length I went and cut the molding. Before I put up the molding piece, I did go ahead and paint the shiplap the was it would be a simple roll and go. After it was dry, I put the molding even with the top of the shower and flush with the shiplap. I took the nail gun and attached it to the wall. Once the molding was attached I used a brush and painted it the same color has the shiplap, White Dove by Benjamin Moore. I did attach a small piece of molding right about the cabinet top, to make a clean line.
After this was dry it was time to paint the cabinet. I took the hardware off, took the drawers out, and the cabinet doors off. I chose to use a my Wagner Paint Sprayer to paint the doors and drawers but, if you do not have one you can use a cabinet roller and a brush. I used the paint color Sea Salt by Sherman Williams in a satin finish to paint the cabinet. Since the cabinet was already primed with Kilz Chalk paint, I did not use a primer. If your cabinet is not primed, I would use a primer to ensure the the paint will stick. I did use a brush on the frame of the cabinet. I let it dry over night and then in the morning, I attached the matte back hardware.
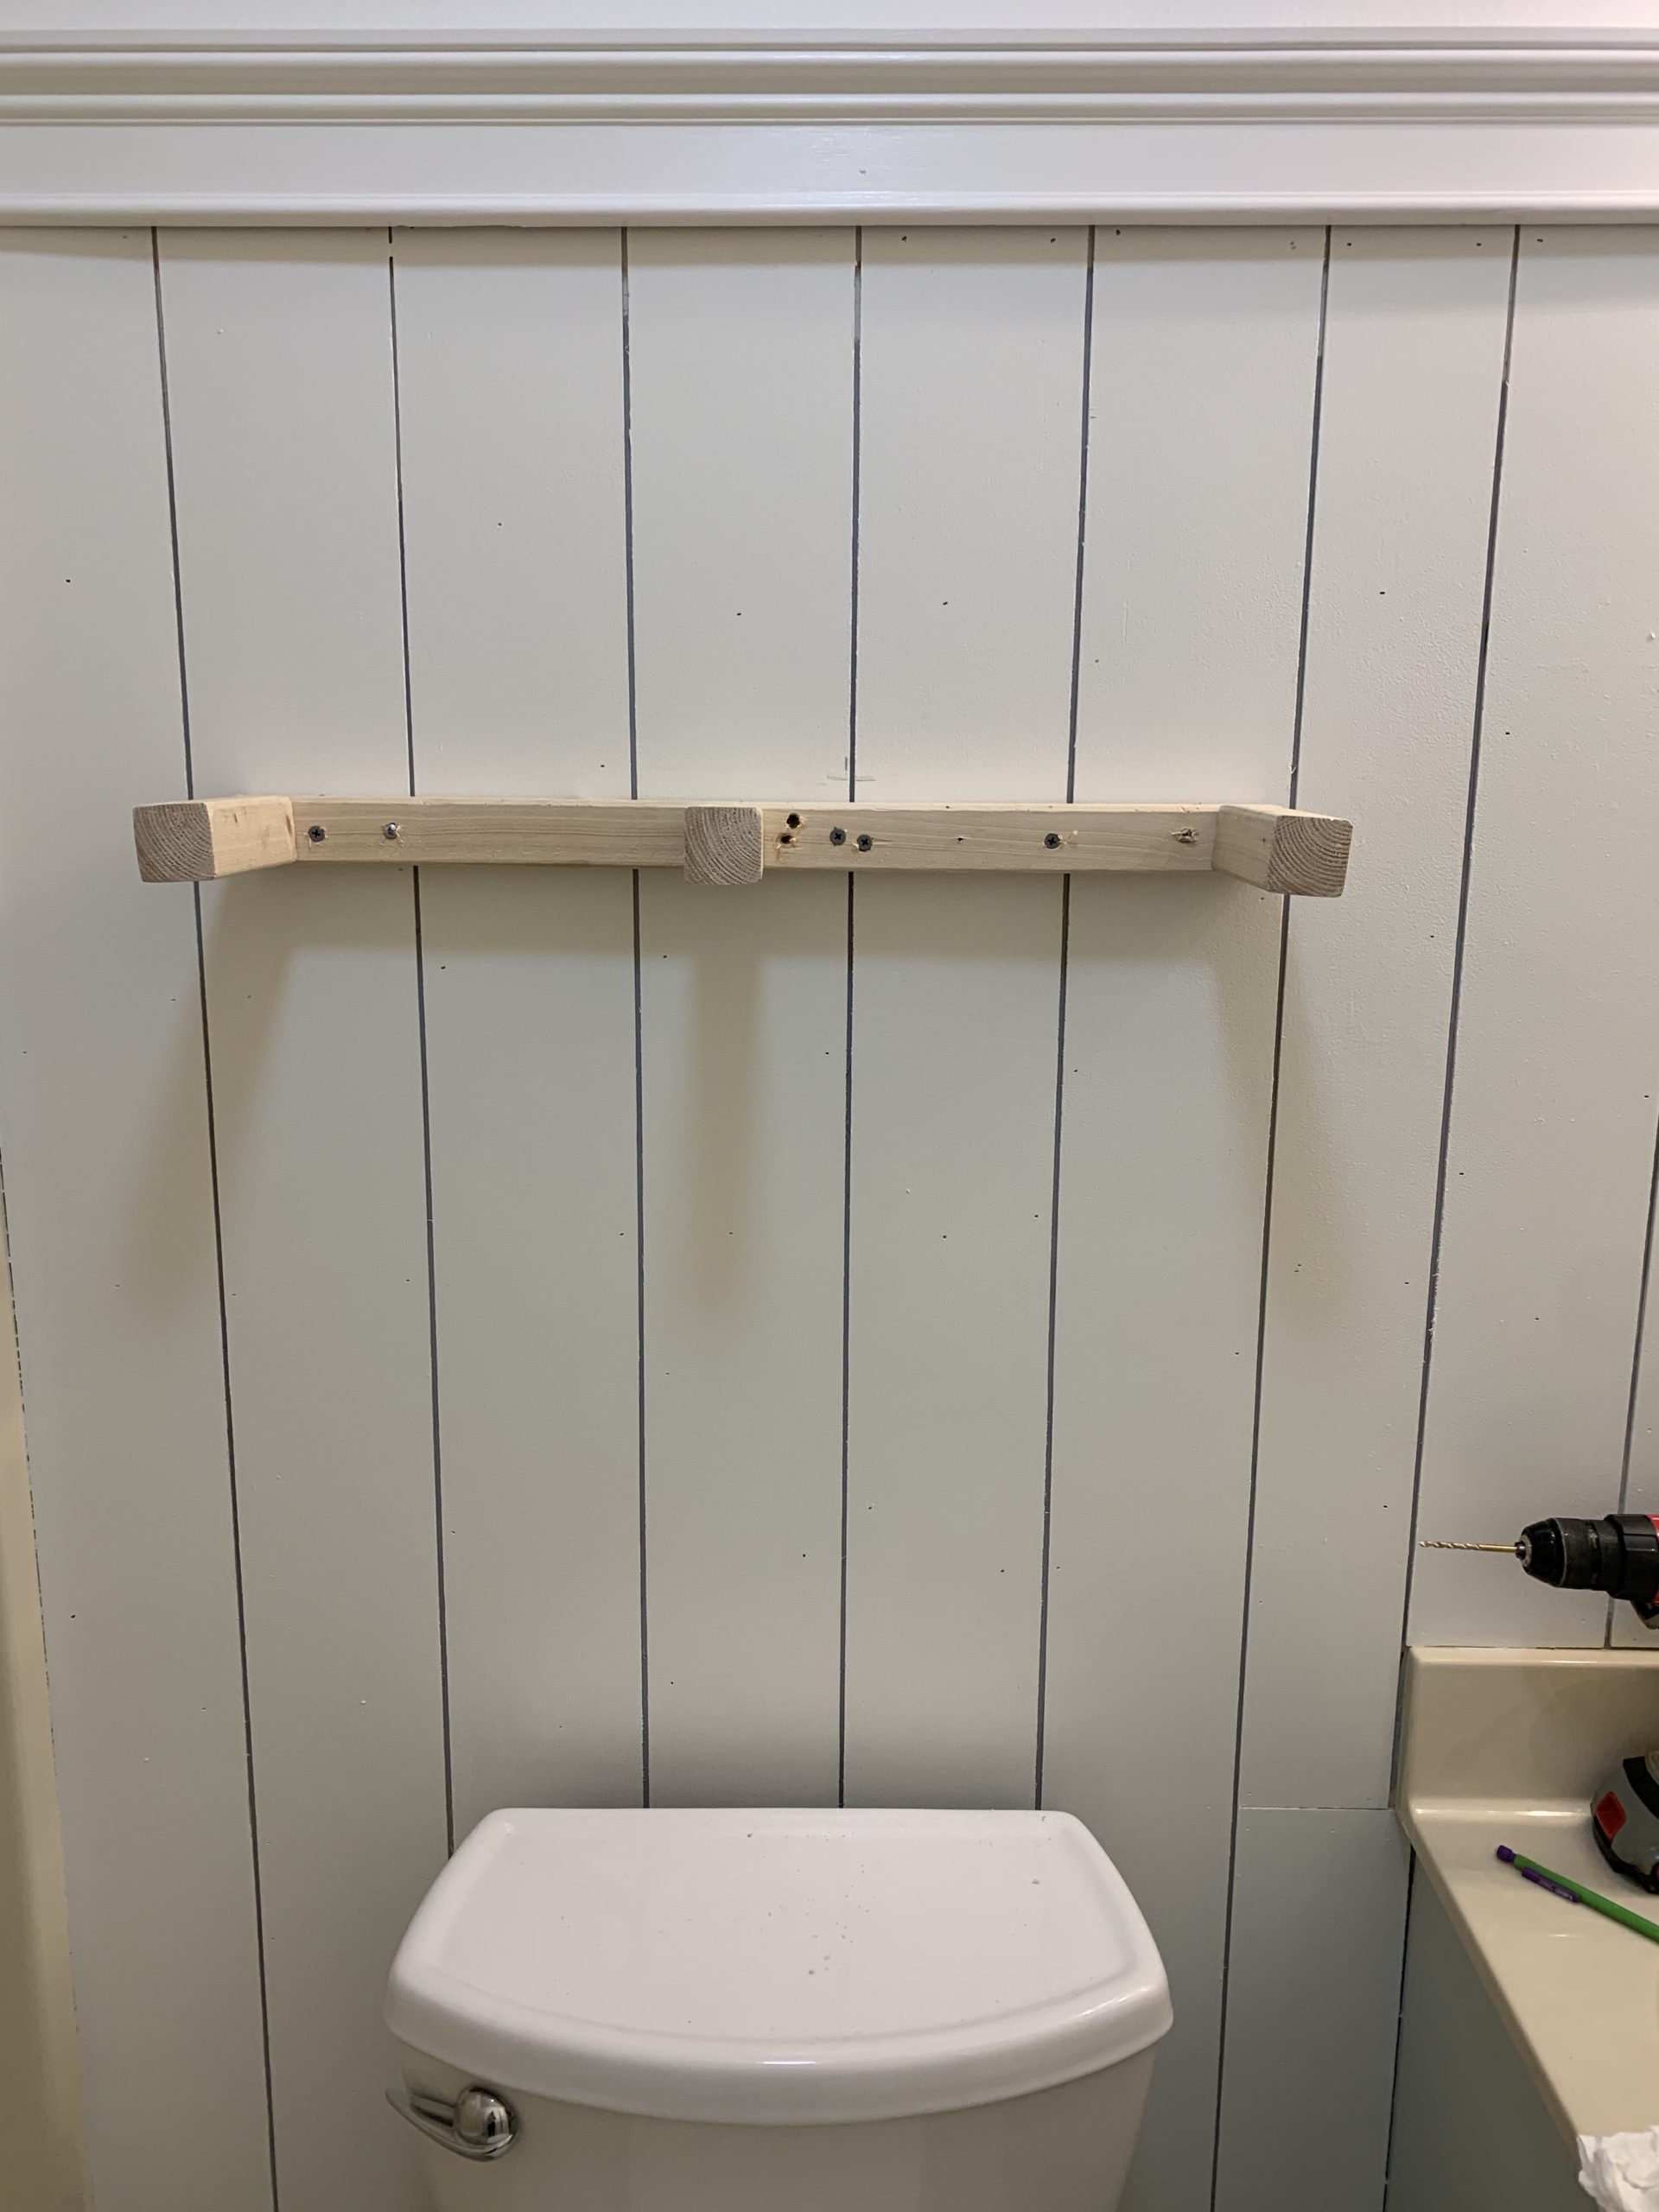
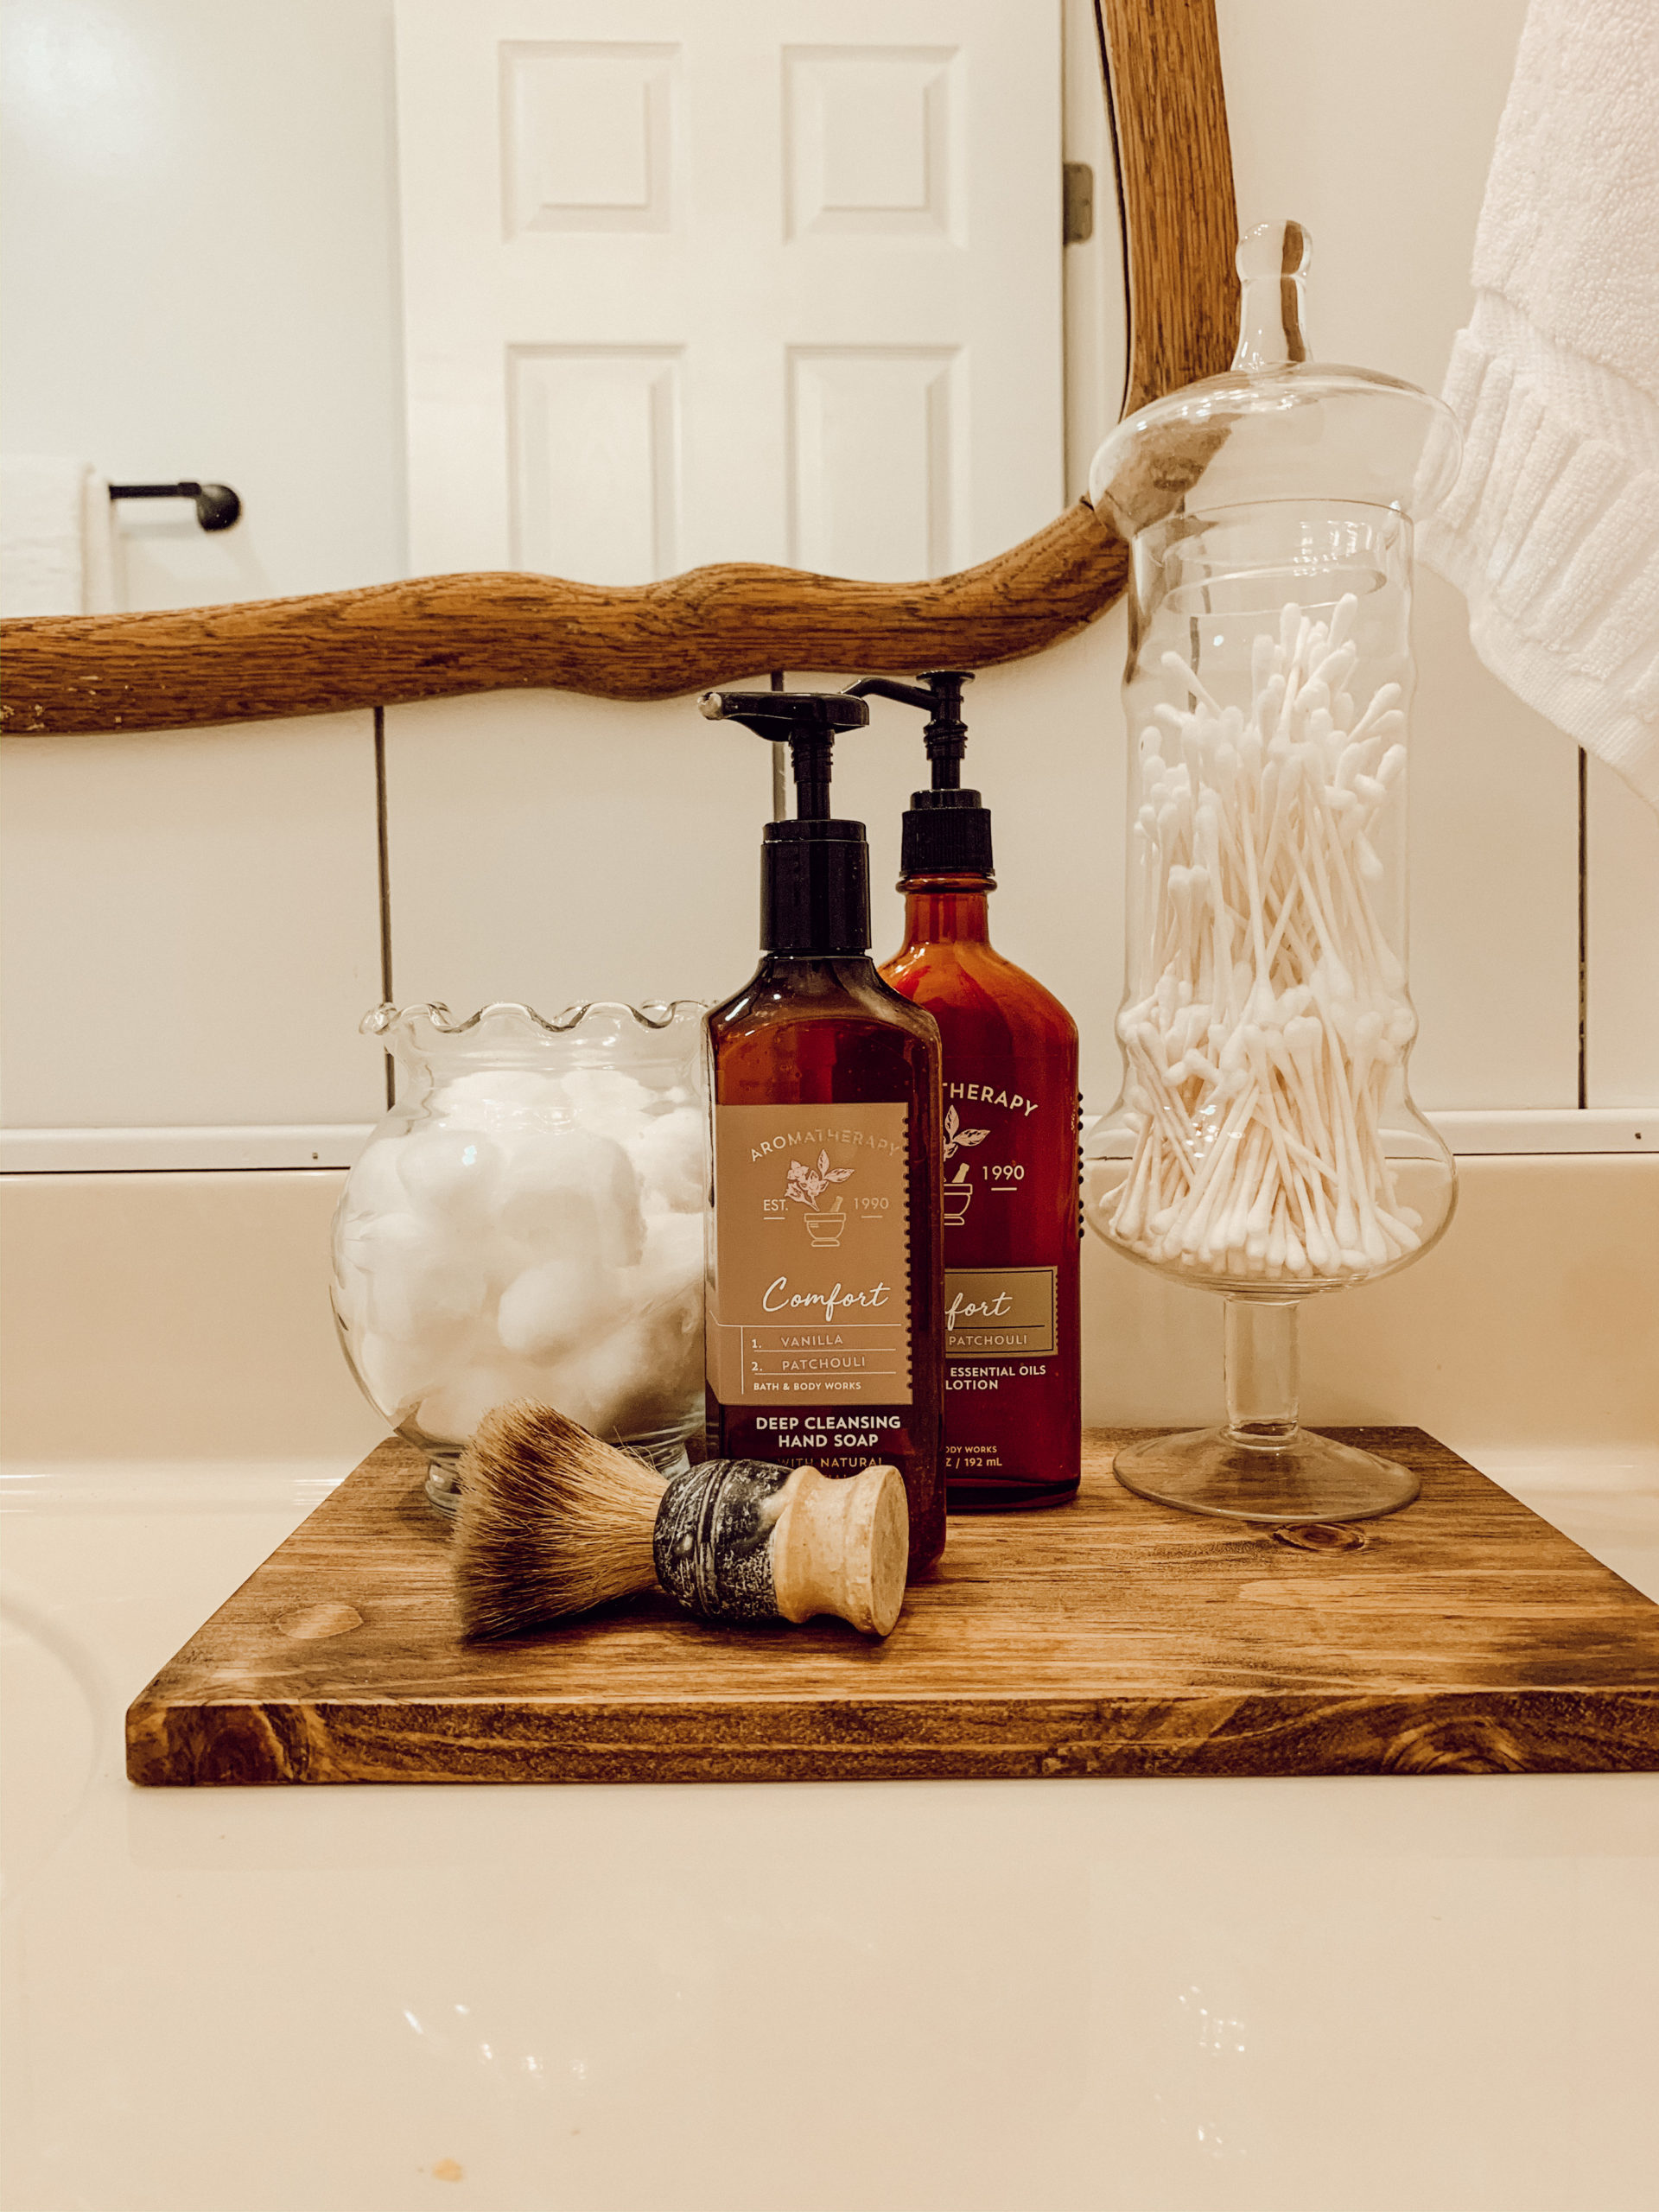
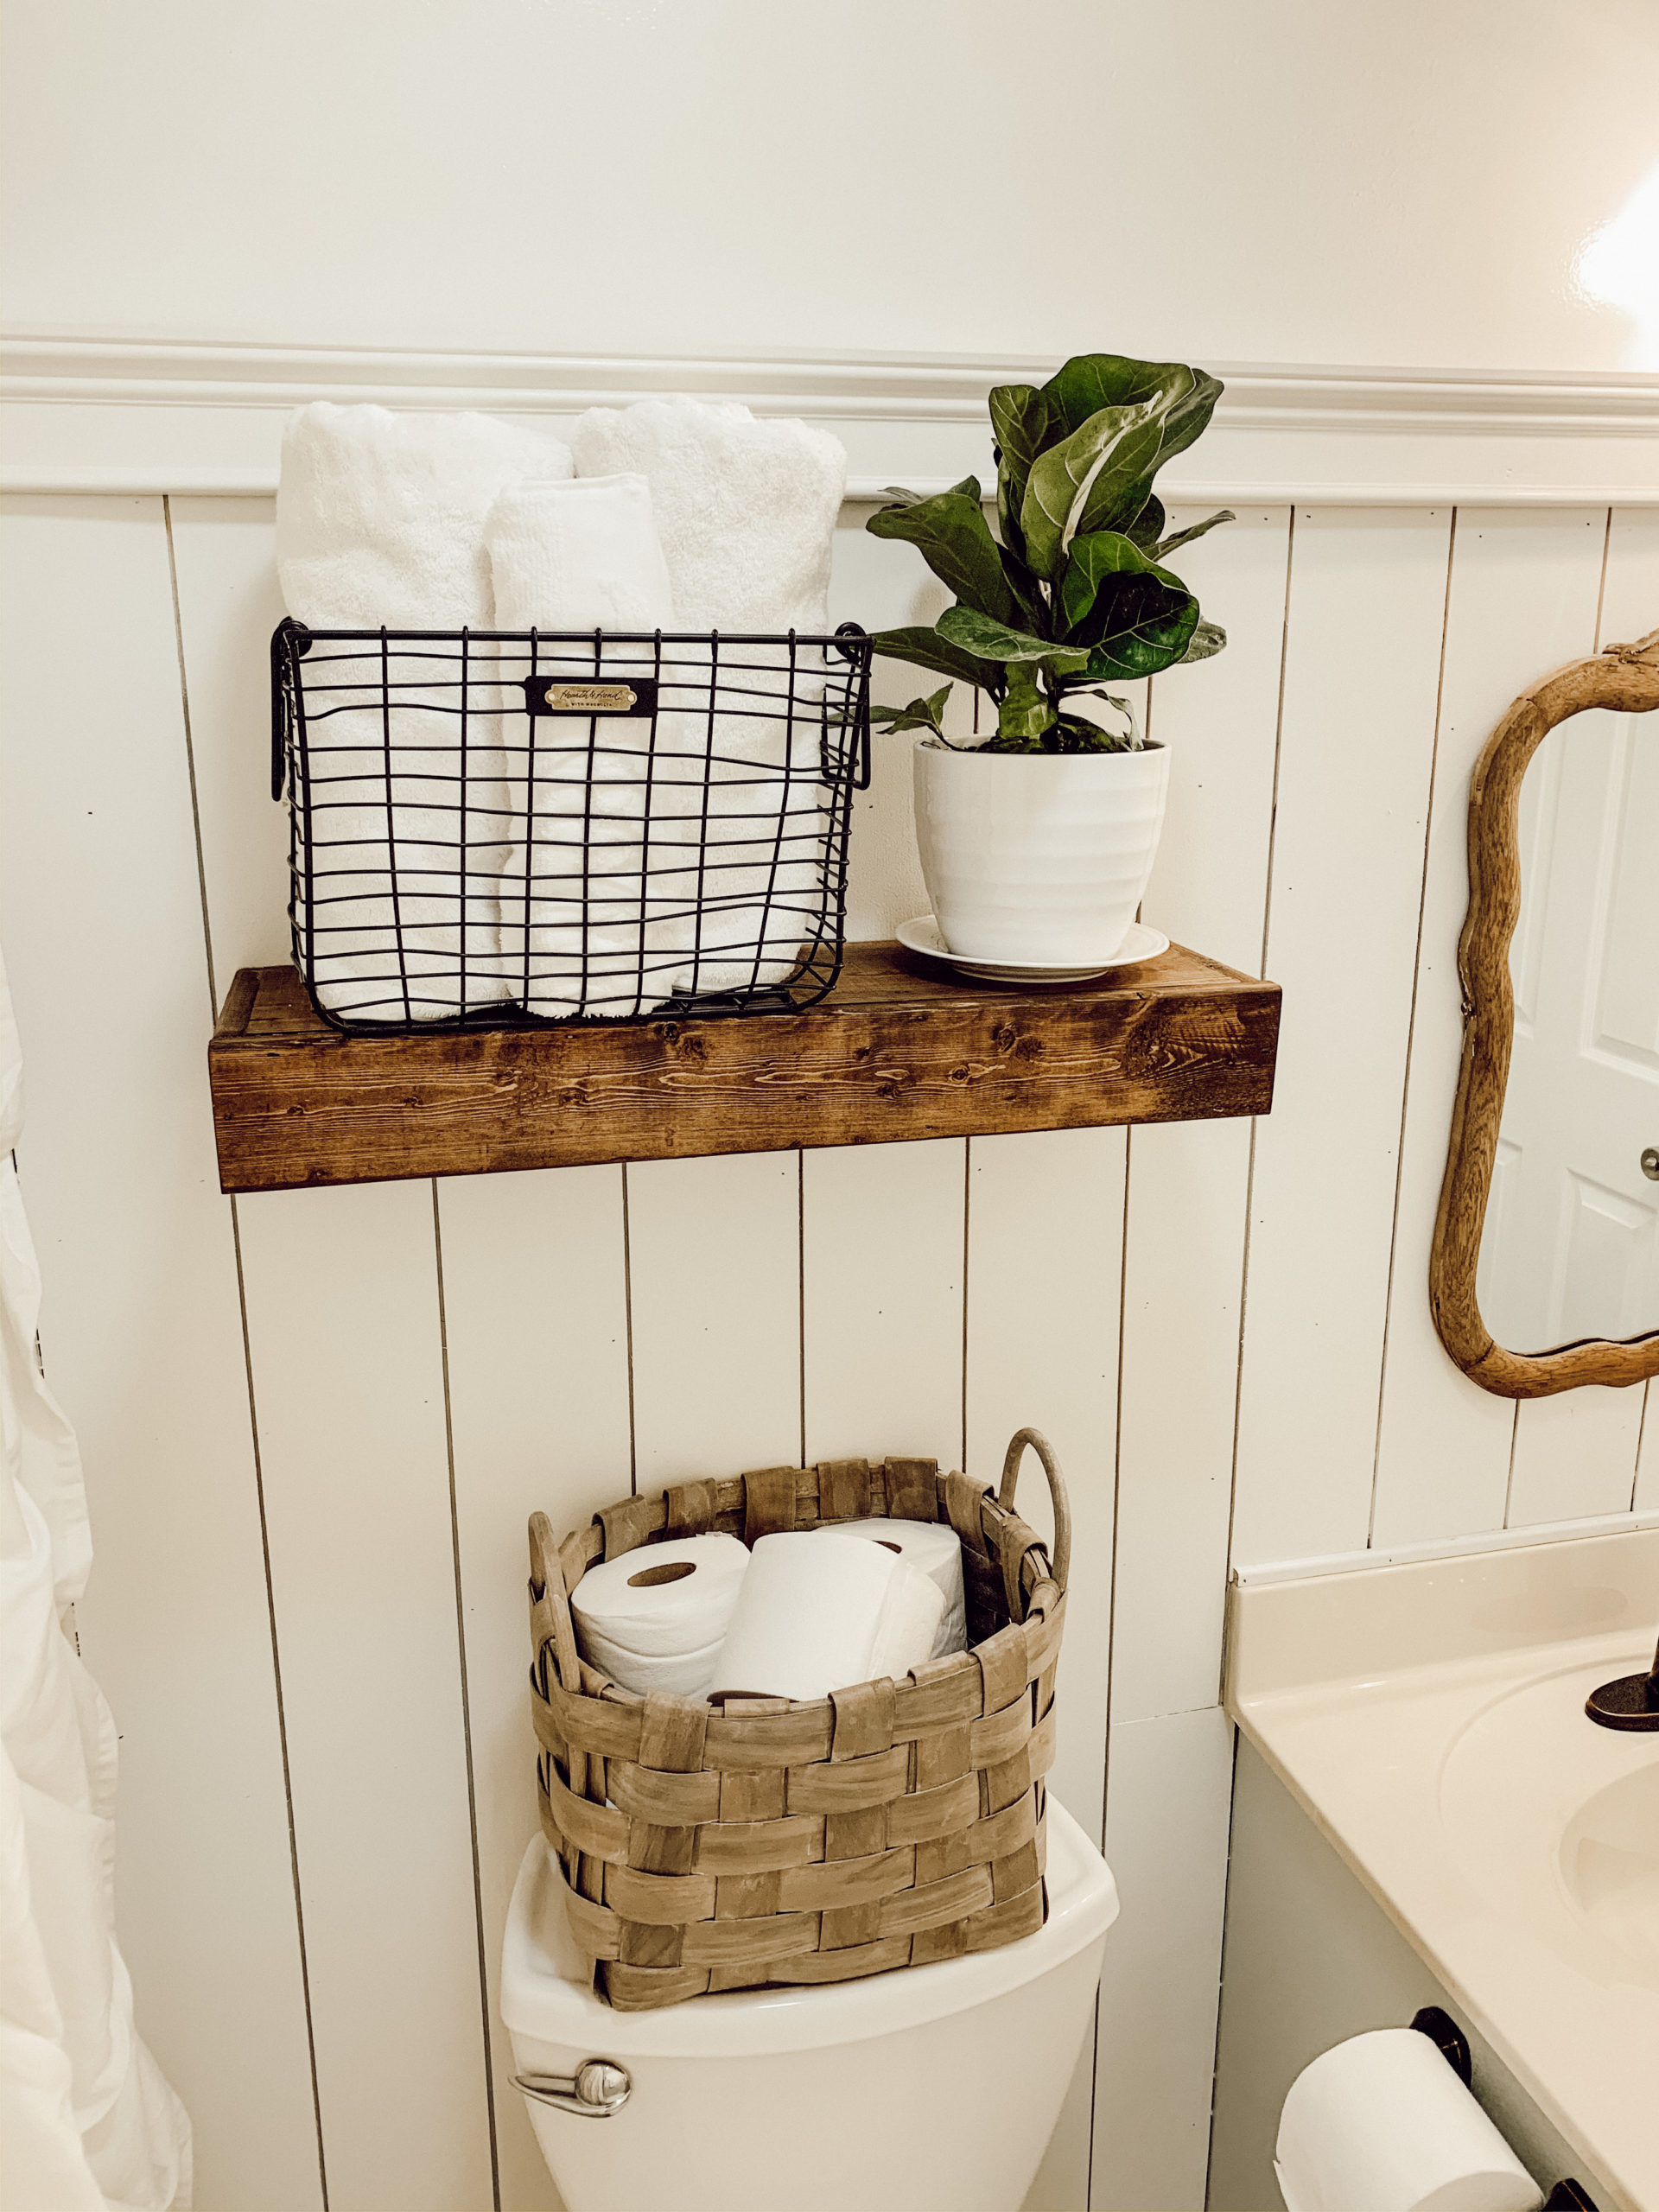
Lastly, it was time to add all of the missing styling pieces. the first piece I added in was the light fixture above the sink. I then had to decide if I wanted to put back the two floating farmhouse shelves or just one. I went with just one because I did not want to take away from the molding piece. Here is the simple DIY blog post on how create those floating shelves. I did the shelf enough space from the toilet to ensure no-one would hit their head on it. Once it was up a styled it with some simple pieces. Finally it was time to figure out the mirror situation because, the one that I originally wanted here did not fit. I decided to use the mirror frame that I had recently found picking a barn and had a mirror put back in it. This was the best decision, I love the wood texture it brings! Everything was just like I envisioned it!
I really hope this inspires you to revamp a space in your home with these simple ways without breaking the bank. I would love to see the spaces your revamp, share with me here on the blog or by tagging us on Instagram @itty_bitty_farmhouse .Thank you for stopping by the blog today, XOXO!

You’ve done a marvelous job! Quite lovely. Thank you for the inspiration.
thank you so much!
I love it… you always amaze me with how quick you can get projects done!!
Thank you so very much friend!