SHARE
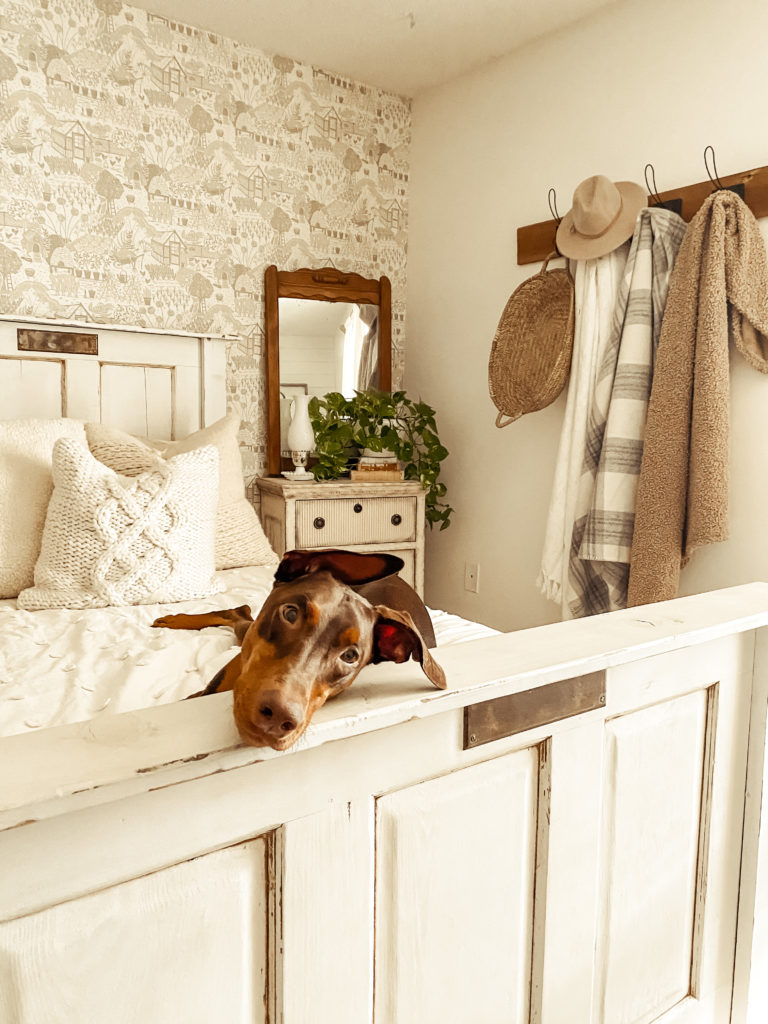
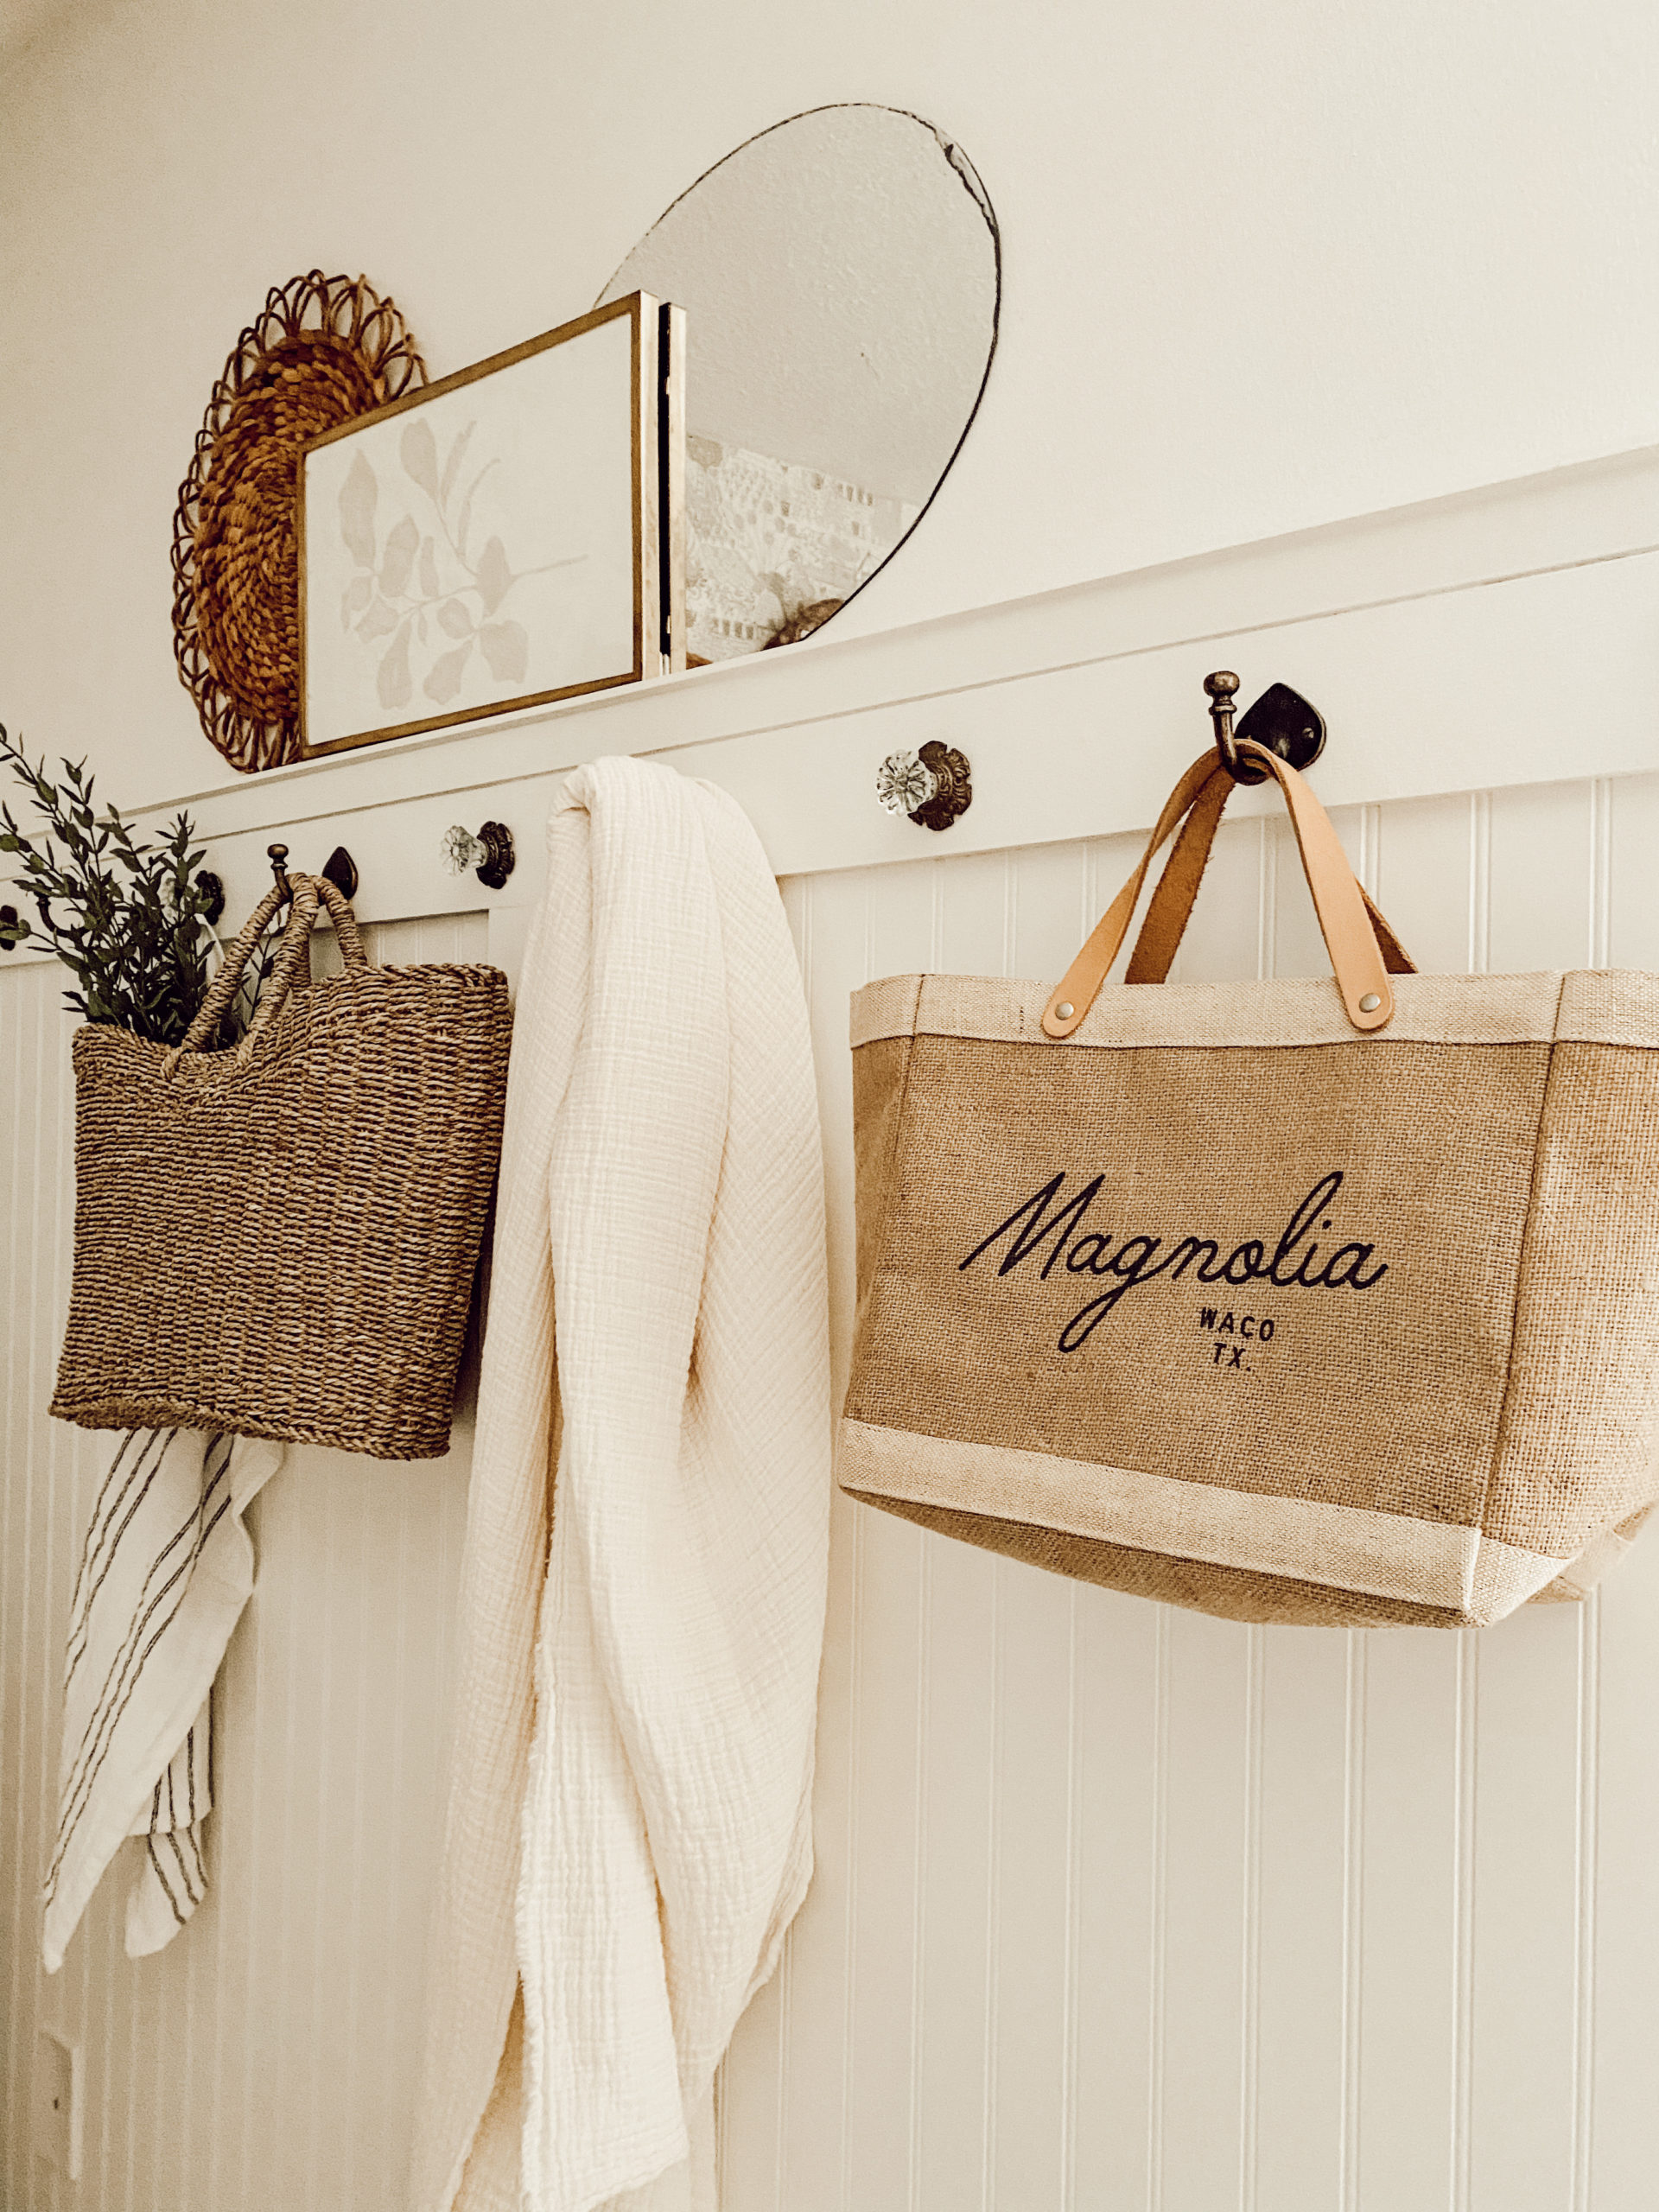
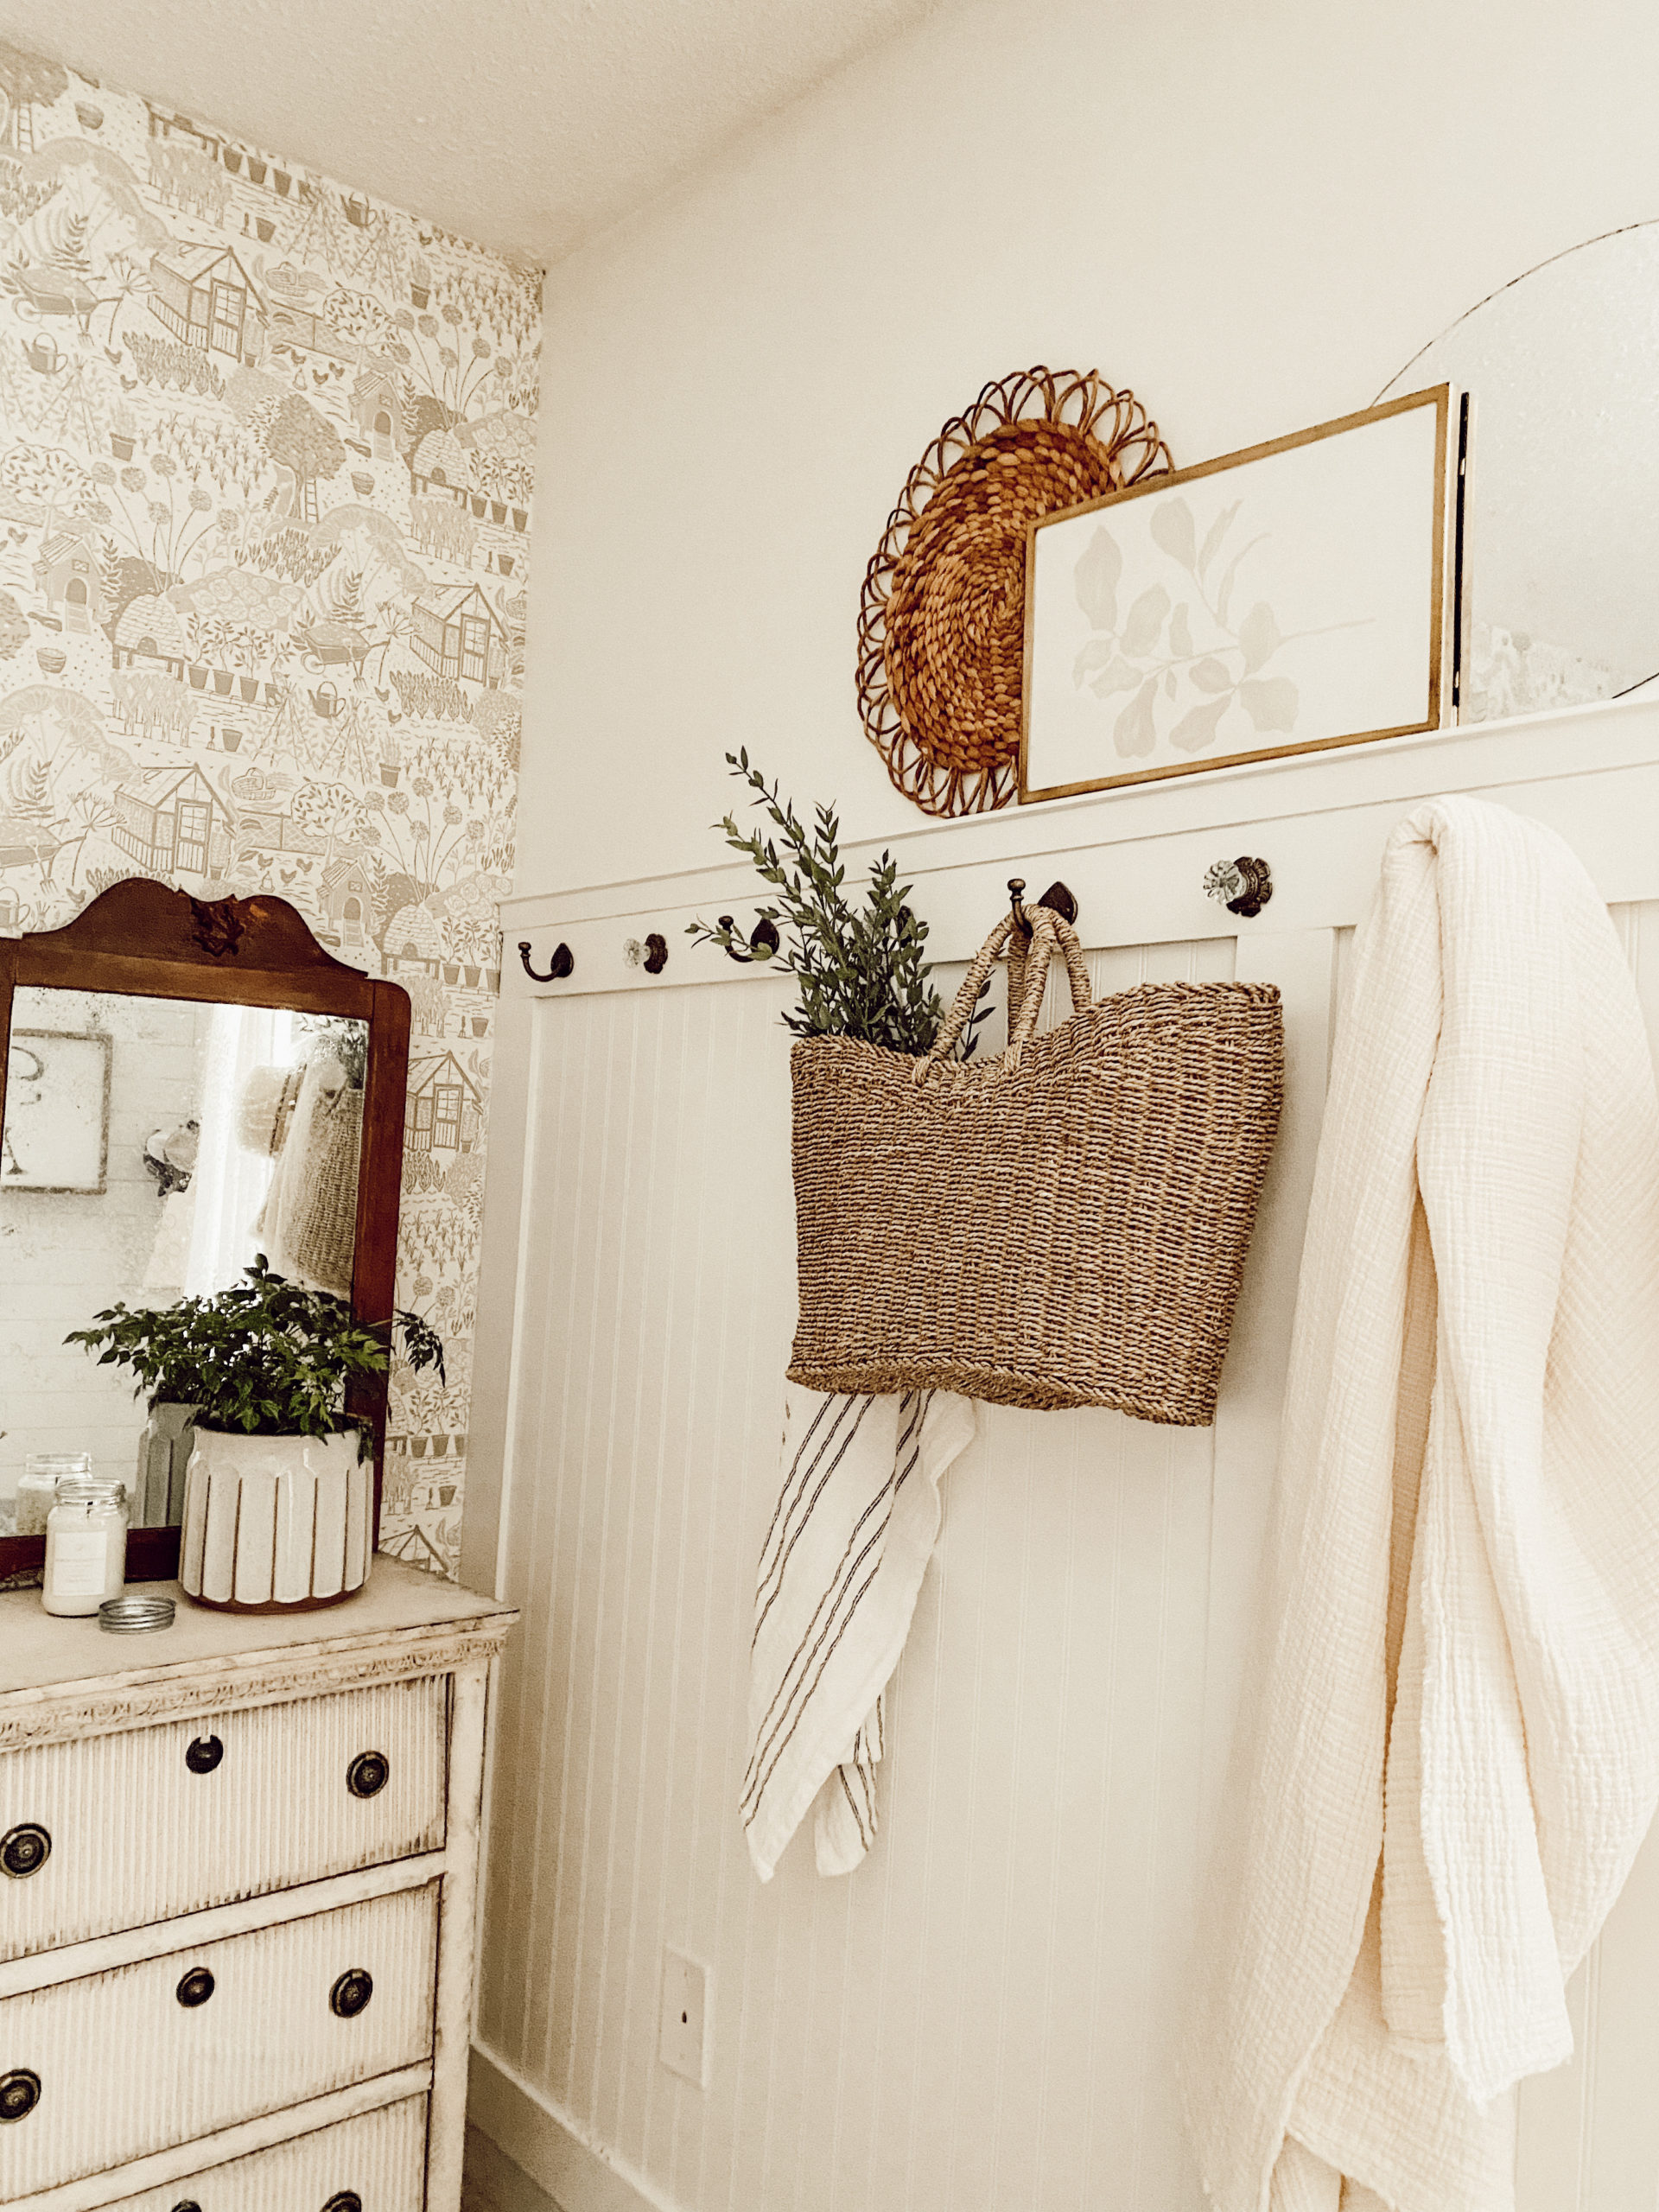
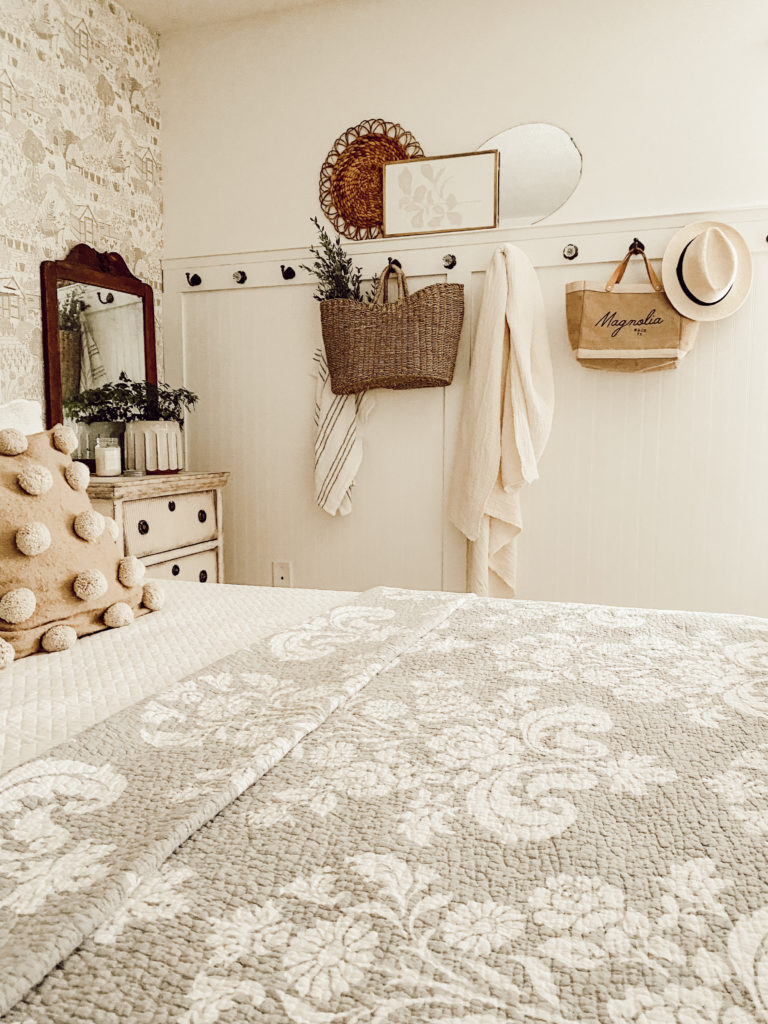
Oh my friends, can I just say that I am obsessed? This wall in the bedroom needed these Farmhouse DIY bedroom hooks. I always felt like this wall was never complete or really useful with the little hook rack that I had on it. After many days of scroll my friend Liz inspired me to create this wall with my special twist to it.
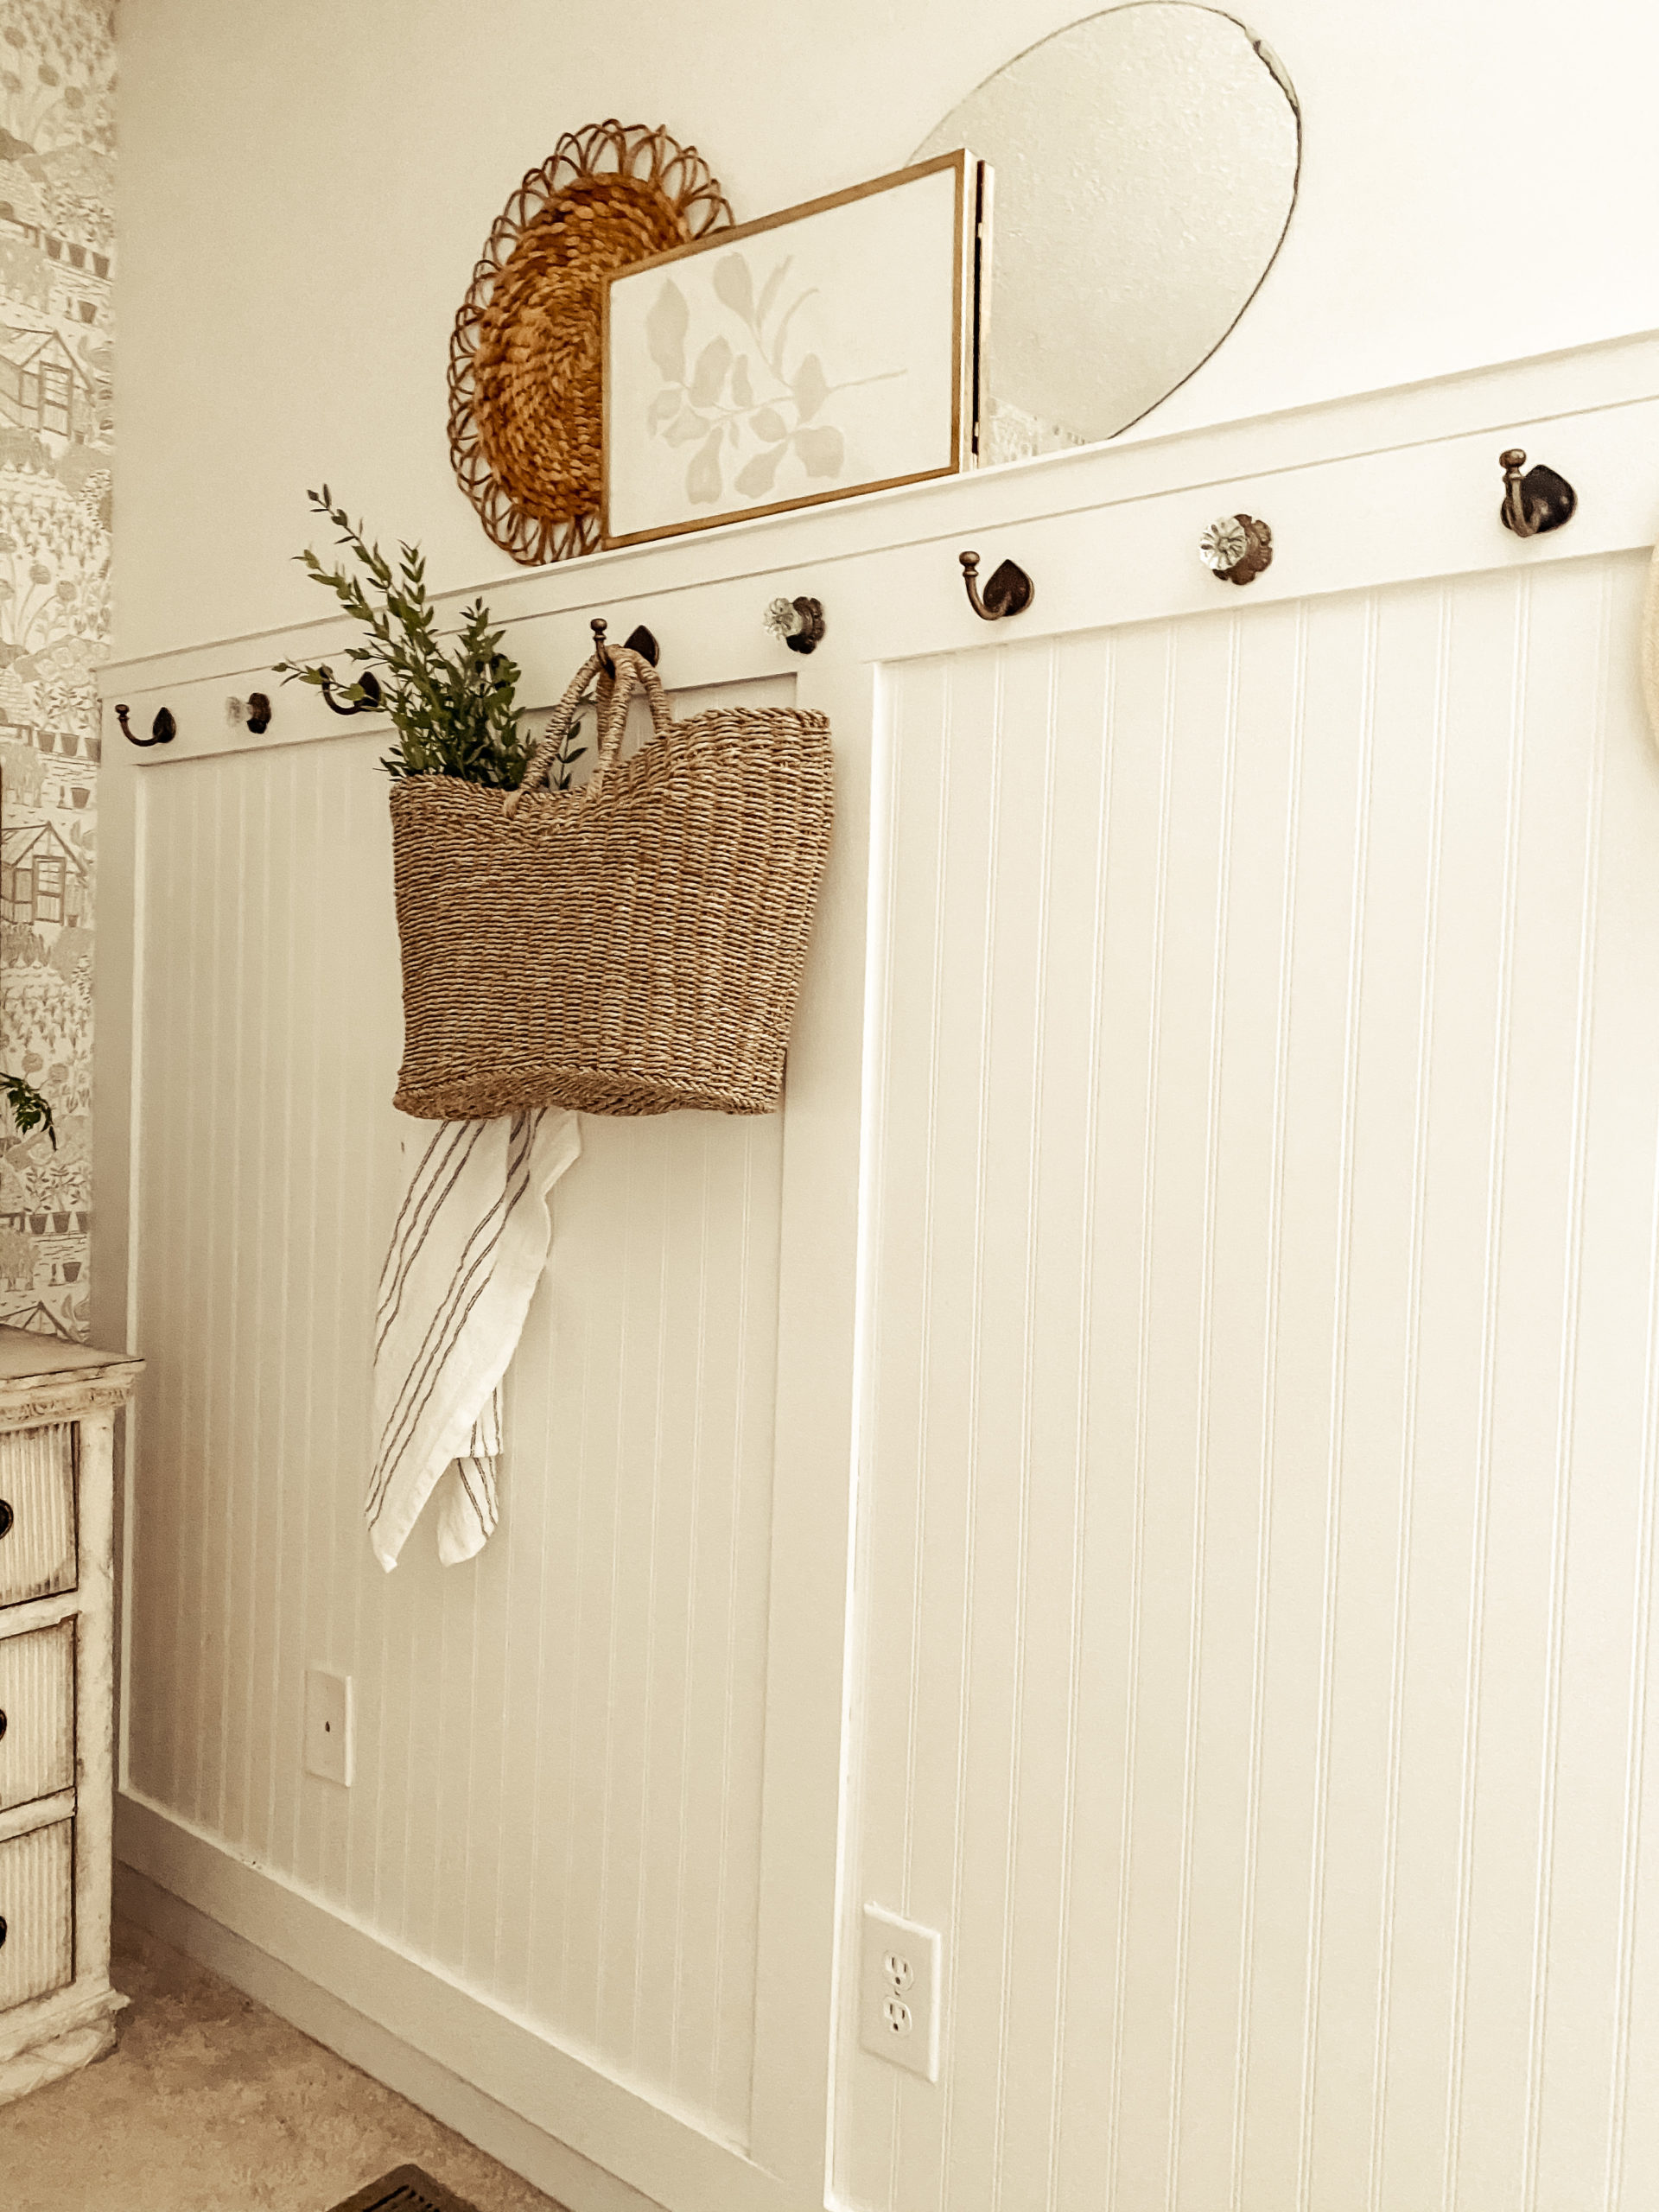
After the laundry room wall with the beadboard and shaker peg rack I knew that I loved that look. Although I loved that look I knew that I did not want to do a peg rack in the bedroom, I wanted the long wall of hooks like my friend had shared. That is when I thought why not do beadboard and then back it look as it was framed into the wall with a little ledge that could be used was a shelf. That is what happened friends and it was the best decision! Now let’s get down to how I made it happen.
The Farmhouse DIY Bedroom Hooks took the place of the empty wall that is below.
Materials that I used :

4x8 Sheets of beadboard (4)

1x4x10 Pine Boards (3)

1x4x8 Pine Boards (2)

8ft Molding (2) This can be your own choice as long as it has a ledge at the top.

Gallon of Dove White by Benjamin Moore Paint

White Caulking  ( 1 Tube)

Paintable Wood Filler

Paneling Nails (White)

Nail Gun withe brad nails

Level

Saw

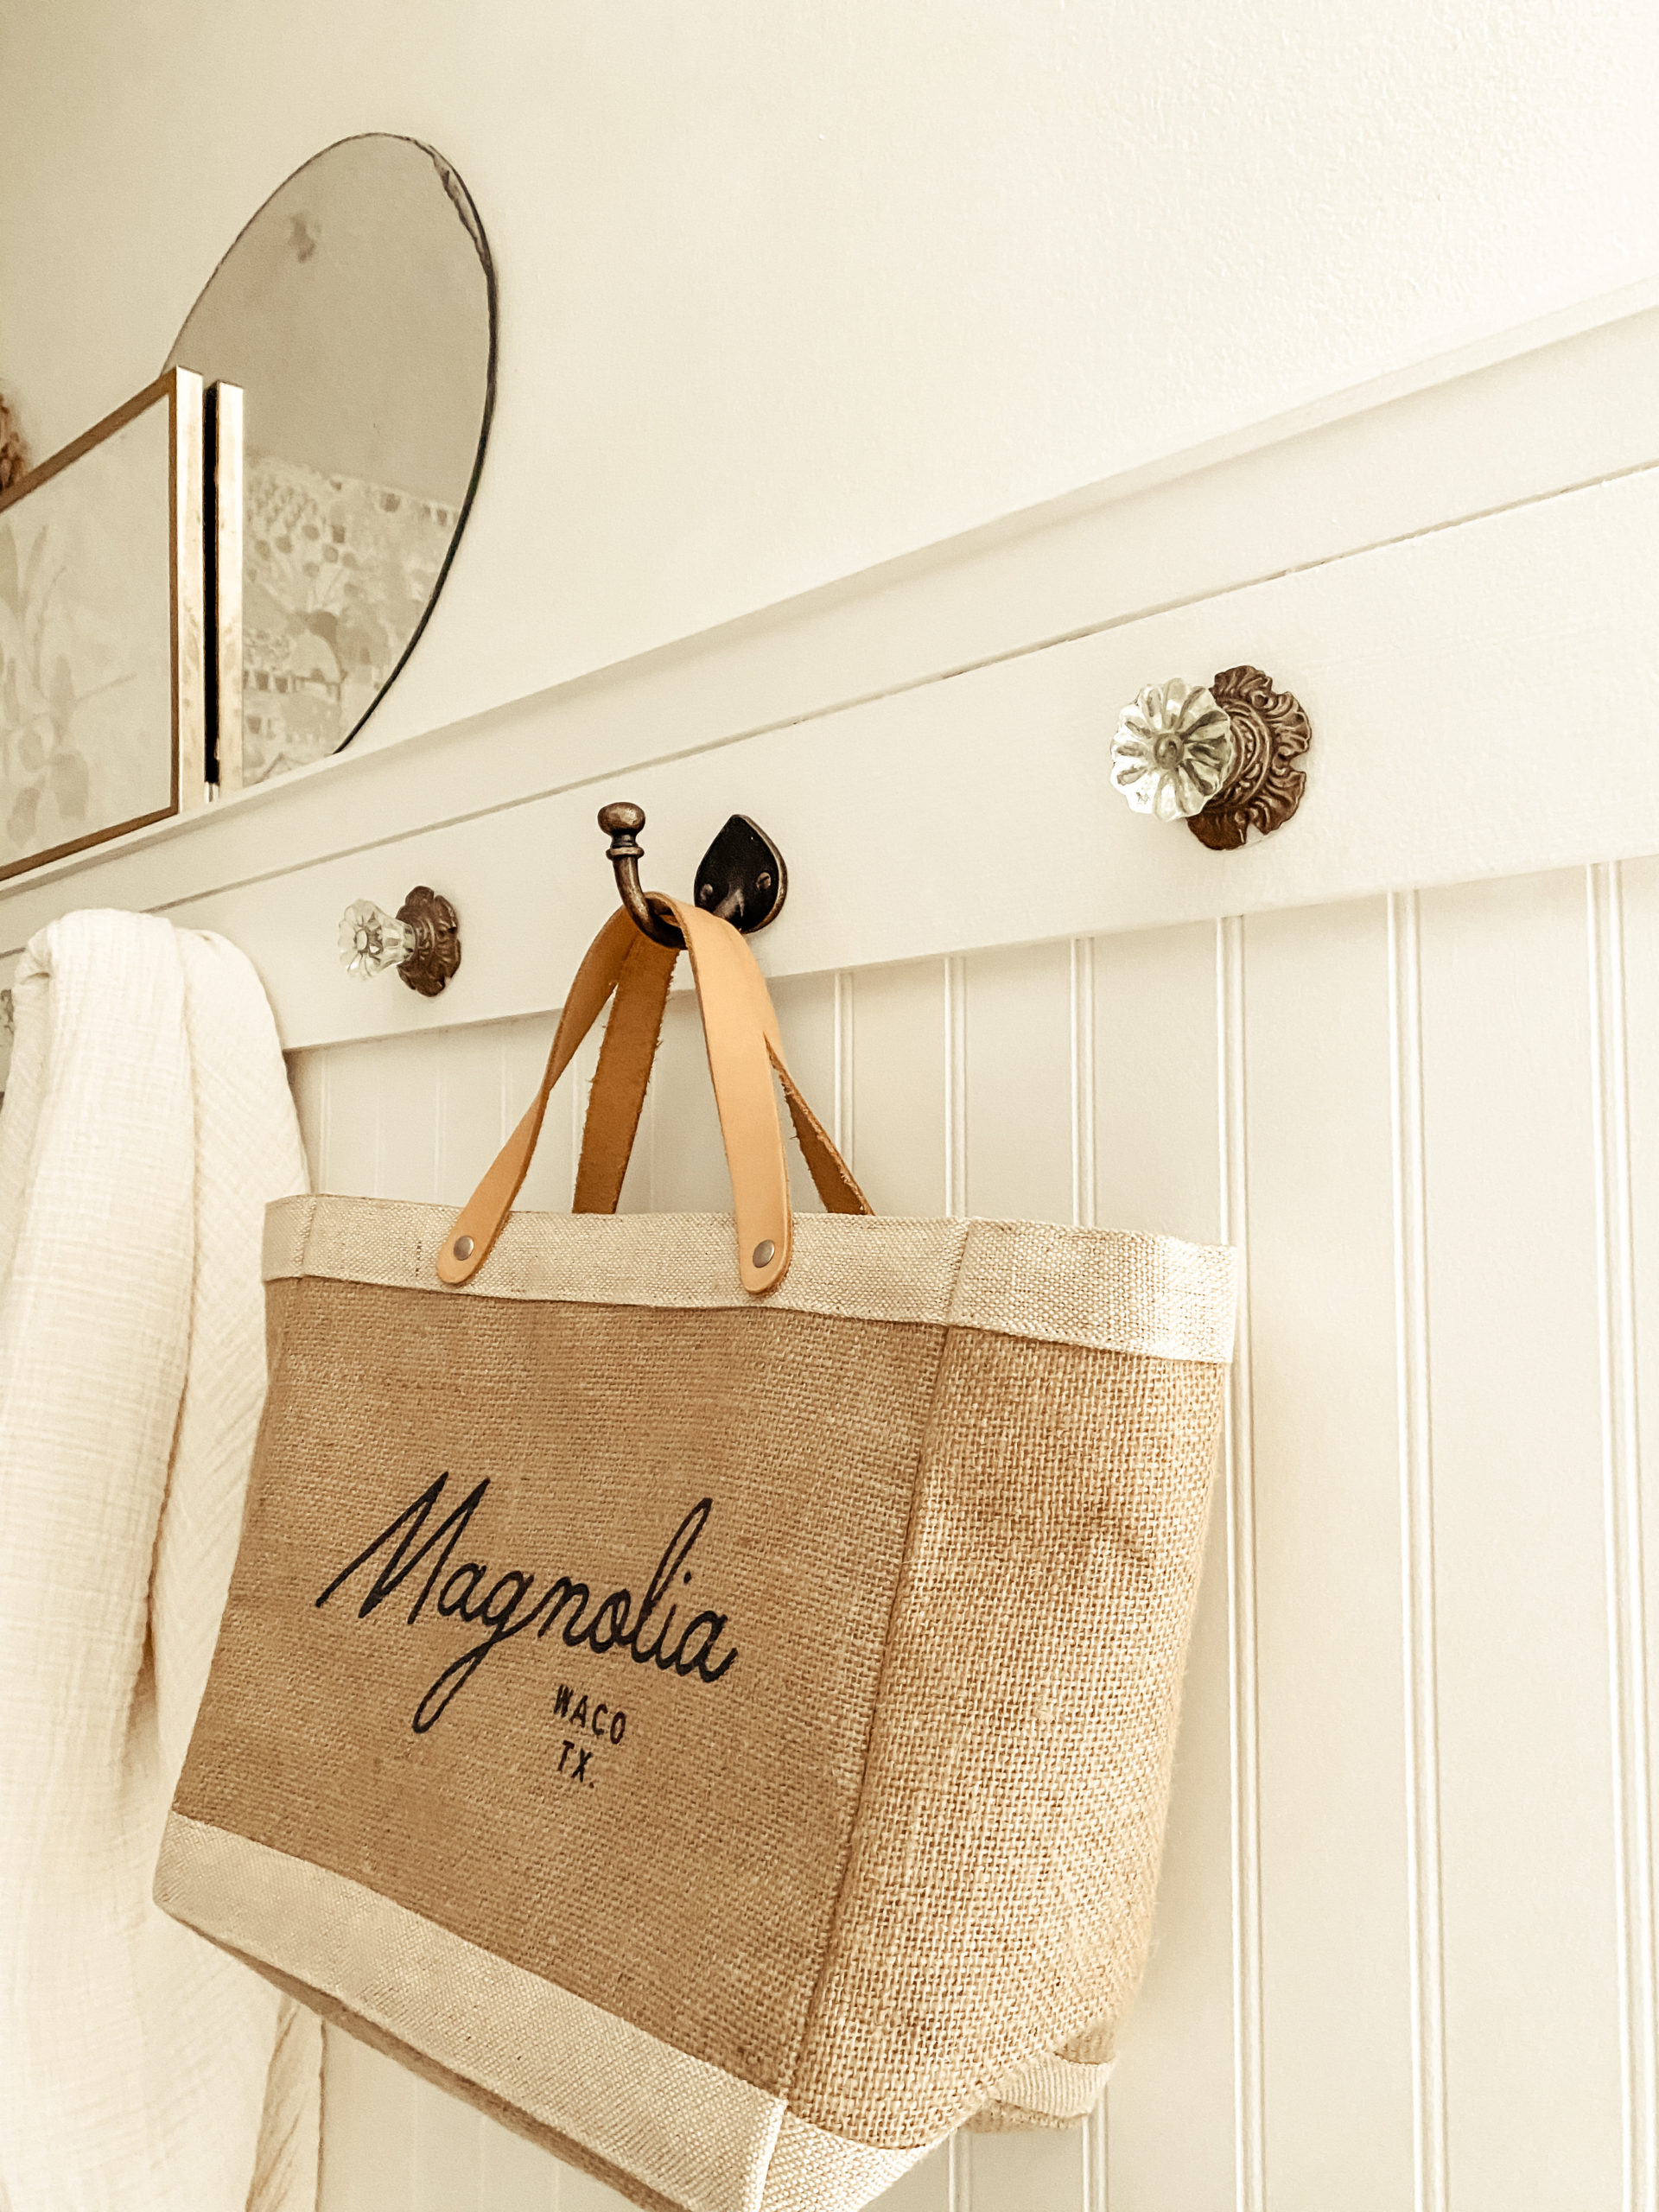
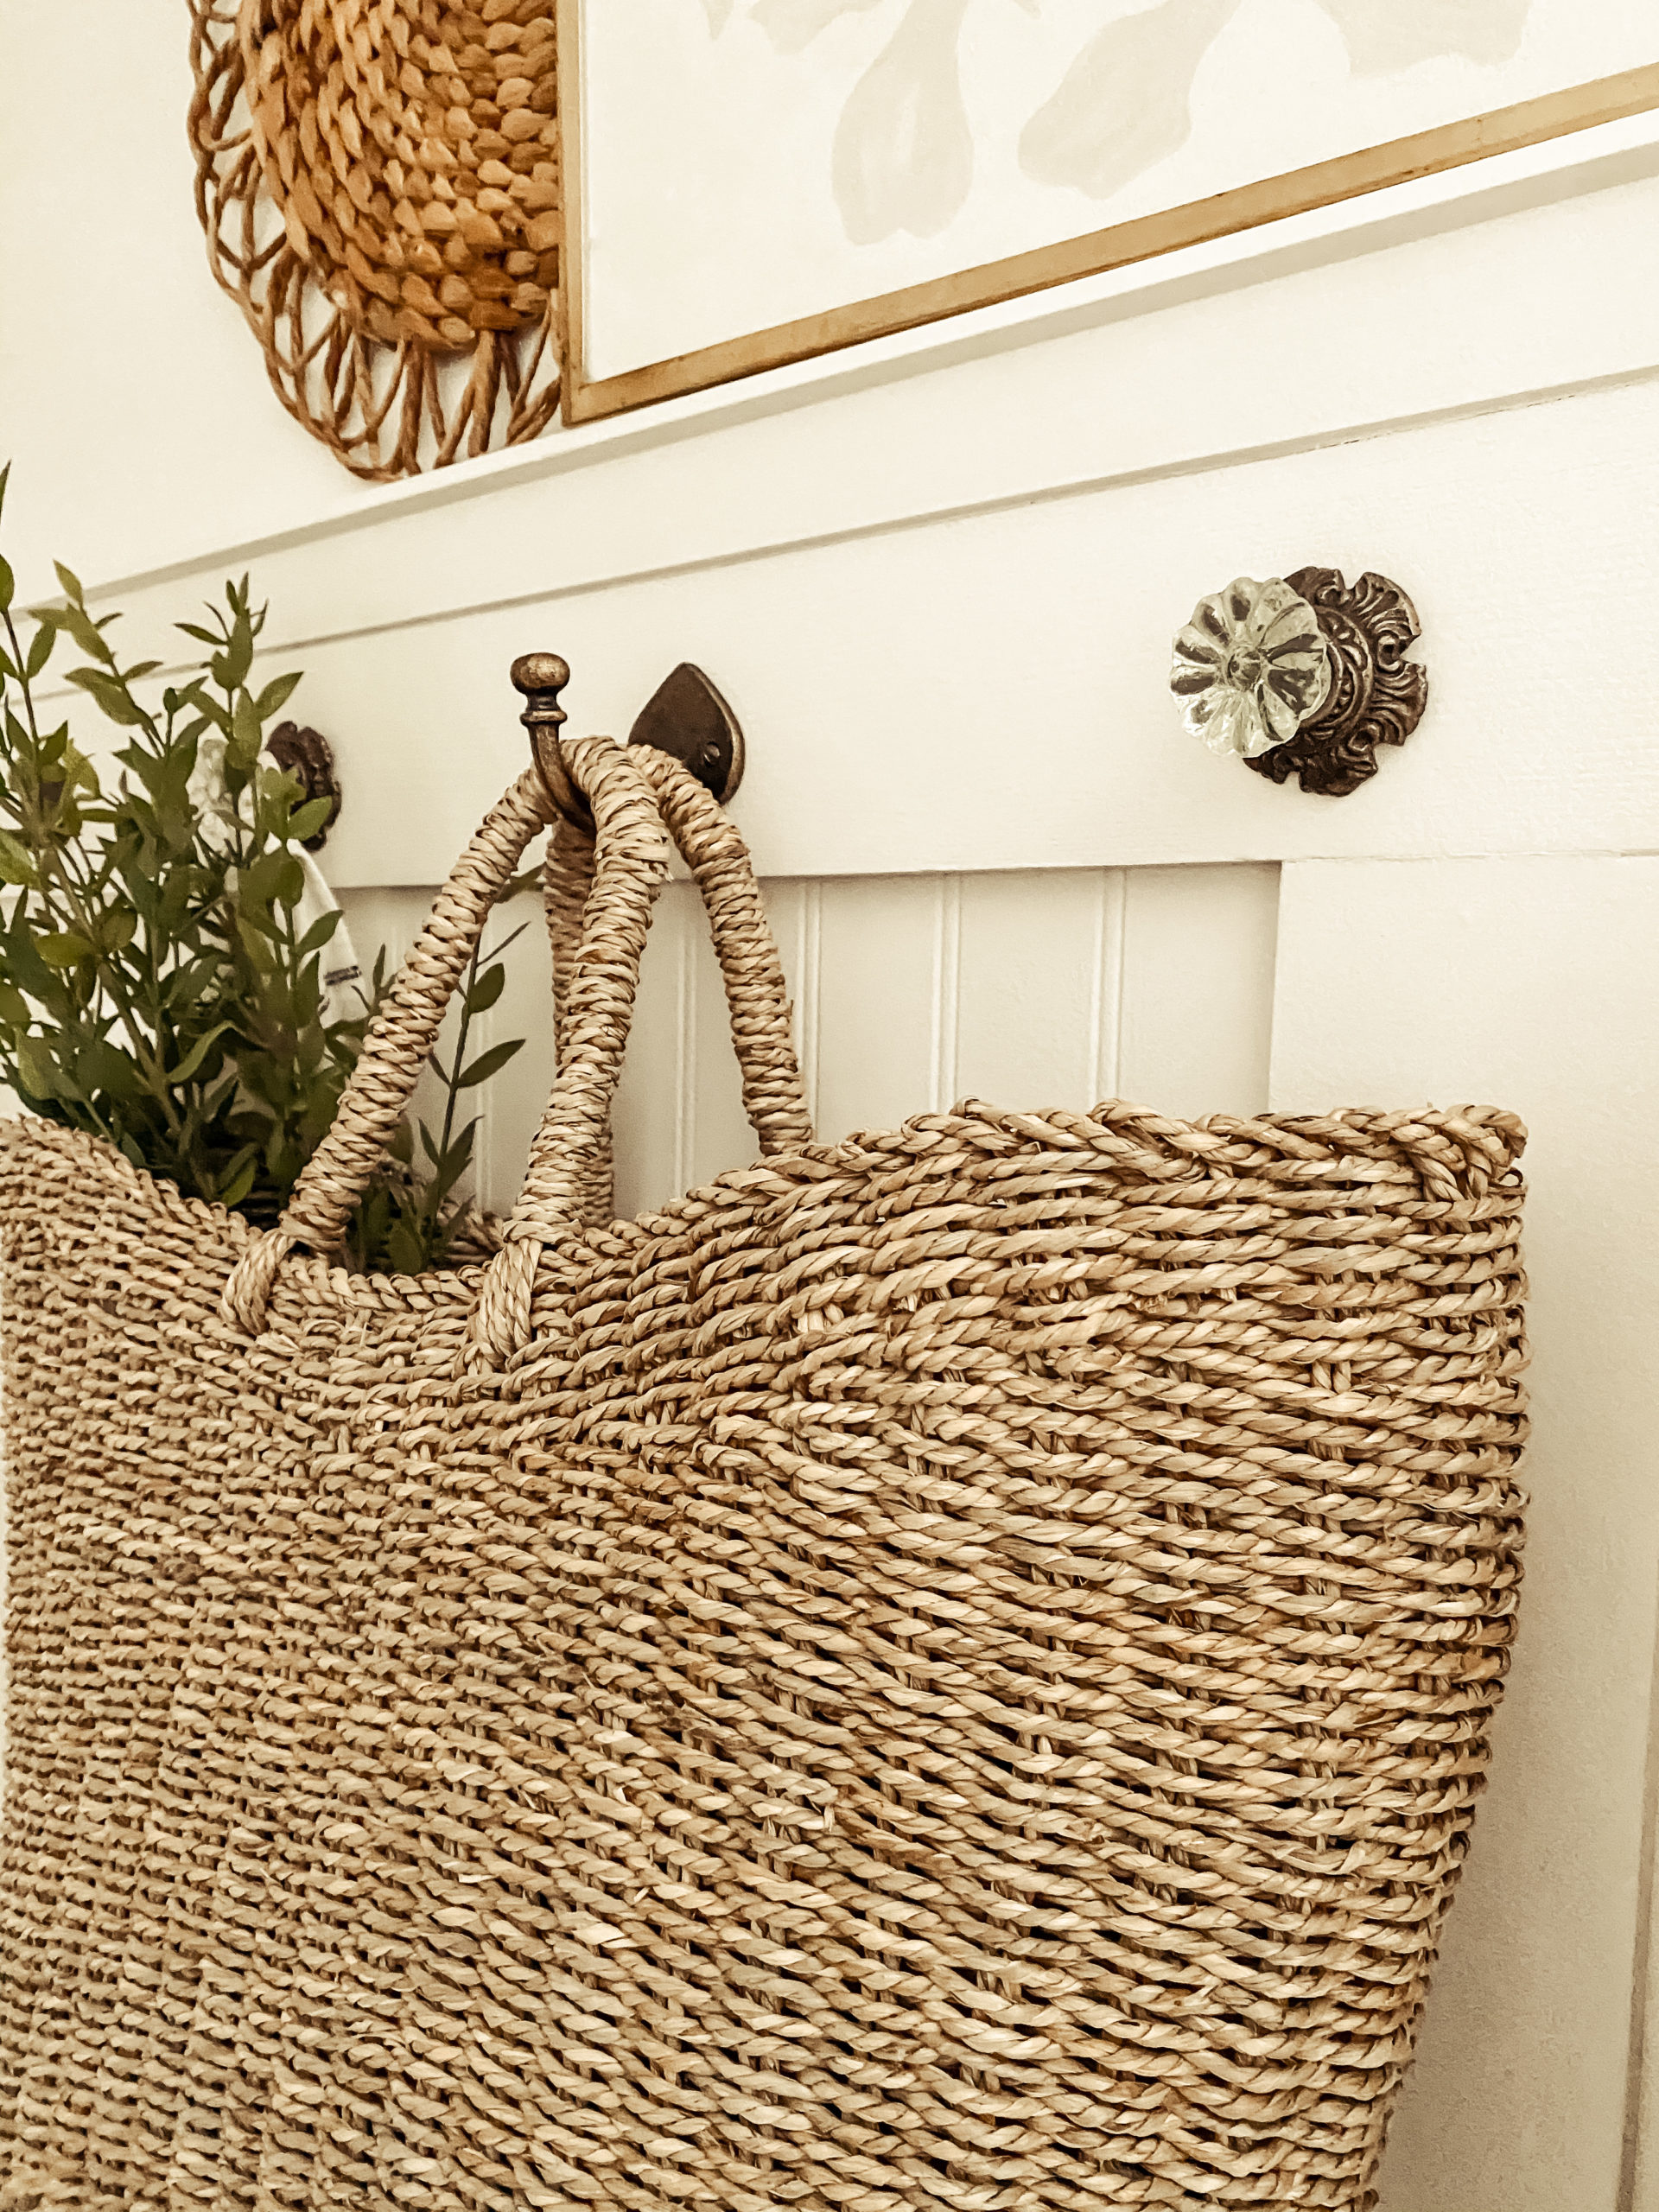
Hooks ( Hook A and Hook B that I used)
Now let’s get down to how to get all of the material to create this space.
The first step is to cut and put up the beadboard. Once the beadboard was cut, I attached it to the wall with the white paneling nails at the top and the bottom. This was to ensure that the frame wood would cover the nail holes. I do not use a nail gun on the beadboard because I do not want to crack it and I have found that the paneling nails work best. I cut my breadboard 60inches in height.
Now the beadboard is up I put the molding across the very top of the beadboard to create that shelf. This is where I used the level to ensure it was straight. I used the nail gun to attach it.
Once that is up then it is time to frame it in. Before I started to frame it in, I thinned down the 1×4 by ripping the width down by a 1/4 of and inch. This was only because I did not want the board to stick out more than the molding that was already there. This is not a must this is just a personal preference. Once that was done I took one of the 1x4x10 and put it all the way across the wall on the bottom right against the molding that was already there. I then took one of the 1x4x8 and cut it to the remaining length to finish out that bottom piece.
After that I measured and cut two more of the 1x4x8 to go across the top of the wall underneath the piece of molding I applied for the shelf.

The final step was to put the what I call the in-between pieces up. I put three of these on each side of the wall. I measured the length between the top frame board and the bottom. Once I cut them, I put one in the corner, one in the middle where the seam of the two pieces of beadboard meet, and then one by the window molding. This help seal up the seams of the panels meeting for a clean finish.
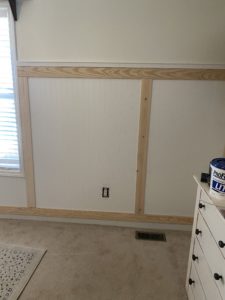
Once you have everything on the wall you will fill the holes with wood filler. Then use the white caulking to fill the gap between the molding and boards. Finally after that is all dried and sanded you can finishing up by painting.
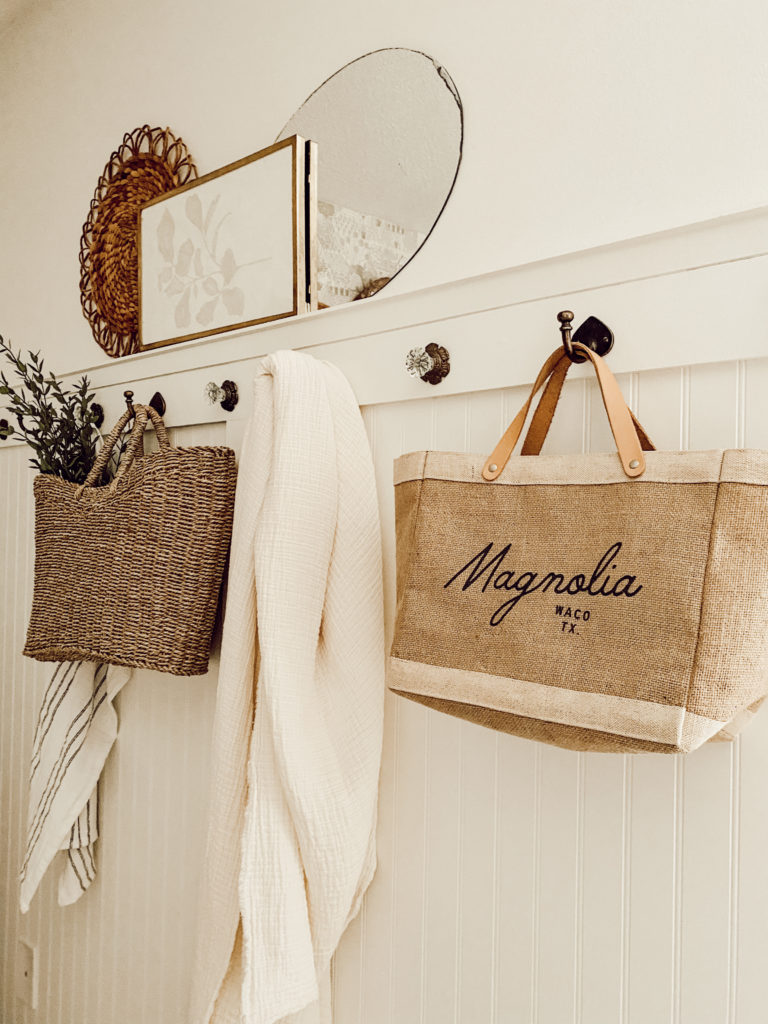
I did let mine dry over night and then I attached the hooks 8 inches apart. This will depend of the length of your wall.
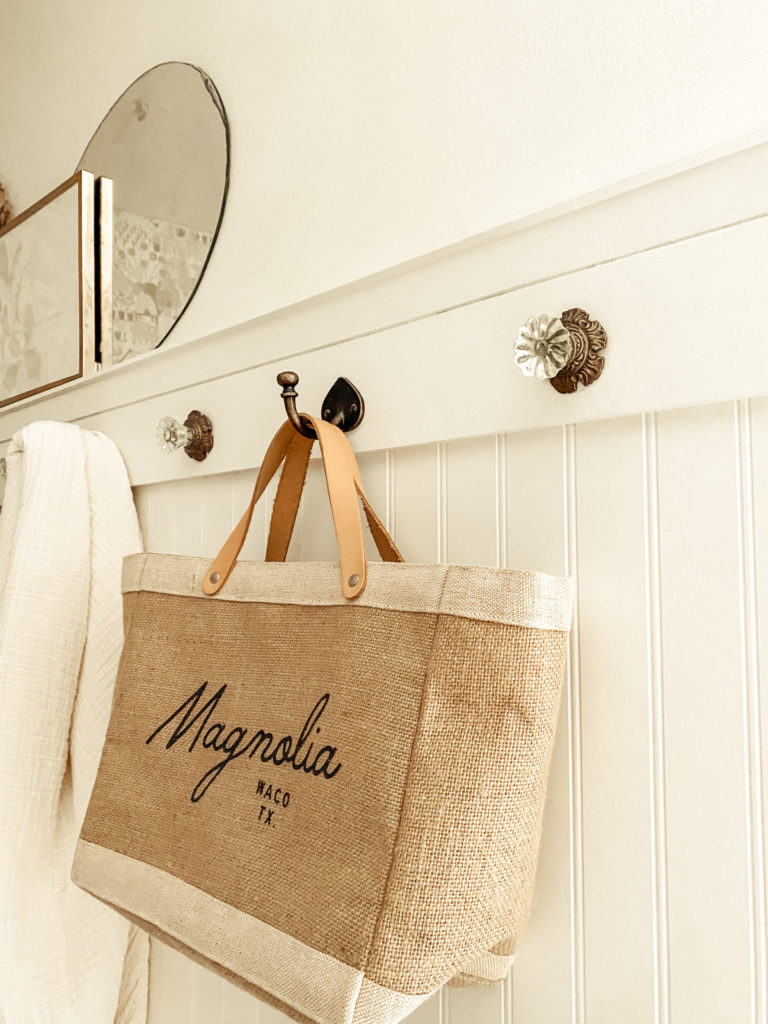
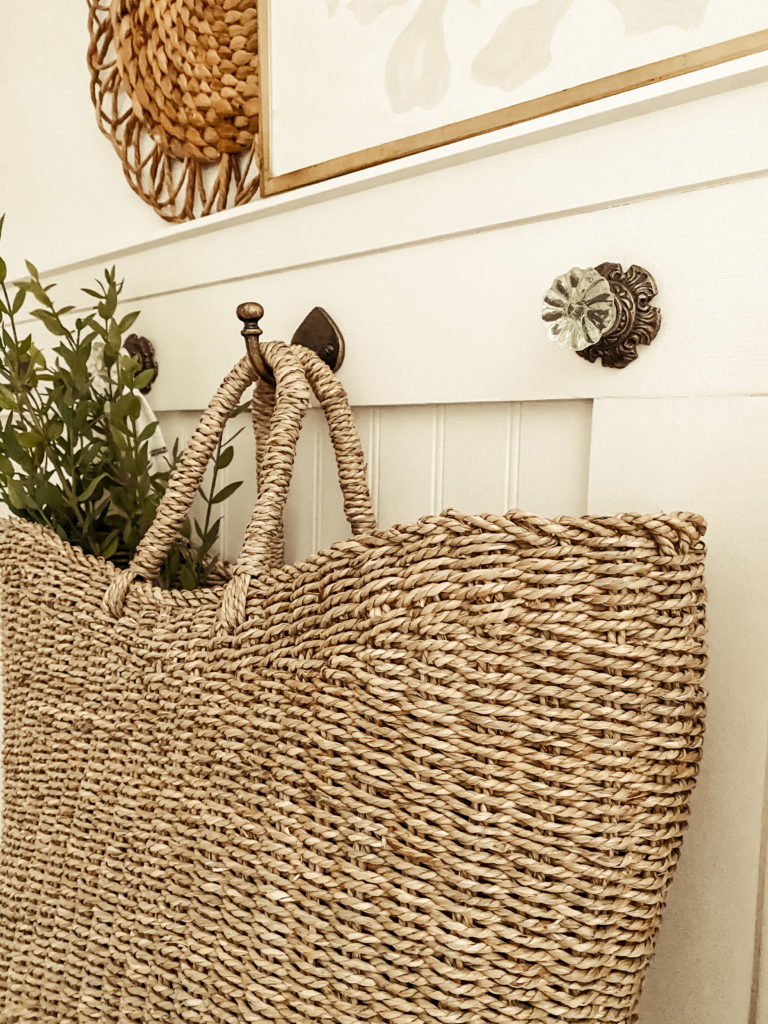
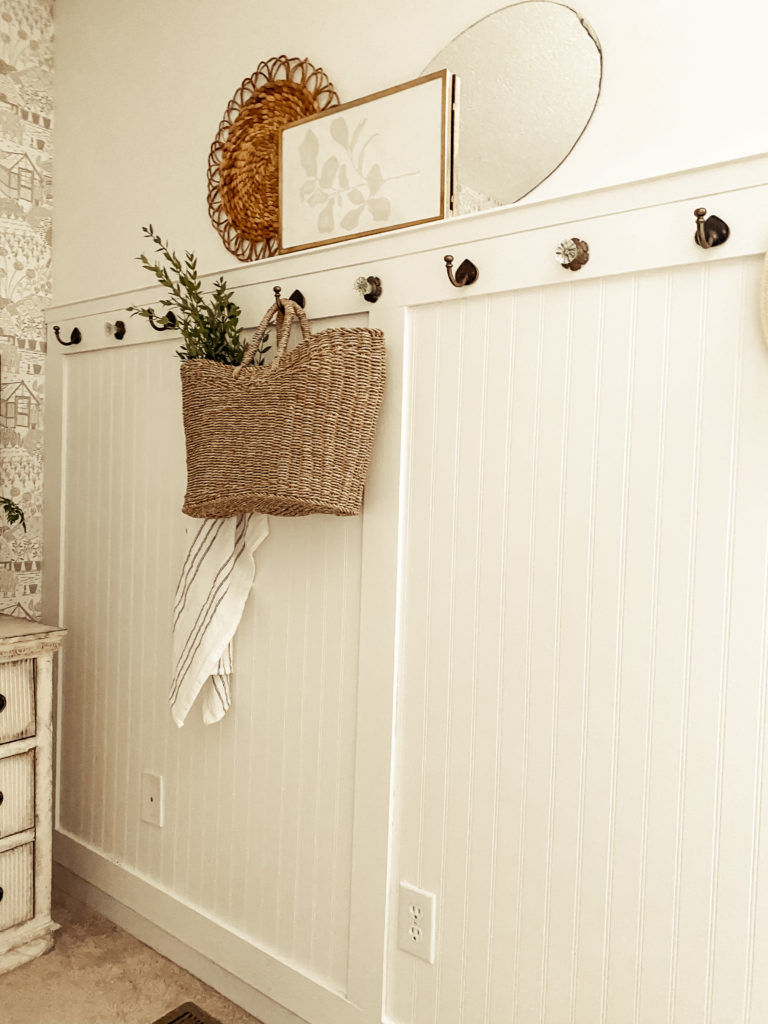
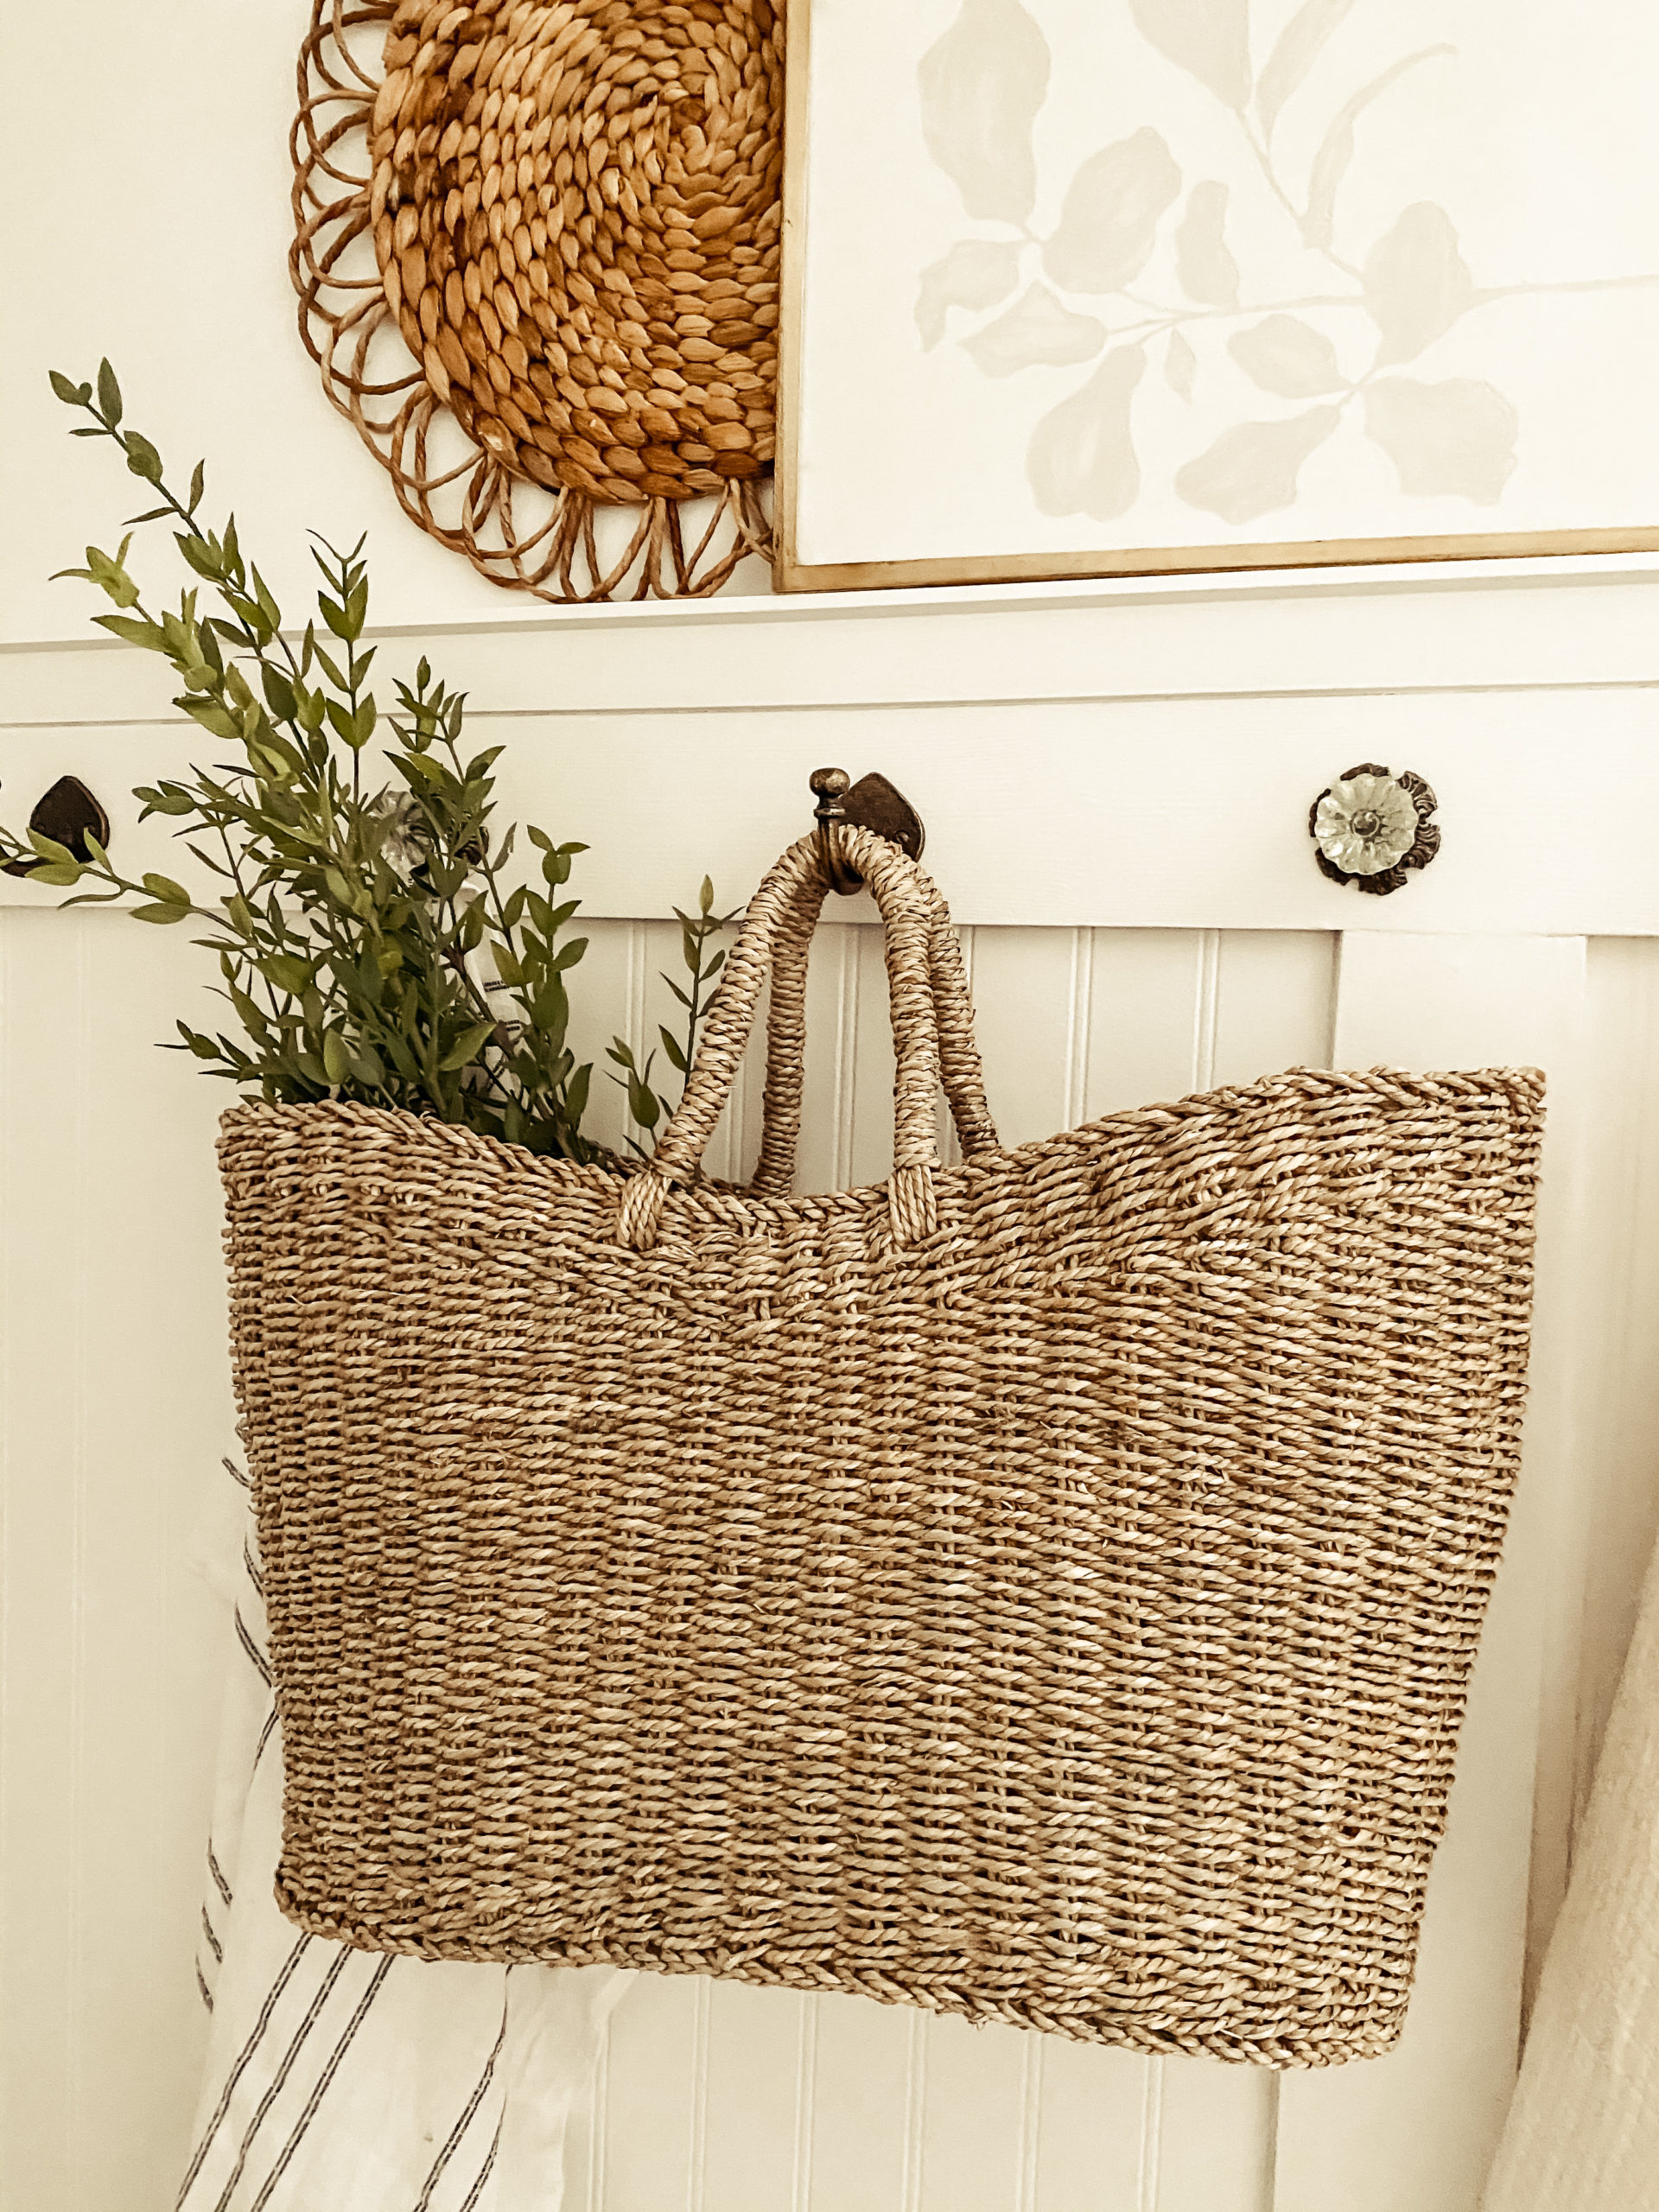
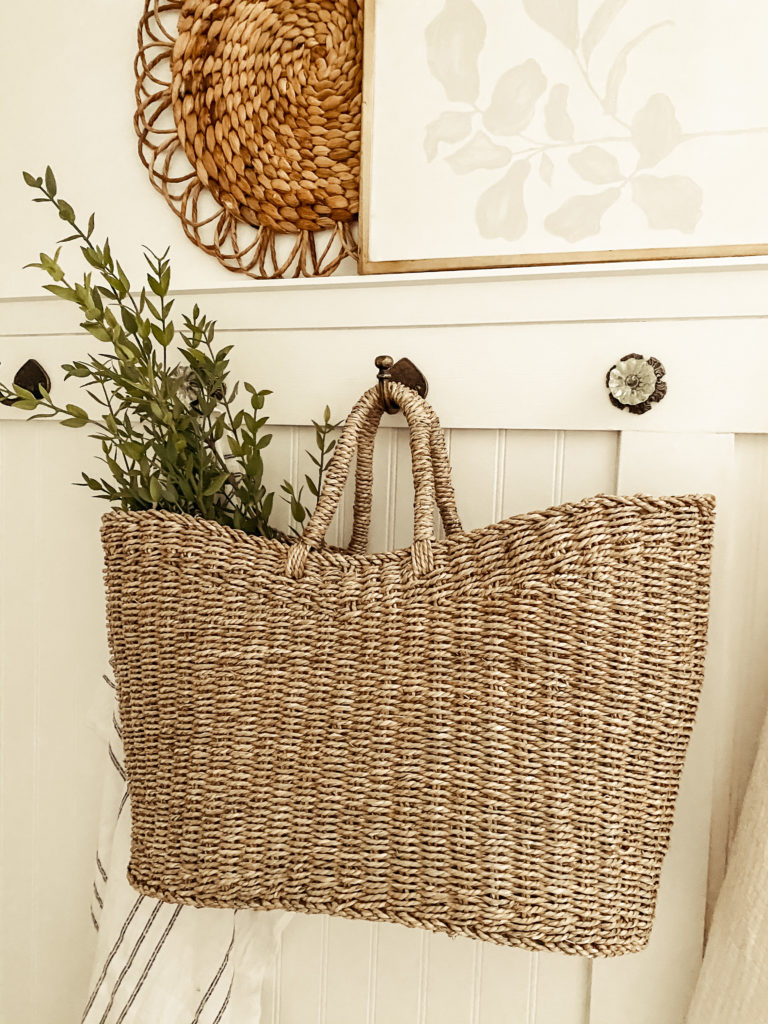
I chose to mix match my hooks for a little bit of character and for that vintage inspired look. Now let’s style it! I hope that you can create one of your very own and share it with me on Instagram or Pinterest!
Thank you for stopping by the blog today and everyday friends! I hope to send you some more simple DIY projects to make spaces more useful. For more projects check out our DIY section of the blog, XOXO

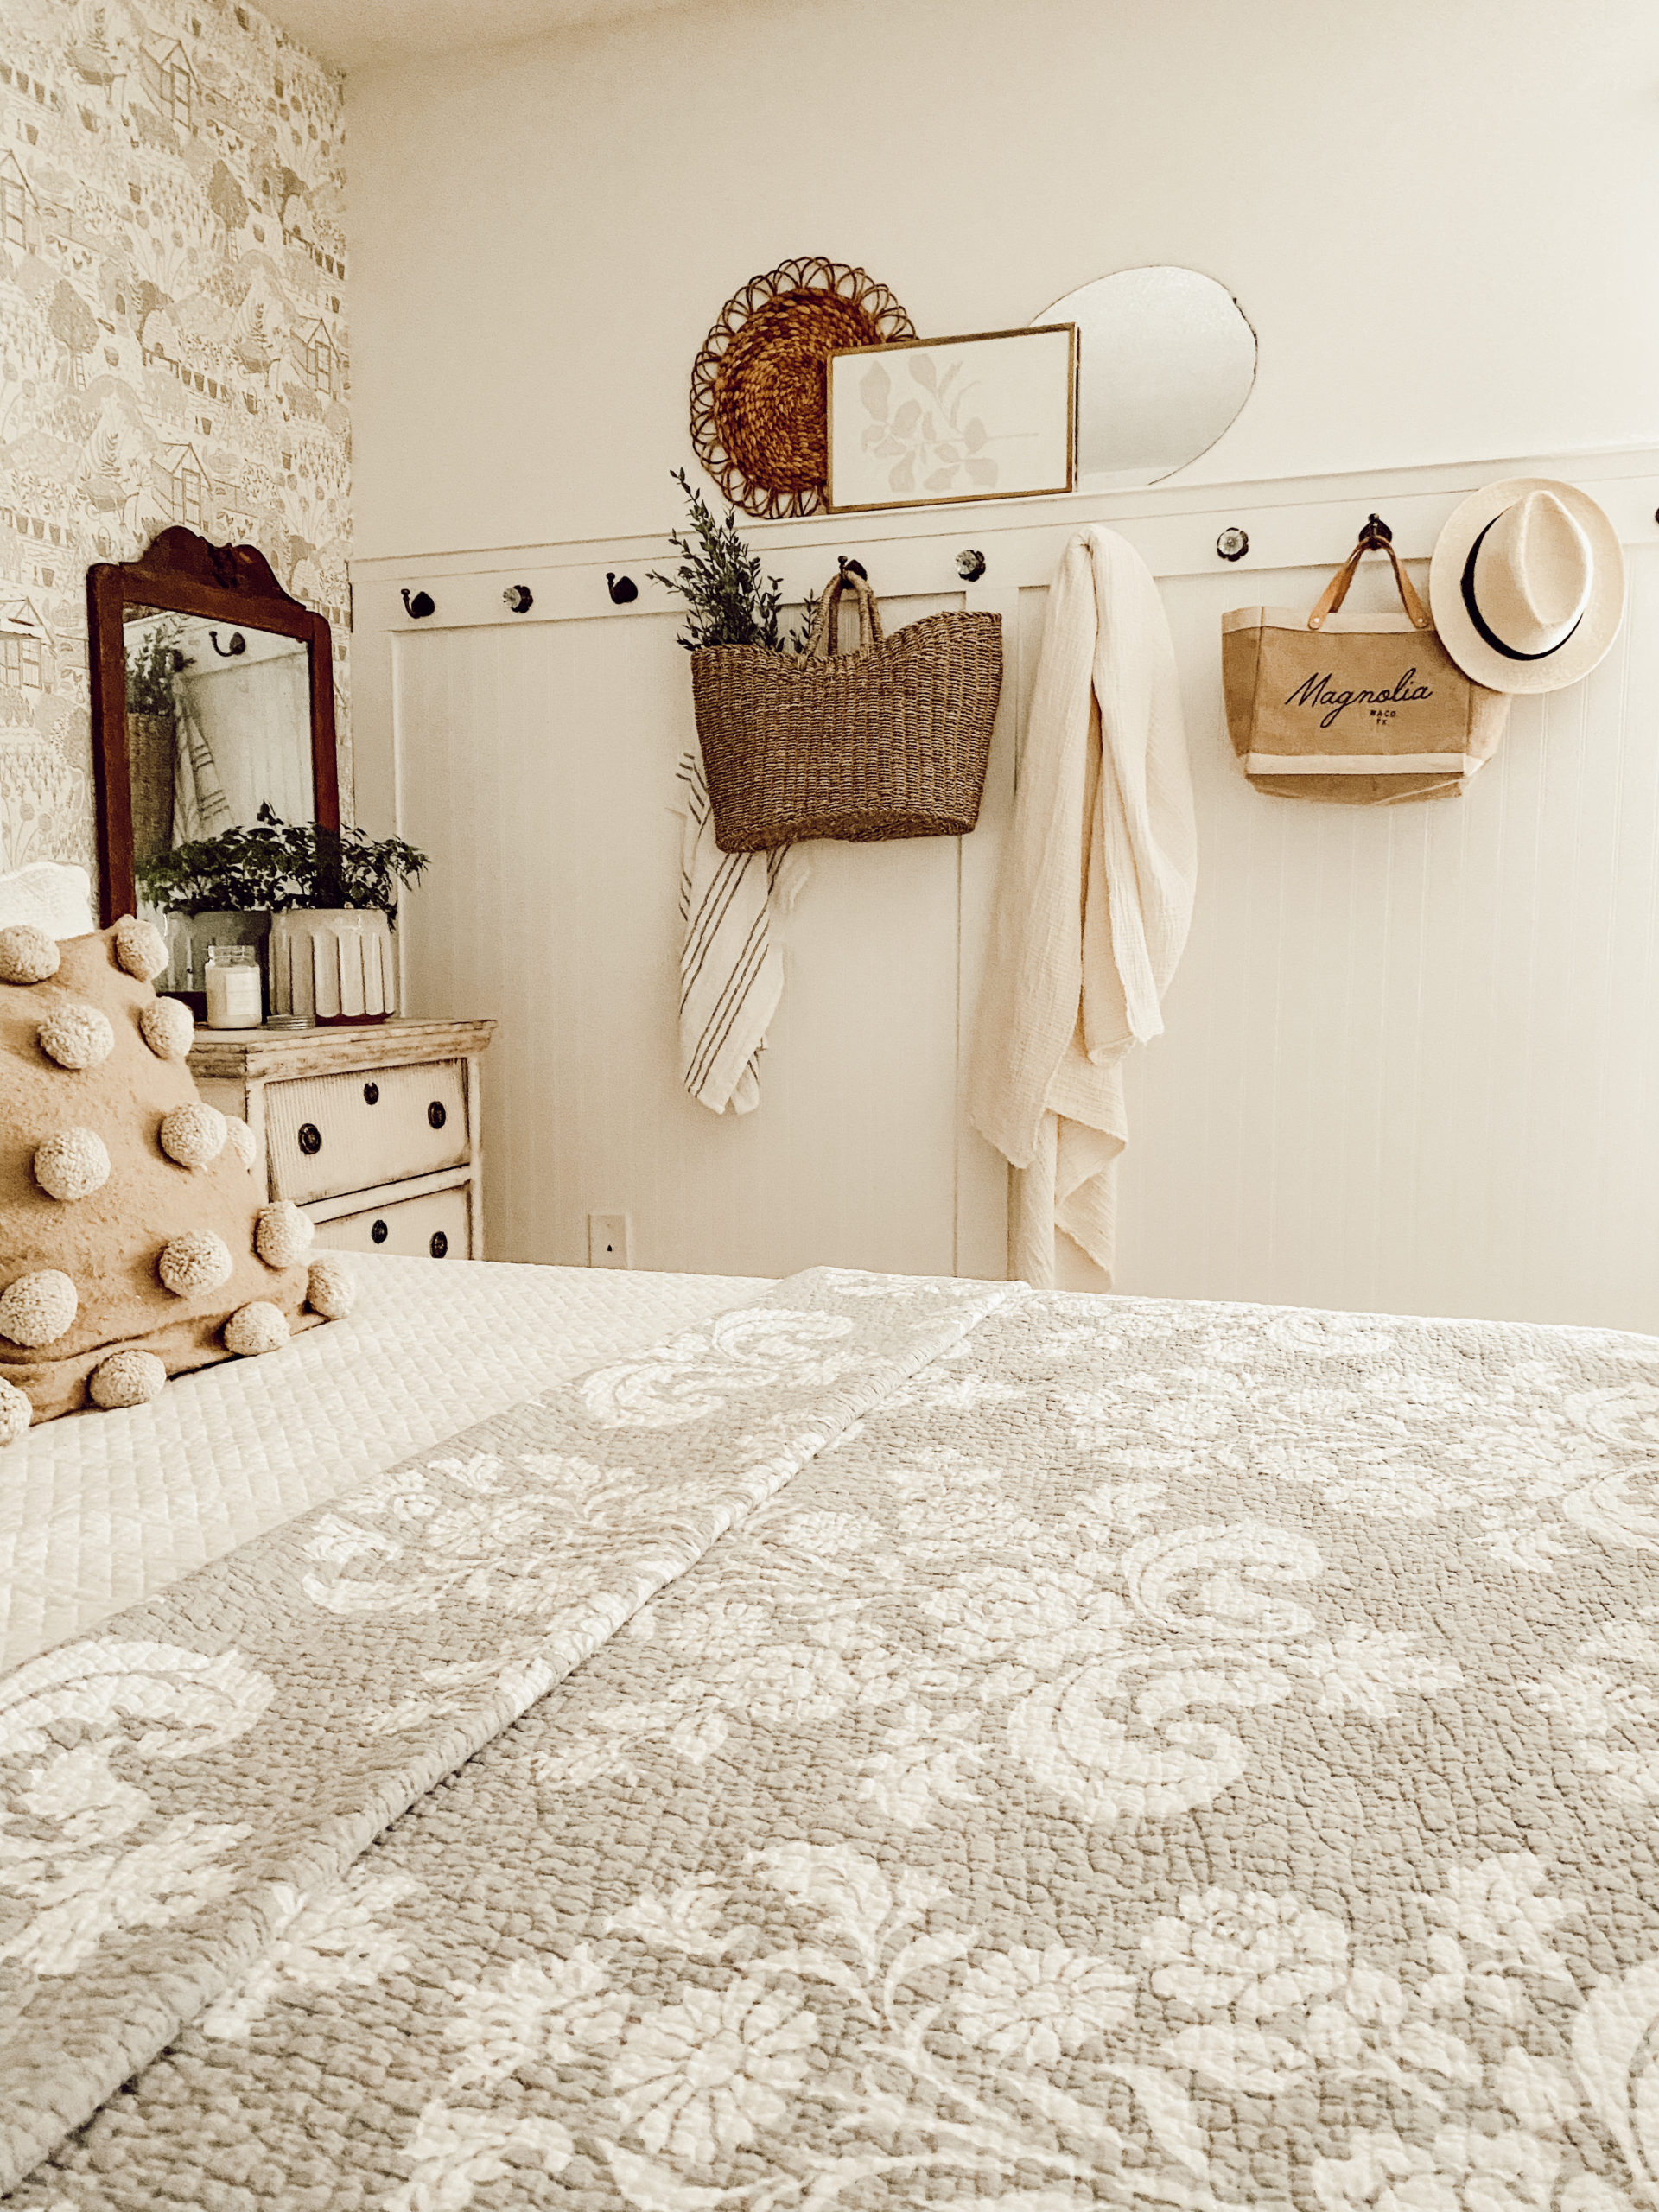

That Looks simply amazing! Love the way it came out and how youarranged the items in the rack.
Thank you so much!