SHARE
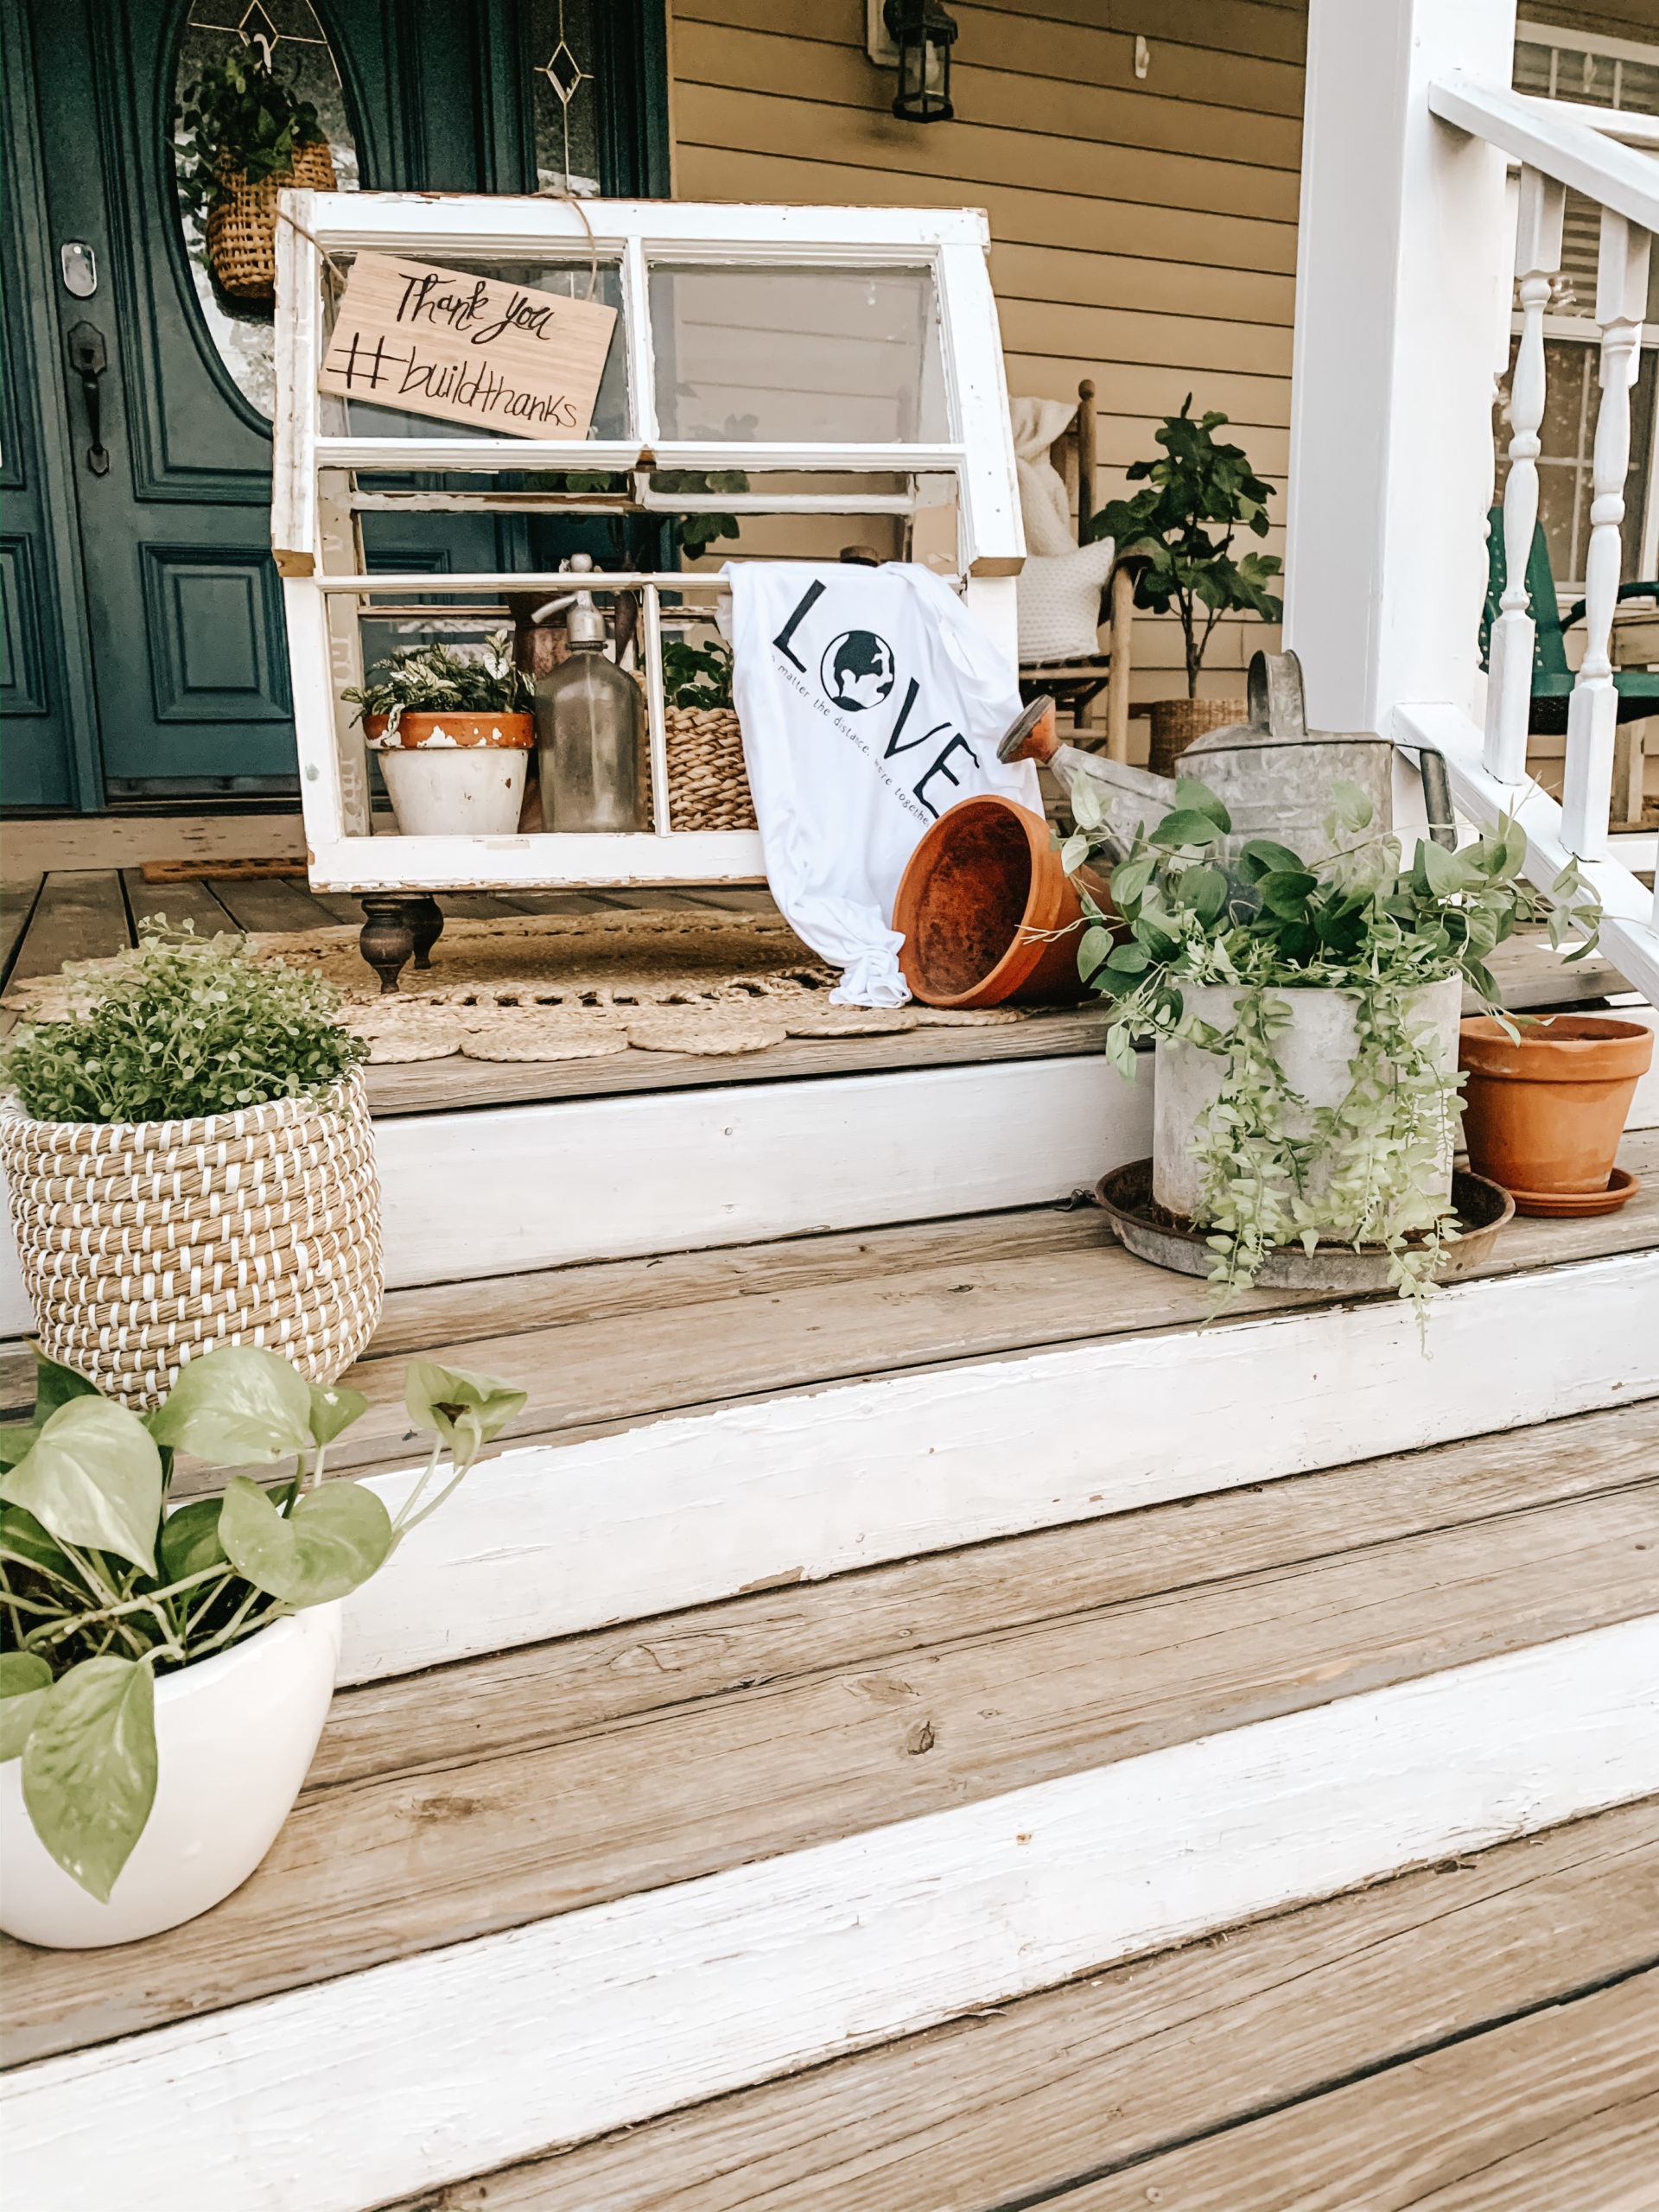
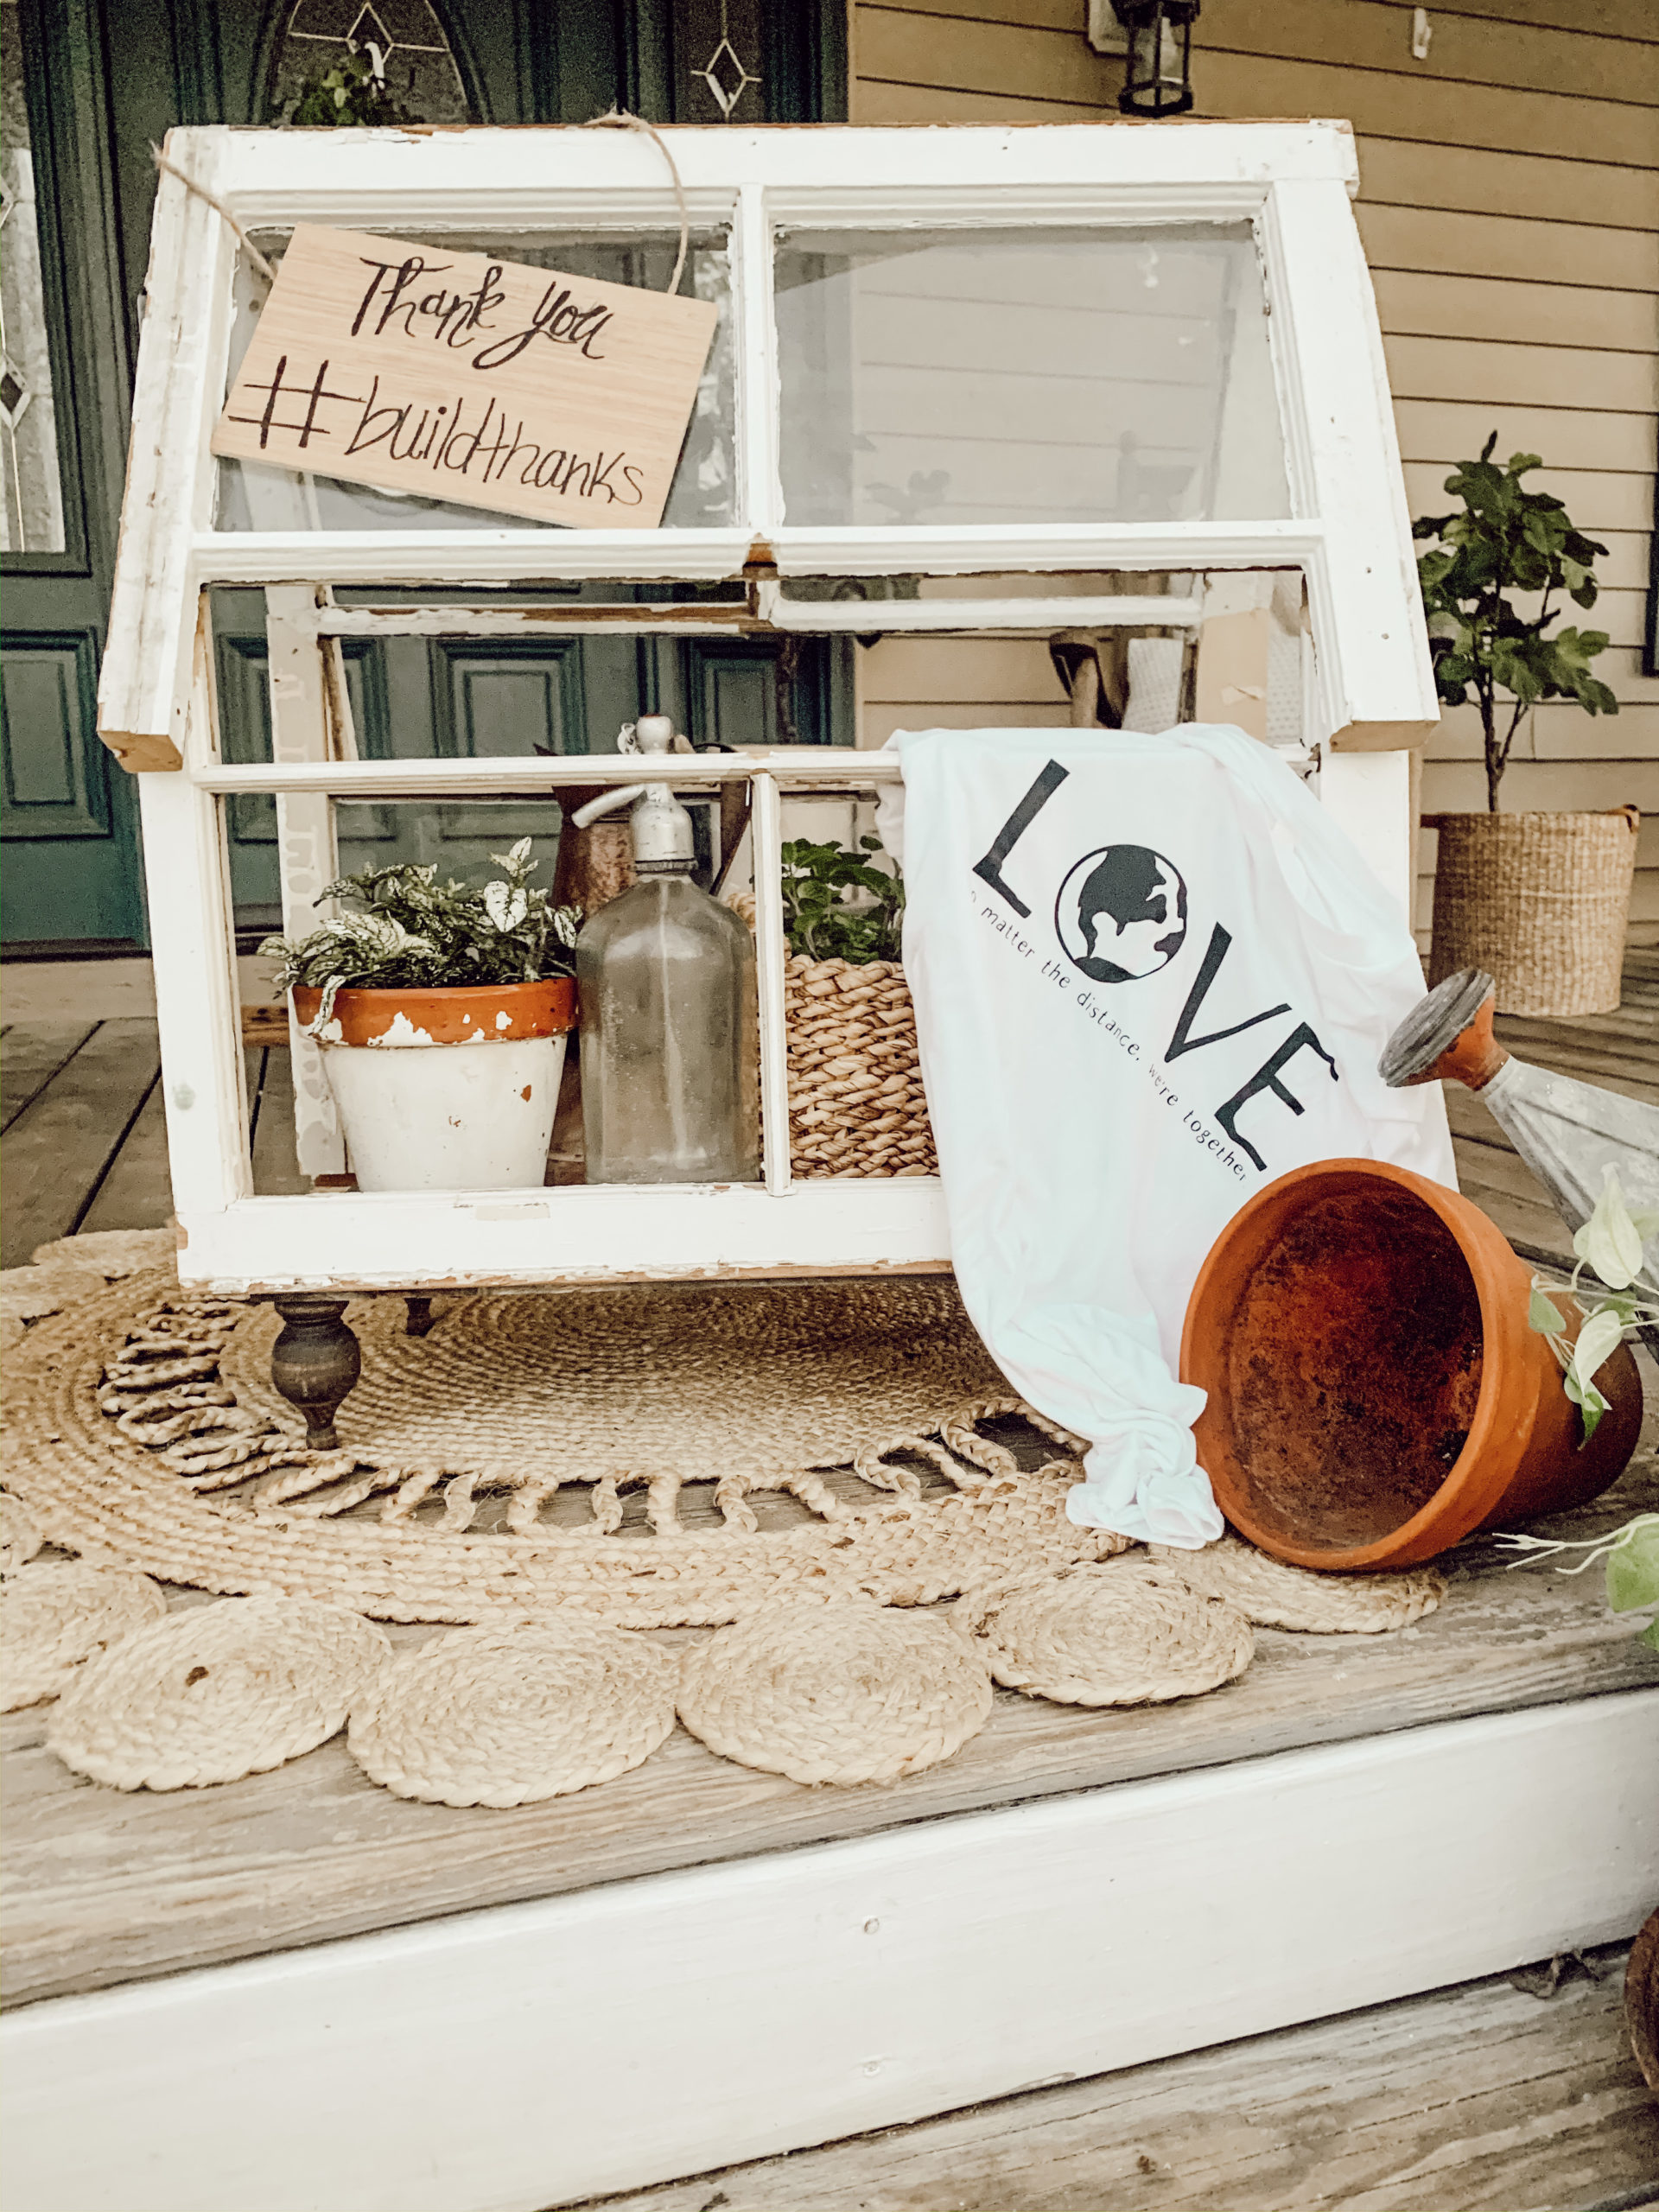
Over the weekend I was working on a fun DIY for Lowe’s #buildthanks campaign. The campaign was to use things from around your home to create a DIY to say thank you to the essential and frontline workers. I have been waiting to have some sort of greenhouse and why not create that for this!
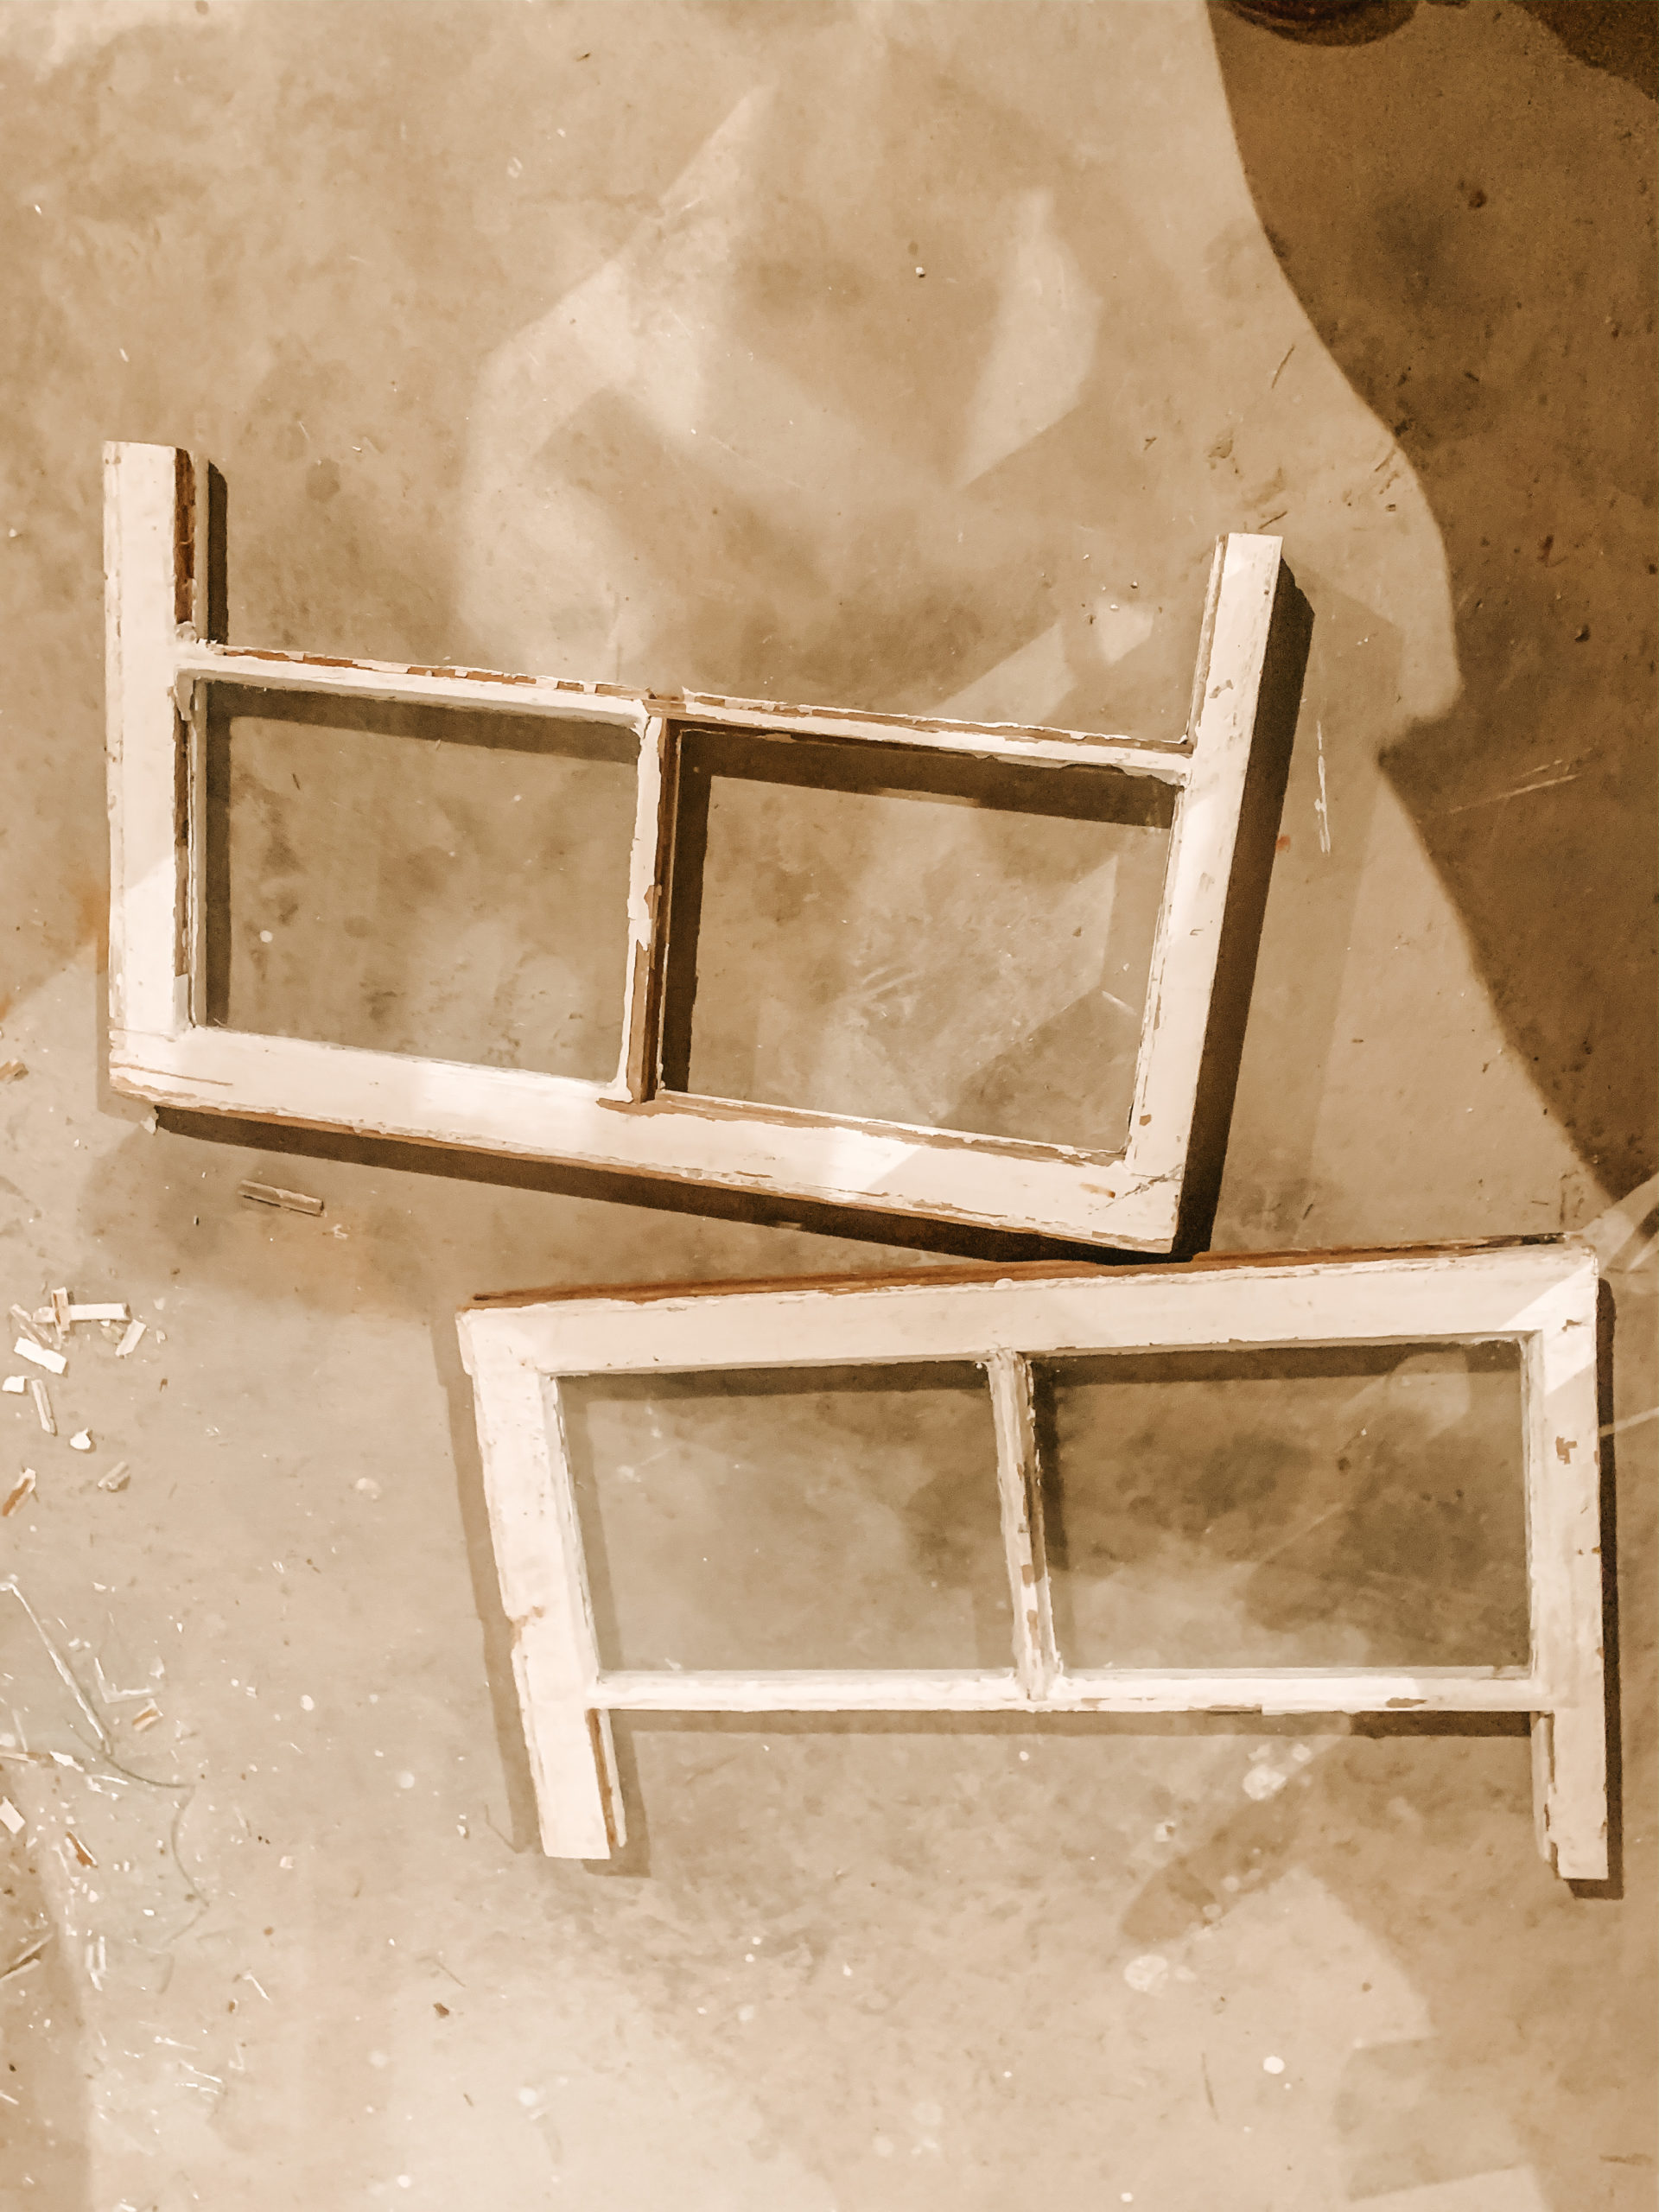
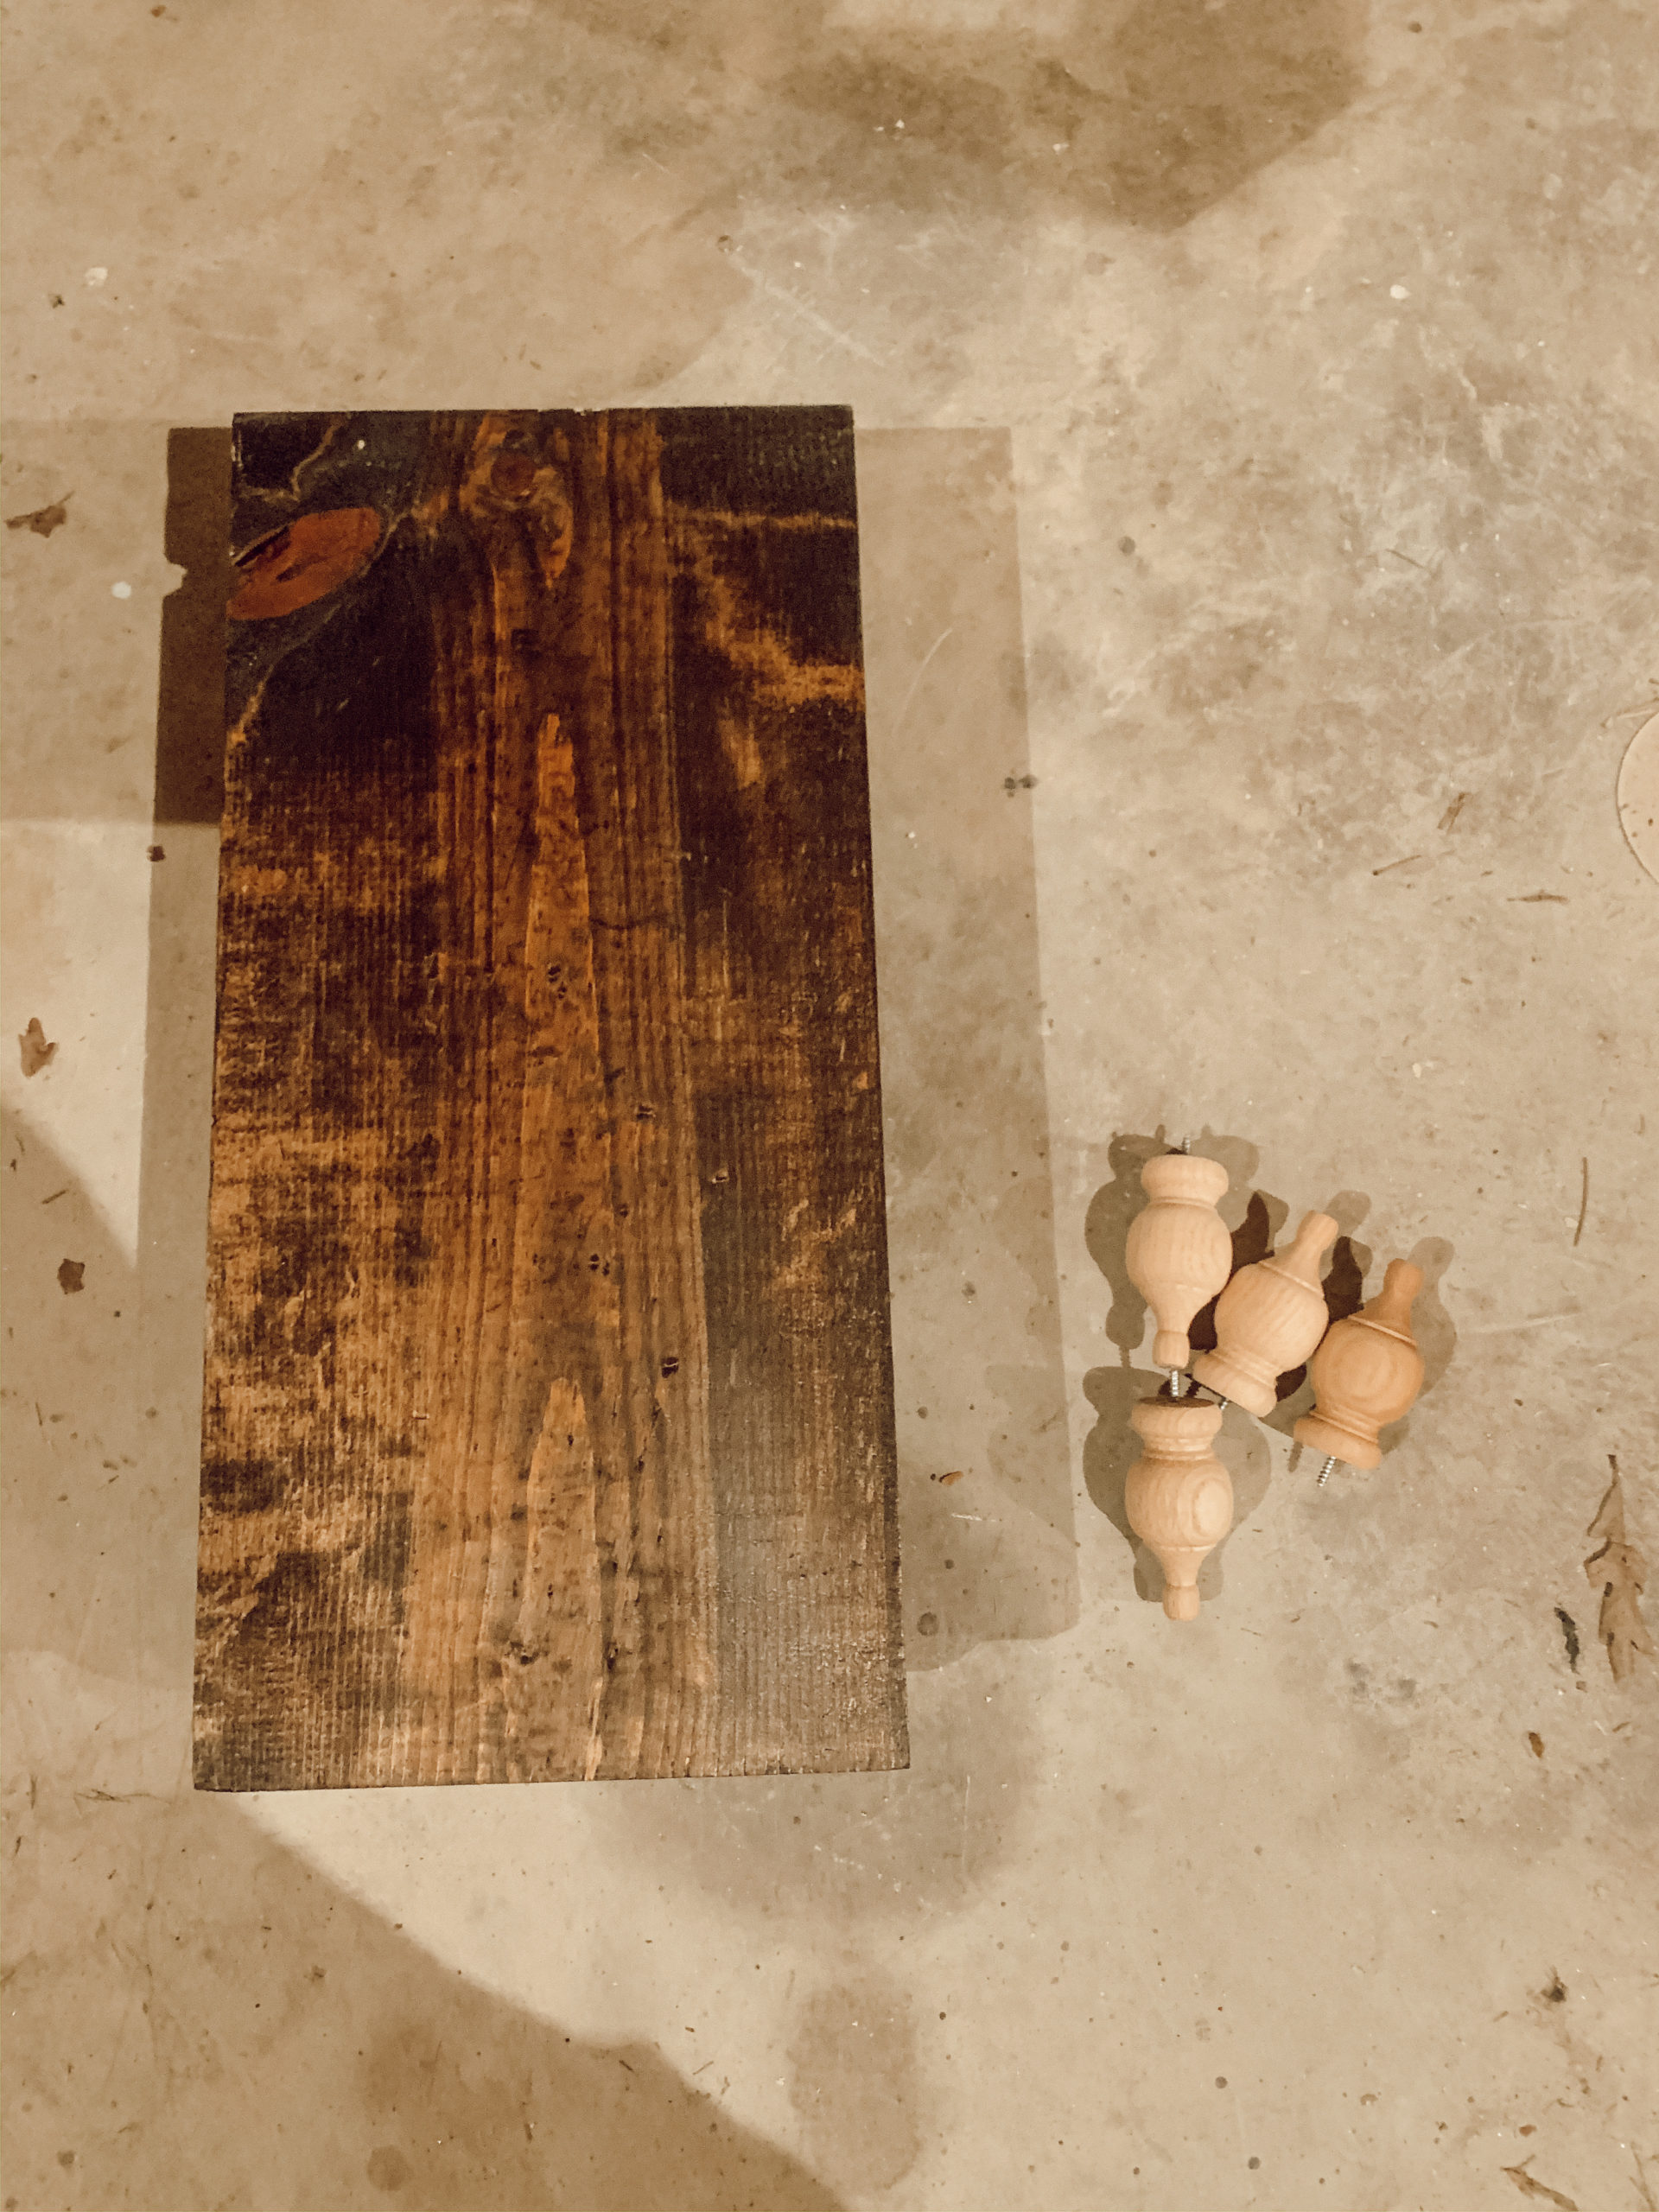
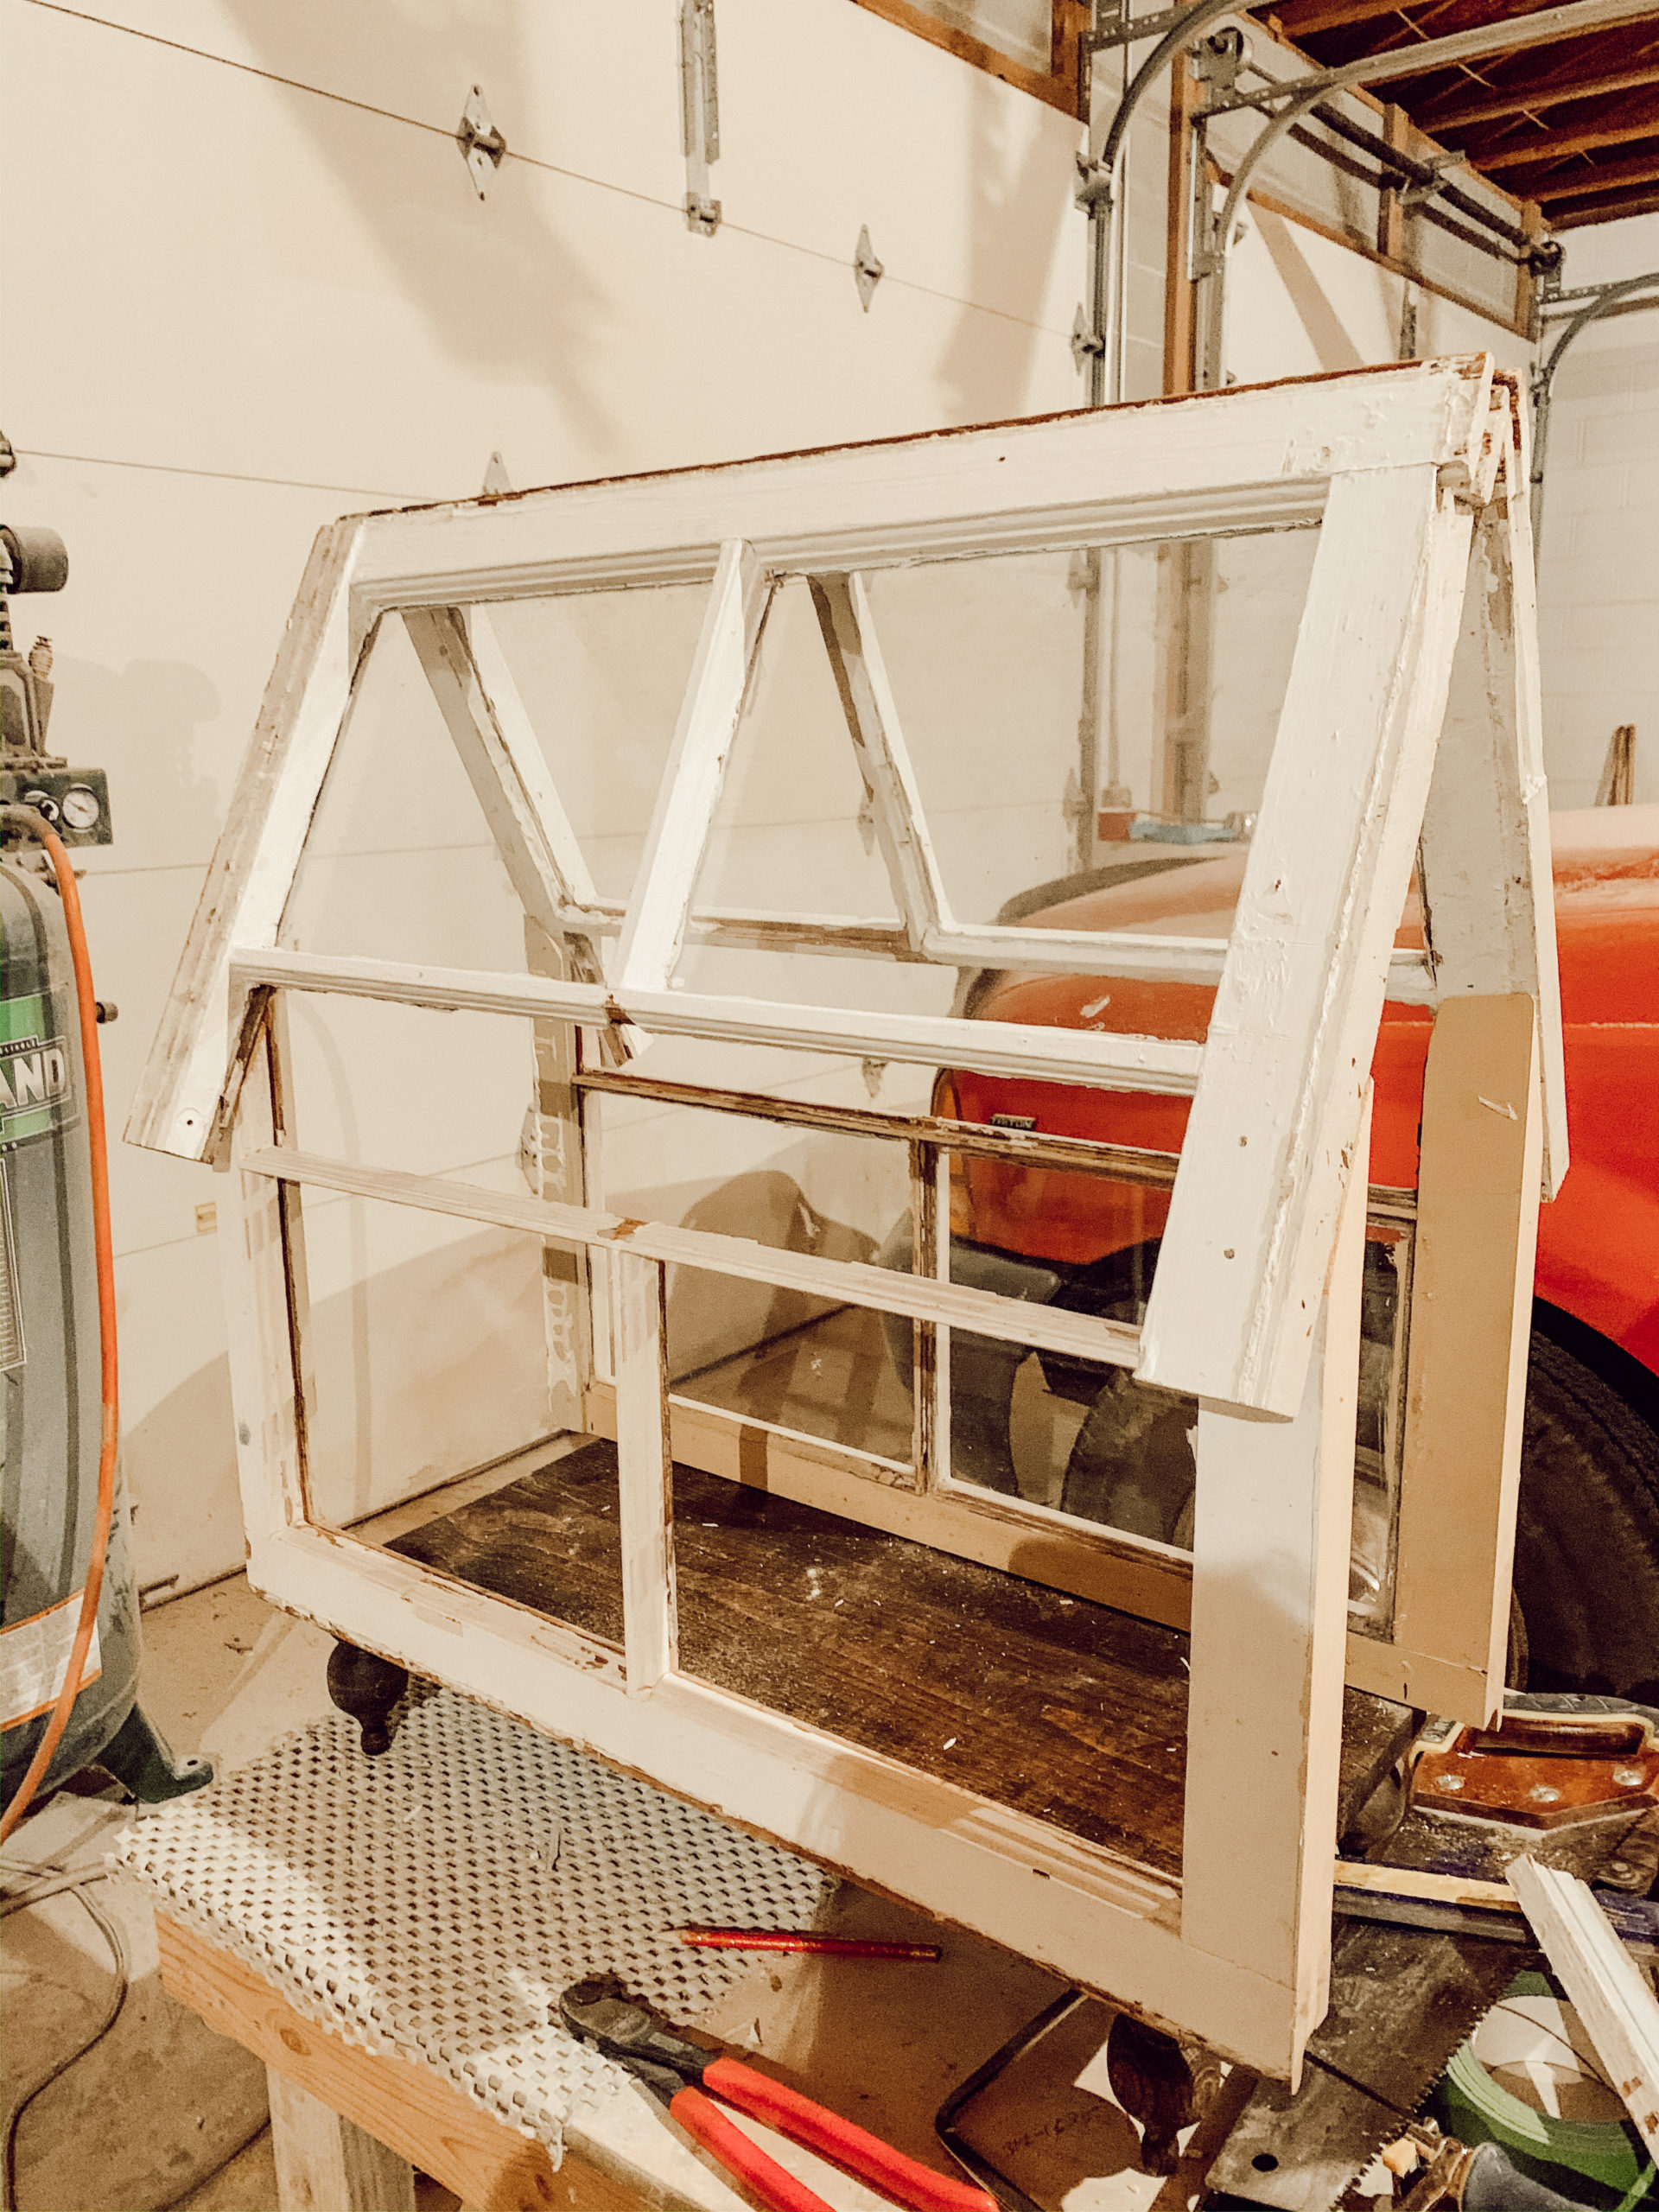
This tiny greenhouse is made out of two old 6 pane windows, a used piece of 1×12, and four table knobs. These pieces were not in perfect shape and I felt like that was the best part about making it because, it added character. I started with staining the 1×12 board and the four table knobs. You can use any size board that you want as long as it is not longer than your windows. Also for the legs you can use anything you have, that can hold your board up. While the stain is drying, it was time to cut the window panes.
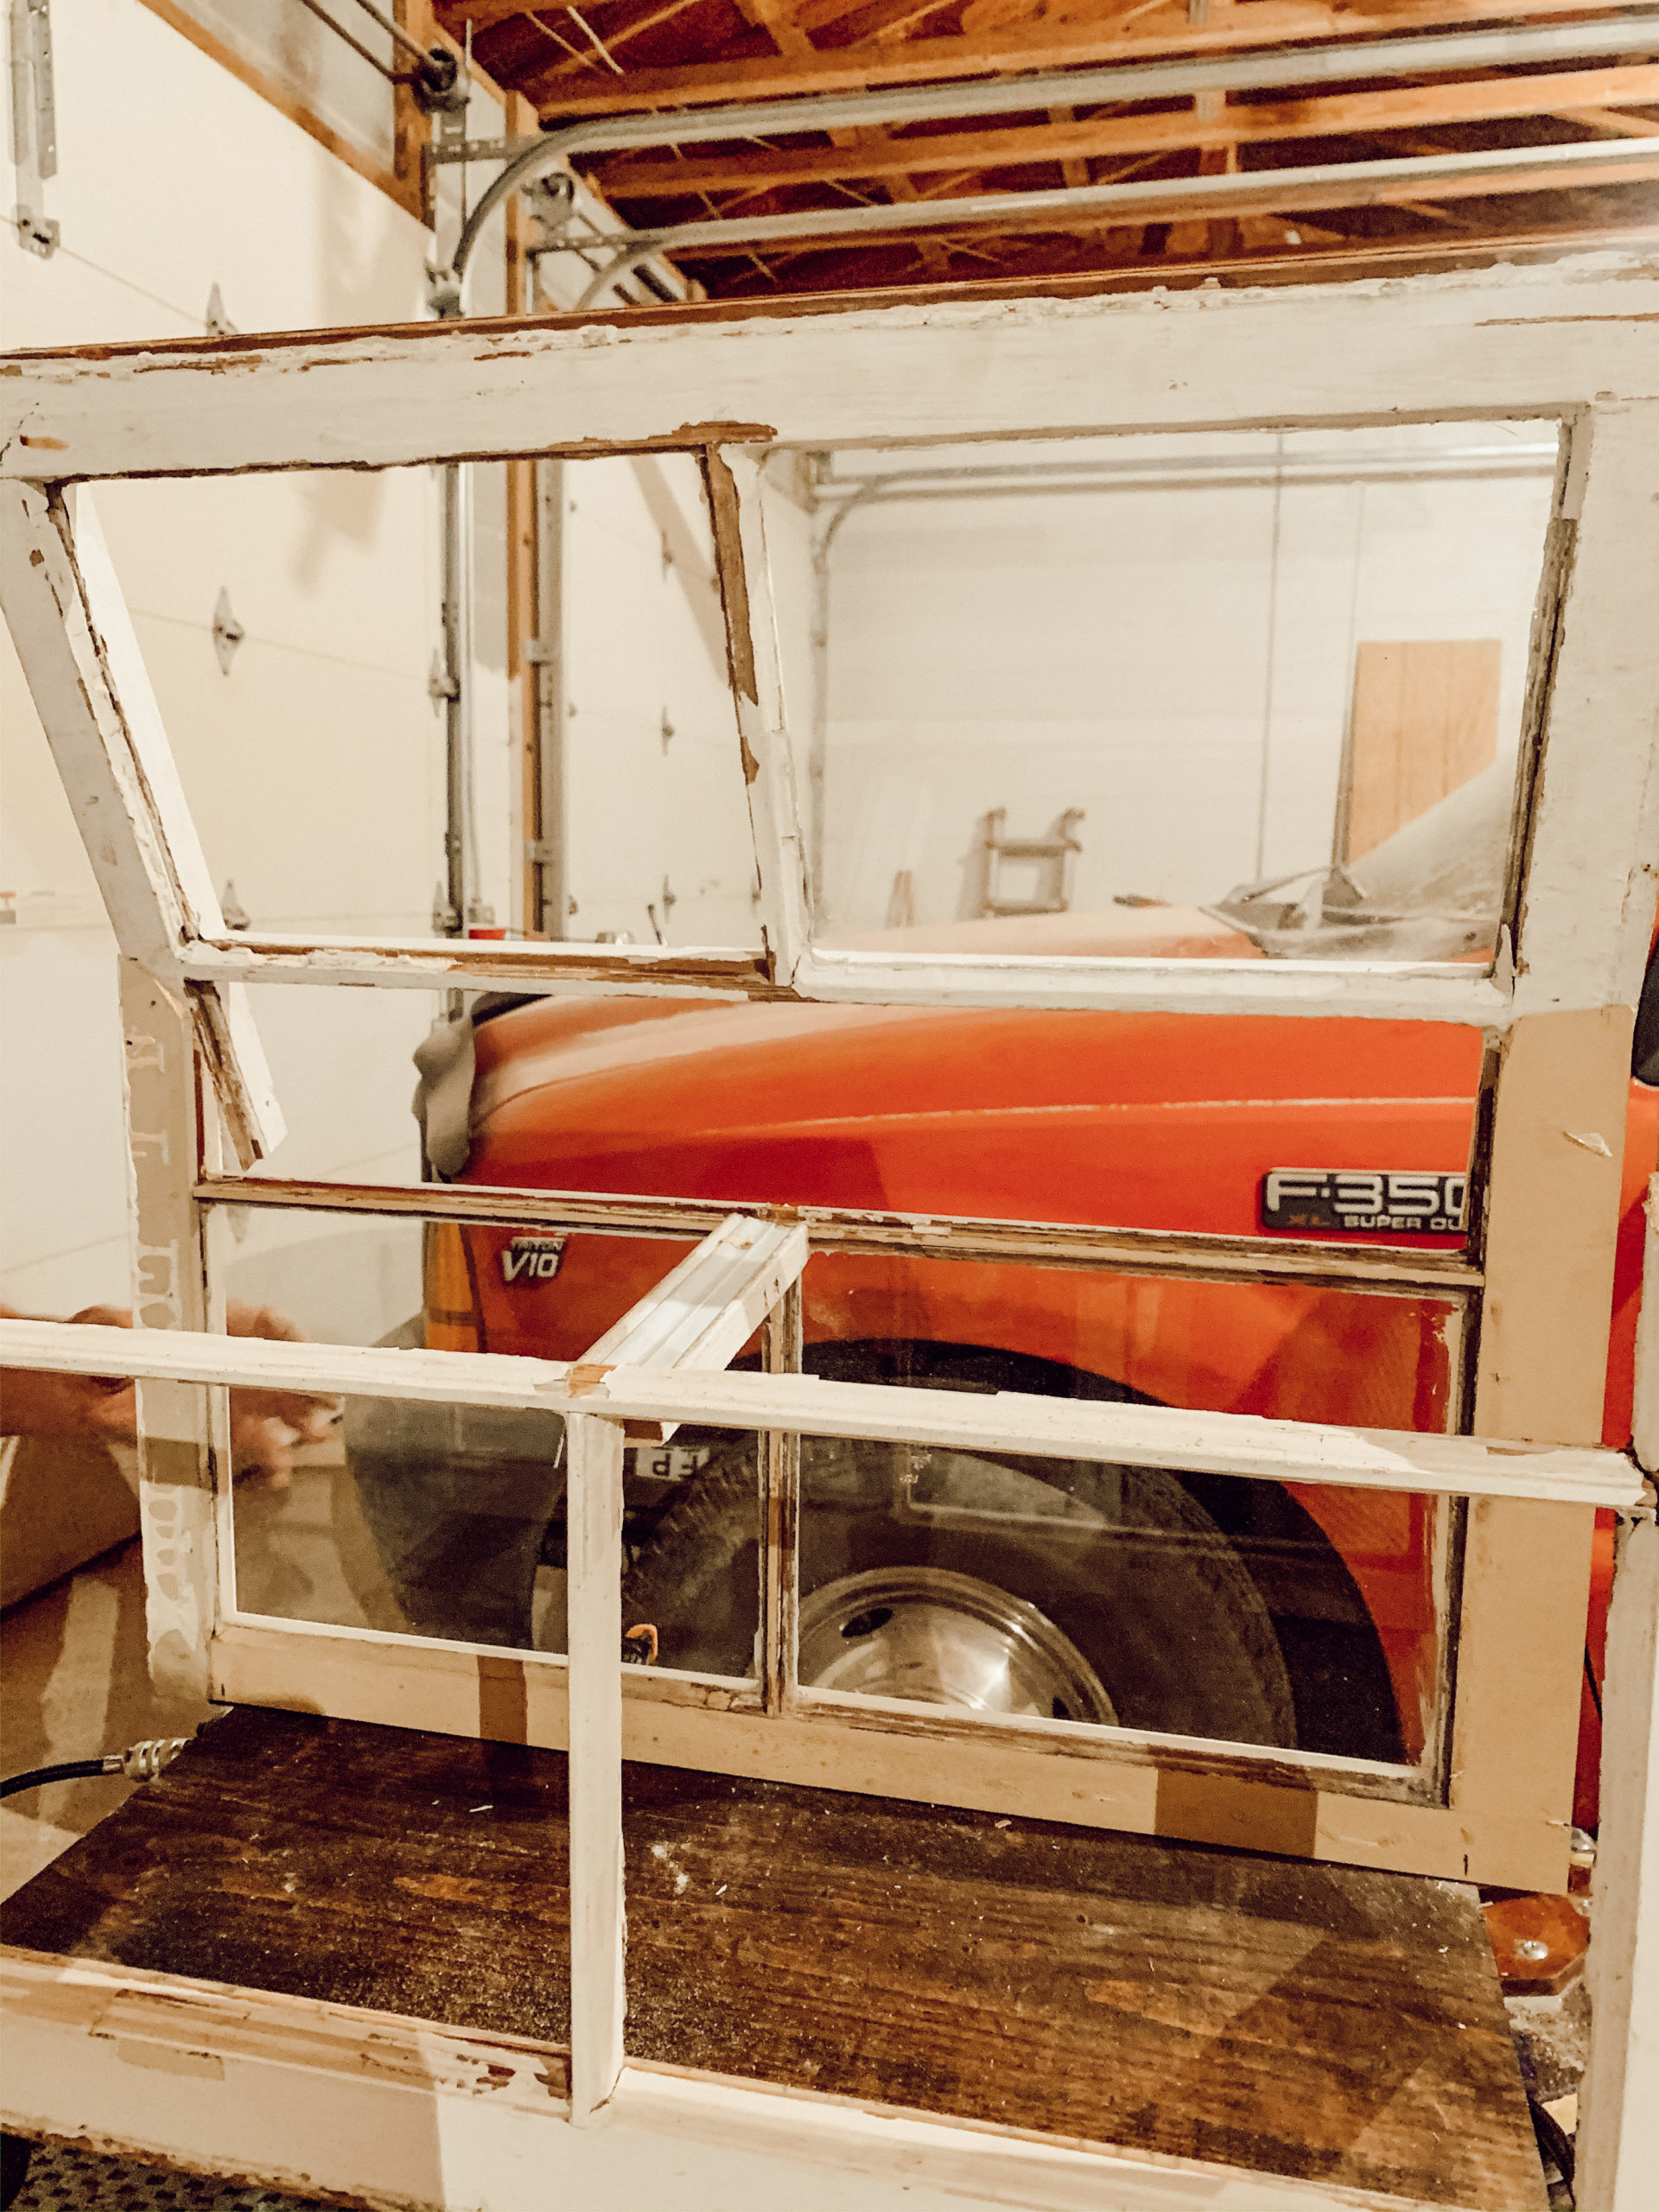
I started out by taking the glass out of the middle row because, this is where you will cut the windows in half. Once that was out, I measured the window and found the middle of each side, the way I could up it. You will cut the window in half to create the V shape pieces and the pieces to hold the top in place. You will do the same process to both window panes.
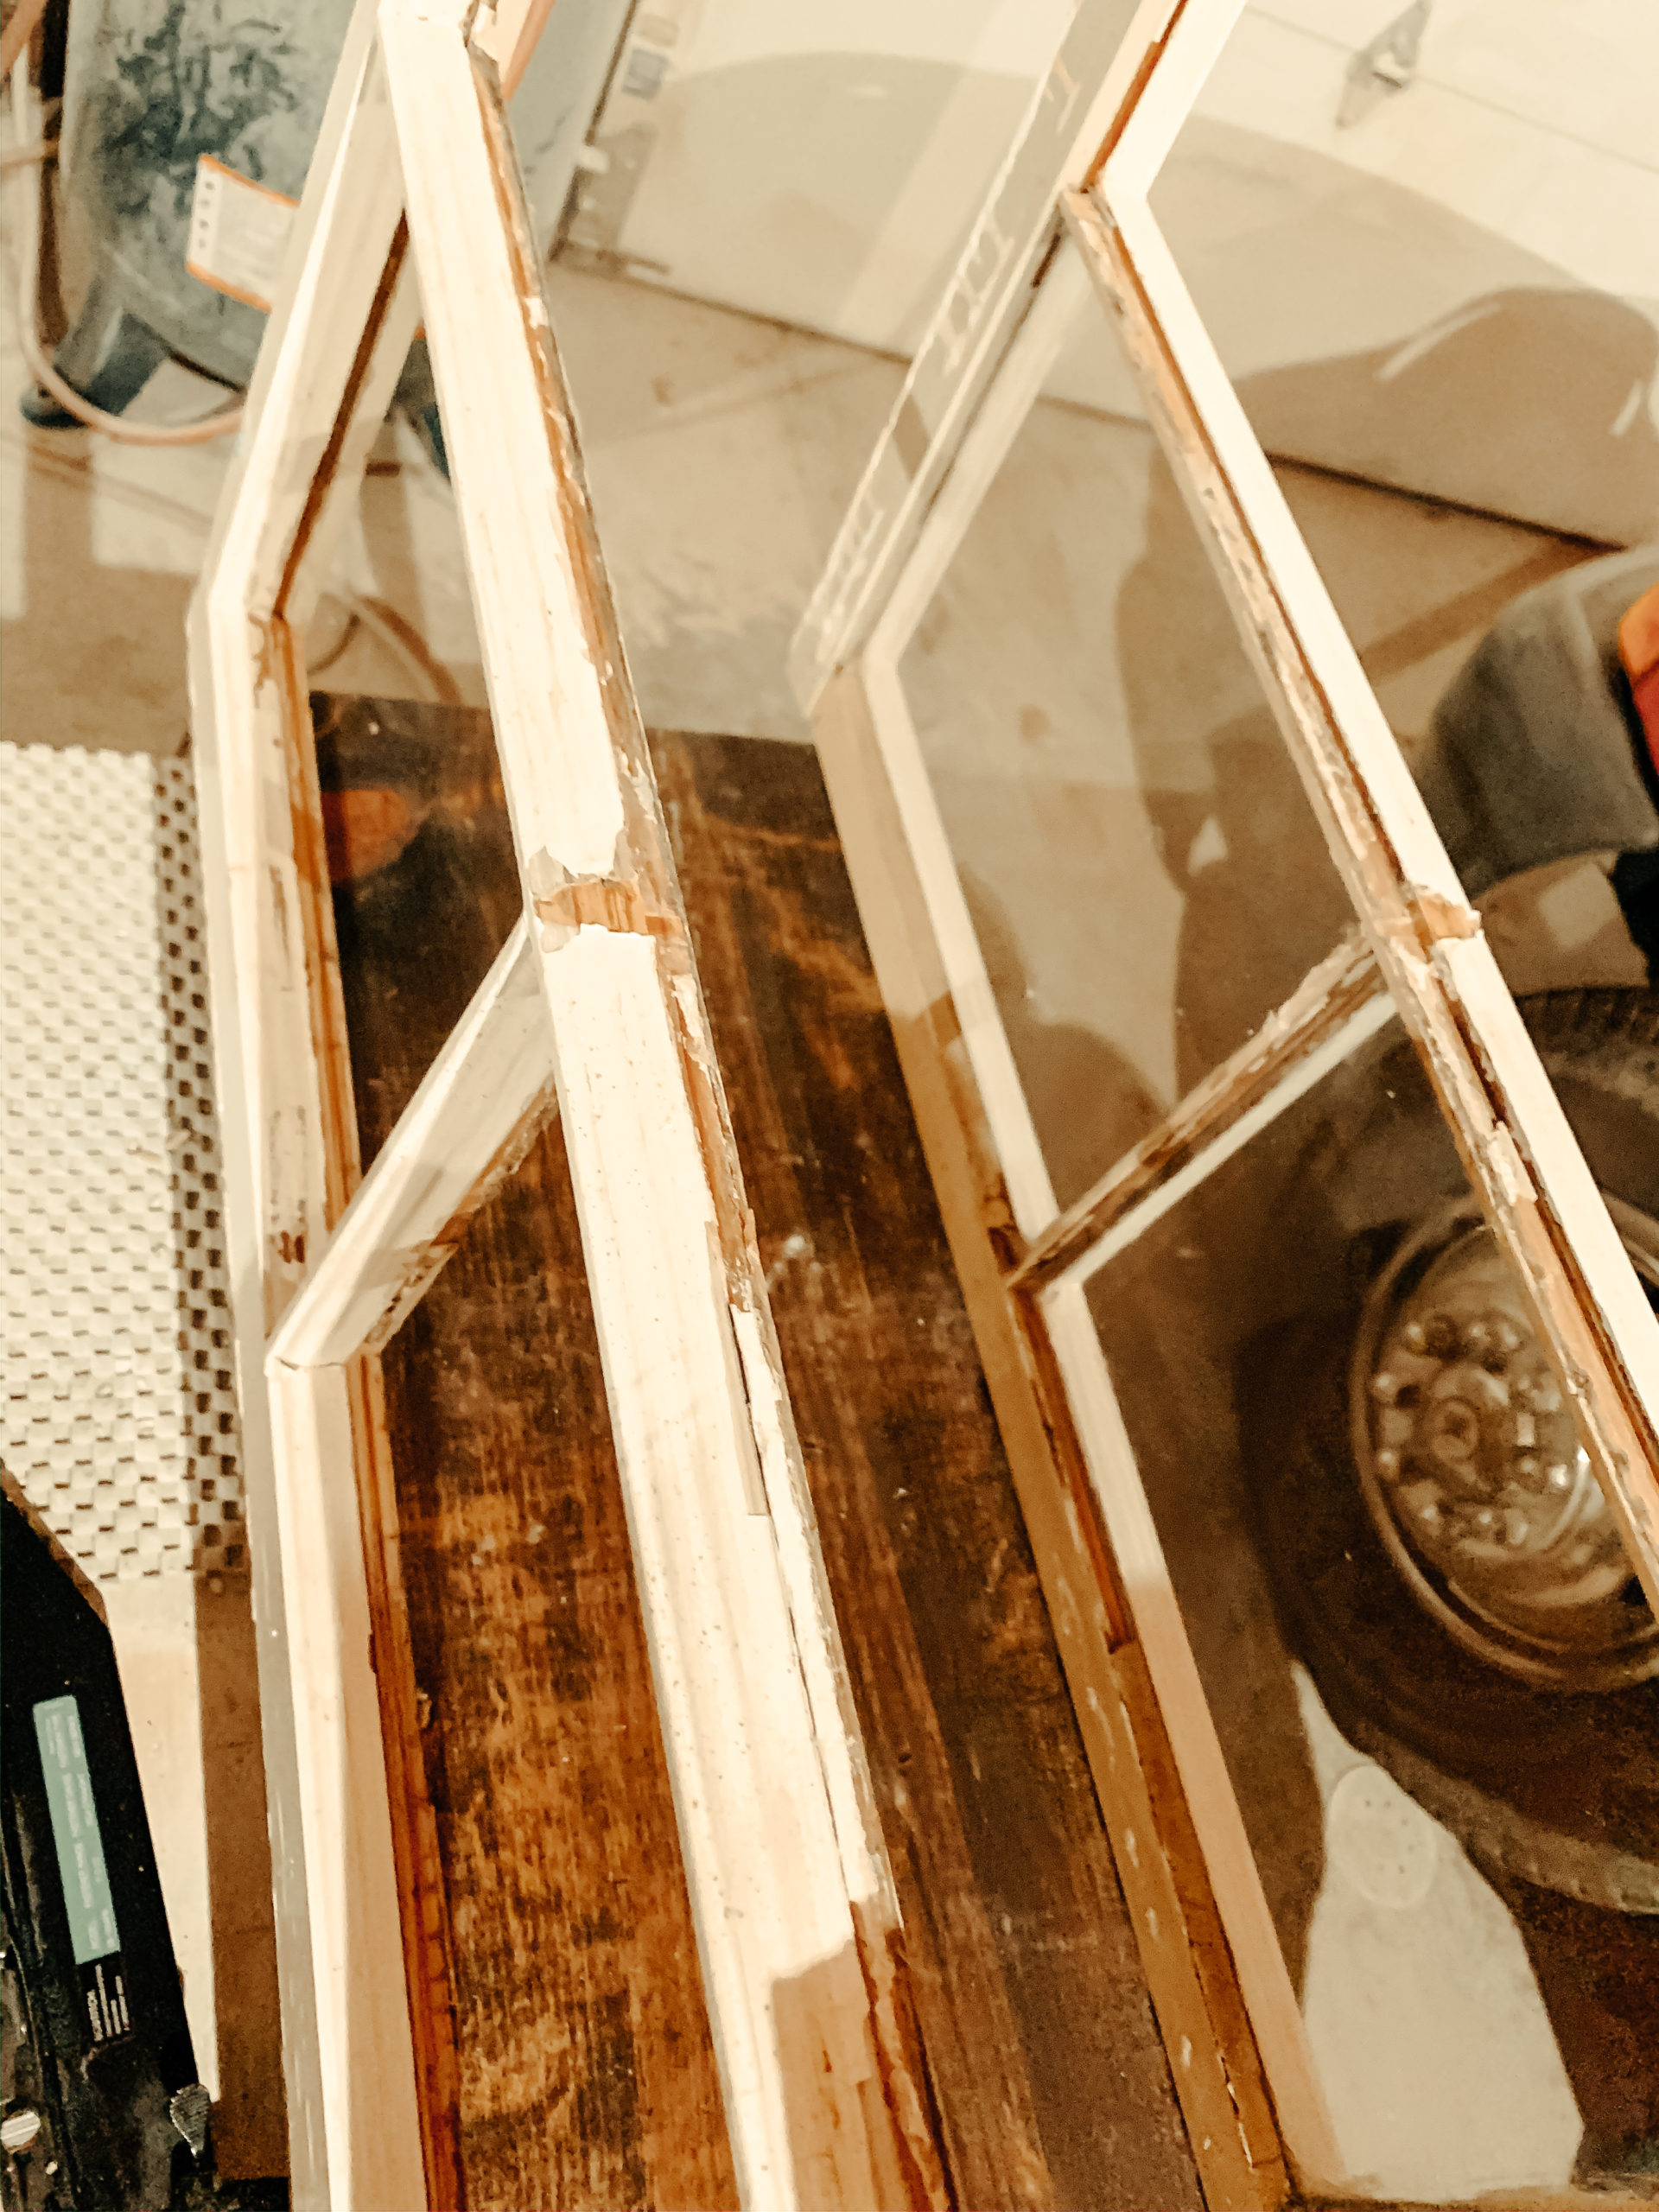
Now that the windows were cut, it was time to start building the greenhouse. I attached the table knobs ( the feet) to the bottom of the board. Then, I took two halves of the window panes and put them on the edge of the wood base and mark where they were. Once I had the marks, one side at a time I used screws underneath the board to attach the window pane to the base.
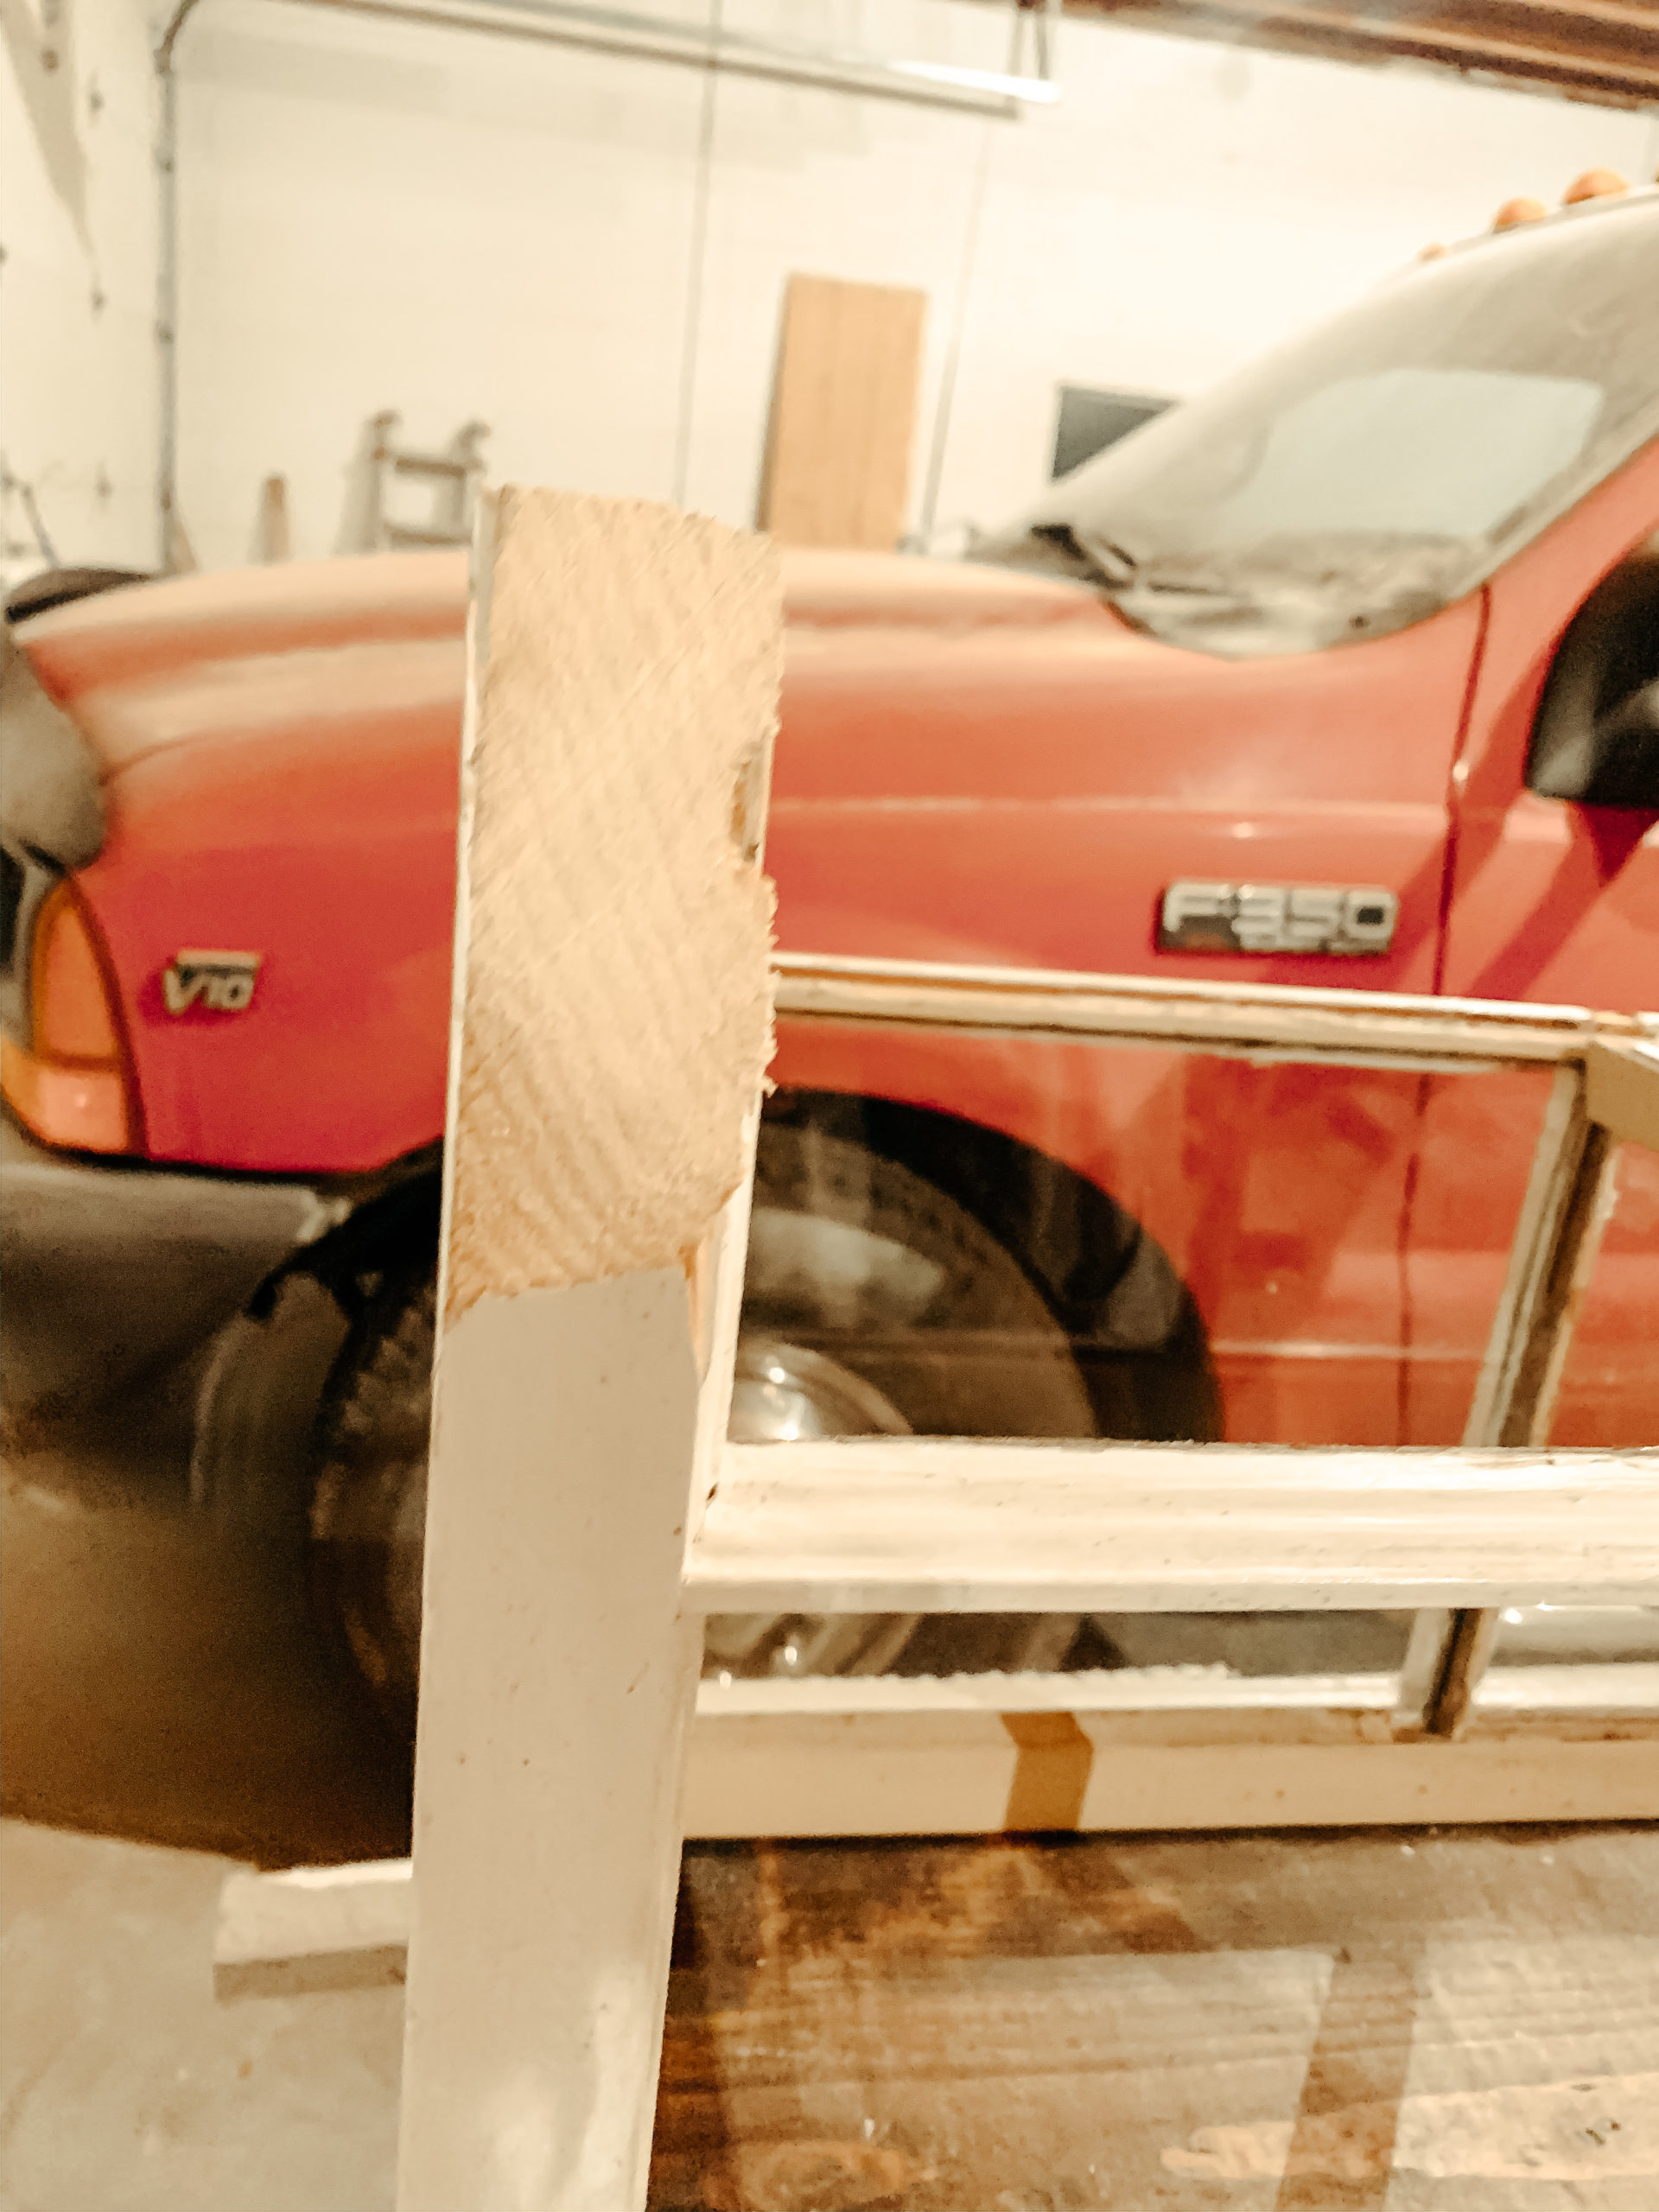
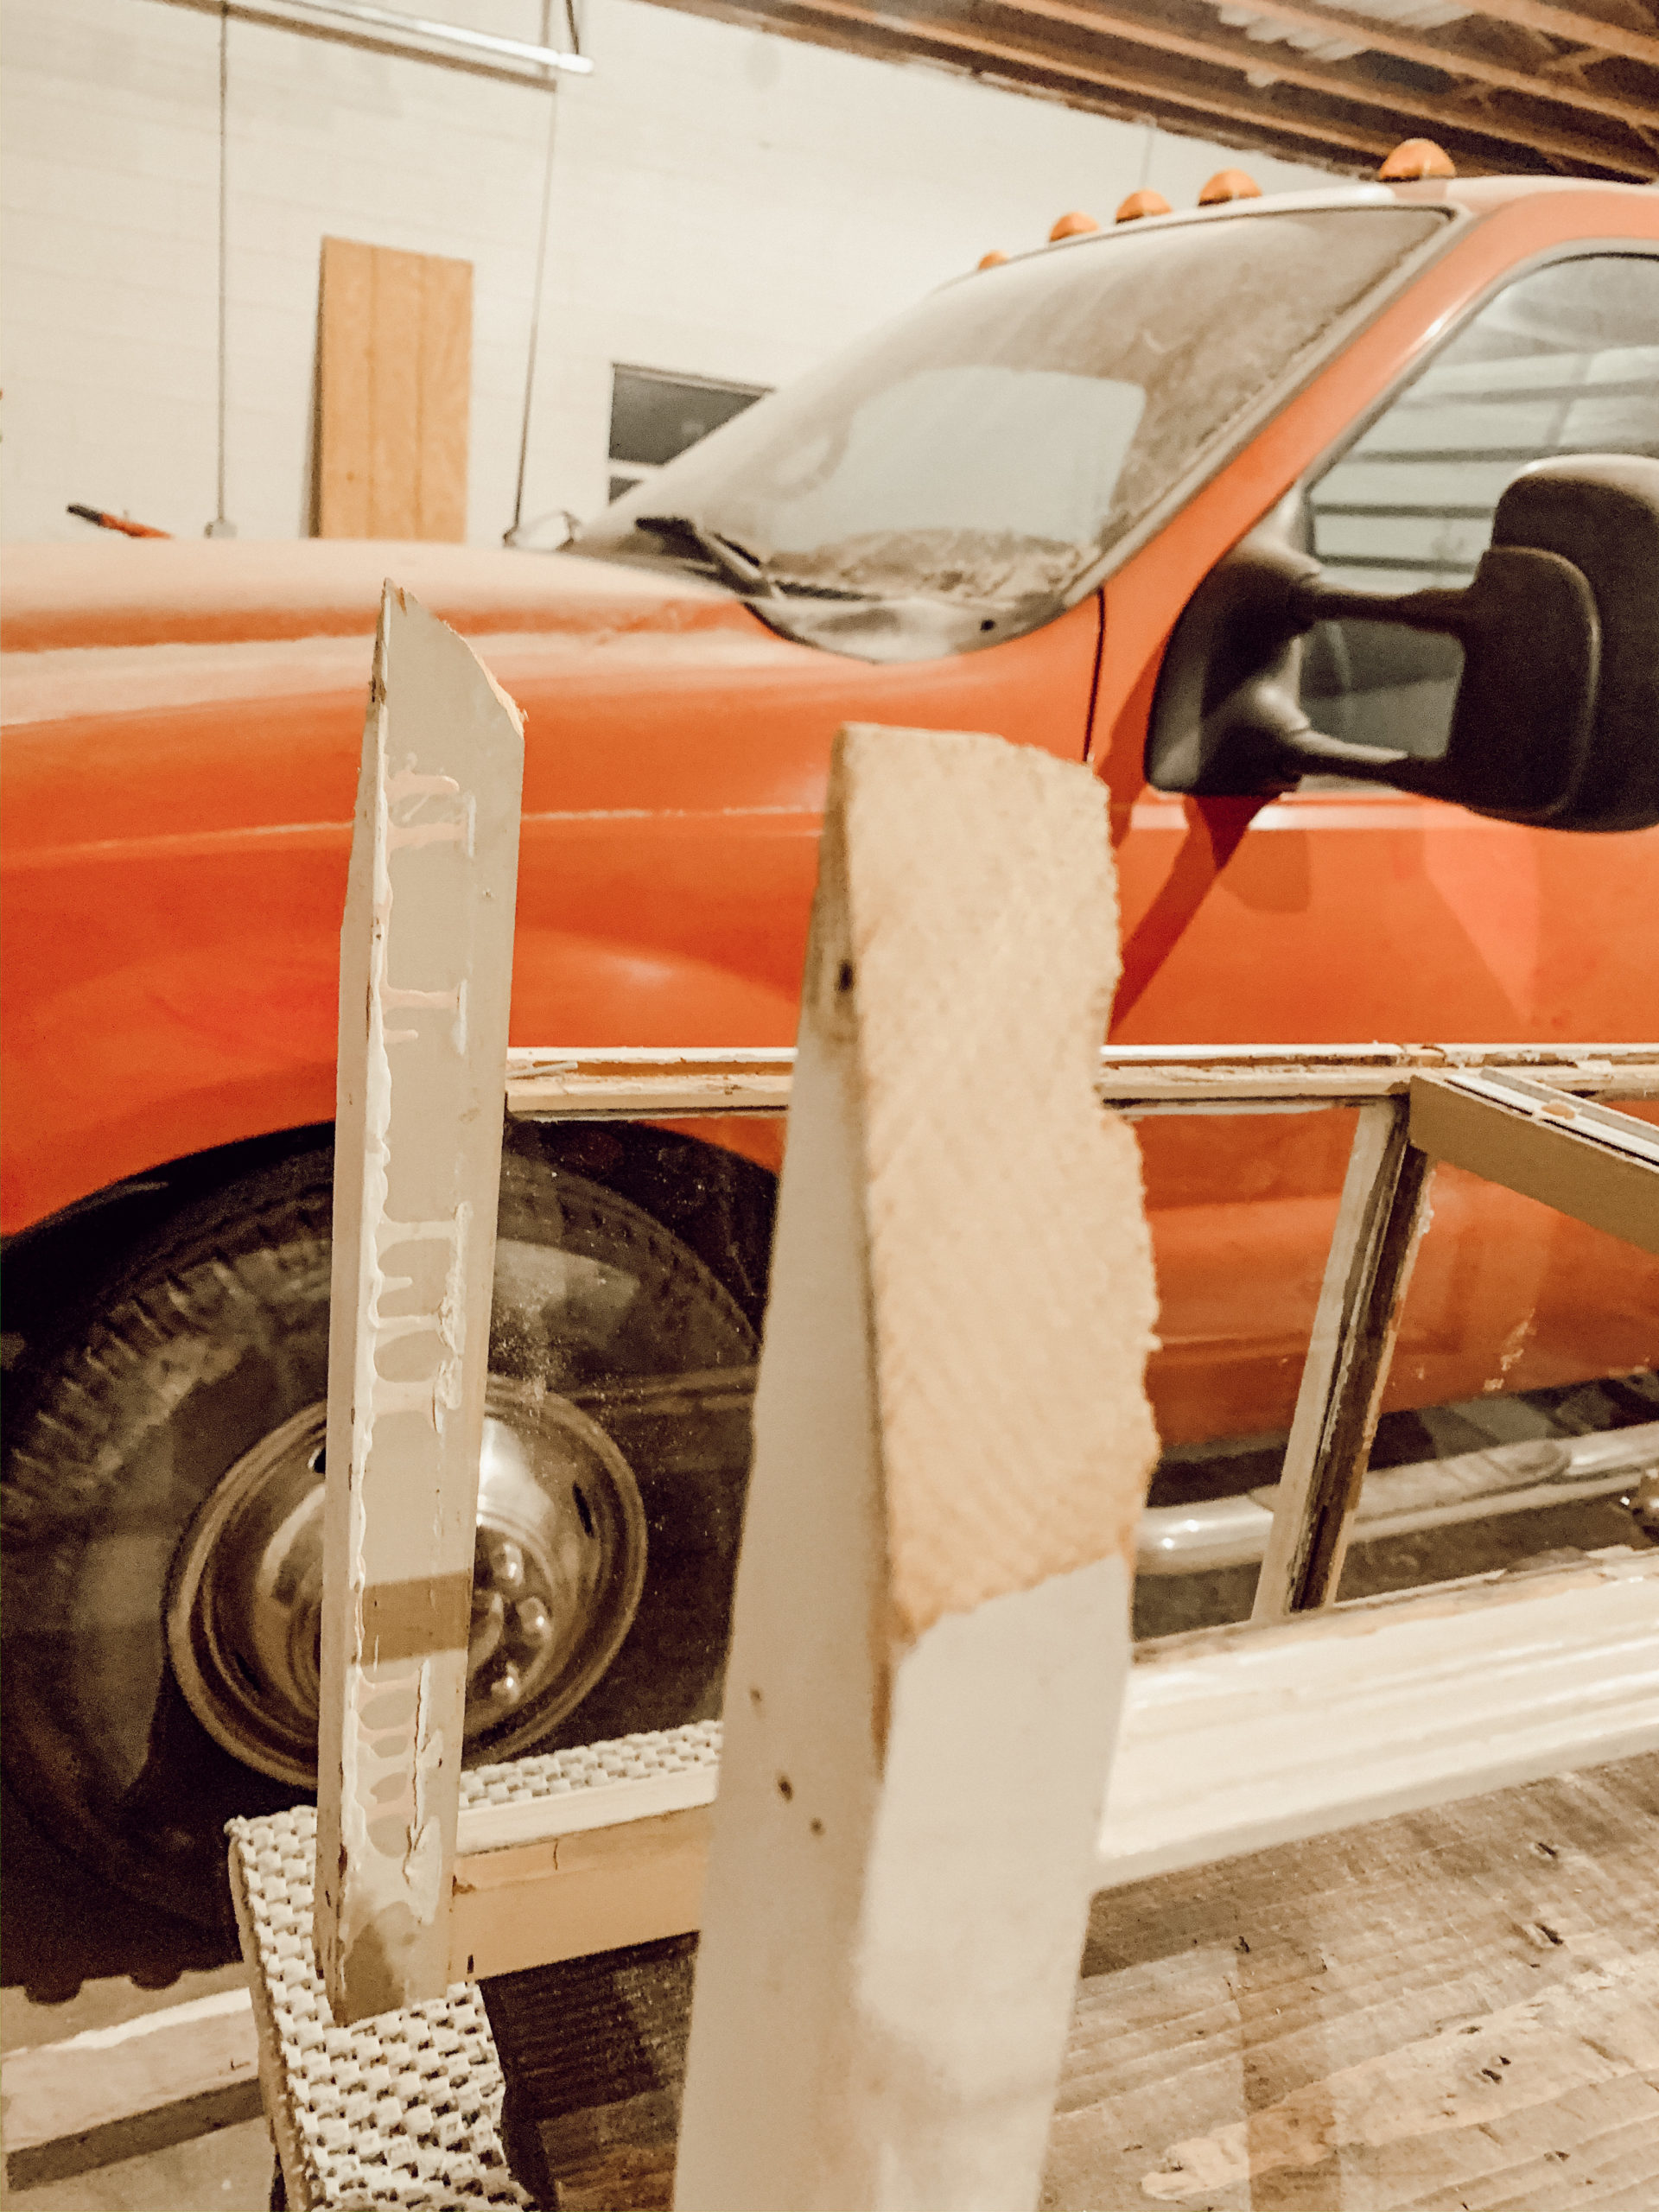
Once the base was attach, I took the the other half window pane and figured out the angle of the top of the greenhouse. This will depend on how wide the wood base is that you chose and the size of your windows. I held the window pane up on one side and angled it just how I wanted it, then marked it with a pencil on both pieces. I then took a jigsaw ( you can use a handsaw as well) to cut along the line on the window. I did this to both sides.
After cutting the angles, the only thing left was to attach those two halves to the side pieces. One side at a time I lined the top piece up with the angle and used a nail gun to attach it in place. I then did the other side and the two pieces created the V peak. I personally used the nail gun to attach the top together as well with extra long nails, just for more stableness.
I am so excited to see how this tiny greenhouse does for the spring and the summer. Who knows I may even use it in the fall with pumpkins. I hope to see many of you create your very own! Please share them with me on Instagram! Thank you as always for stopping by the blog today, XOXO!

Thank you so, so much for sharing this idea! I’m going to make one for my friend for her birthday and I happen to have an old window pane!! What color stain did you use? It’s perfect!
hey there! Thank you so much! I used dark walnut stain.
I love this idea Jessica. It looks great on your table.
The coolest project ever, now to find some windows!