SHARE
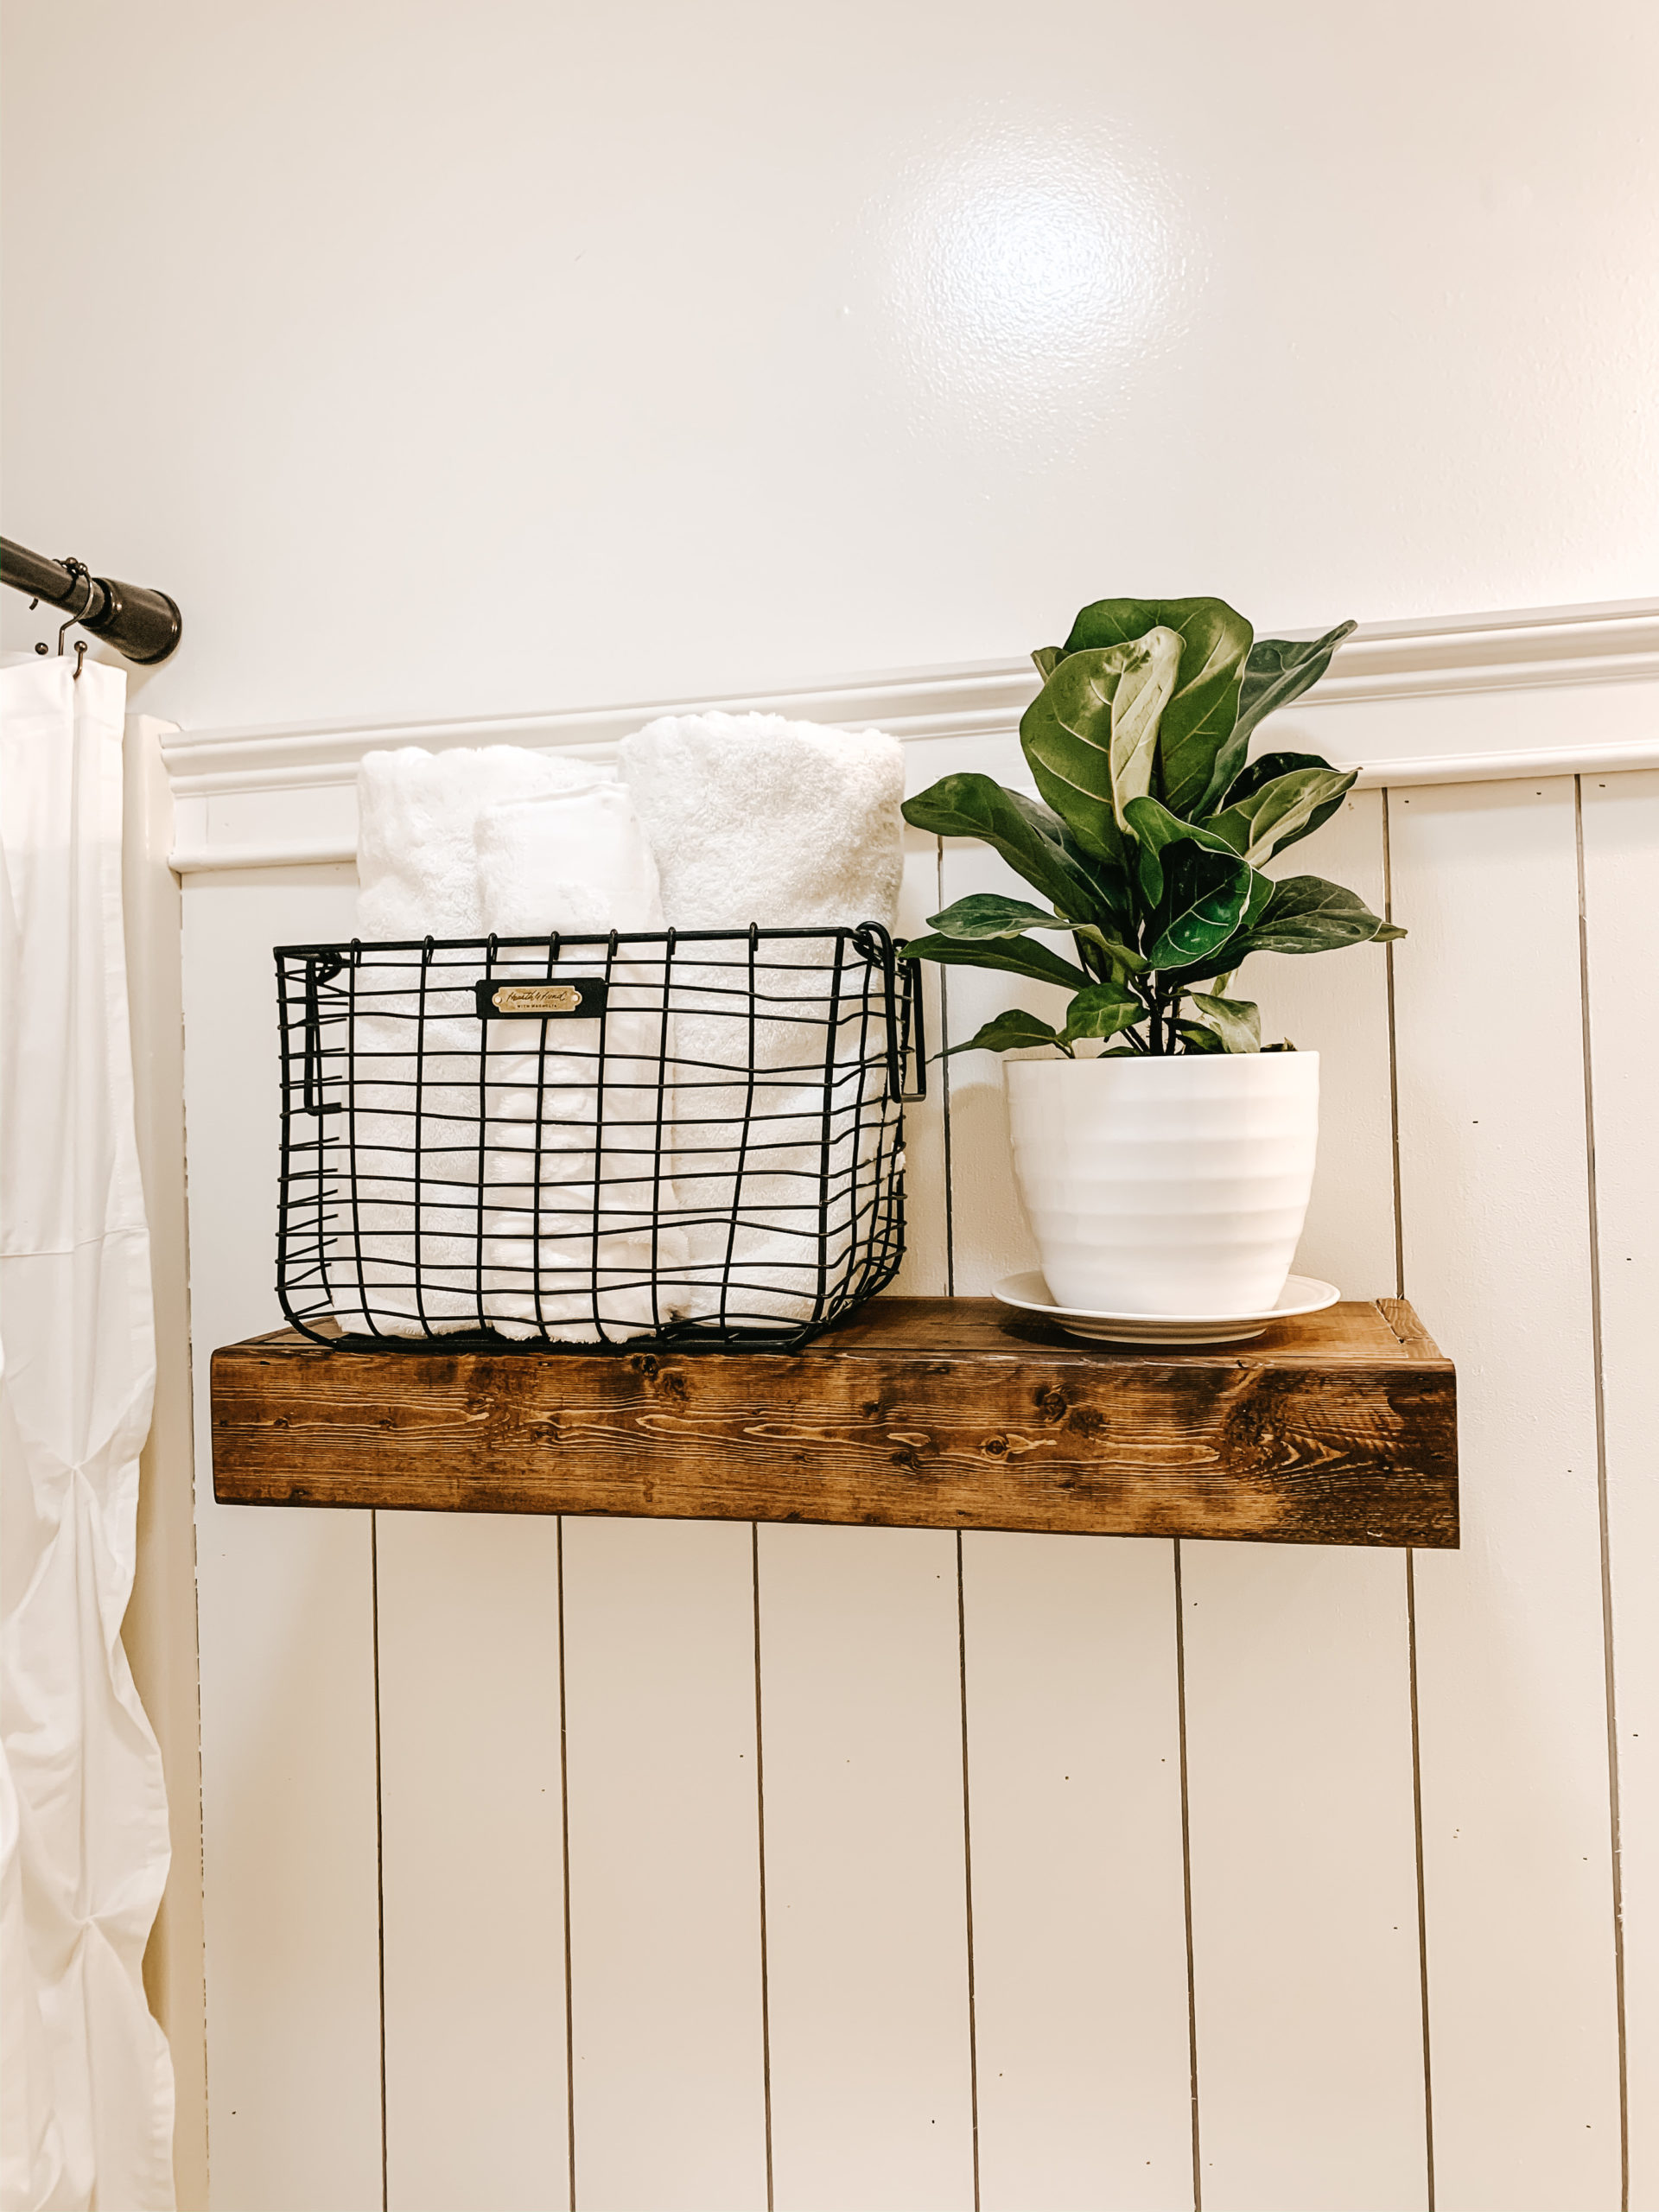
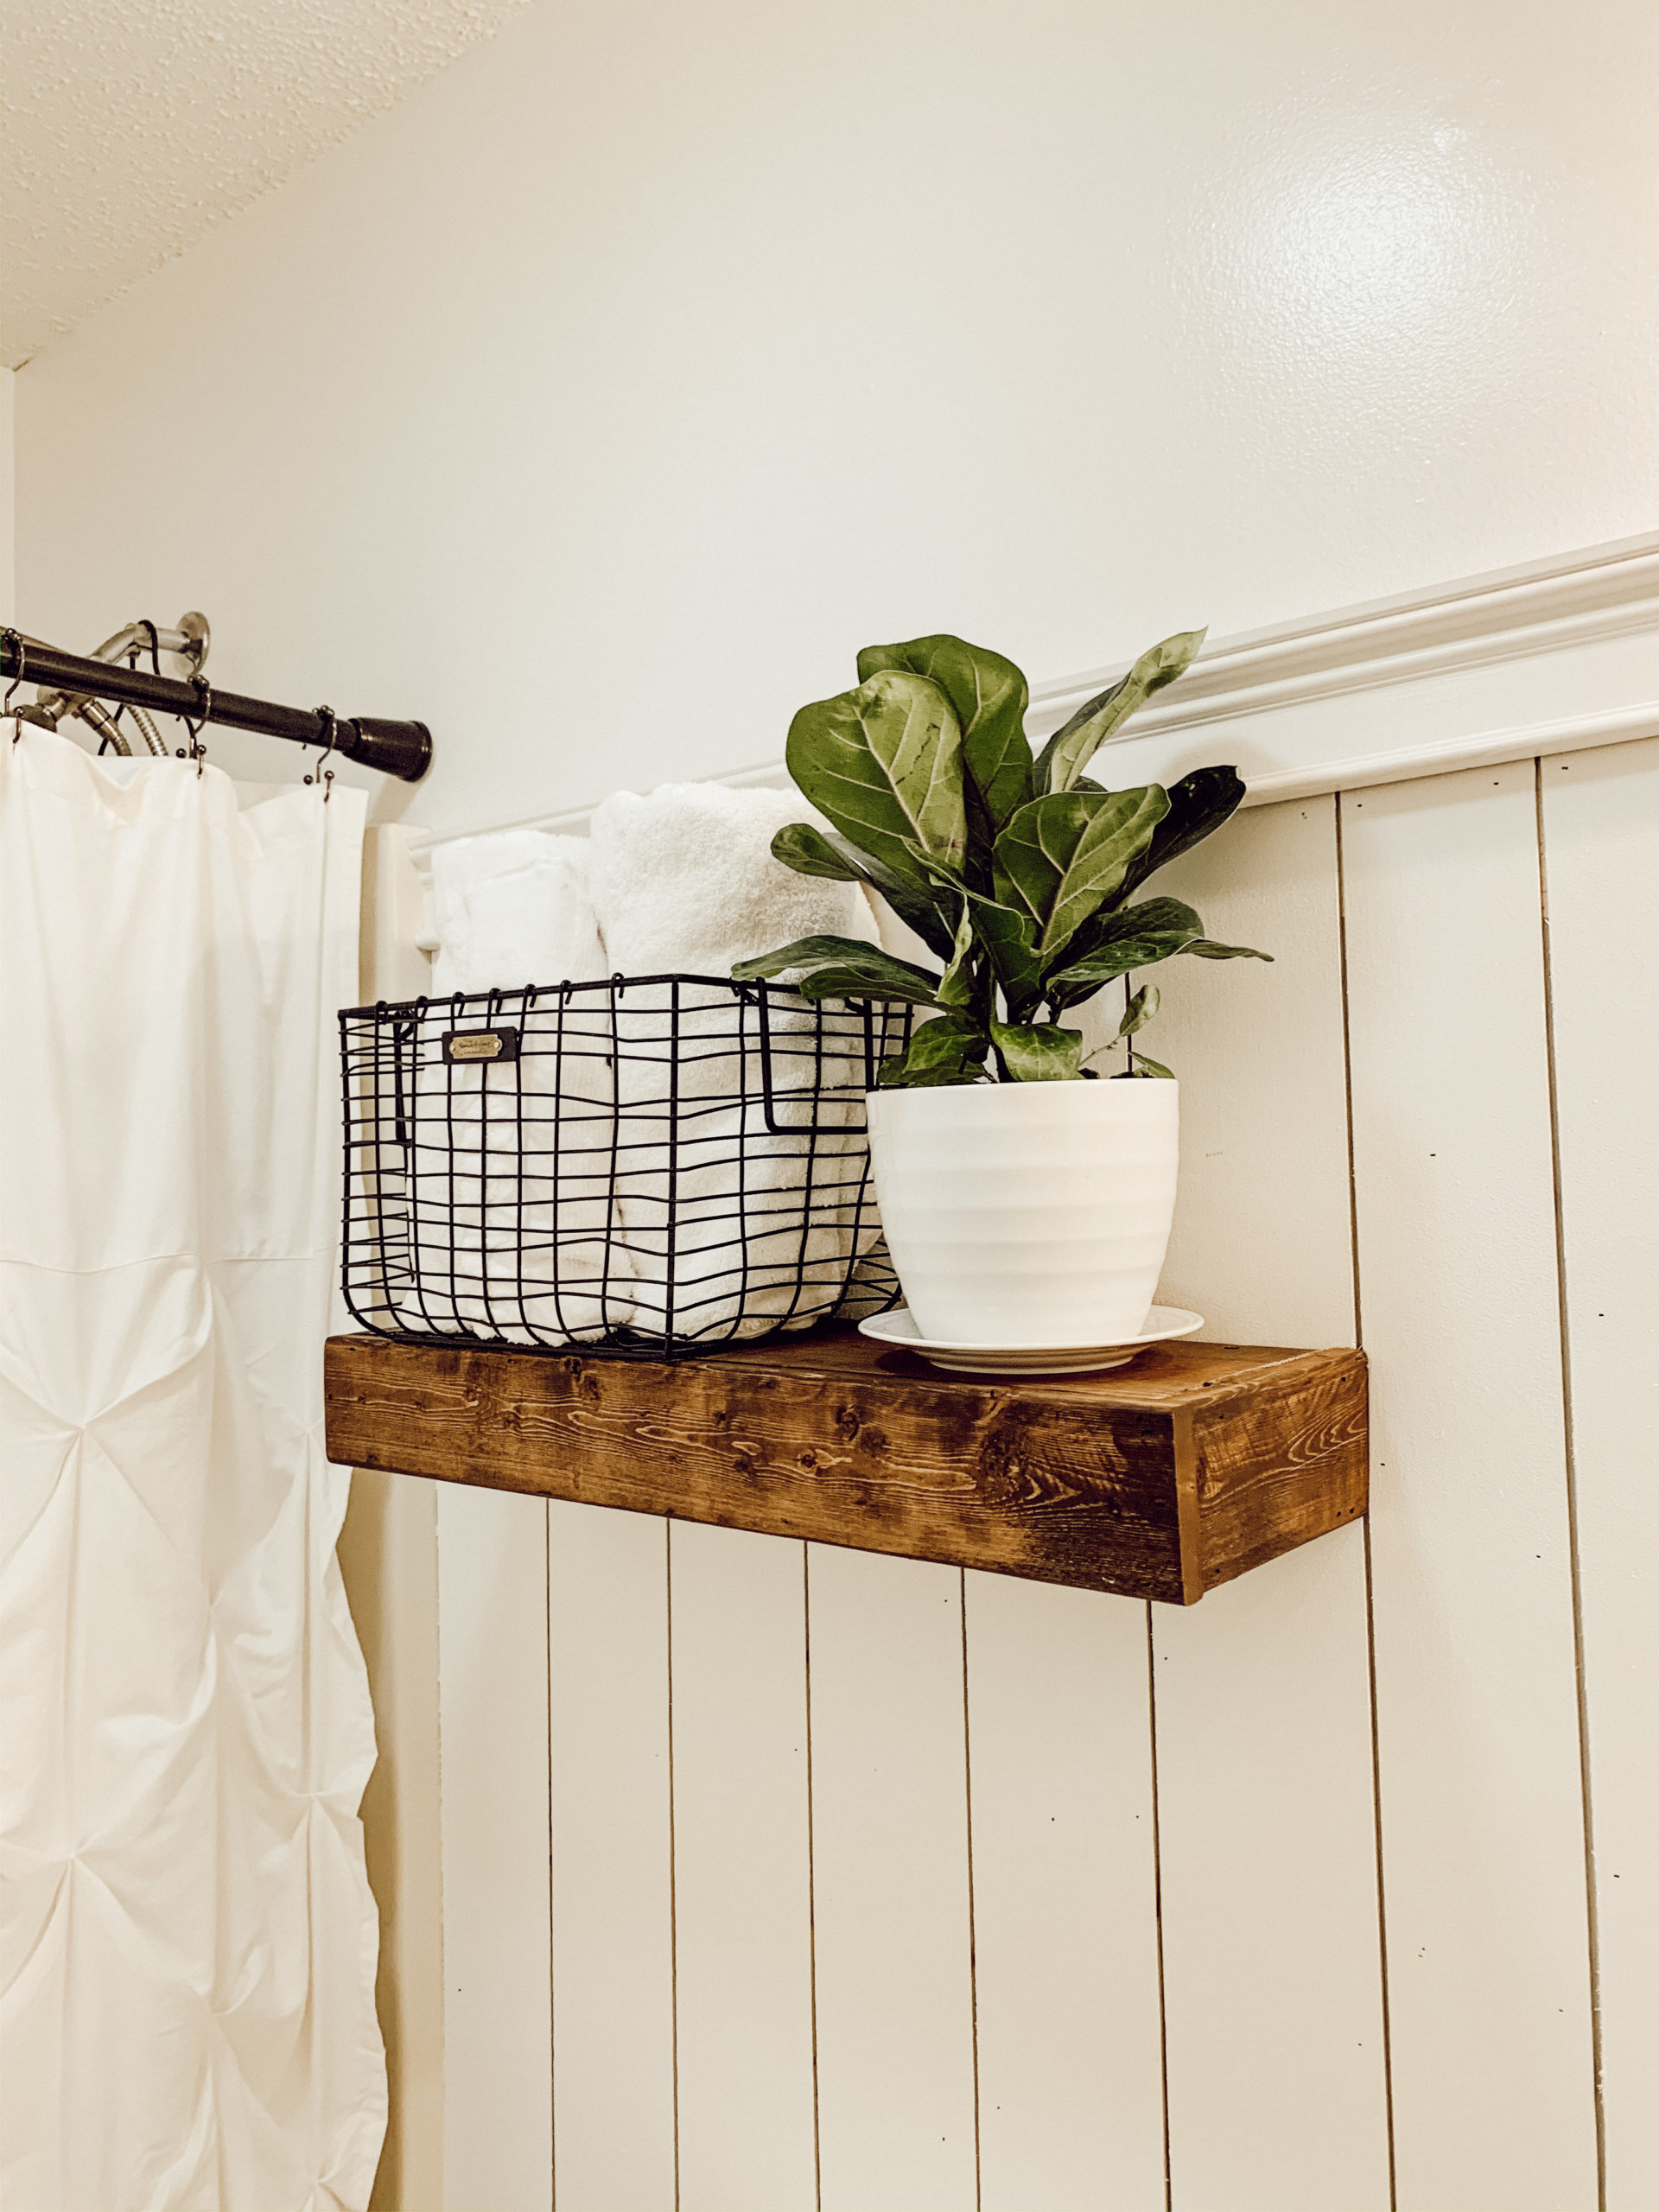
Floating shelving can be a great way to add in texture and dimension into any room; not to mention that it is a great way to organize a smaller space. My guest bathroom is the perfect example, the space is small and not very much cabinet storage. Having a way to storage and style the essentials for a bathroom was made easy by adding in floating shelving. When I first moved into my home, I did a quick styling of this bathroom and I made two matching floating farmhouse shelves to go in to create a space to hold essential items for a bathroom and doubling it with styling too. Here is how I created these floating shelves for less than $5o and in about 4 hours.
Materials You Need:
1- 1x4x6 common white pine board
1- 1x8x6 common white pine board
Stain- I used Mixwax Dark Walnut
Wood Screws- at least 2 inches long
Nail Gun or Wood Glue
Wood Clamp
Towel
Gloves
Drill
Screw Driver
How to make one shelf:
I first decided on how long I wanted the shelves to be. This will depend on the space you are putting them in. I will share how I did mine with my measurements, that way you can see how to cut your’s based my measurements.
Step 1: Decide on the length of the overall shelf. Mine is 25 inches long.
Step 2: Cut the 1x8x6 to the length of 23 5/8 inches. You will need two pieces, one for the top and one for the bottom
Step 3: Cut the 1x4x6 to the length of 7 1/8. This will be for the sides. You will need to cut two pieces.
Step 4: Cut the remaining 1x4x6 to the length to 25 inches. This will be your front piece.
Step 5: Assemble the shelf.
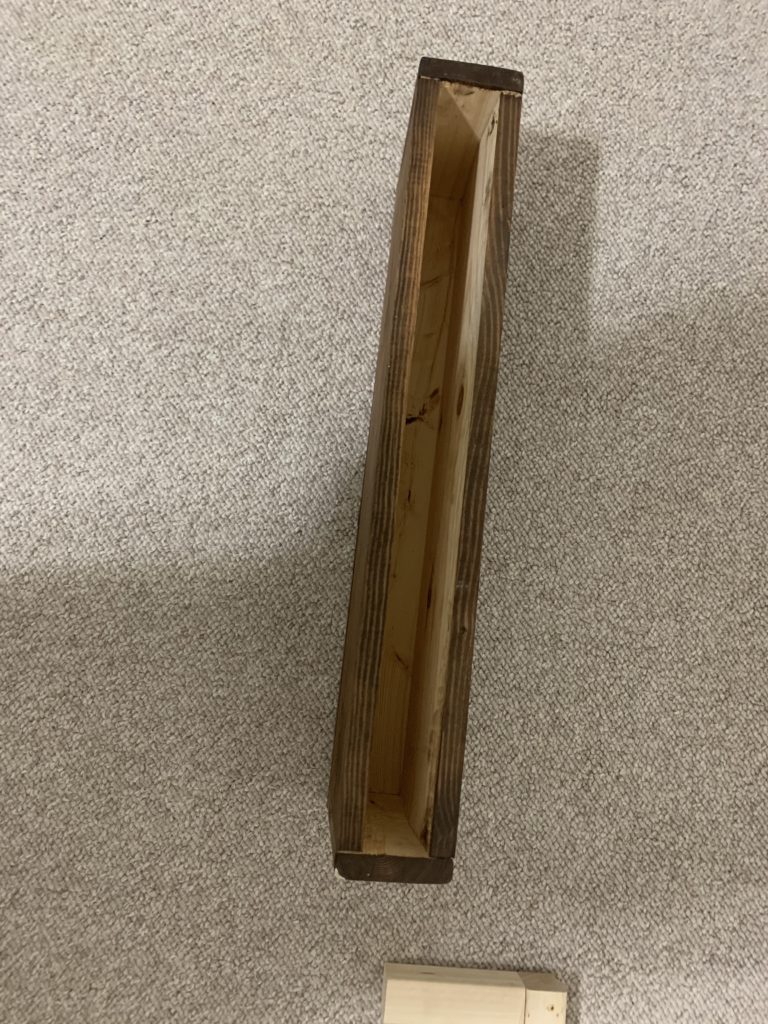
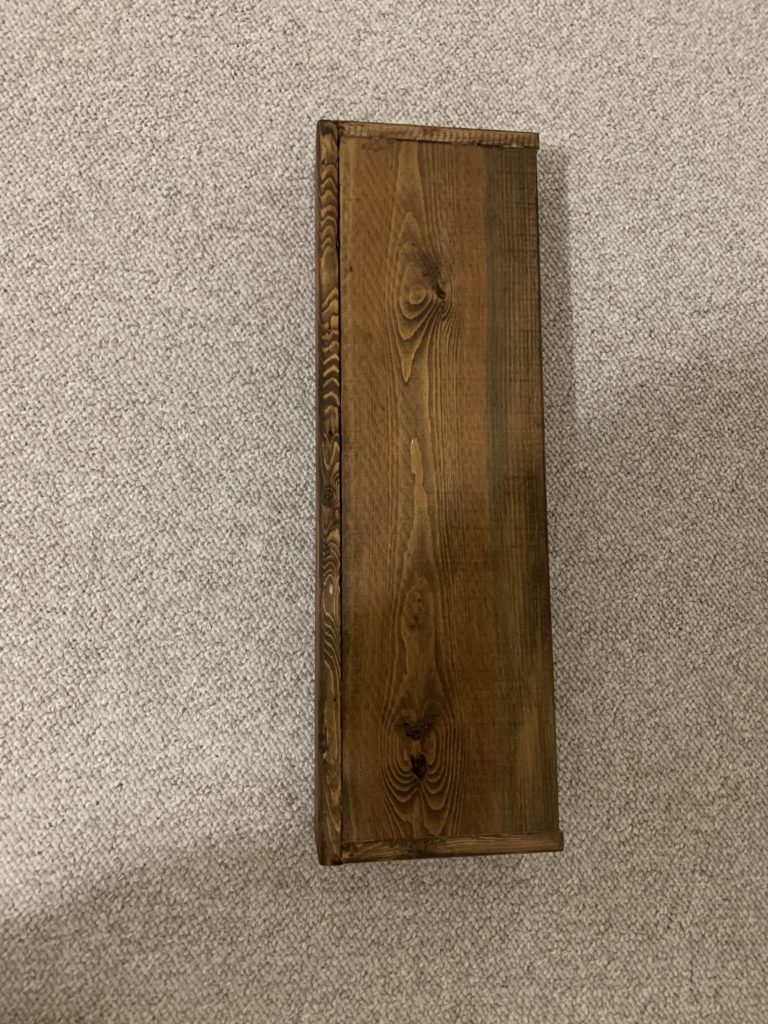
This is where you will take one of the 1×4 boards that you cut to 7 1/8 inches and attach it to the 1×4 board cut to 25 inches, on the edge so they form a L. I used a little bit of wood glue and a nail gun to hold this into piece. You can use either one or both. If you only use nail glue you will need to use a clamp and let it dry before moving onto the next step. Once you have that part dry and in place now you will do the same thing to the other end of the 1×4 board that was cut at 25 inches. Now the you have the bones assembled all that is left is to put the top and bottom on. This is where you will take your 1×8 boards and slide it in between the two boards at are attached to the 1×4 board cut to 25 inches. Once you have them both in placed and glued to nailed, let it dry. If you did only use glue make sure you do use the wood clamp during the drying process.
Step 6: Assemble the wall mount for the shelf
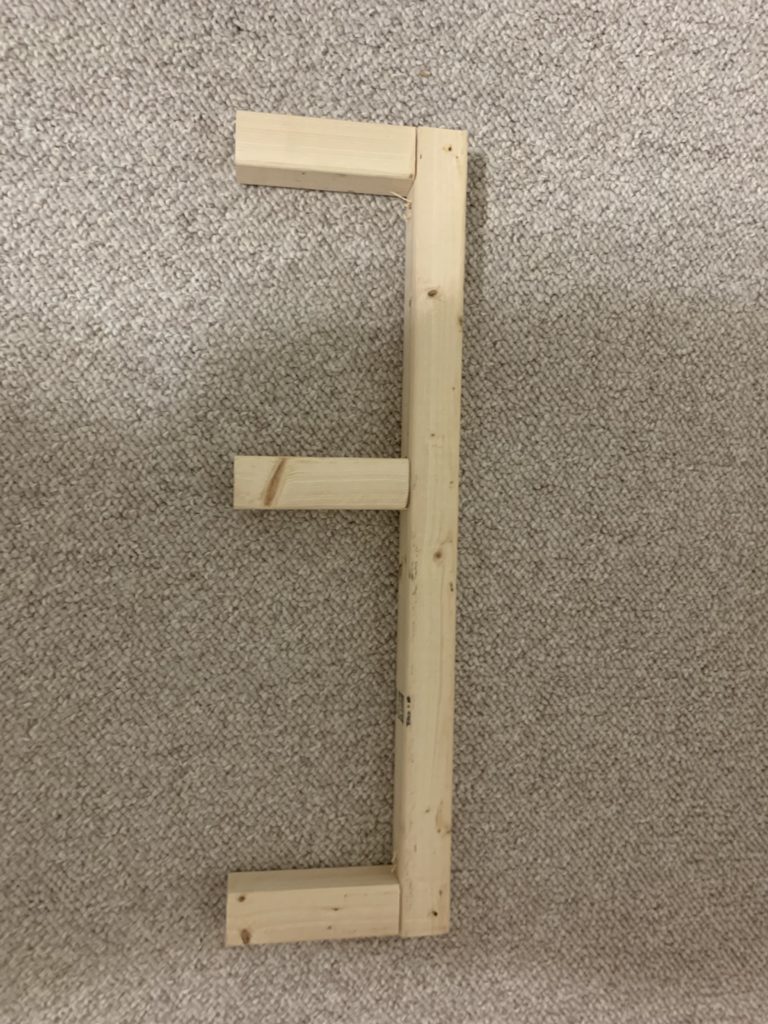
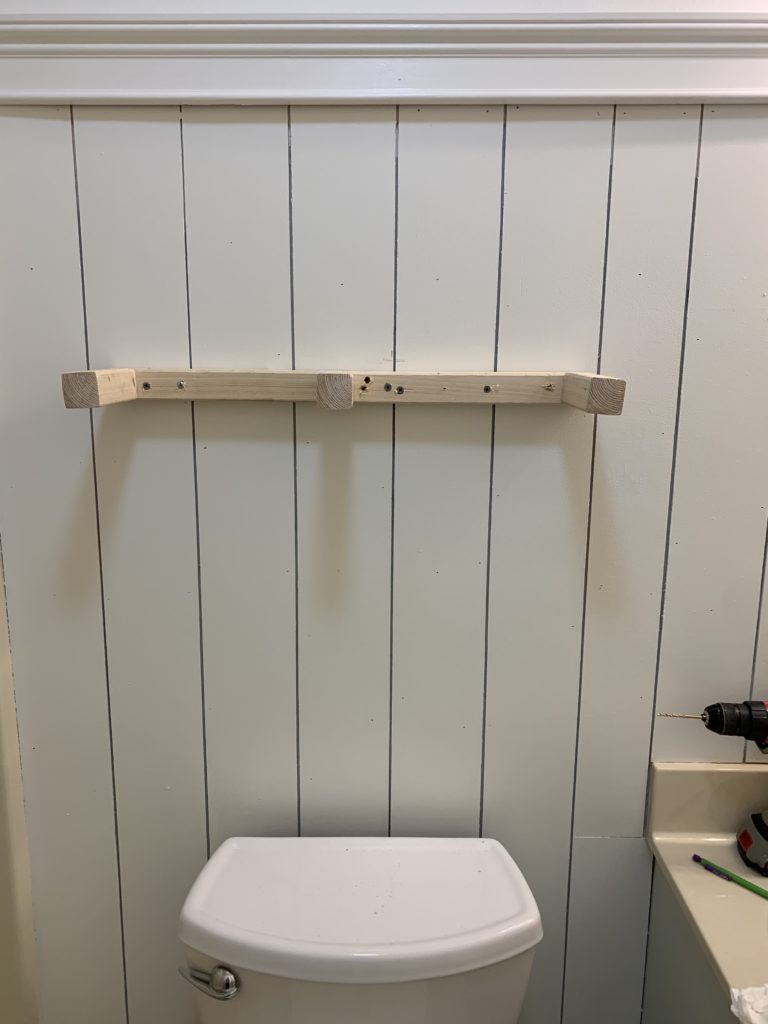
While your shelf is drying you will want to assemble the wall mount. This will be made out of your 2x2x8 board. You will need to one piece at 23 1/2 inches. Next you will cut 3 pieces at 5 inches. This is what you will use to brace your shelf and mount it to the wall. Once your have everything cut you will want to space out the 5 inch pieces evenly along the 23 1/2 inch piece. You will put one on each end and one in the middle. I suggest marking the spot and using a drill to drill a hole through the 23 1/2 inch board and pre drilling a hole in the center of the 5 inch piece. This will make it easier to attach the pieces together with wood screws. Once you have the holes drilled now it is time to attach the pieces together. When you have the wall mount assembled, would pre drill 4 holes into your wall mount. This will be where you put the screw to attach it to your wall.
I do have extra holes in my wall mount from previous use.
Step 7: Stain your shelf
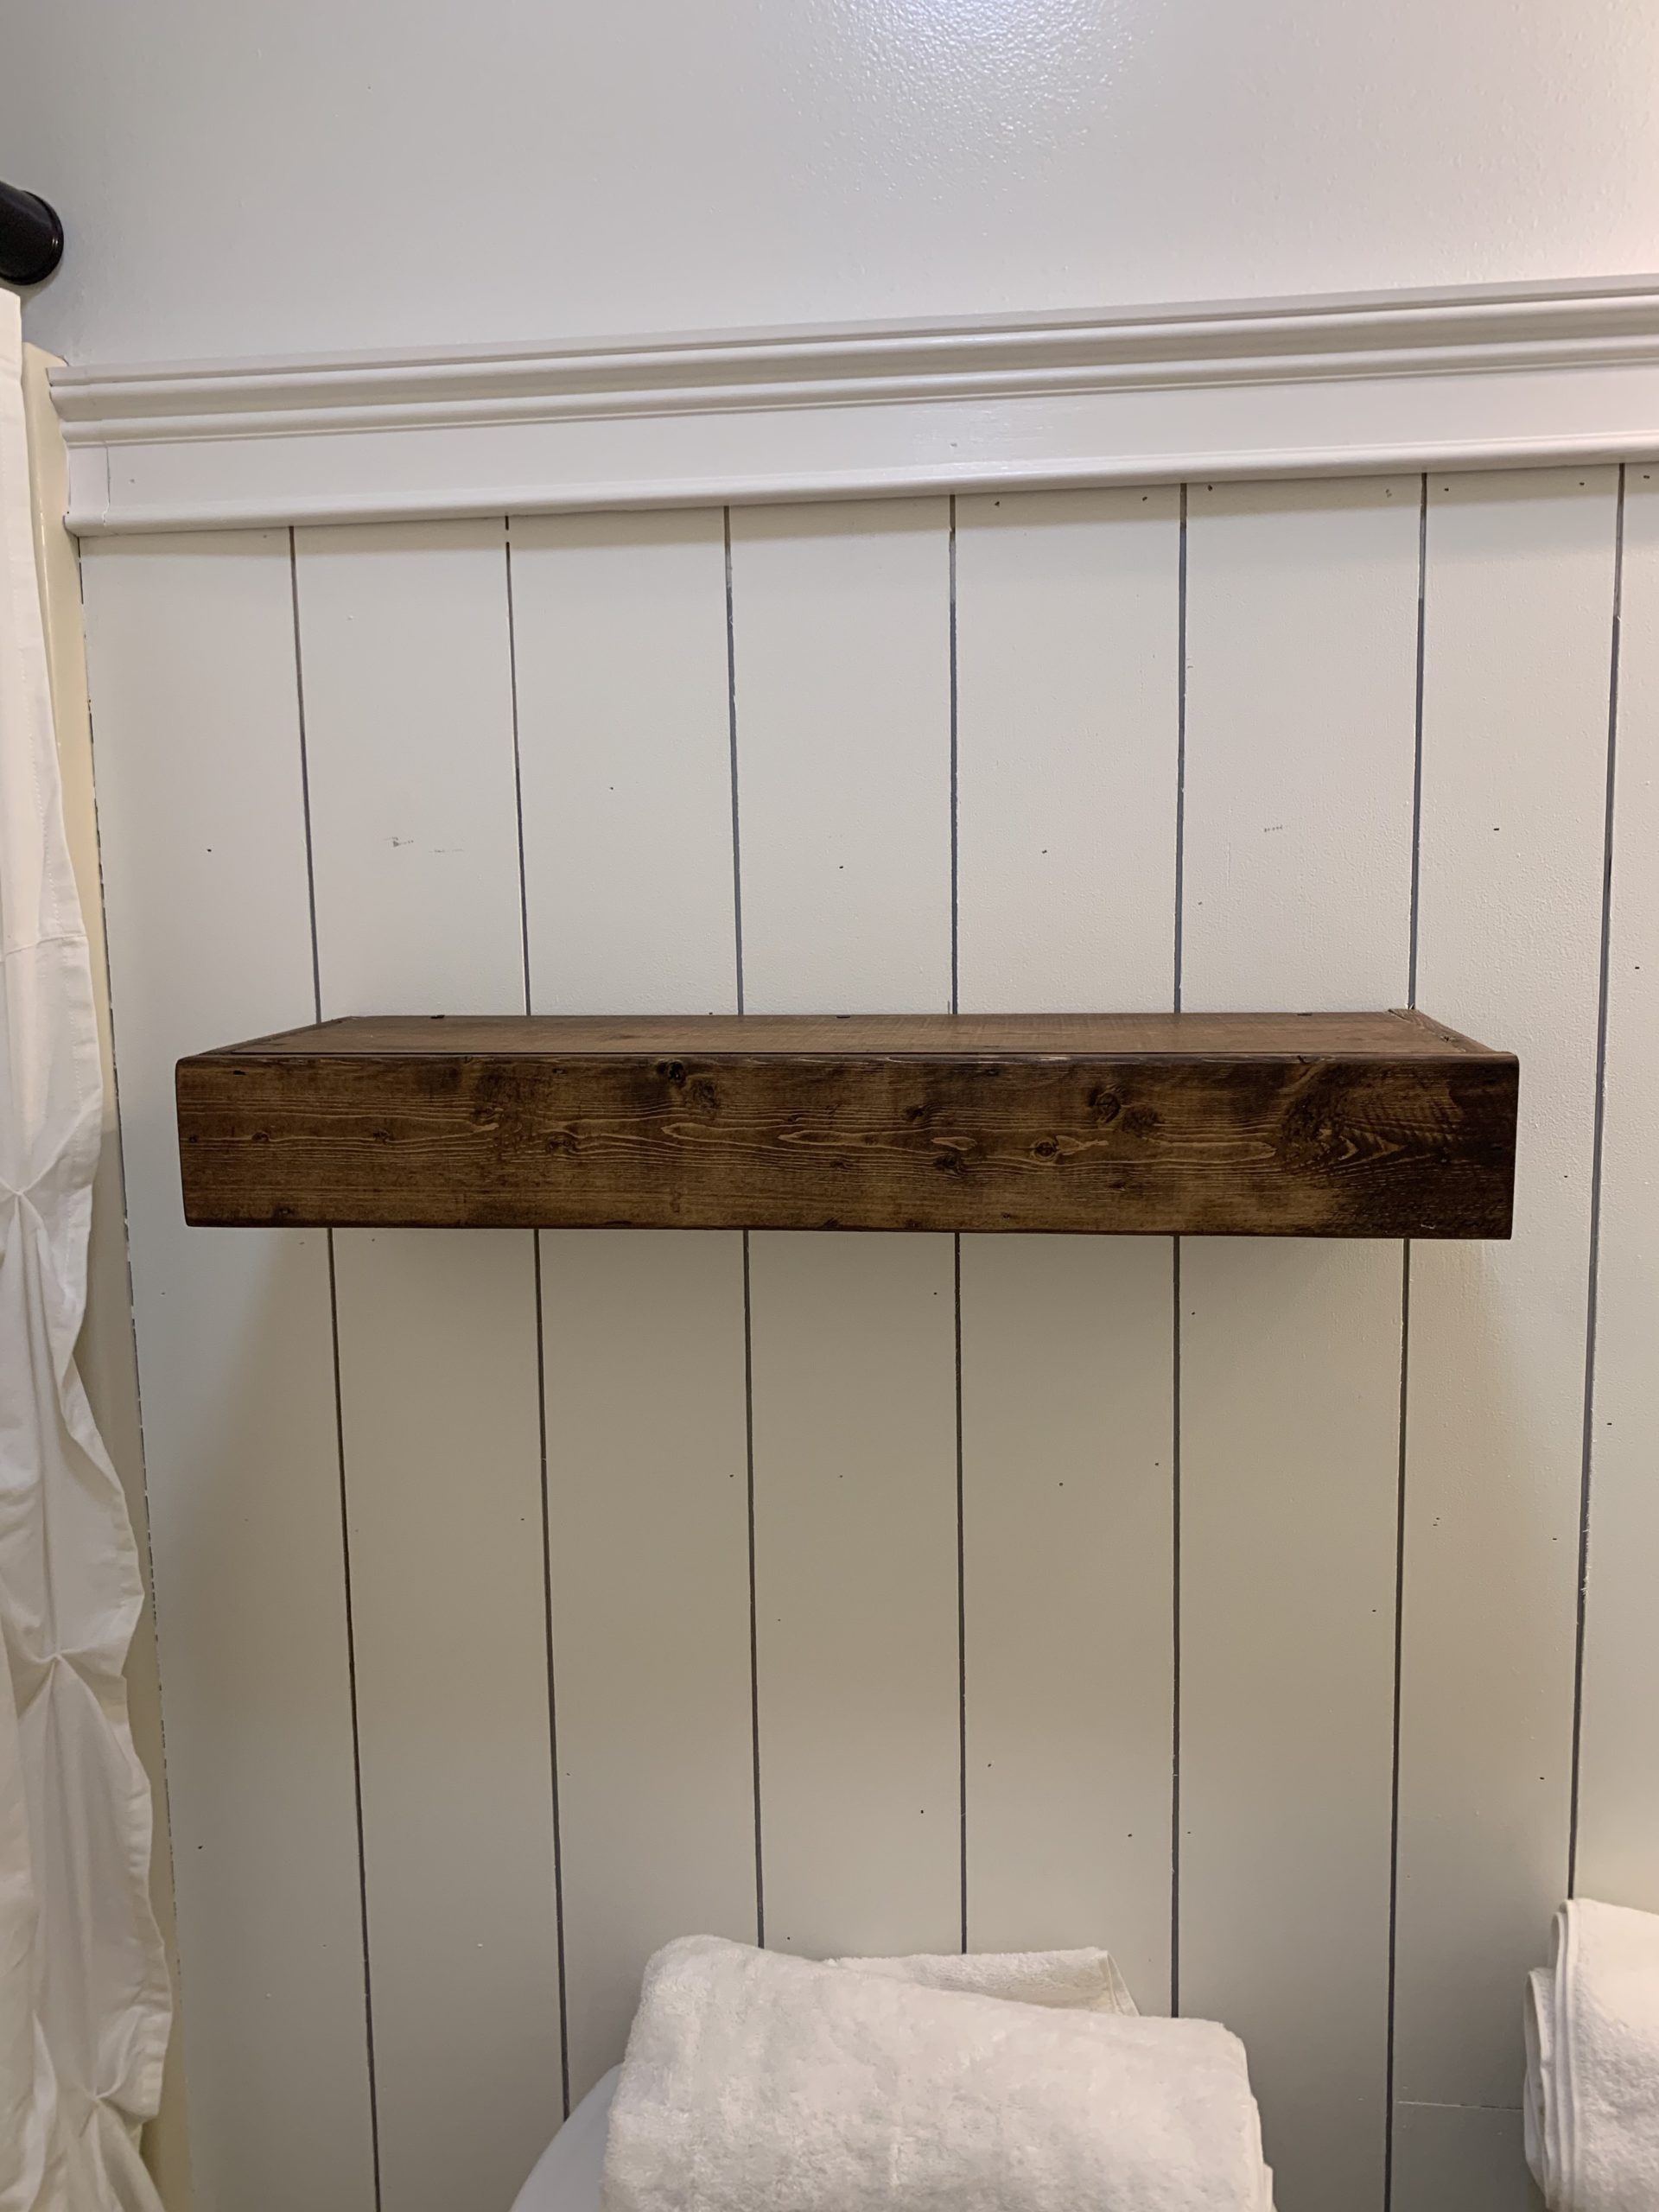
While you were putting together your wall mount your shelf was drying and now it is time to stain. I used only one coat of stain on the shelf and I let it dry over night before I put it up on the wall. Only because I personal did not want the stain smell in my small bathroom.
Step 8: Attach wall mount
While your shelf is drying you can attach your wall mount and have it ready for when you want to slide your shelf onto the wall.
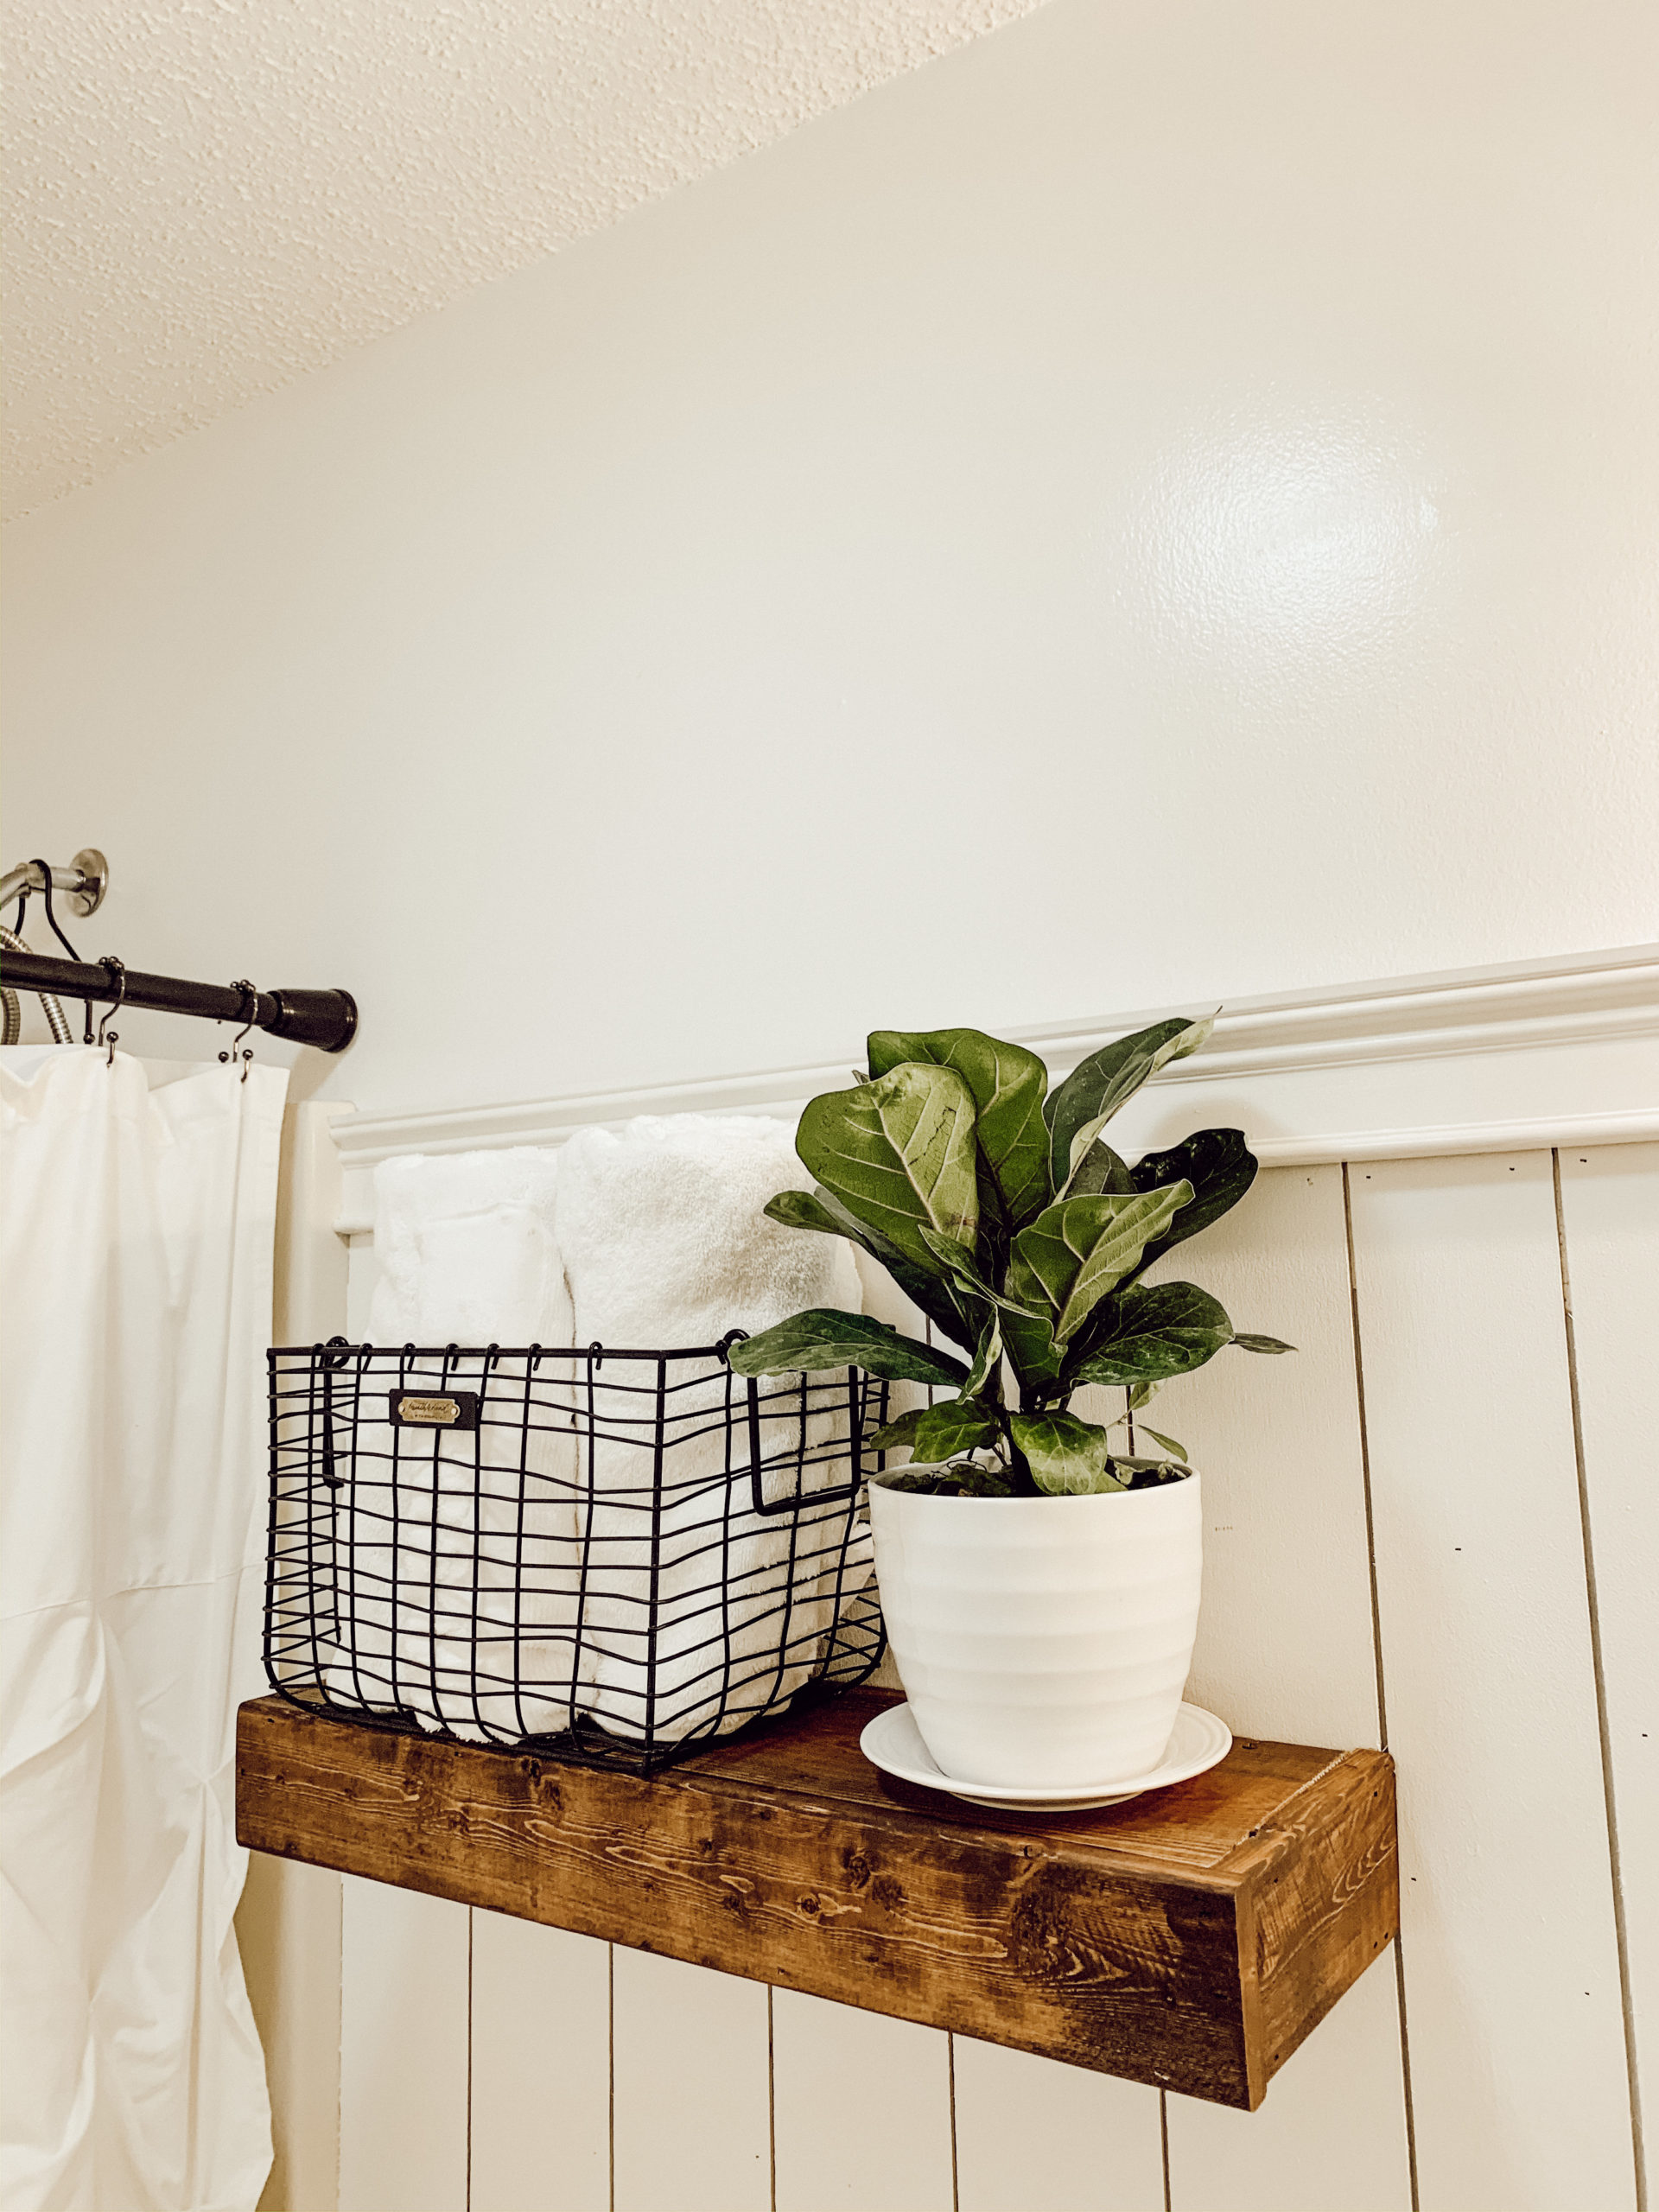
Step 9: Add your shelf and style
Now its time to have fun with your shelving! It is such a fun way to store essentials but, style them at the same time!
I hope this is a simple and easy project for you to create and thank you so much for stopping by the blog today and everyday, XOXO!

I’ve been trying to subscribe to your blog but it keeps showing that I haven’t filled in email. Just wondered if anyone else is having that issue.
Love your blog! The bathroom refresh is awesome!!
Hey there,
I got an email saying you are subscribed now 🙂
Hey there, you all subscribed now 🙂