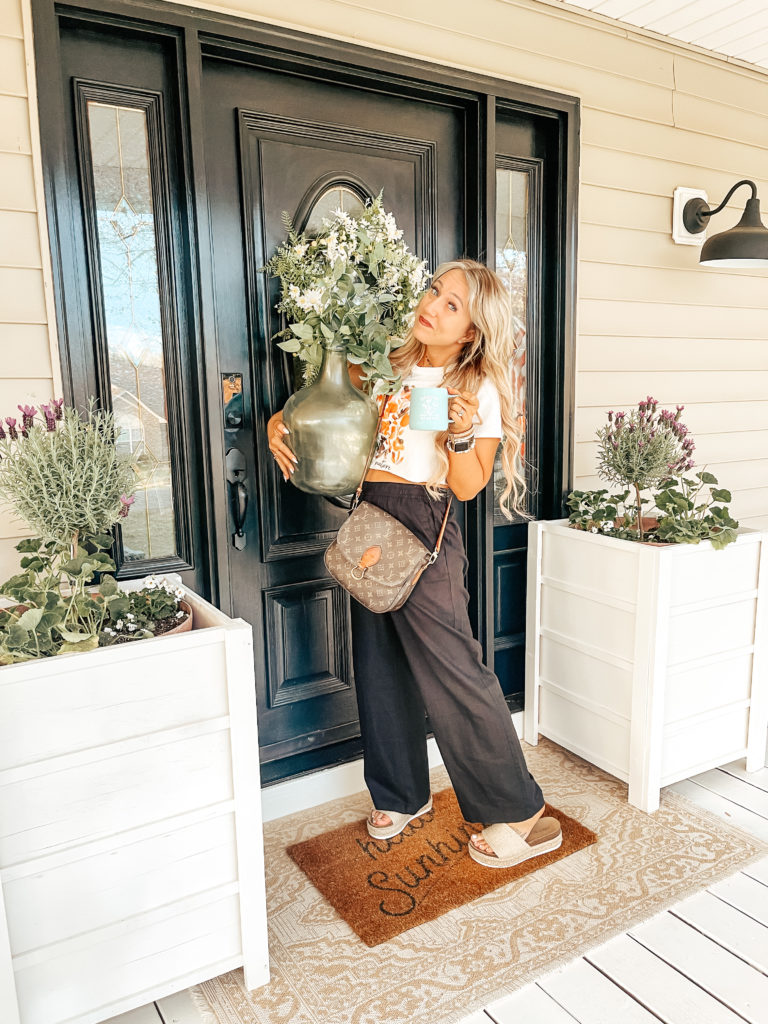
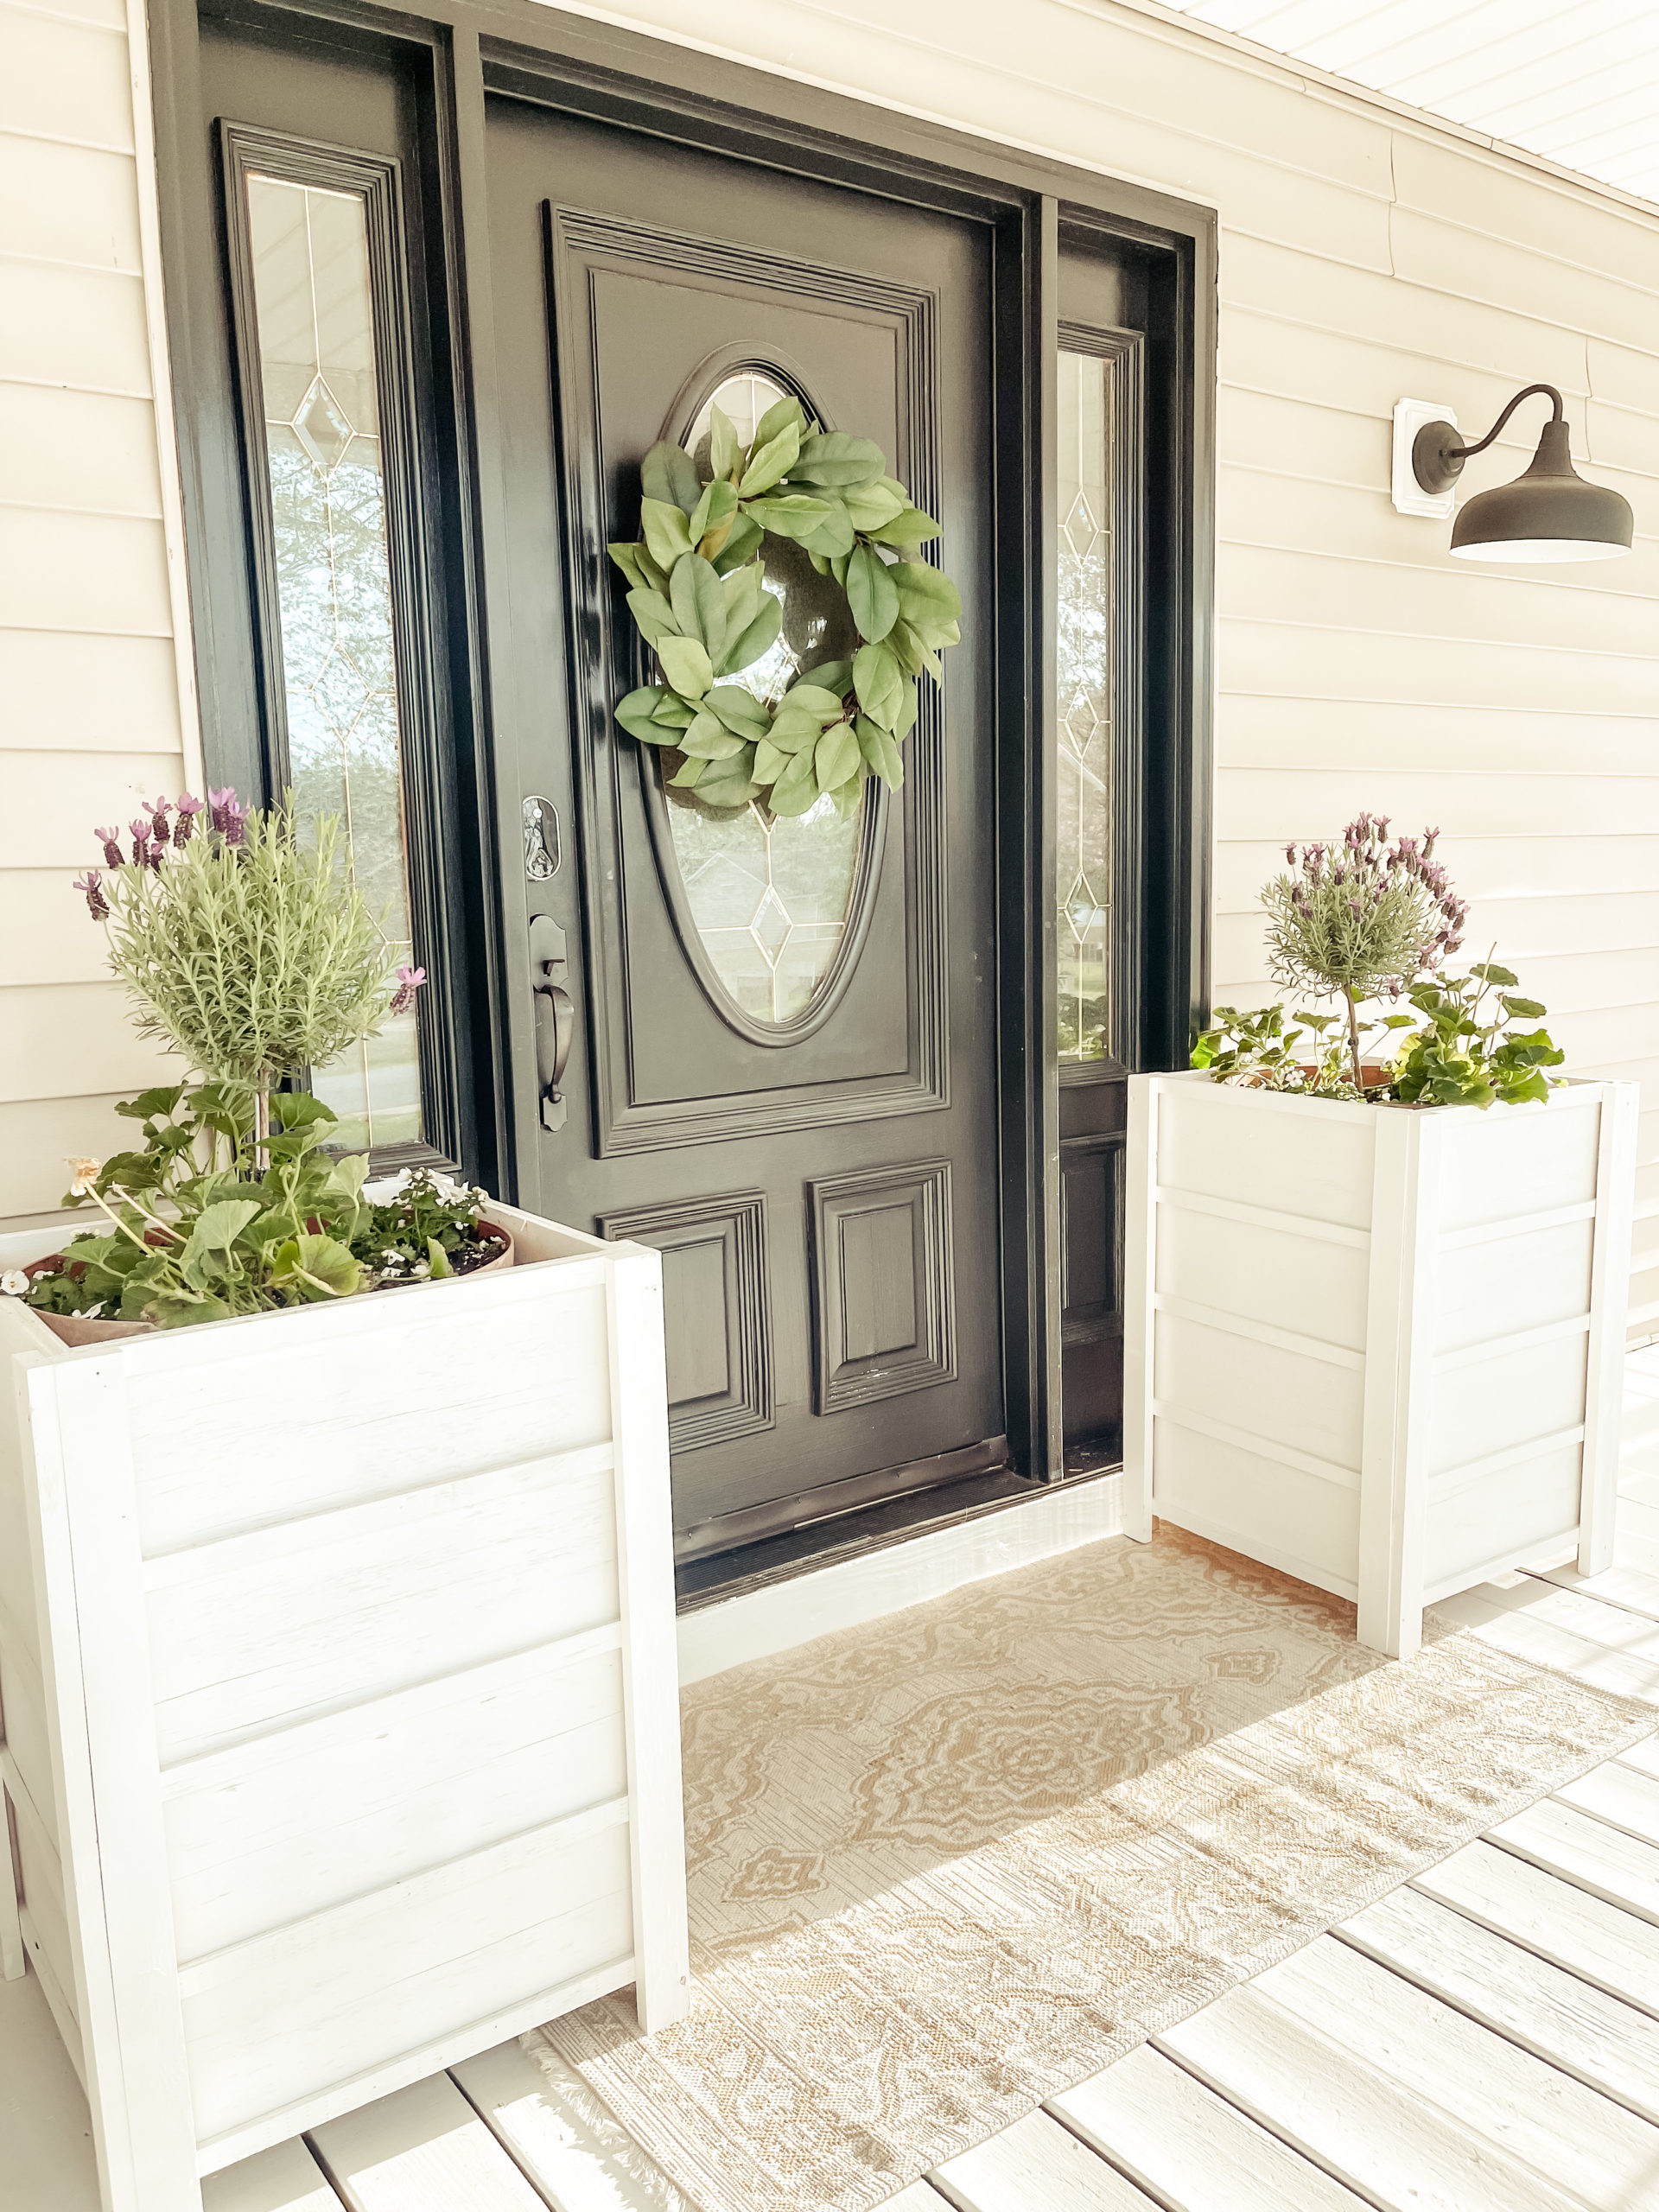
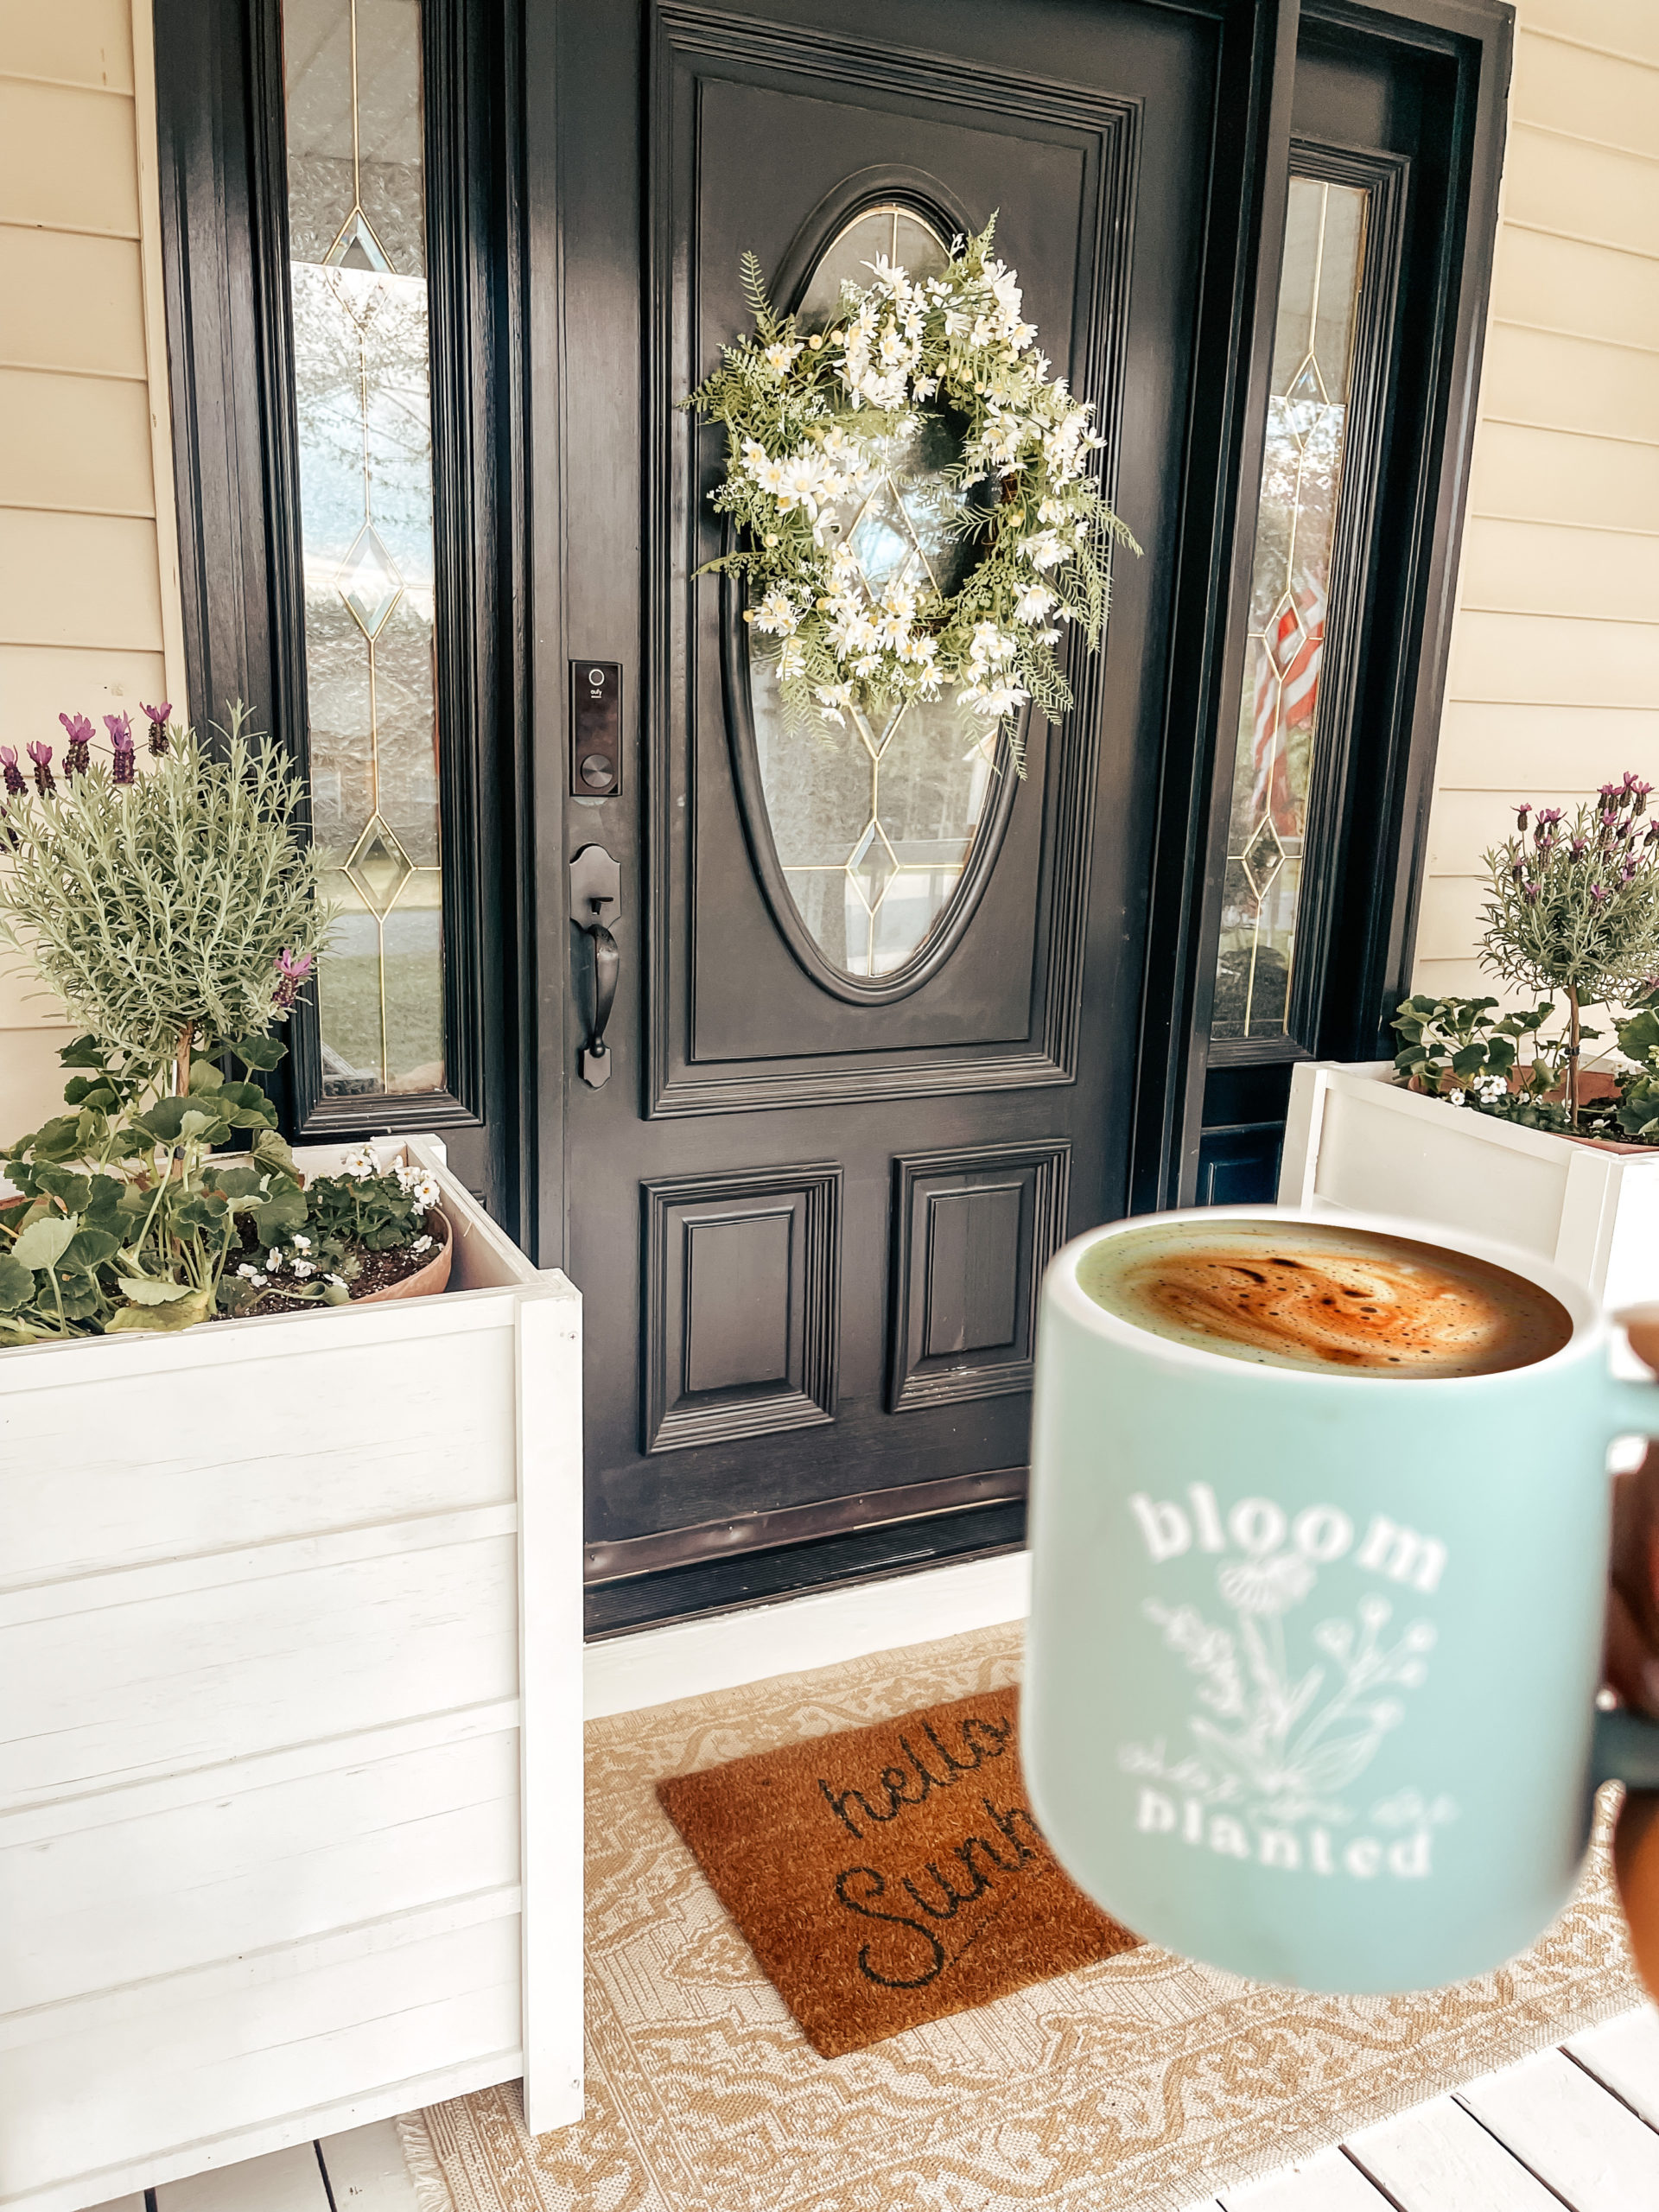
The time has come to fill those porches full of beautiful flowers. The only problem is those tall farmhouse planters are so expensive. This year I decided that I would make my own and save big time. These two planters were made for under $100 and that is still less than the price of just one planter I was looking at.
What you will need:
- 1 Sheet of 1/4in thick plywood ( you can use any thickness you want)
- Nail Gun (optional)
- Wood Glue
- Saw ( I used a table saw and miter saw)
- 3in Wood Nails
- Paint
- Tape Measure
- 1/4 in sheet of plywood
- (2) 1x2x6 pine boards
Directions:
Step 1:
Decide how tall you want your planters to be. I chose to do mine at 30in tall. Once you have the height decided you will need to cut the width to 20in. Cut 8 panels.

Step 2:
Take the left over plywood and cut (40) 1×20 inch strips. These will go on the outside of your box. Once you have them cut, you can use wood glue or a nail gun to attach them.
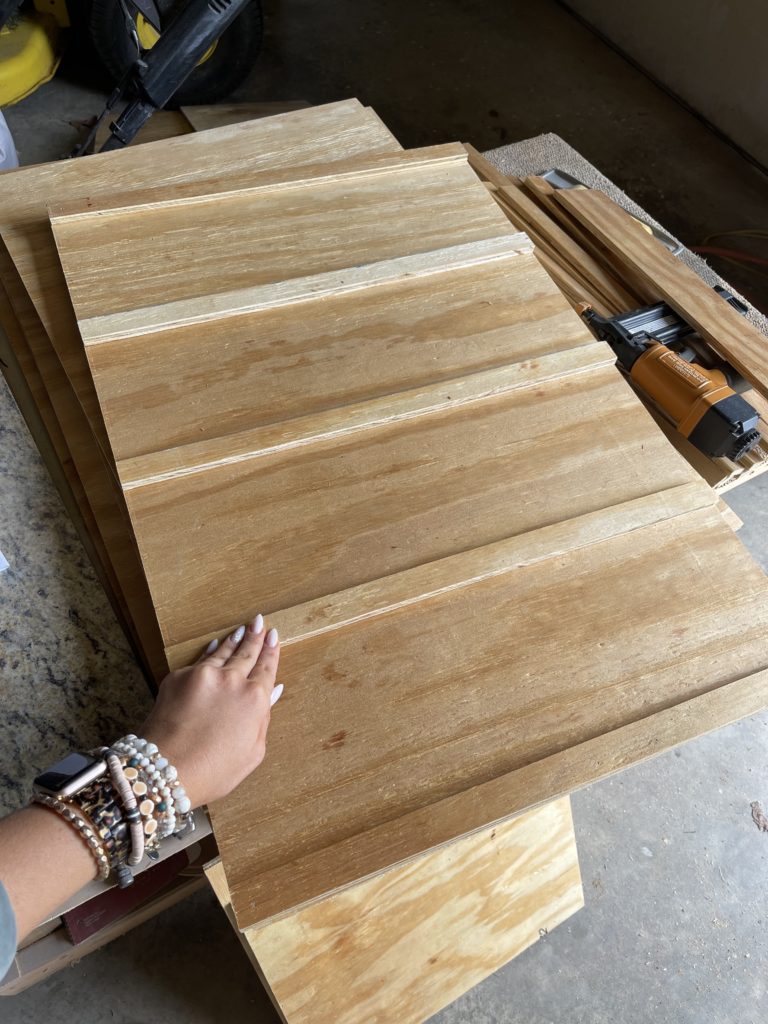
Step 3:
You will want to attach all the strips onto your panels before you add the legs. This creates a depth and dimension to the planter. Attach the strips (5) horizontal across the plywood. You can space them out to your liking.
Step 4:
Cut your 1×2 boards 2ins longer the height of your panels. You will need to cut (16) of these boards.
Step 5:
Lay your panels flat and attach one 1×2 board on both sides of the front of the panels. You will use your wood screws and attach your legs from the backside of the panel without the strips. Attach legs on all 4 planters.
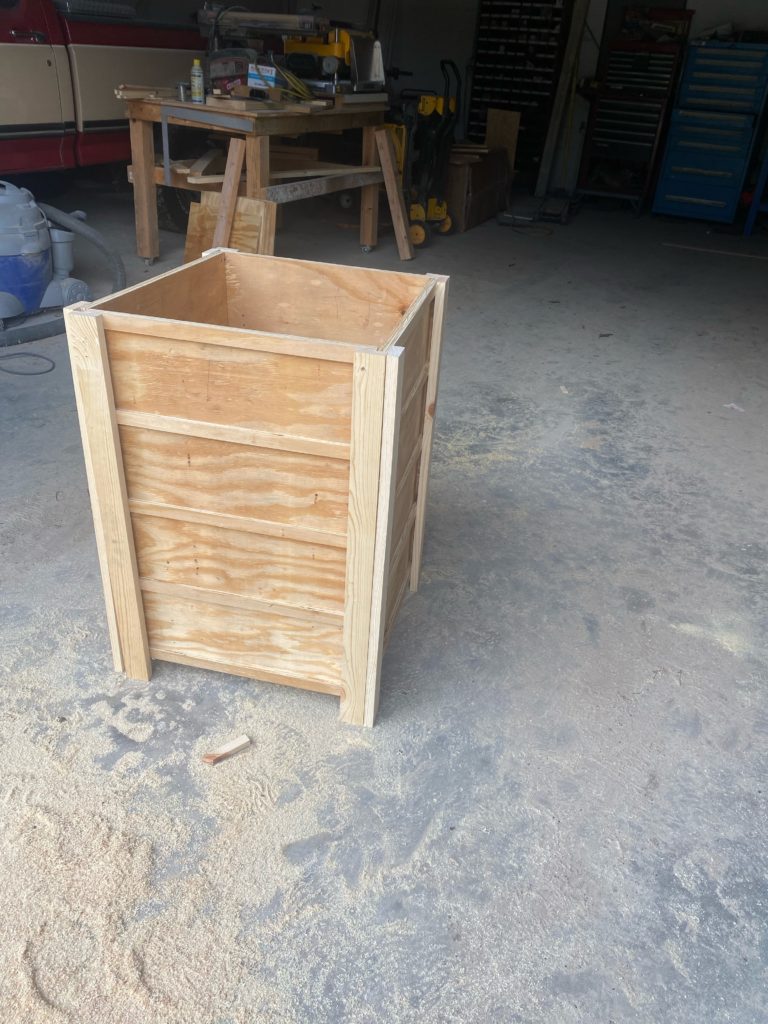
Step 6:
Stand your planters up and join the sides together to form the box. Once you have them connected on the sides, you will use your wood screws to attach them permanently.
Step 7 optional:
Create a base inside to hold your planter or potting soil. I just used the extra plywood that was left over and attach it inside.
Step 8:
Paint or Stain your planters
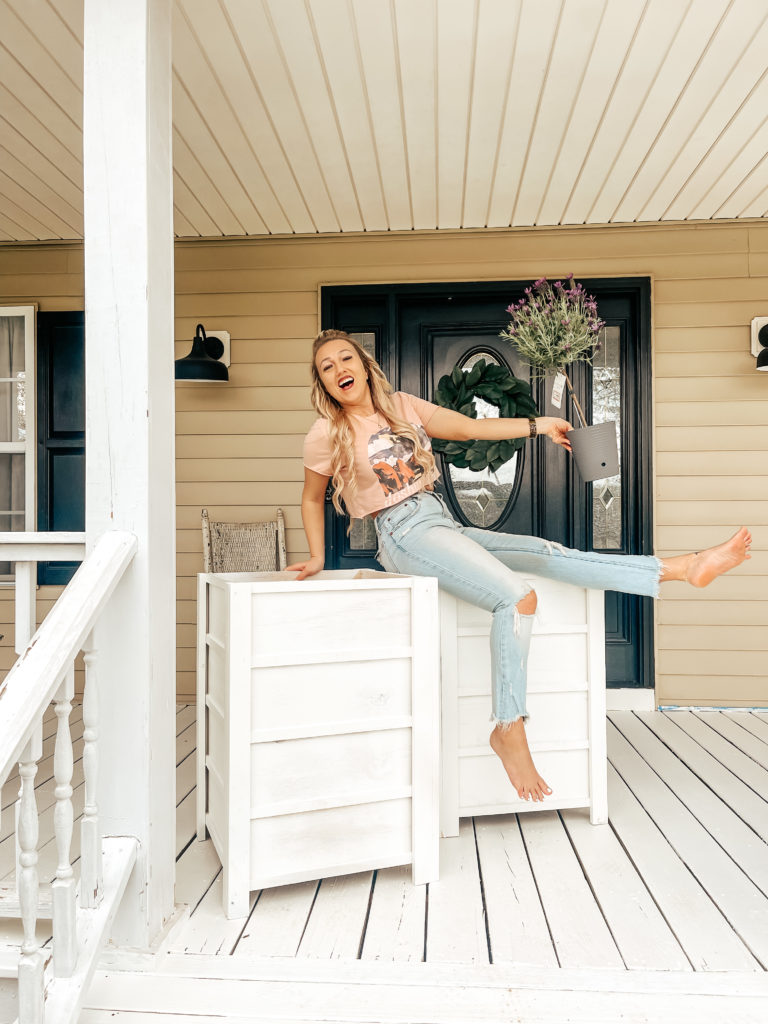
Now they are ready to use and under $100 for two! Simple DIY projects like this one will be coming all summer in hopes to help save you money friends. Home decor does not have to be expensive to upgrade, when we can DIY budget friendly!
Thank you for stopping by the blog today and everyday! Check out up close process of projects on Instagram and TikTok.