SHARE
Did someone day wallpaper? I know when the word wallpaper is said people have a certain feeling come over them since that can be a huge commitment. This fun DIY is a way for you to add that pop of wallpaper into your room without the full commitment of wallpaper. When I did the accent wall in the master bedroom I had some rolls left over that were just sitting in the closet. Some of my favorite DIYs are from things layering around the house
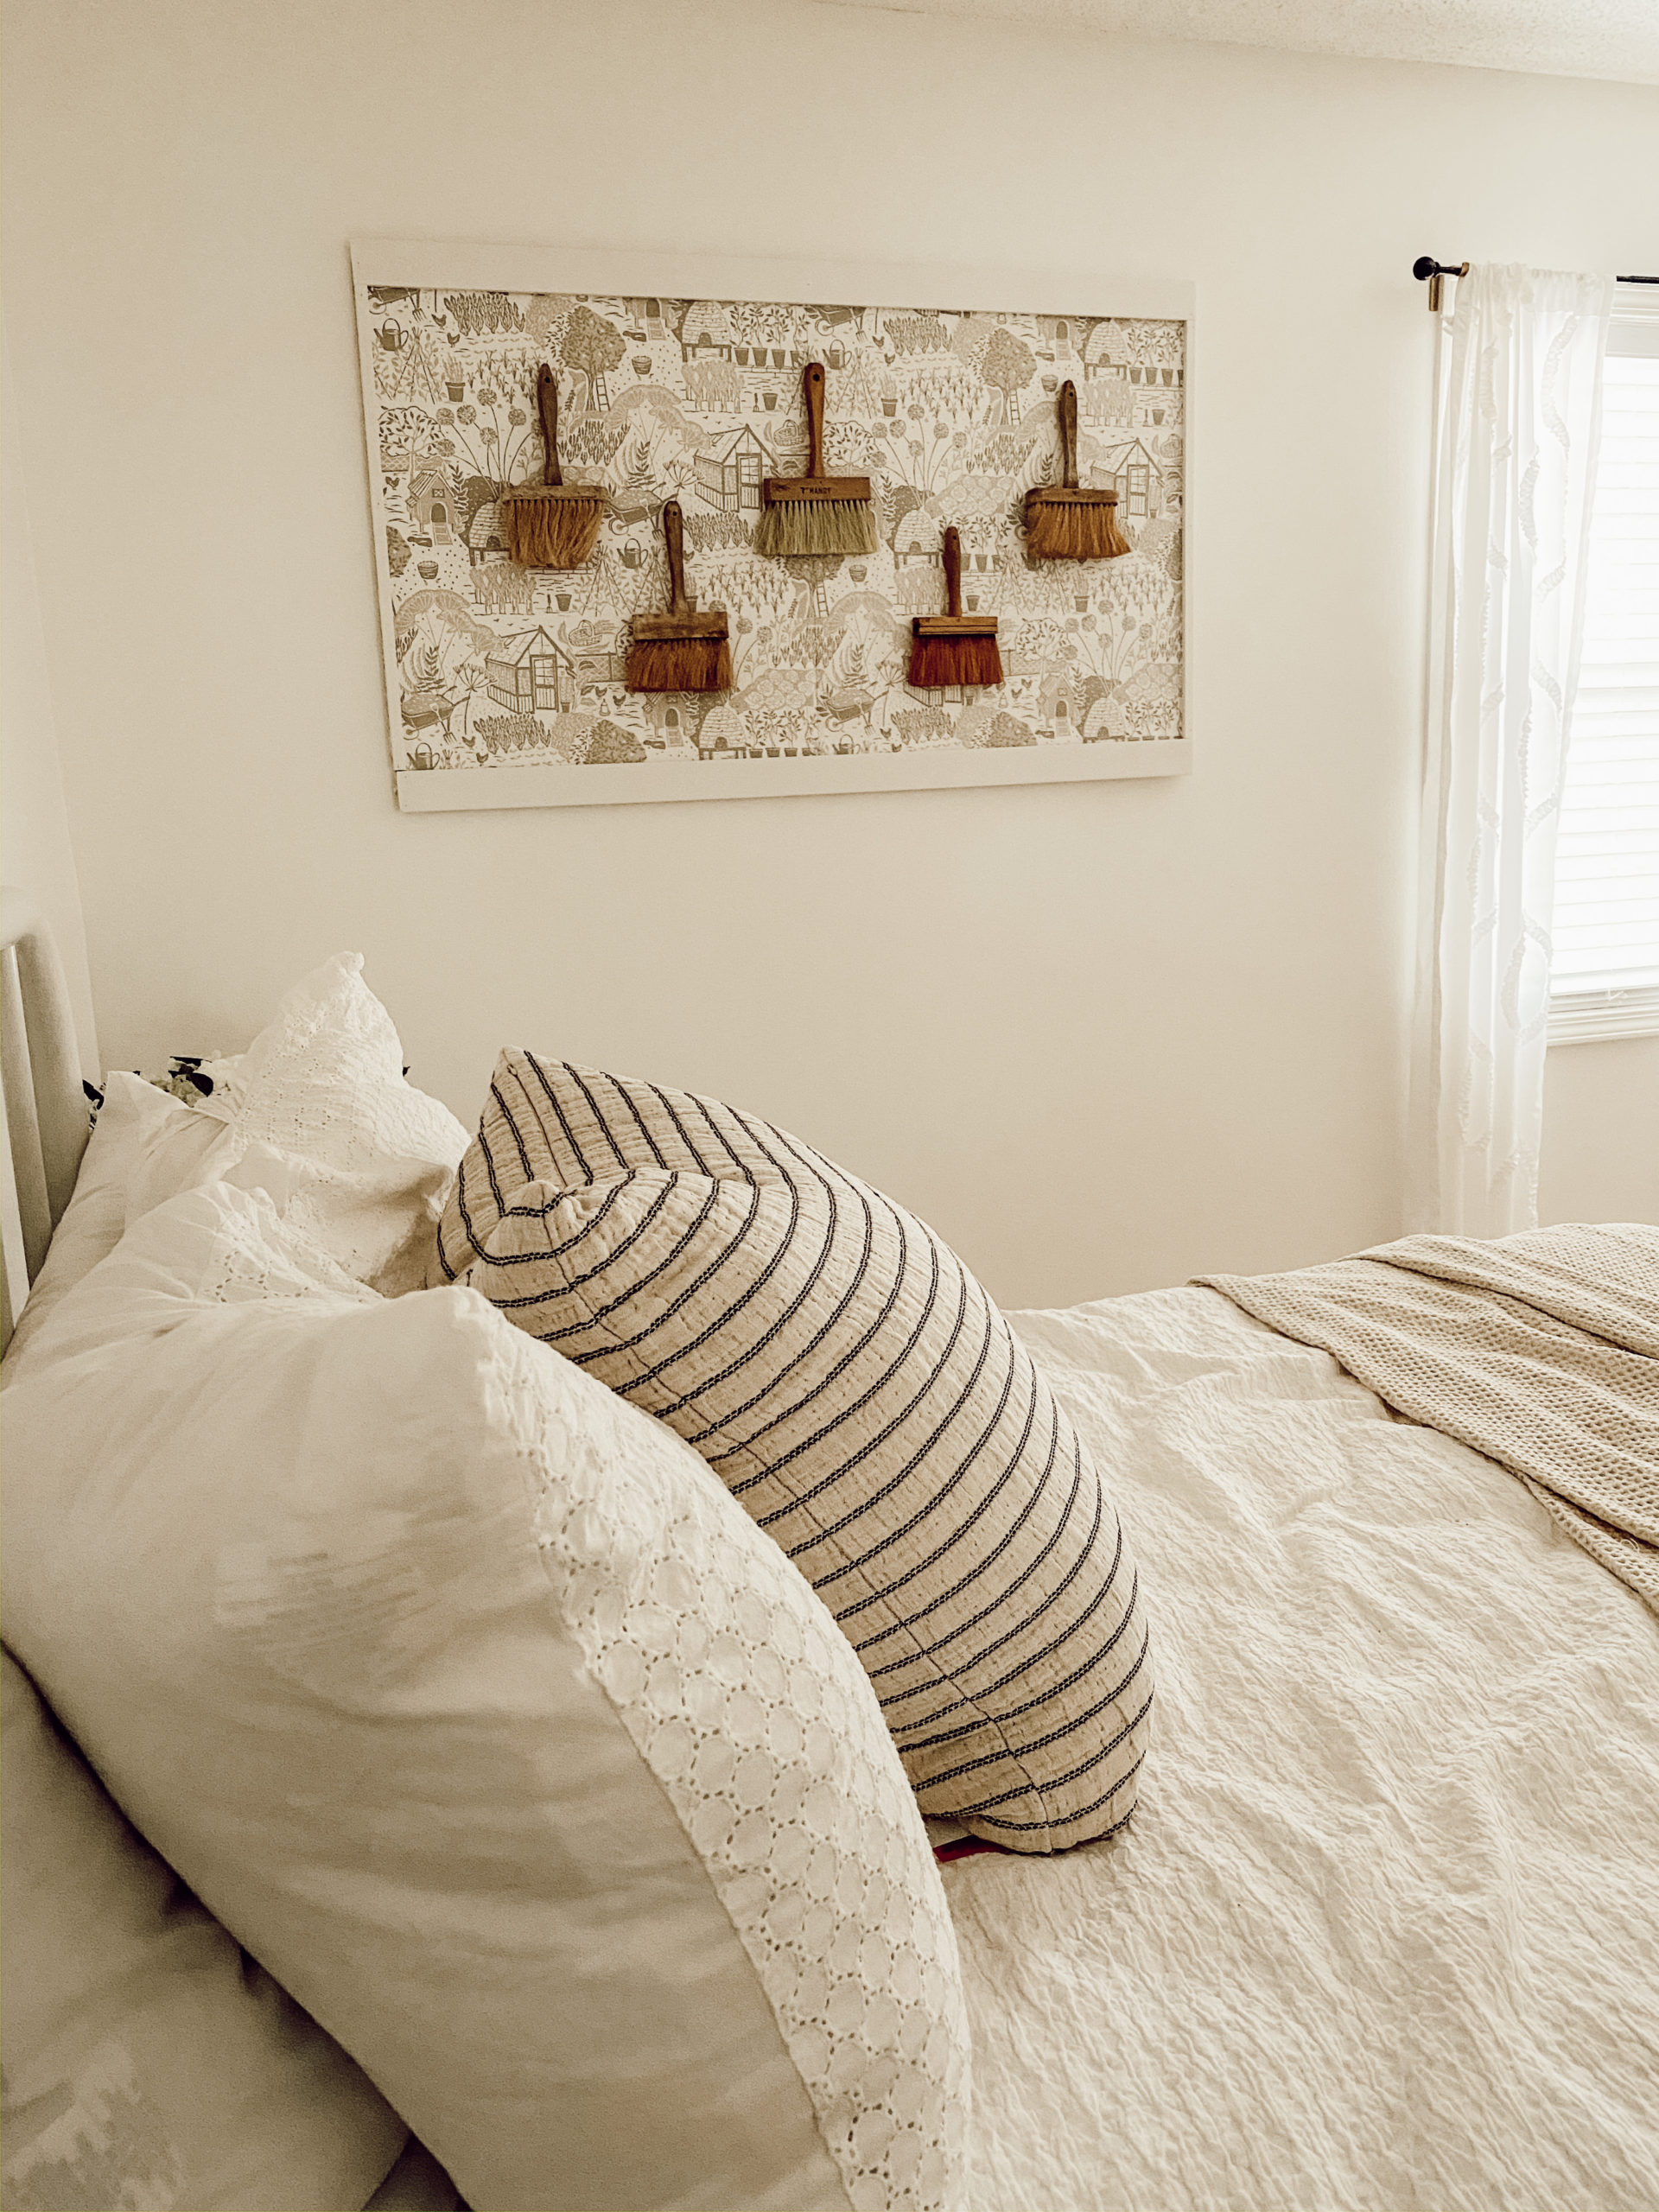
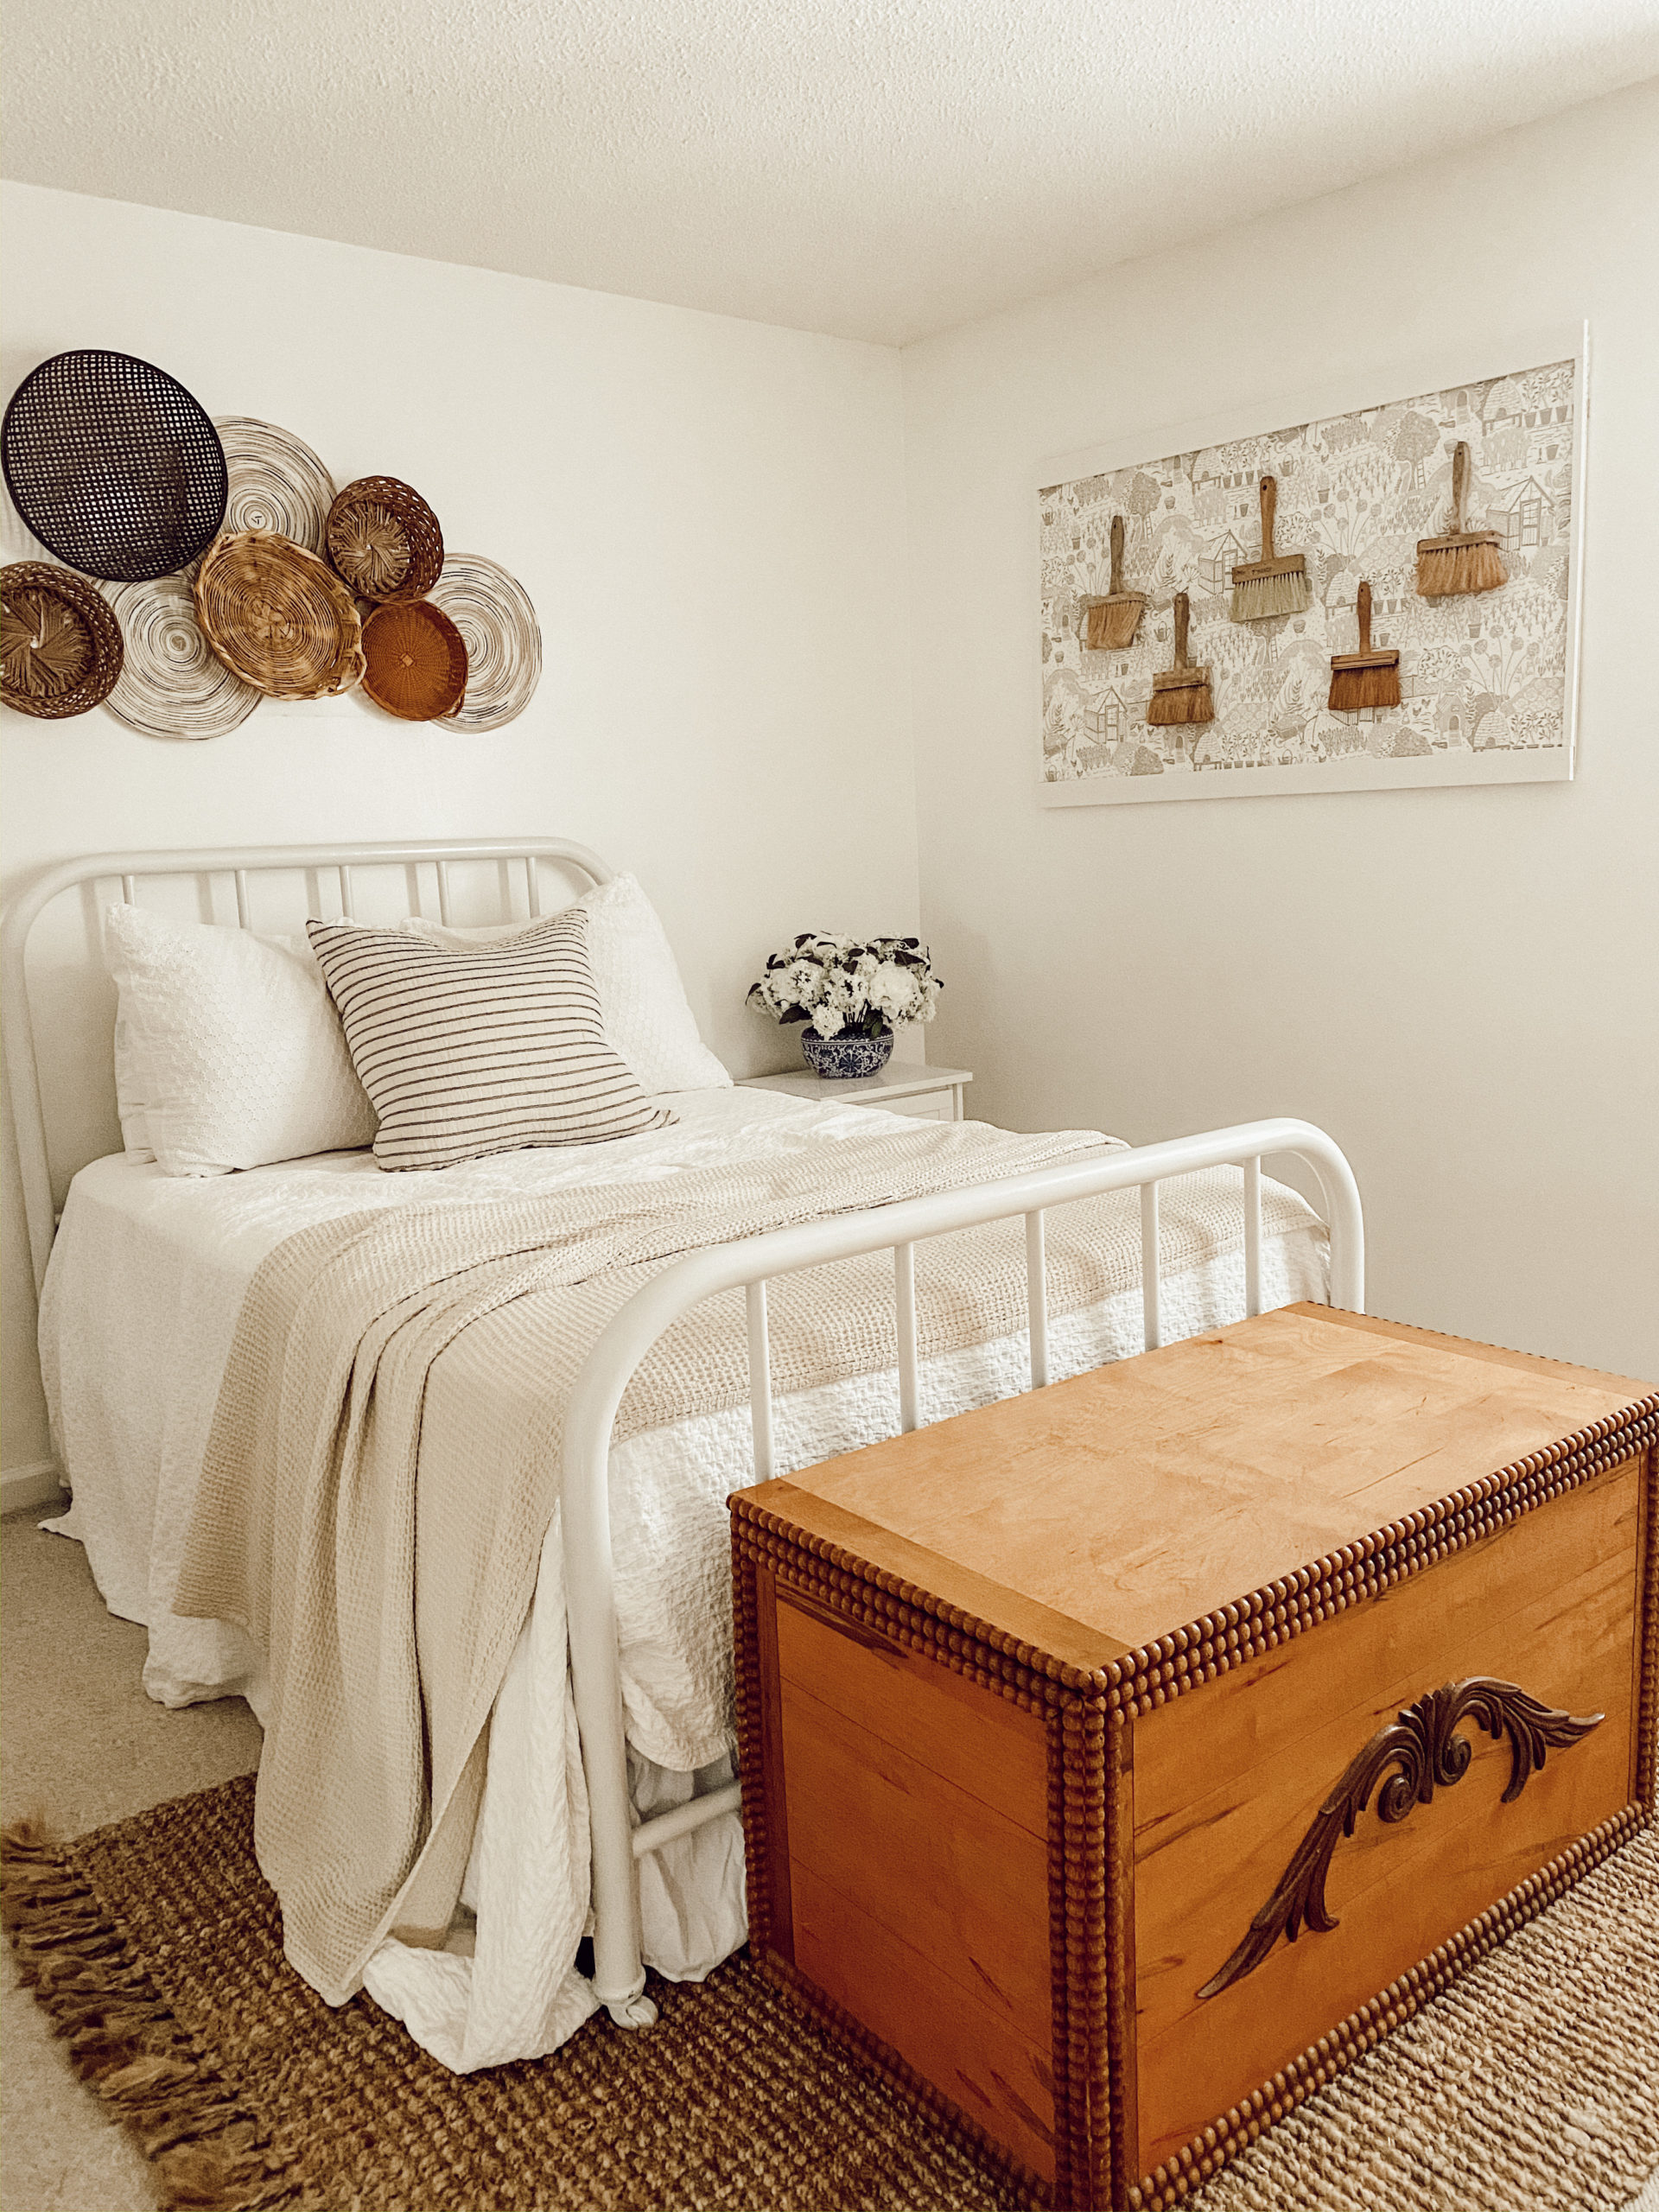
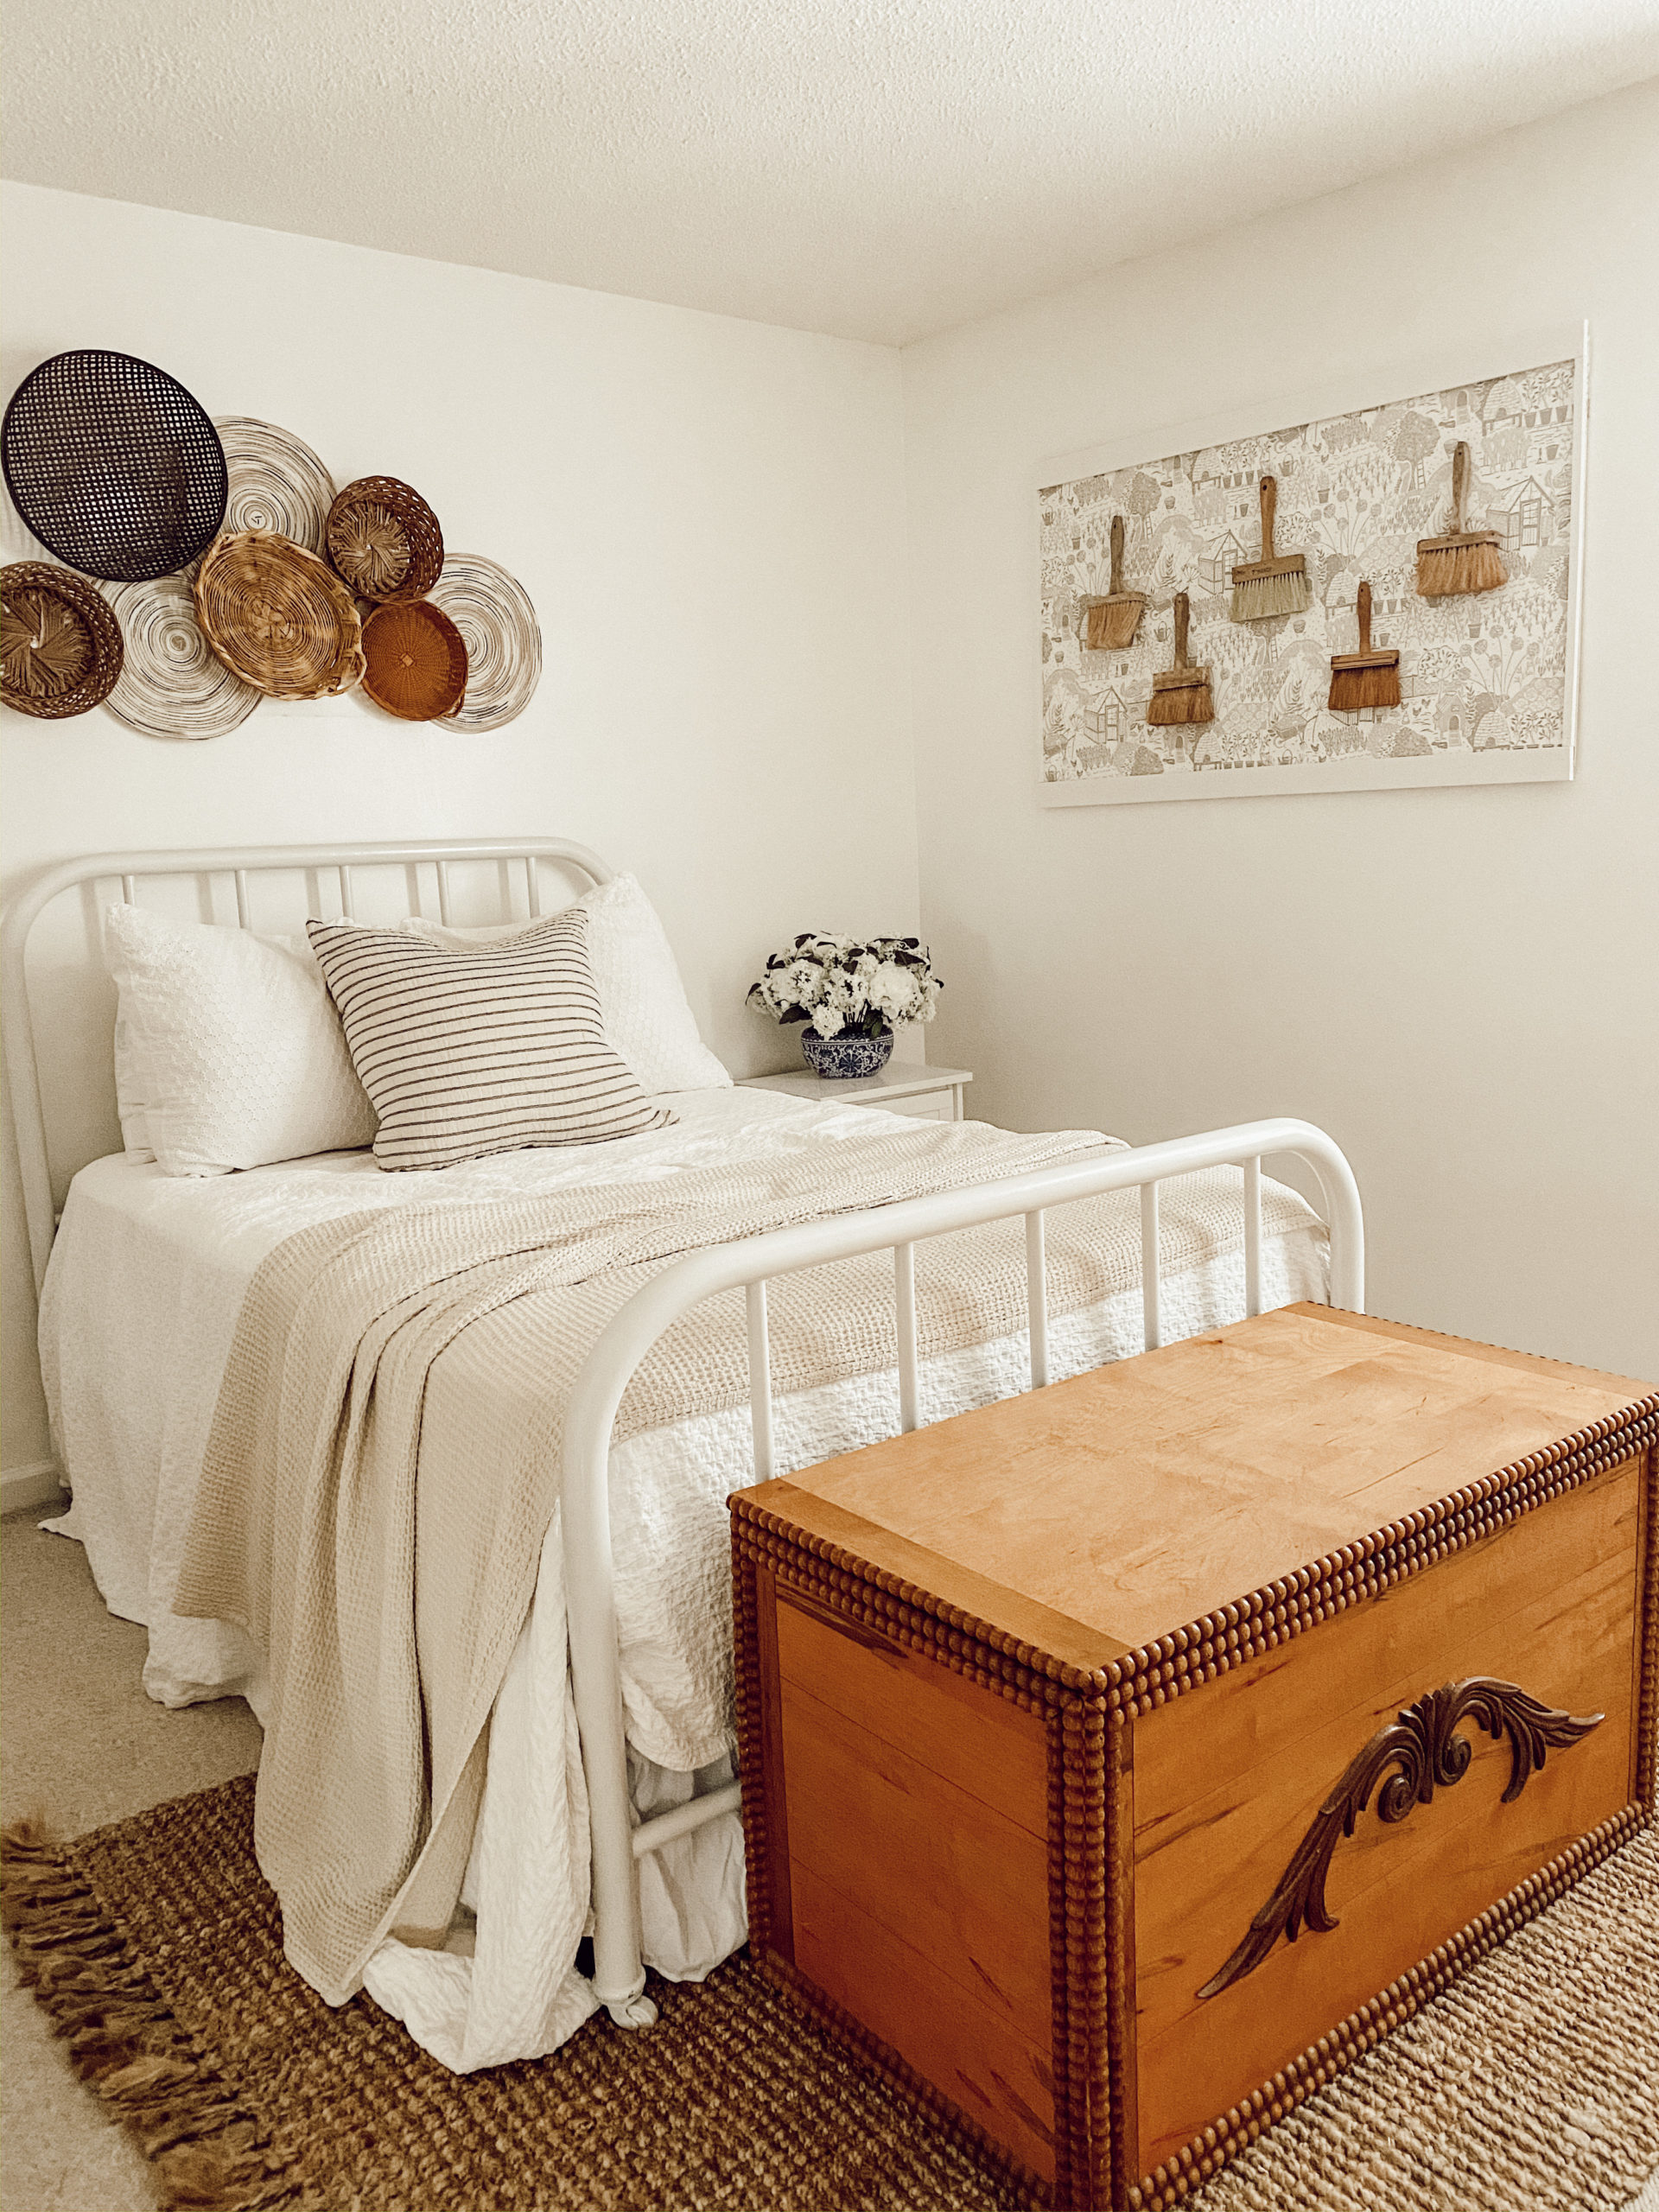
That is when I wanted to try something fun but something that can be moved if it needs to be changes, because we all know that I am always moving things around. The guest bedroom had an empty wall after the Christmas season and I had not found anything that I absolutely loved when I tried styling it. This is where this DIY stemmed from, why not put some wallpaper in here. Although I wanted to put wall paper in here I knew that I did not want to have a full wall of the same wallpaper that I have in the master. I started to think why not do something that is framed that way if I want to move it I can. Well, friends here we are with a framed piece of wall paper.
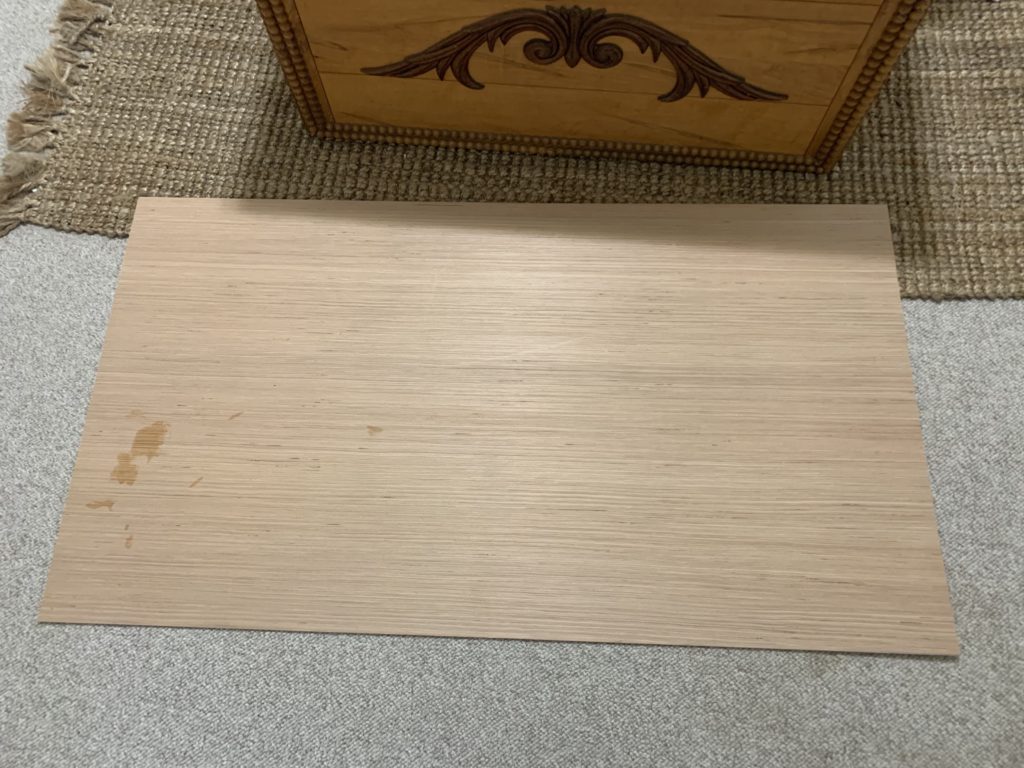
I started first with a thin piece of utility panel from Lowes and cut it to the height and width that I wanted the back of the frame to be.
Once I had this cut, I began to write the wallpaper around the board. I had about 2inches folded over the top and the bottom and then I used a staple gun to hold the wallpaper onto the panel board. The wallpaper that I had left over was from Wallpaperdirect called the Allotment. I made sure that the wallpaper was pulled tight, that way it would smooth without wrinkles.
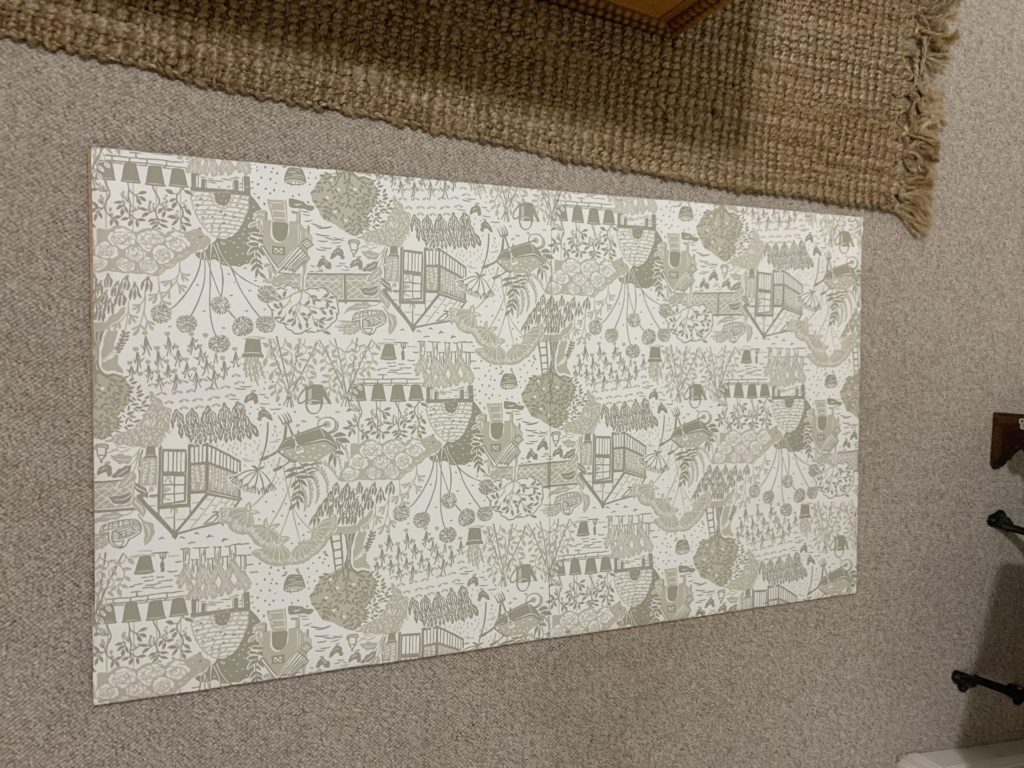
Now there was only one step left and that was to put the molding around it, to finish the frame. Depending on how much detail you want you frame to have, that is what kind of molding you want to pick up at the store. I personally did get a flat molding that was I could just line up the ends with a straight cut to keep it simple. If you want to use more of a detailed please of molding them you will need to cut the ends at the correct angles. One I had the pieces cut to the lengths they needed to be, I used a nail gun to put the onto the paneling to create the frame look. The best part about the molding I chose was that it did not have to be painted white. This molding comes white and I liked the plain distressed look it had from the primer that I just left it so it would fit in with the vintage pieces.
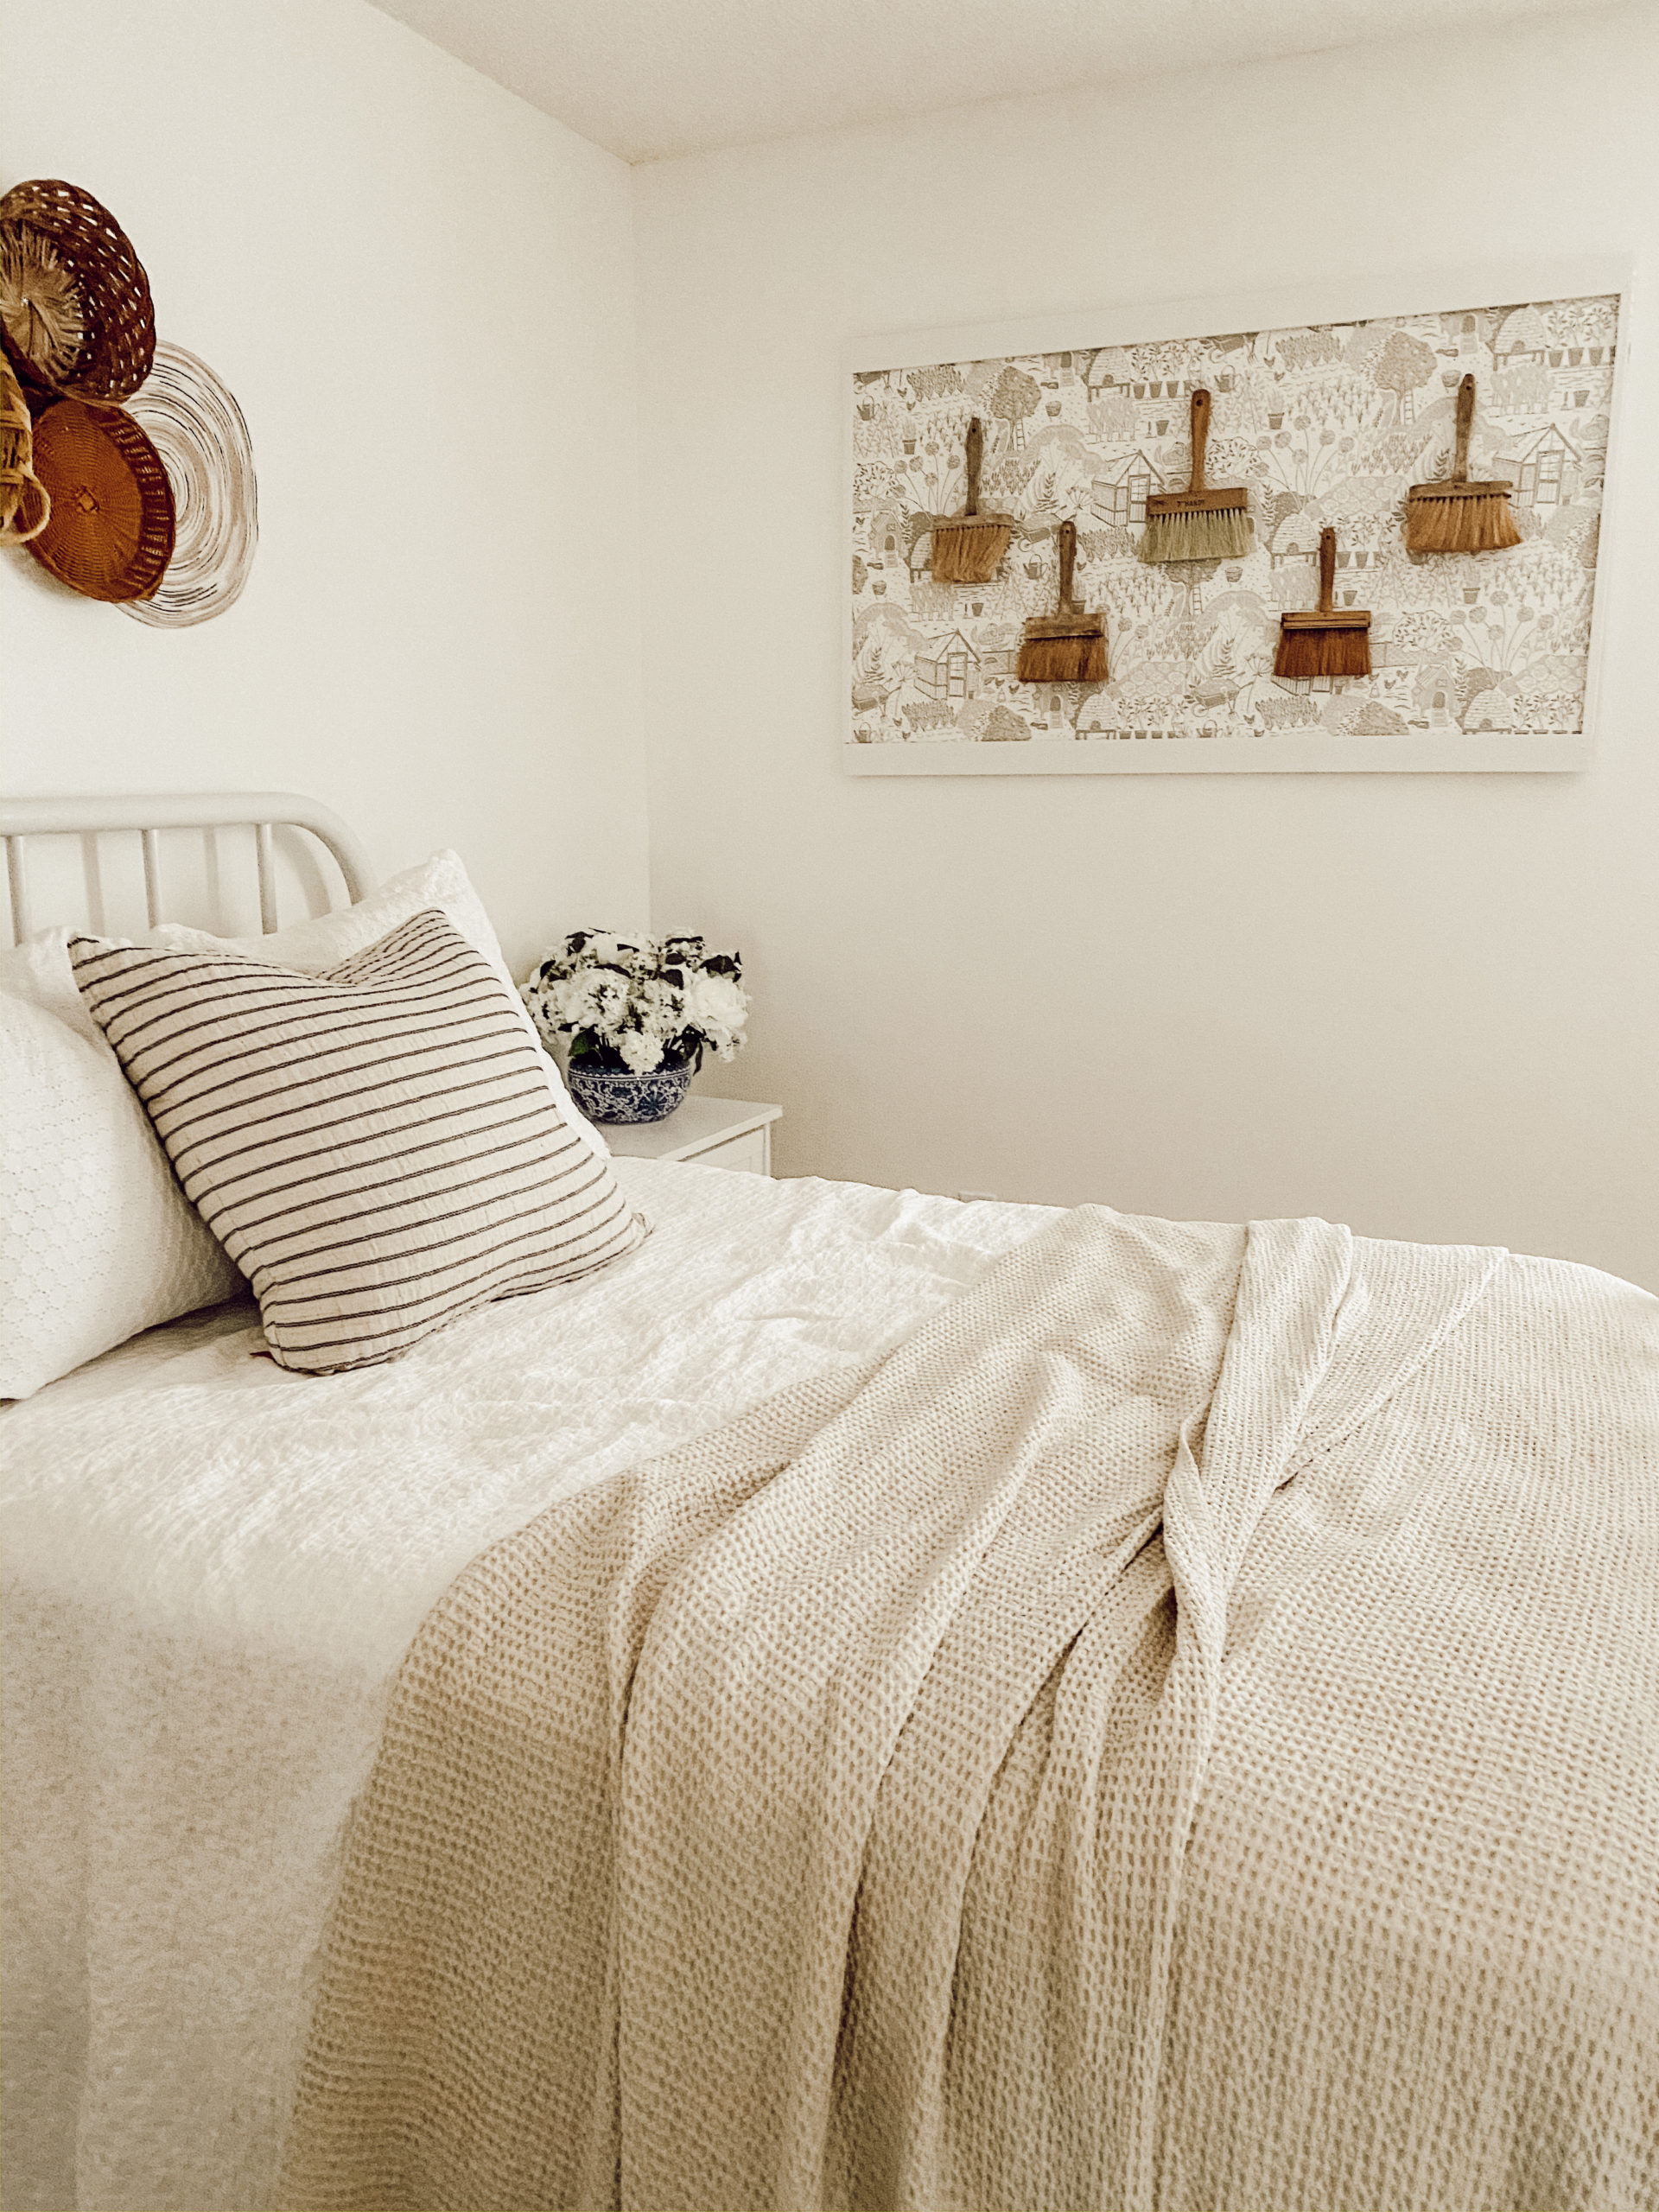
Once you do that, you now have a framed wallpaper art that you can hang anywhere in your home. I chose to hang mine with paneling nails in the corner but, you can attach a hanger to the back if you want to be able to move it more often. I did chose to style the art with vintage wallpaper brushes since I wanted a little bit of wood tones to this wall and have it layered with texture. I really hope that you enjoyed this simple DIY. If you create one of your own, I would love to see it. Thank you as always for stopping by the blog today, XOXO
