SHARE
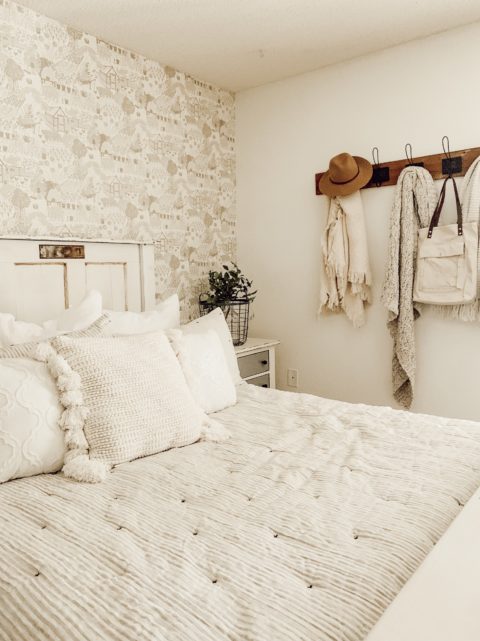
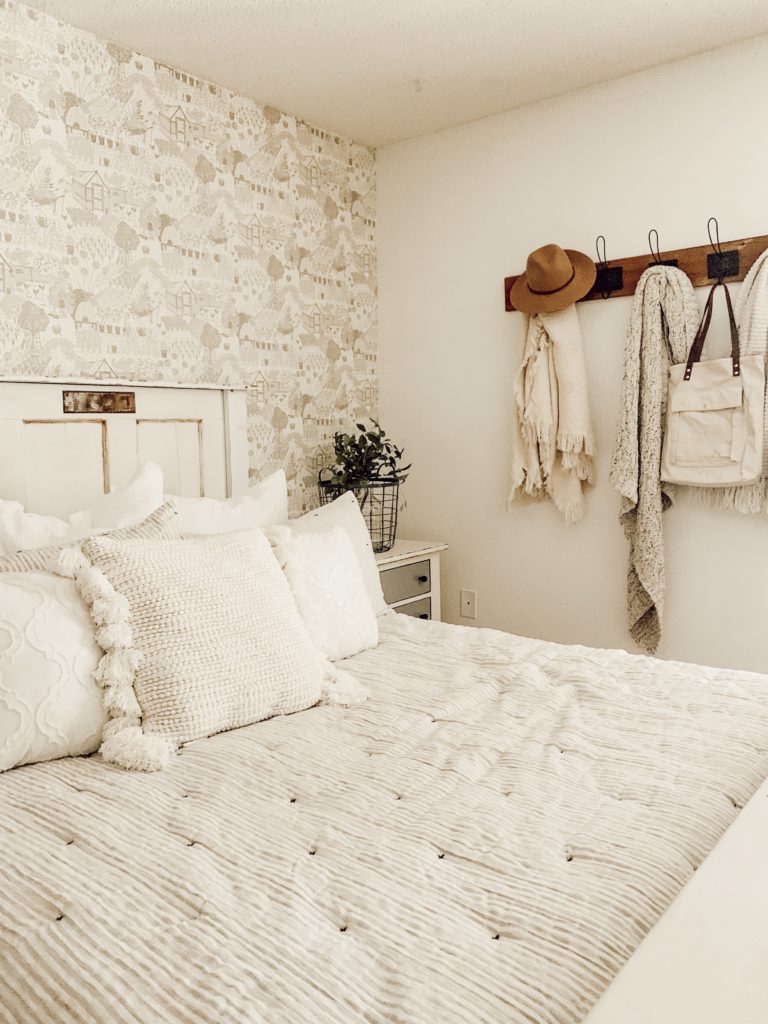
Do you hear that wallpaper is make a HUGE comeback? Well, we sure did loud and clear! Thanks to Wallpaperdirect we took on our very first wallpaper DIY! This was one DIY that I was actually really nervous about, I know crazy right? Our master bedroom is very cozy white farmhouse cottage but; it has a huge wall behind the bed that was missing that pop of texture! The wallpaper gave this wall the texture that made the whole room come to life! Now let’s dive in into how to put wallpaper in your home to give those wall the cottage texture!
When adding wallpaper to a wall that you have painted; you want to use a primer that way the adhesive for the wallpaper sticks to the wall. After speaking with a much helpful Wallpaperdirect representative since I was using there Albany Concentrated Adhesive sold on the US site, the Zinsser Guardz Clear is the best primer for a wall painted with semi-gloss paint. Plus the primer has been tested with their adhesive. I ordered a quart from Amazon since I was only doing one wall, this was enough for this area. I wiped the wall down to make sure it was dust and dirt free. Then I began rolling the primer onto the wall.
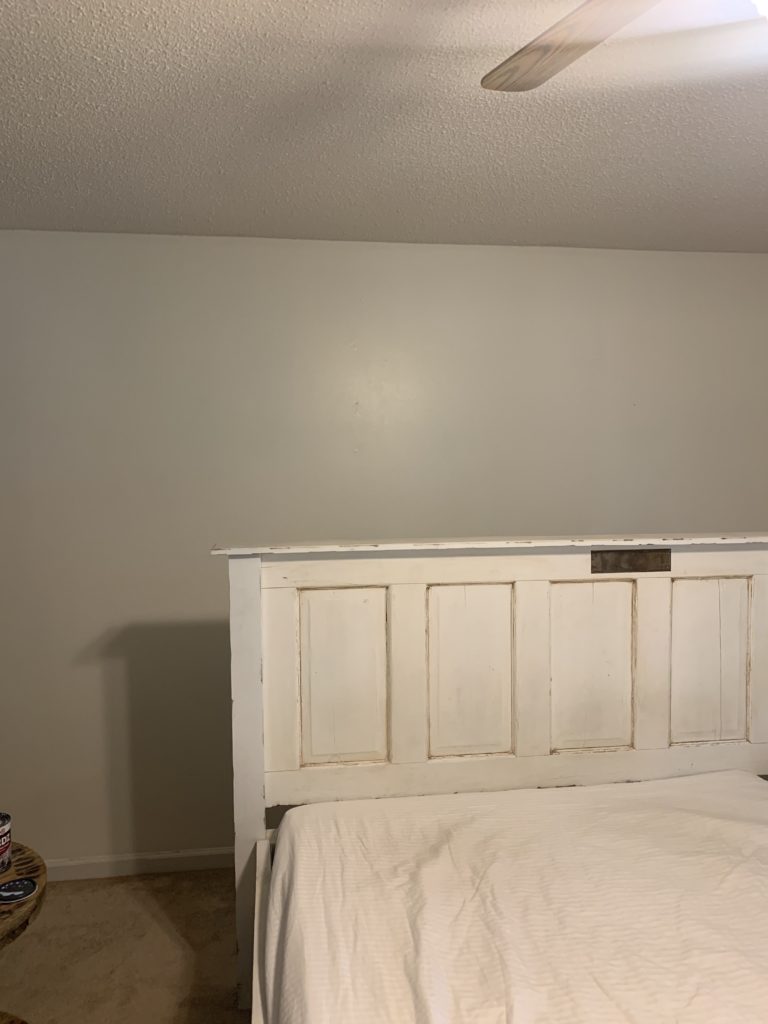
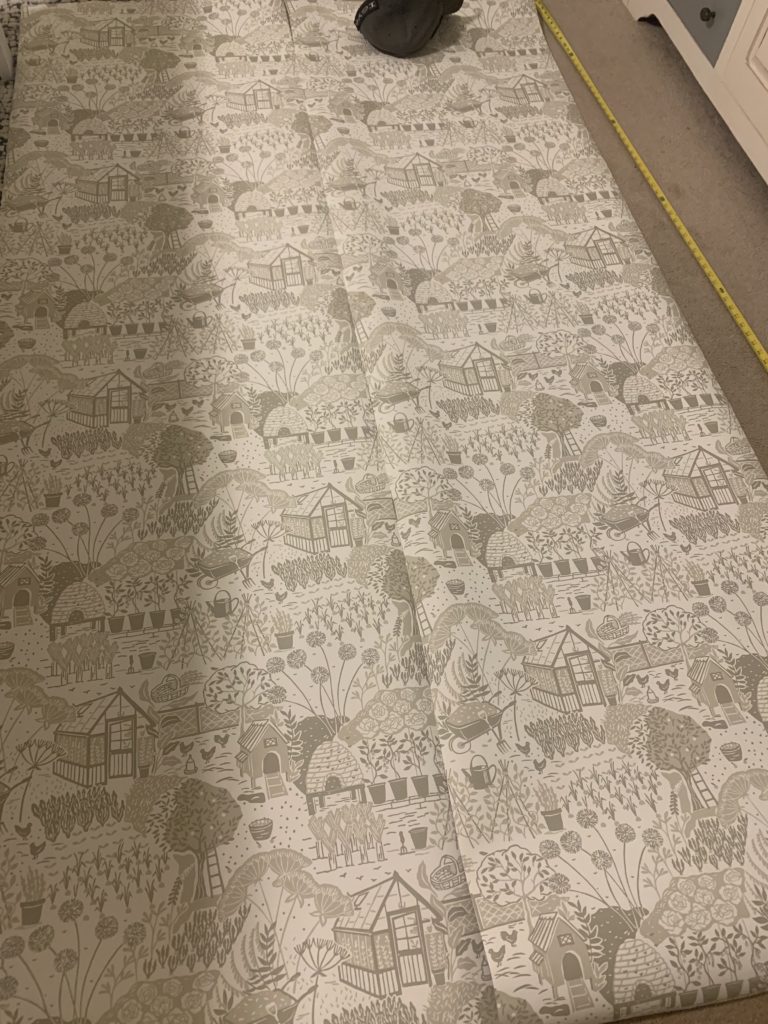
After about three hours, I went to check to see if the primer was dry; and that is when I start rolling out the wall paper to start the process. Each roll of wallpaper there is a marking to let you know which type of repeat patter you have. Since we chose the Allotment by Sanderson ;we had the repeat pattern that we would slide up and down to align with the next strip. On Wallpaper Direct’s website there is a how to link with videos ;about repeat patterns, how to hang, and how to cut your wallpaper.
I watched these videos before starting this part of the process. We then went a measured the wall from top to bottom and cut our first strip. After the first strip was cut we went to the wall and made sure that we have cut it correctly. By cutting correctly; is having 5cm left on the top and bottom for extra room to align with wall correctly. The strip was correct we then laid the first strip on the ground and aligned the second up to match the first strip and cut.
Now that I had the two strips cut, here came the part that I was on pins and needles about, pasting it to the wall! Let’s be really honest on this tip I am going to share. Make sure you put the adhesive on the wall like you mean’t for it to be there! When I say that, this is what I mean. When applying the first strip I put a very thin layer of the adhesive on the wall because I did not want to apply too much and it make bubbles in the wallpaper.
Well, guess what a thin layer only holds for about 10 minutes and its done. After realizing this that is when I laid that adhesive on the wall thick. I know that might sound crazy but that worked like a charm. I started using the plastic wallpaper smoother, the excess adhesive was pushed out and I just wiped it off with a soft towel. Once the strip was dry I then took a sharp box cutter and trimmed the excess paper at the top and the bottom with a straight line.
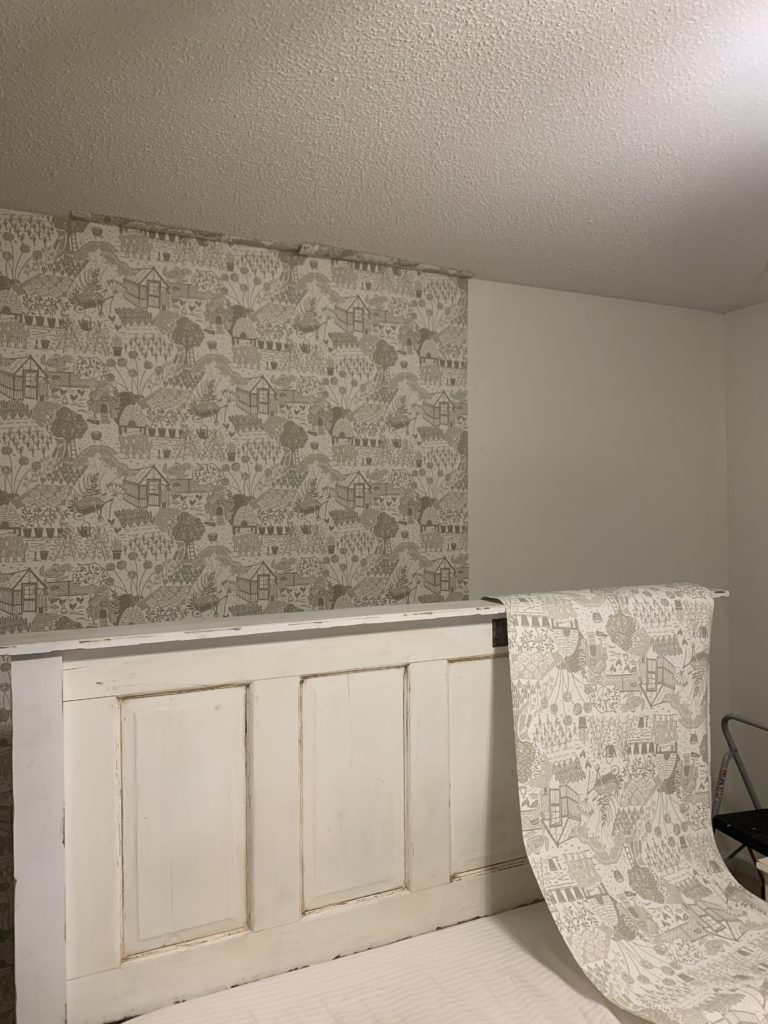
Once I got the hang of how much adhesive to put on the wall and how to smooth the wallpaper out, it was smooth sailing from there. I continued this process across the entire wall. When I put my final strip up I smoothed the crease of the corner first and then smoothed out the rest of the paper.
There you have it my friends, wallpaper DIY! I hope that sharing my tips will truly help you complete your own wallpaper DIY. Plus a special thank you to Wallpaper Direct for helping me completely this project! Thank you so much as always for stopping by the blog today, XOXO Jessica
