SHARE
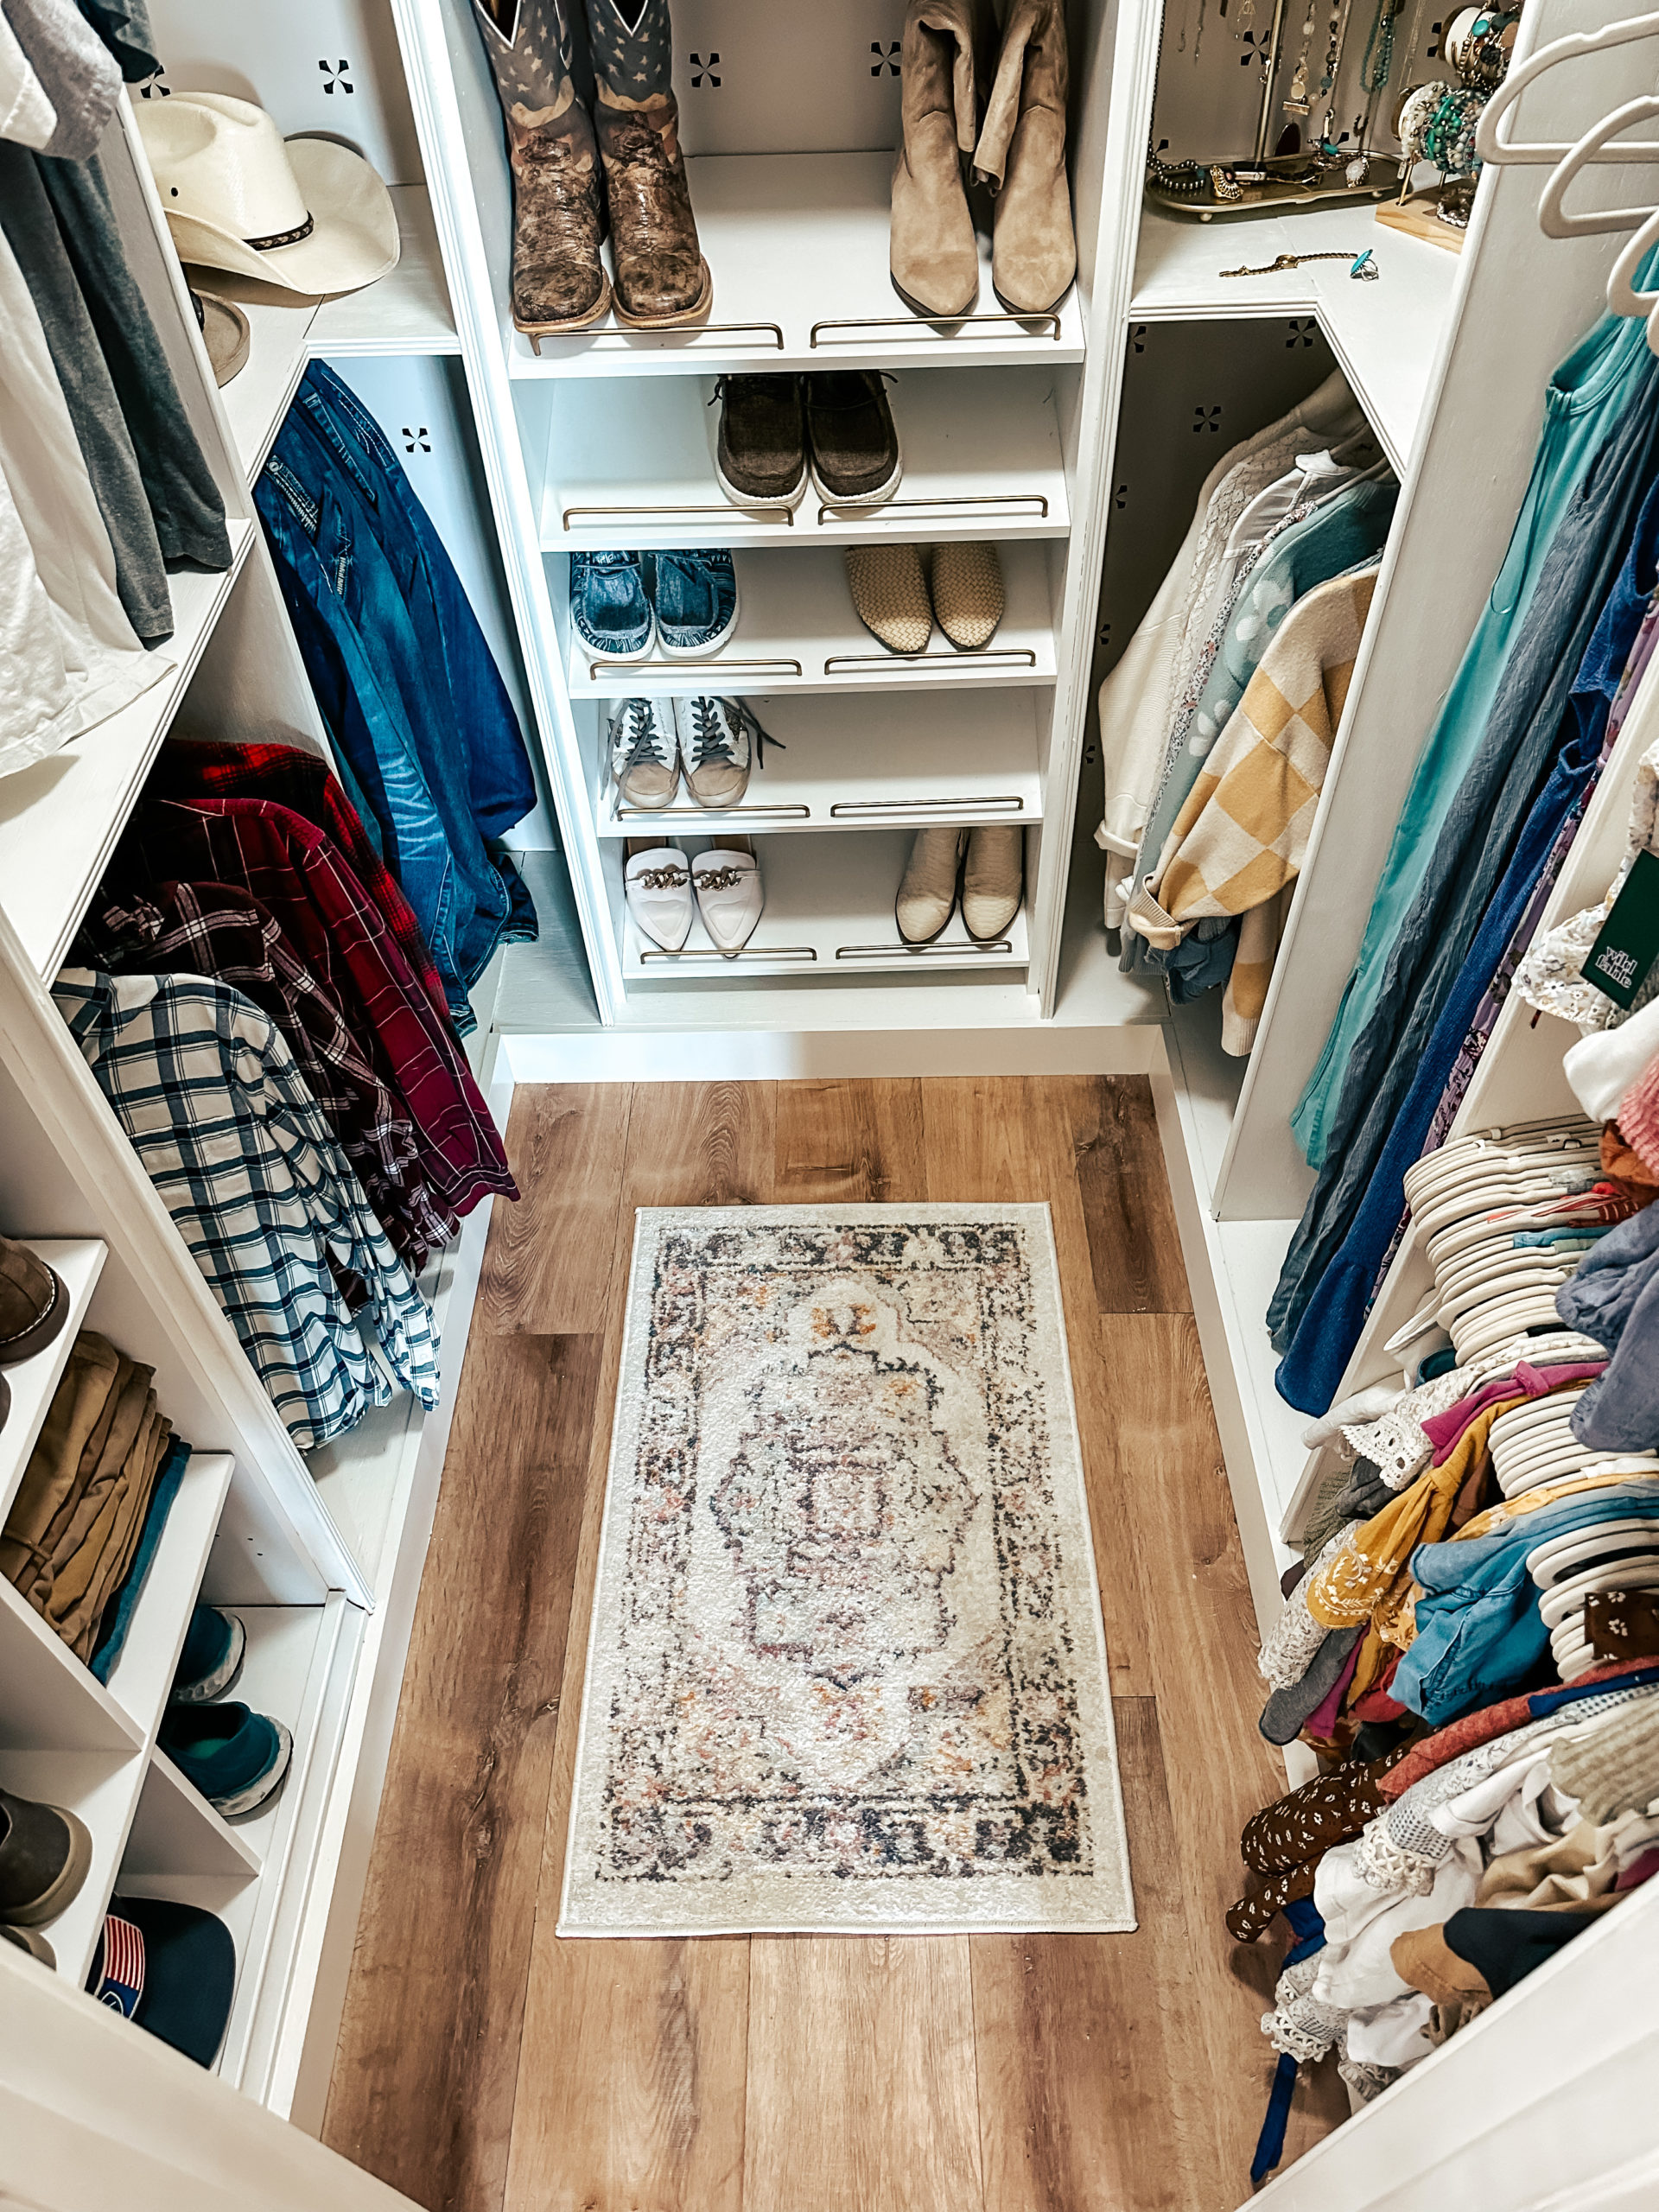
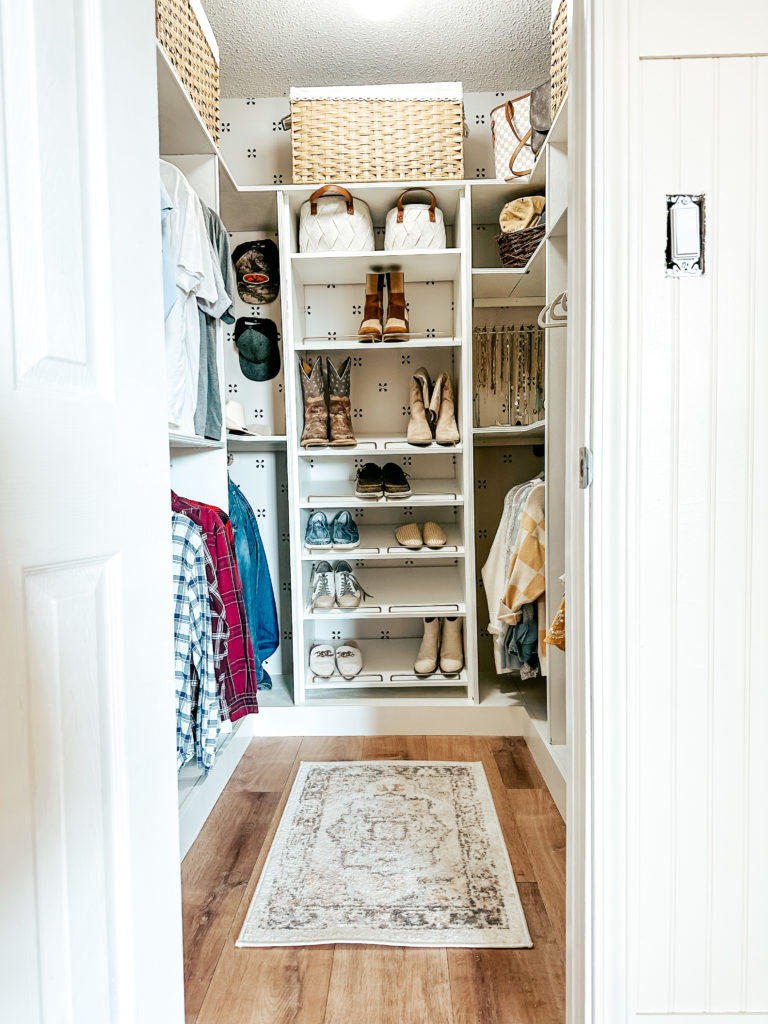
Do you have that one closet that stays messy, unorganized, and just all over unless space? Well, friends let me share how to fix that problem with DIY closet built-ins for half the cost of remade store ones. Yes, you heard me correctly for at least half the cost, and trust me this closet is not super small either! Closet organizers can be bought in the store and by the time you are done buying all of the pieces they end up costing over $1,000 just for one side of the closet in our case. I have the plans and how to make one that looks pretty but, is budget-friendly and most of all useful! We all love a pretty and functional all at the same time!
How did I do this? Friends it was actually so easy and I know you can do it too!
What do you need to make this closet organizer?
A Plan! This will tell you how much plywood and molding you will need.
Shop Closet Accessories here
- (8) 5/8in Plywood in 4×8 Sheets
- Finishing Molding (Any flat design you like) I used this one!
- 1in Dowel Rod at 8ft long
- (1) 2×4 8ft long
- Closet Rod Holder ( I used these )
- Base Board Solid ( I used this one)
- Paint
- Kregjeg for pocket holes
- Wood Filler (Paintable)
- Nail gun, screws, and drill
- Wallpaper ( if you prefer) I used this one from WallBlush.
Start with your plan! I customized this to fit our closet dimensions. You can take this plan and make this plan to your liking or closet size. We decided to create the best plan that would fit best into our home for our purpose of this closet.


See Step by Step Videos Here
Full Closet Tour Here
Where do you start? I started by cutting all of the boards into the sizes they needed to be. All Boards need to be 24ins in depth for our closet ( you can change for your closet). Add pocket holes on each head of the shelving boards not the wall boards. Once the boards are cut and drill holes, the next step is to paint the boards. This will be much easier to paint before you put it together.
While the paint is drying this is when you can build your foundation. I used the 2×4 and created 5 boxes across the floor to be the base footing. This will change depending on how large your space is.
Cut list to make the box:
(2) Cut 2×4 at the death of your shelving ( Mine is 24in, I cute mine at 24ins)
(2) Cut 2×4 at 2in ( this will create the 4in height off the floor )
Make the base:
Start with putting your boxes across the bottom of your closet to get your base started.
Once the feet are down you will then attach them to the wall by putting a screw in the box going into the wall. This is where you will use the 2×4 to create a sturdy base.
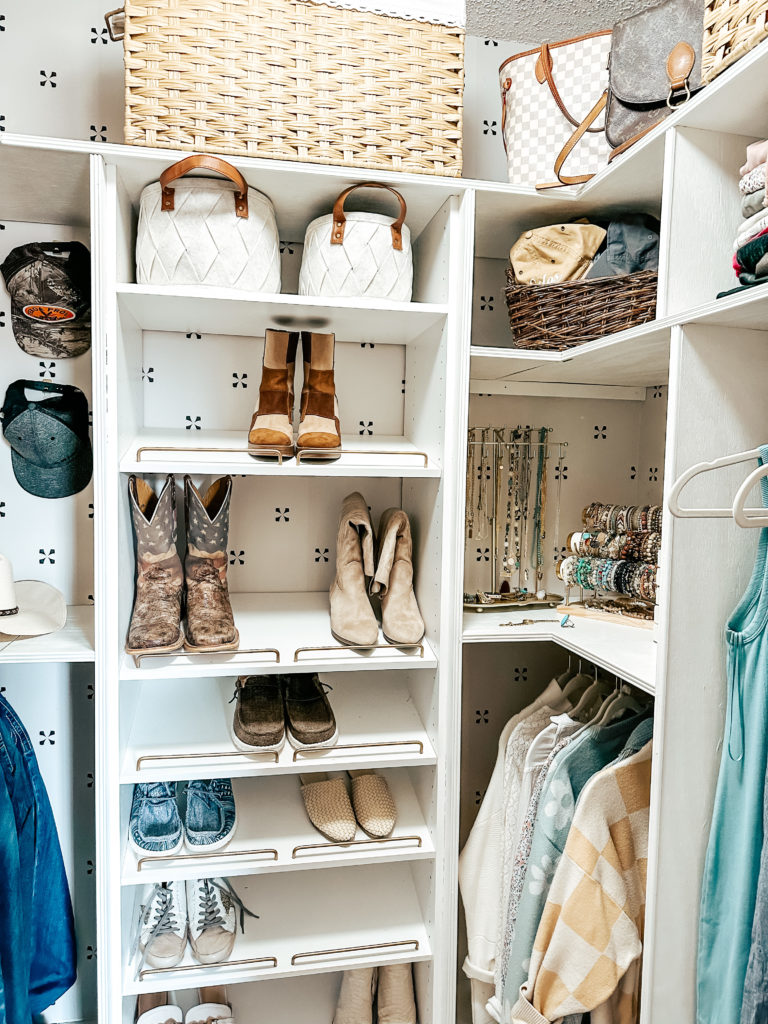
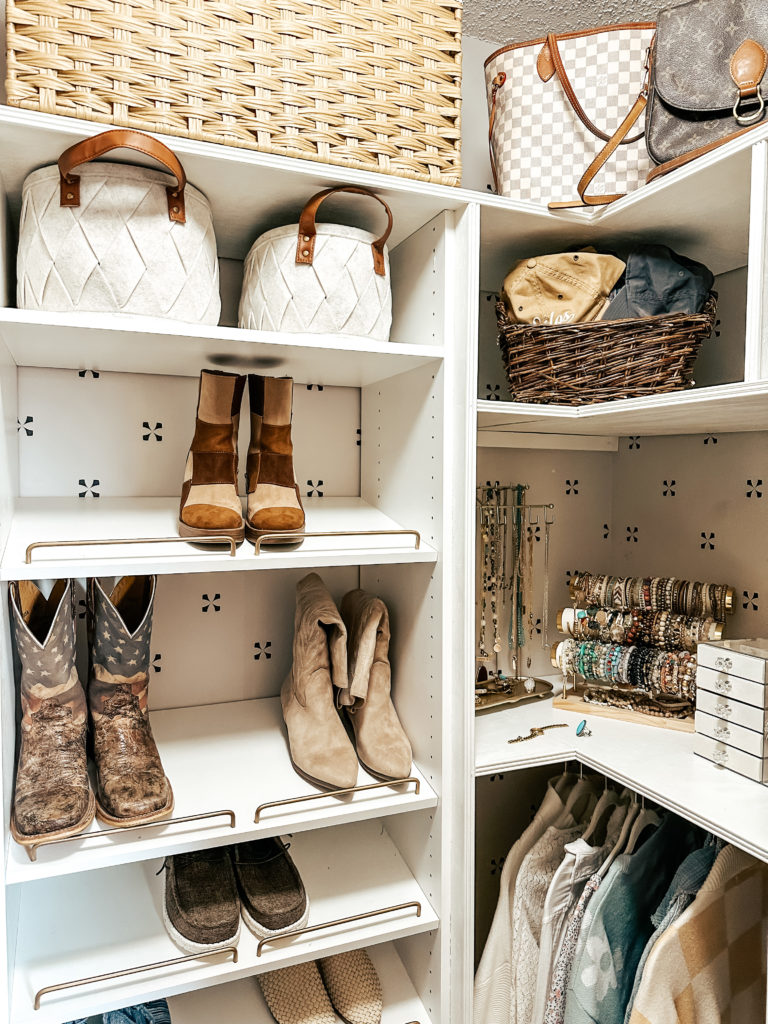
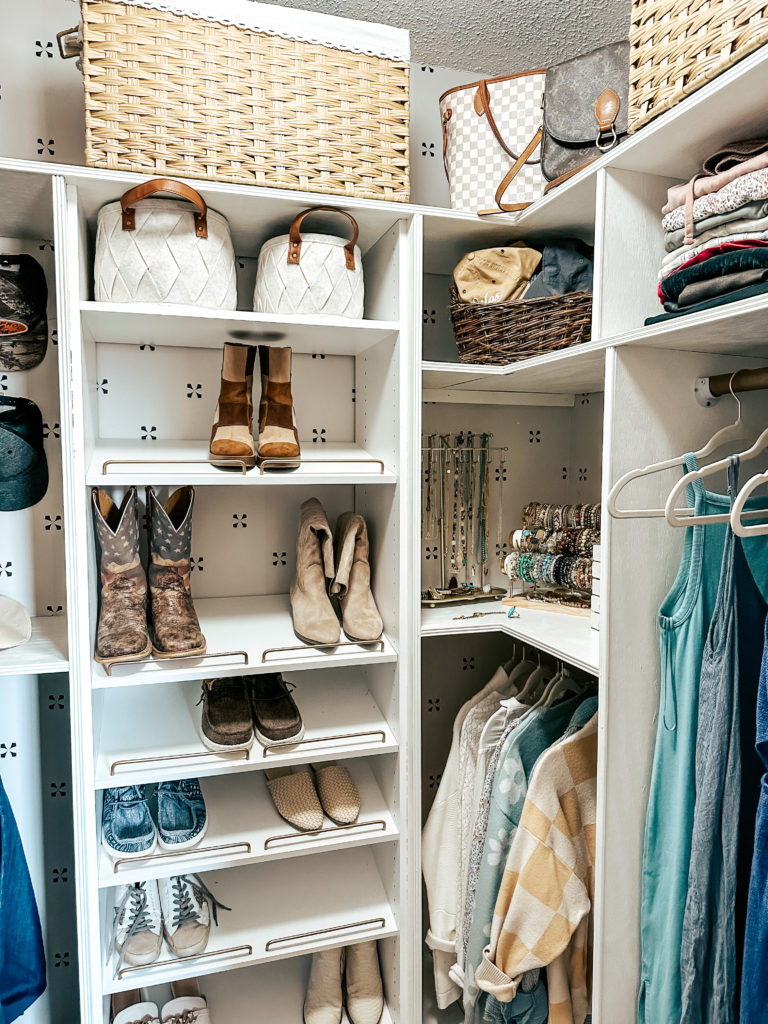
Finish the base layer by putting the base board piece across the front of the boxes to make them eye appealing and enclose them in for the built in look.
Add the accent to the wall: Optional
This may be one of my favorite part friends! You can totally do this or you can just stick with a painted wall. I chose to add a fun pattern of wallpaper from Wallblush ! This is the time I added this since you would not see the accent behind the base. Remember this is just an option for a little accent dimension to this space.
Now let’s Organized:
There are two ways to do this friends. You can build the shelving before putting it into the closet or inside the closet. I chose to build in the closet. Looking back I would pre-build the shelving because, to be honest, it is harder to get under the bottom shelf to attach it!
When putting the shelving together, you can refer to the plan above to see the spacing I used or you can create what spacing works best for you.
Pop that shelving in and put your top on! The top is the same as the base.
Close it up! Take that flat stripe molding ( I chose to paint mine) and add all of these pieces to the edges of your shelving.
Now let’s finish the final touches and get organized!
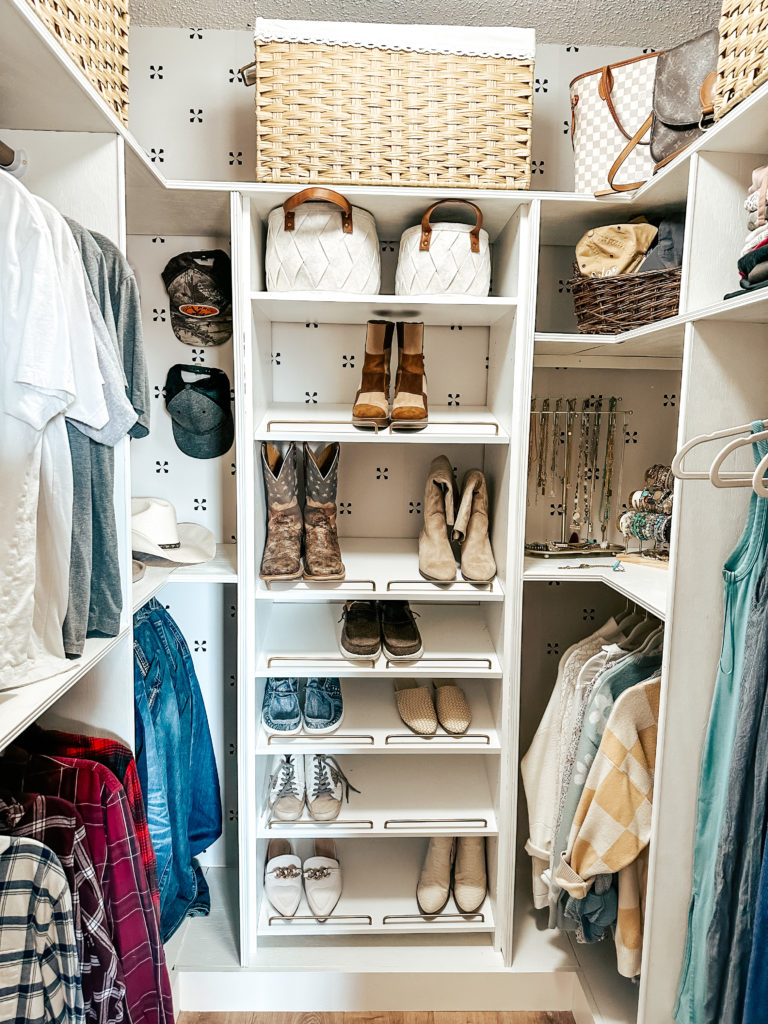
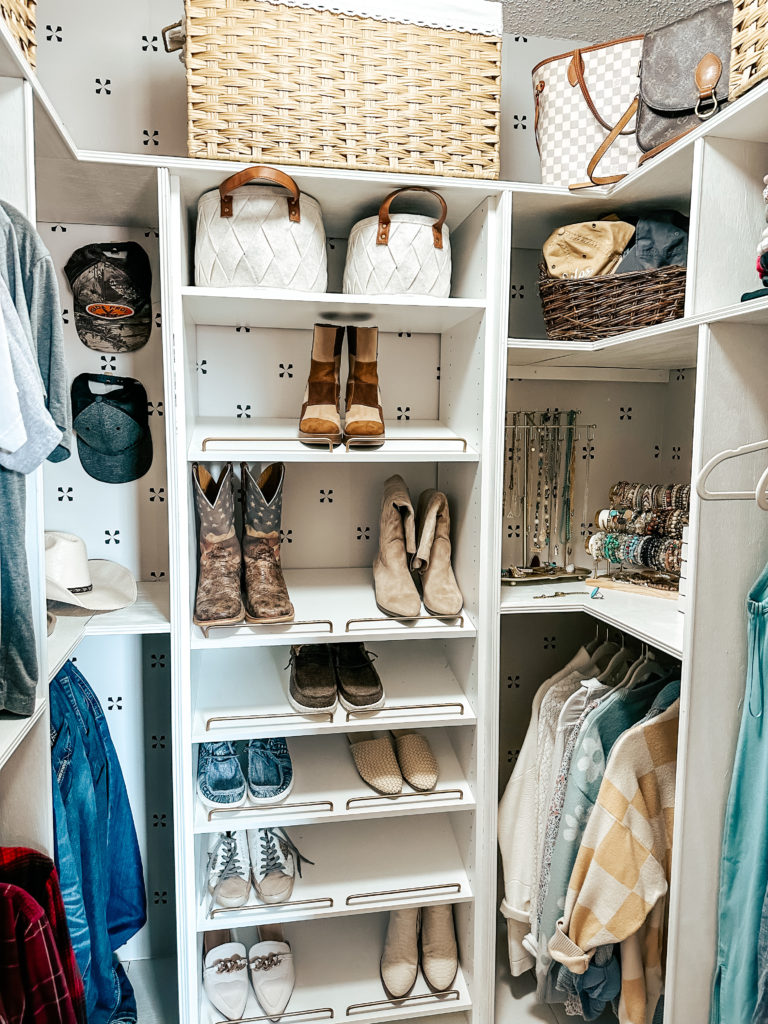
Create Hanging Rods:
This is where you will measure the spaces to you want to add a hanging rod too. Cut the dowel rod to the length and add your closet rod holders in those spaces. I chose to paint mine and antique gold. This choice is totally up to you!
Stock that closet that needed all the organizing!
Create a space that is functional for your home!
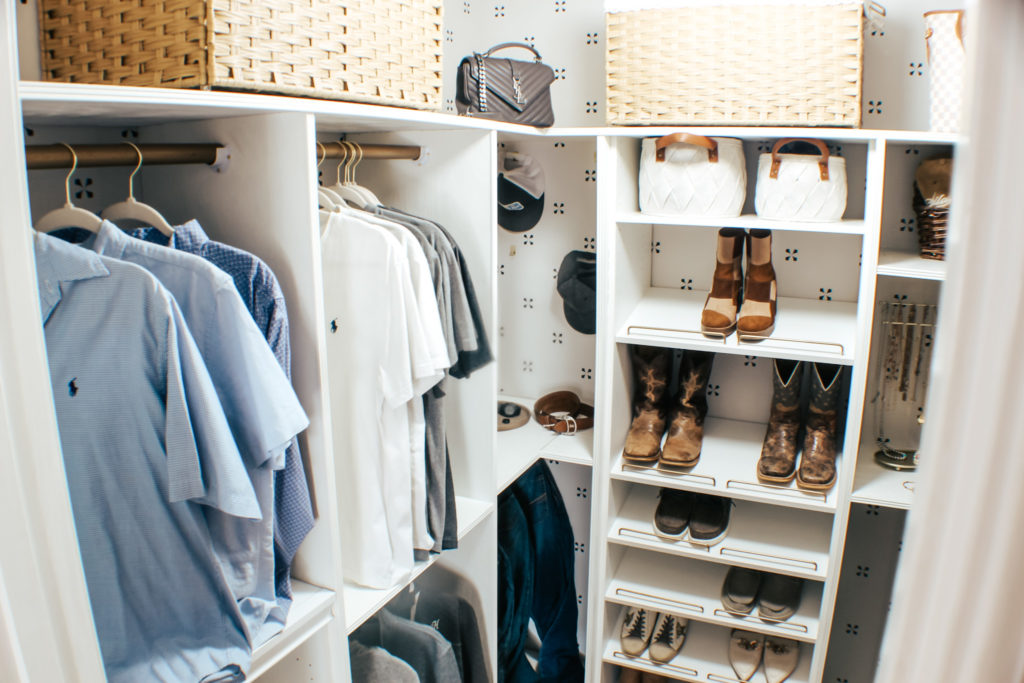
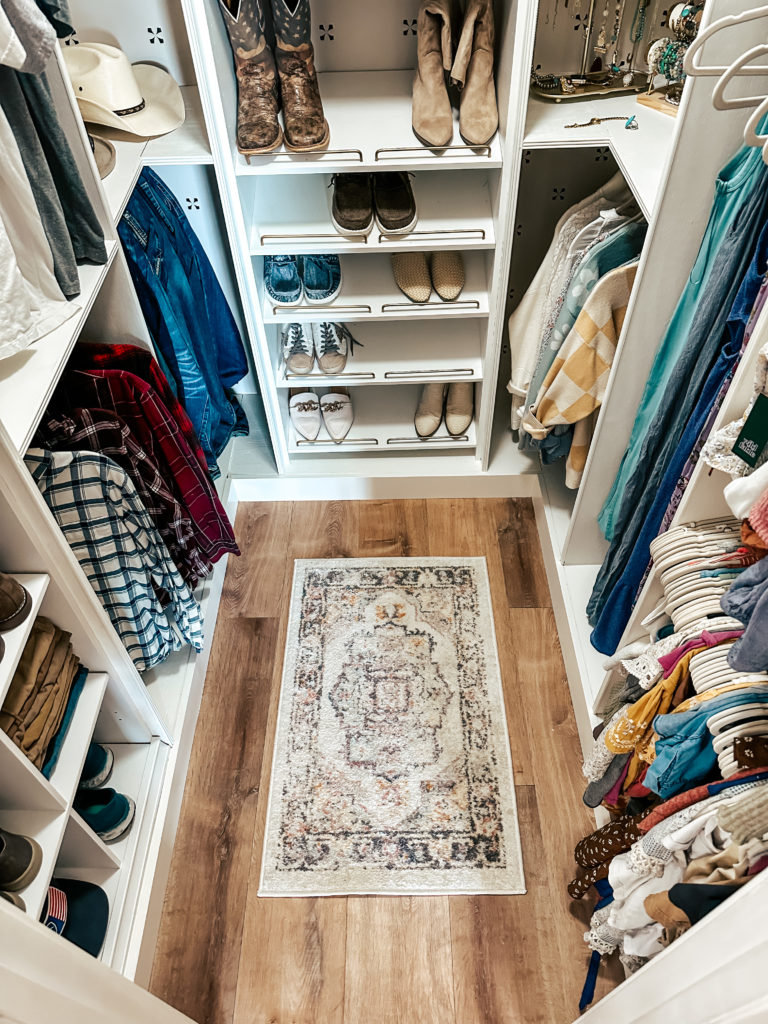
I hope this inspires you to get those what we call Monica closets in our home organized! Thank you for stopping by the blog today and everyday! Come follow along for daily inspiration over on Instagram @itty_bitty_farmmhouse , join us on Pinterest at Itty Bitty Farmhouse, and TikTok @itty_bitty_farmhouse !

