SHARE
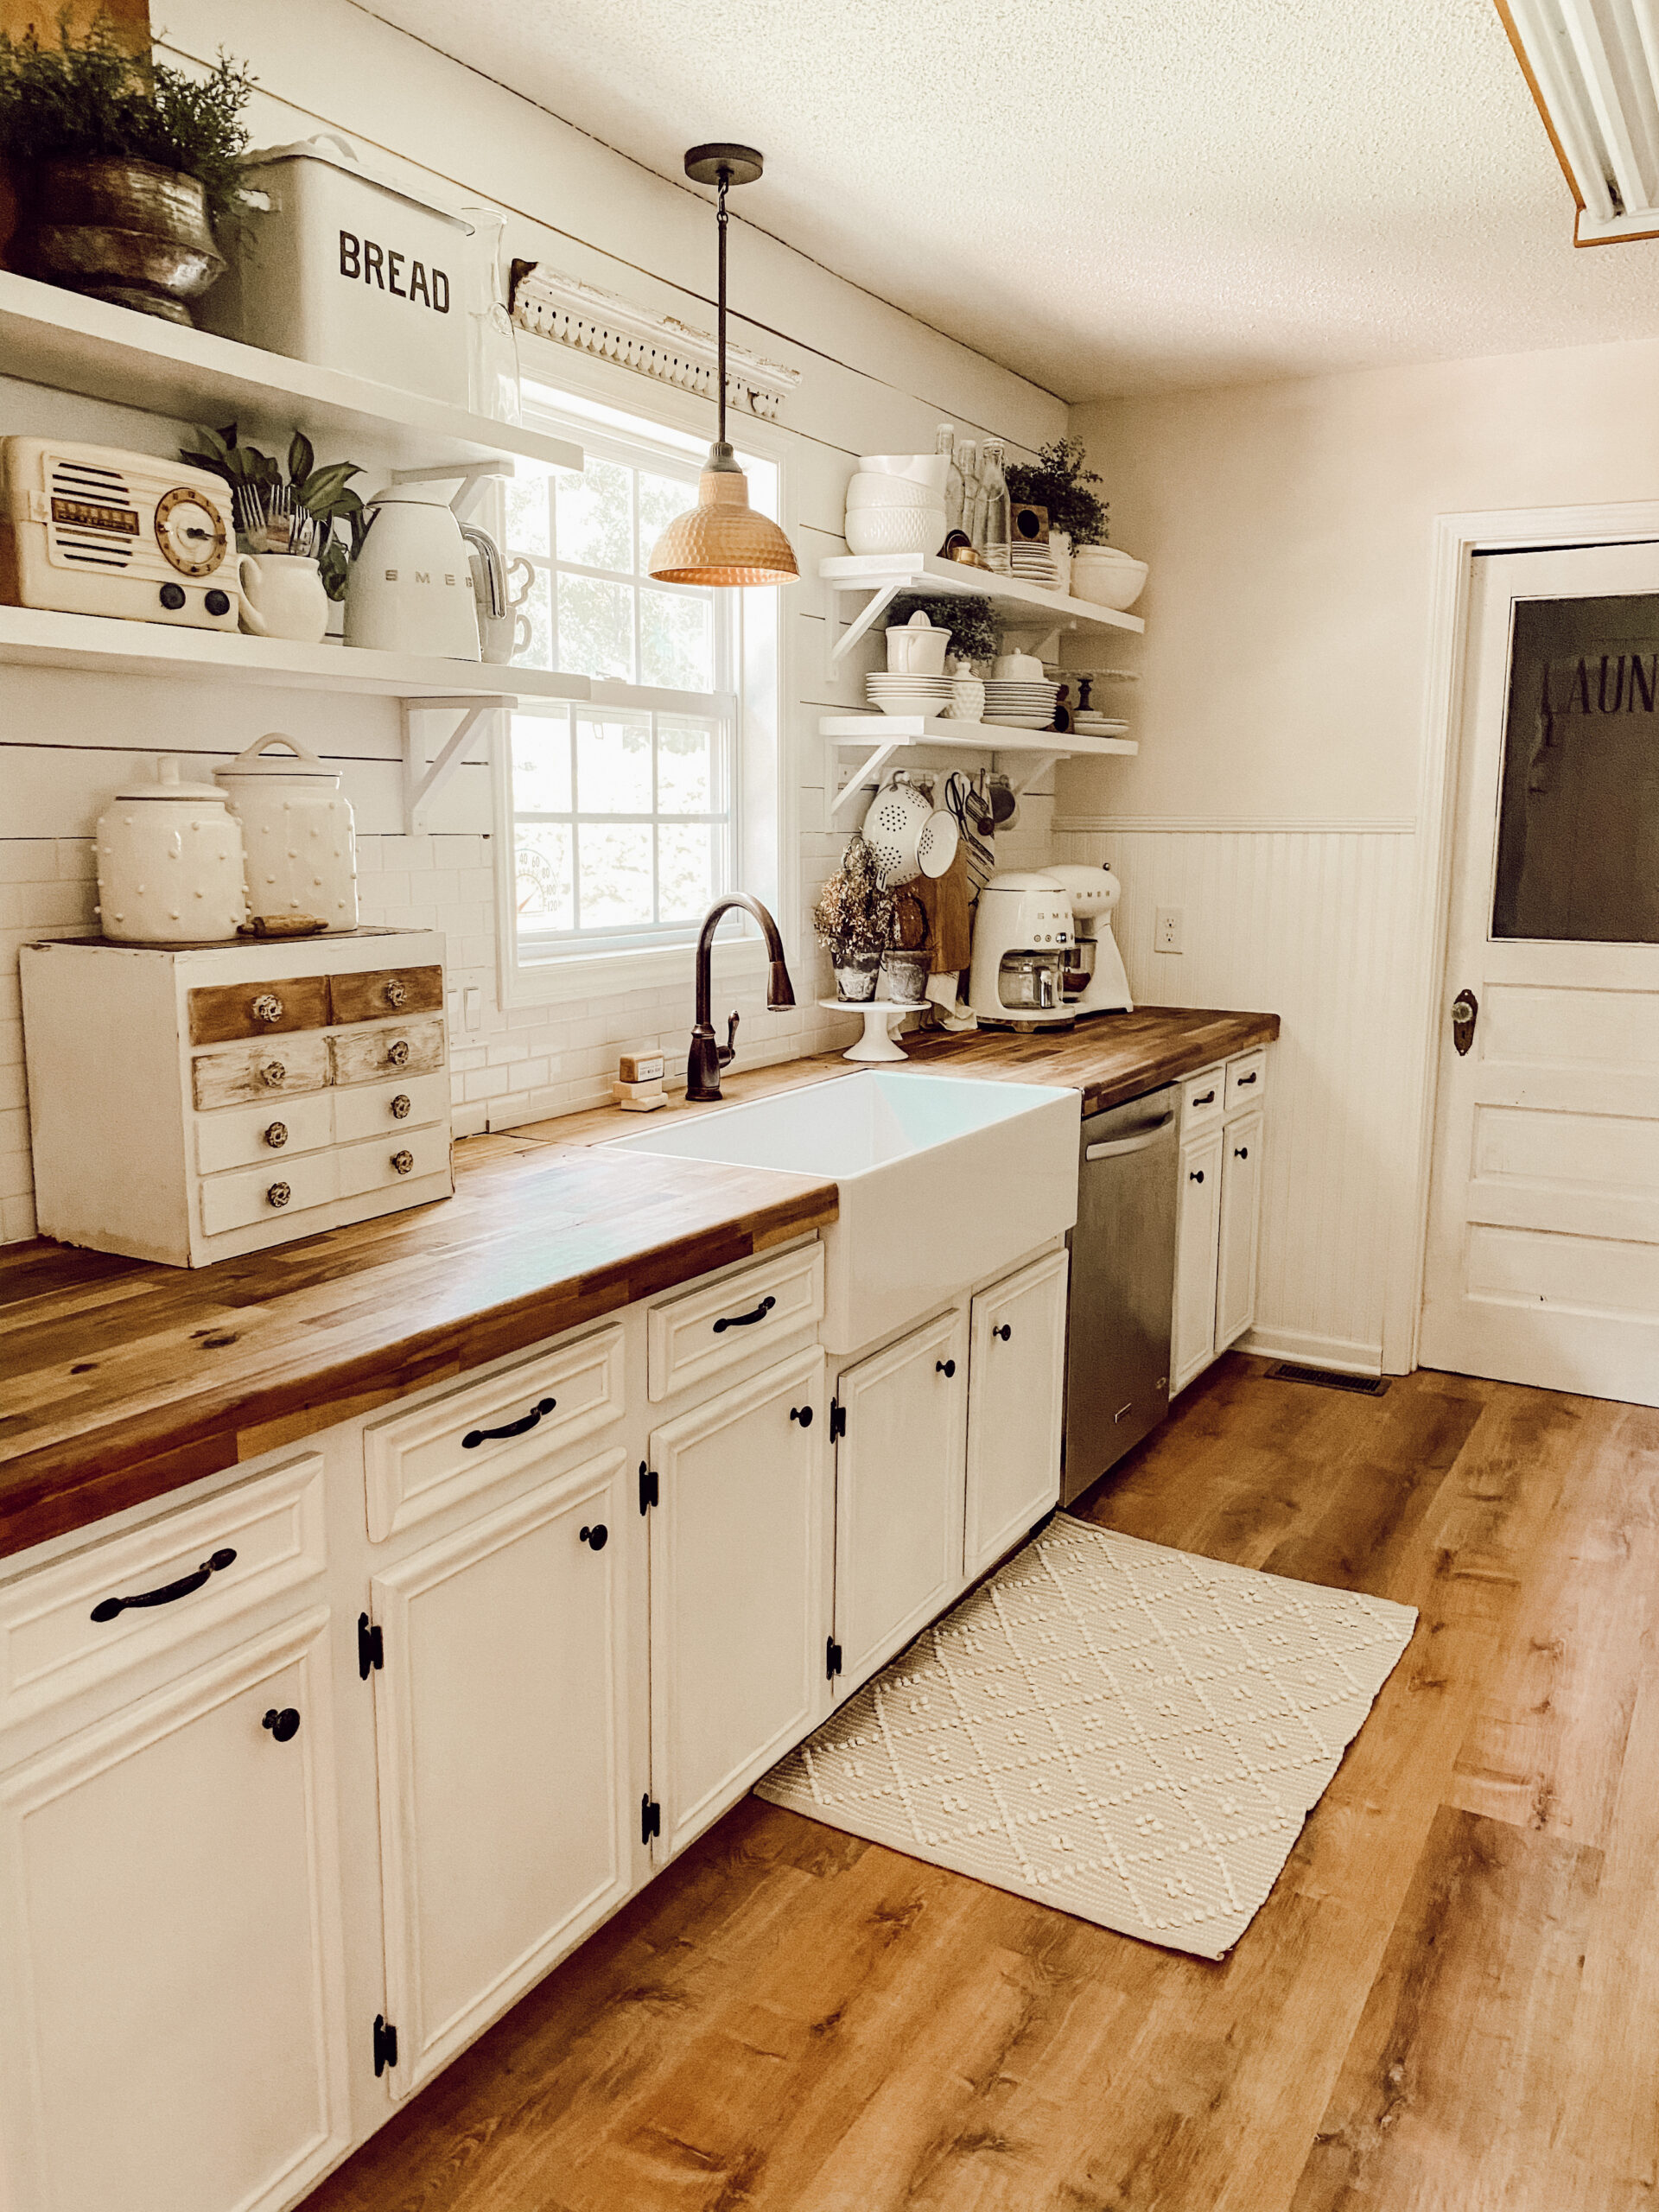
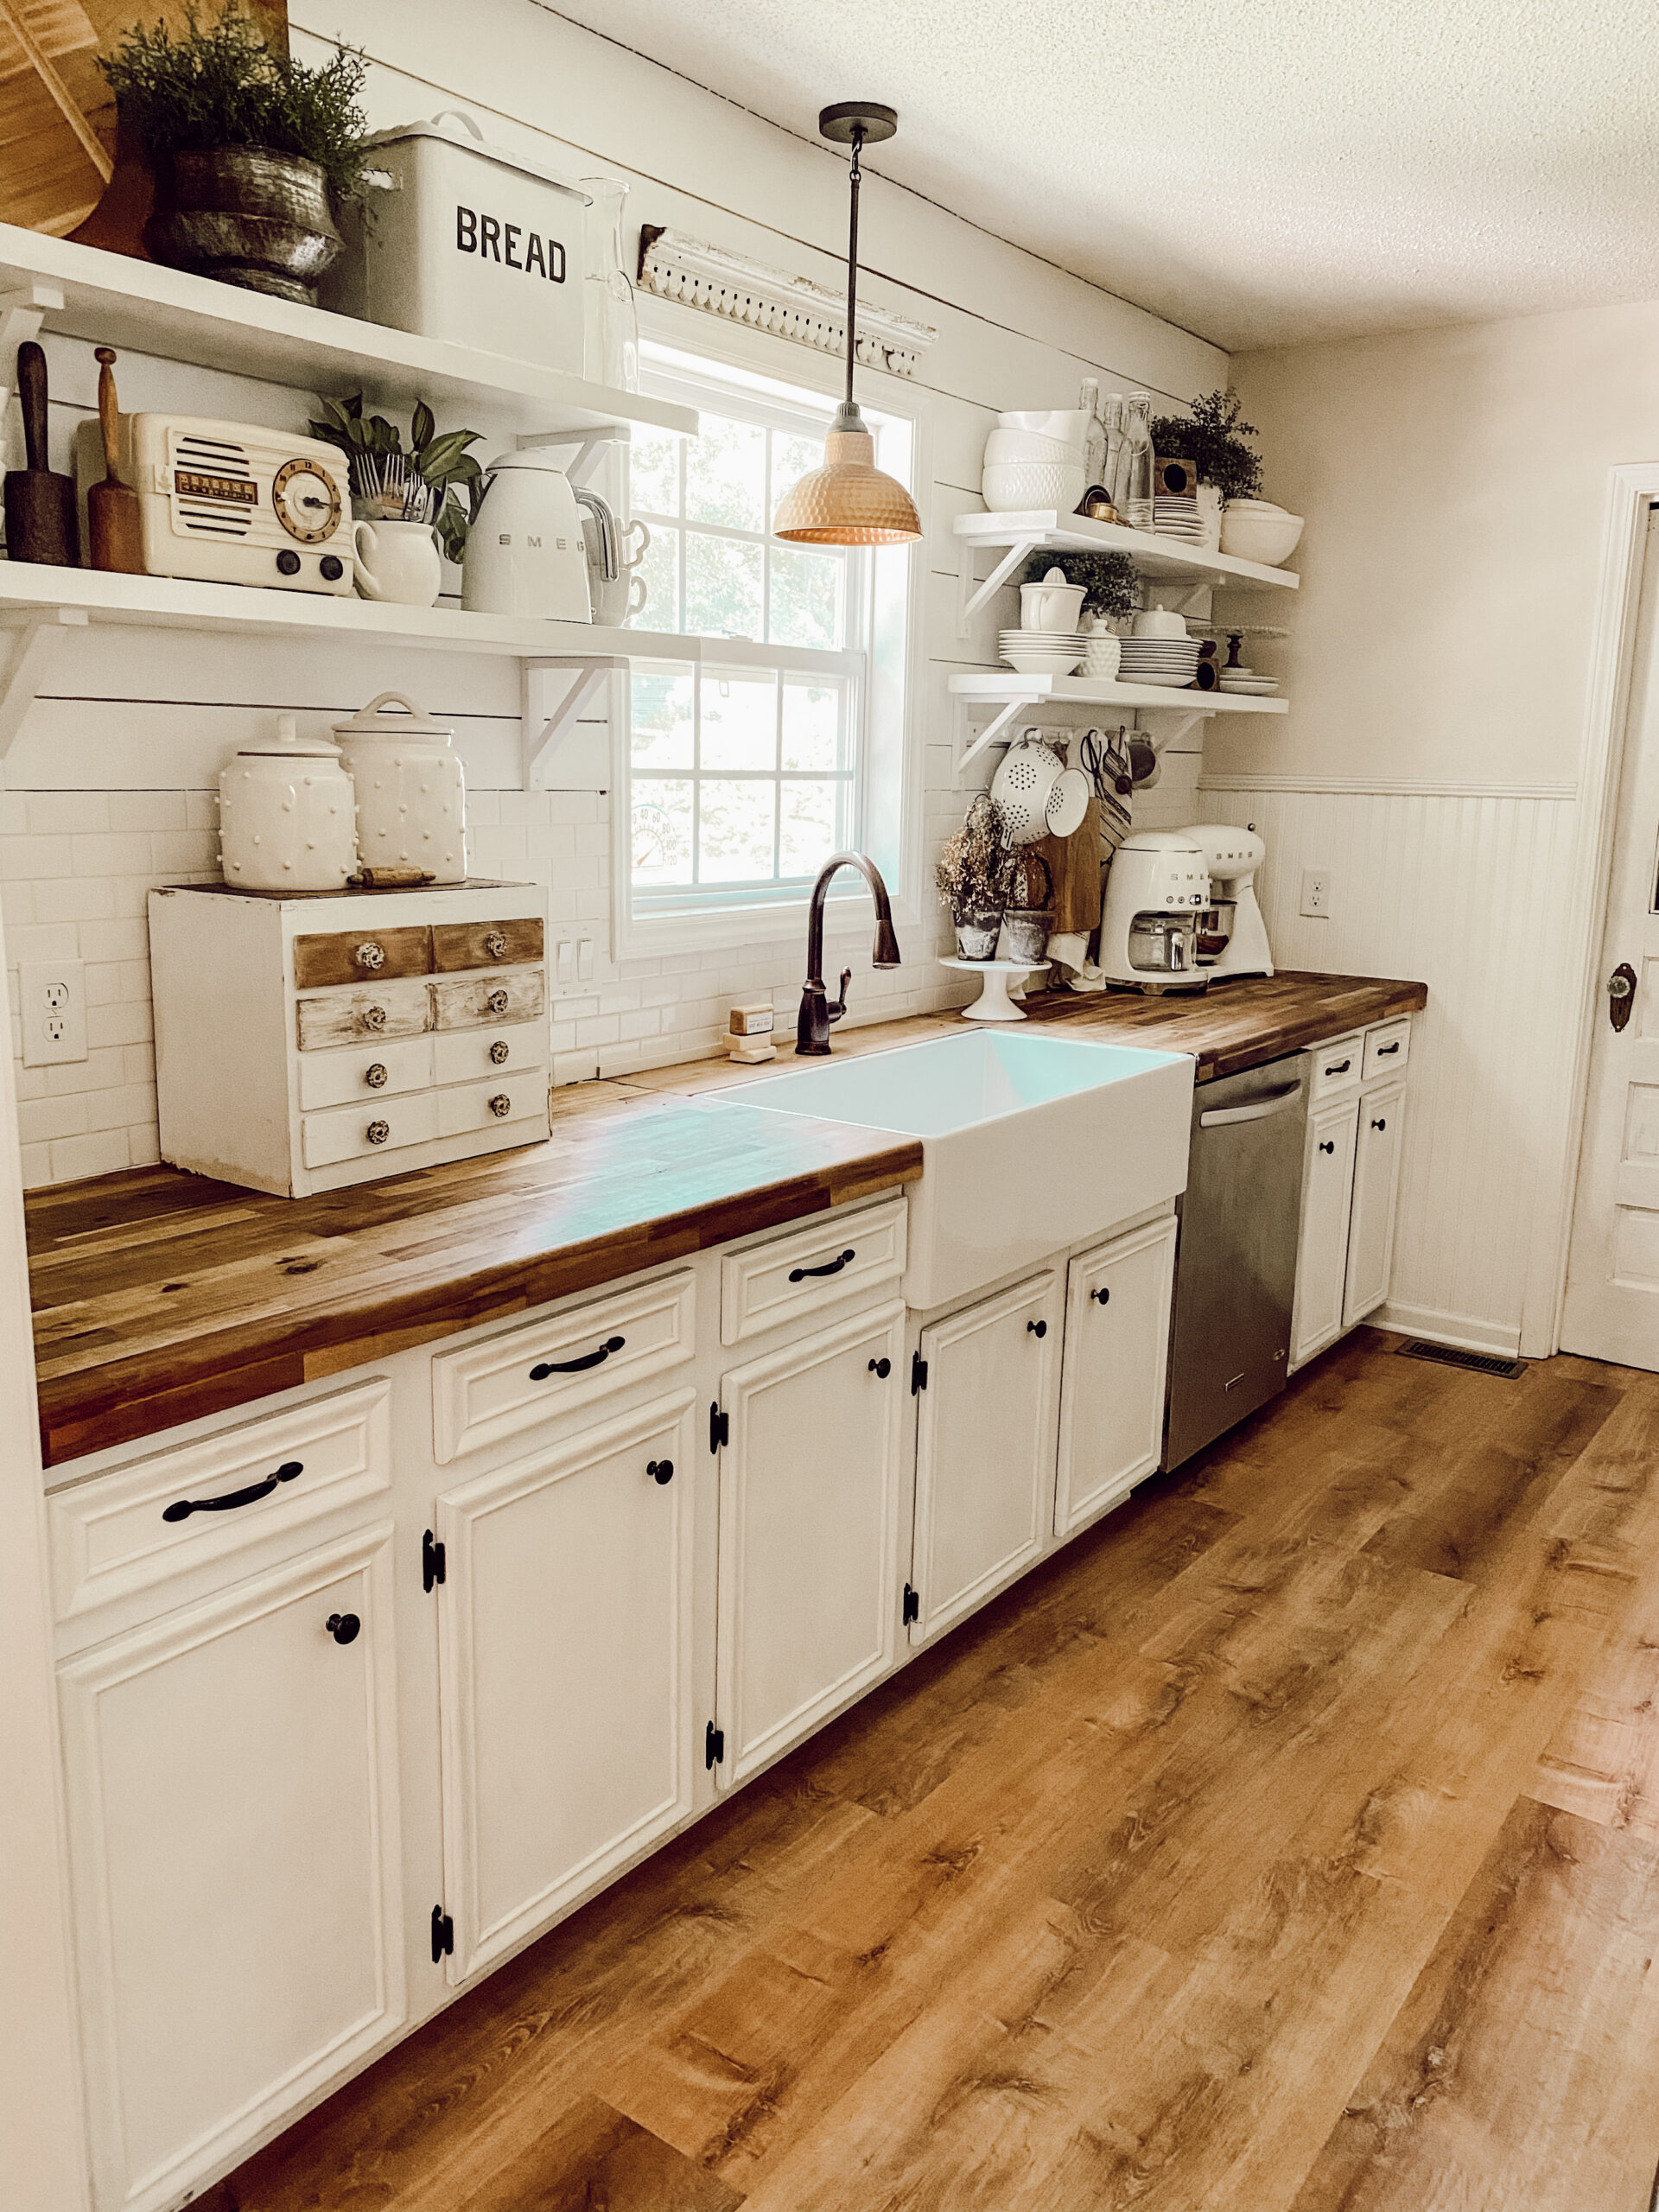
Bye Bye Spanish floors! This project has been a long time coming and I finally can share my kitchen and office room and love it! As many of you know, I had Spanish tile in my kitchen and awful carpet in the office room. Ever since I moved into my home, I have wanted to cover them or remove them. Finally that was a possibility and I will tell you s funny story how.
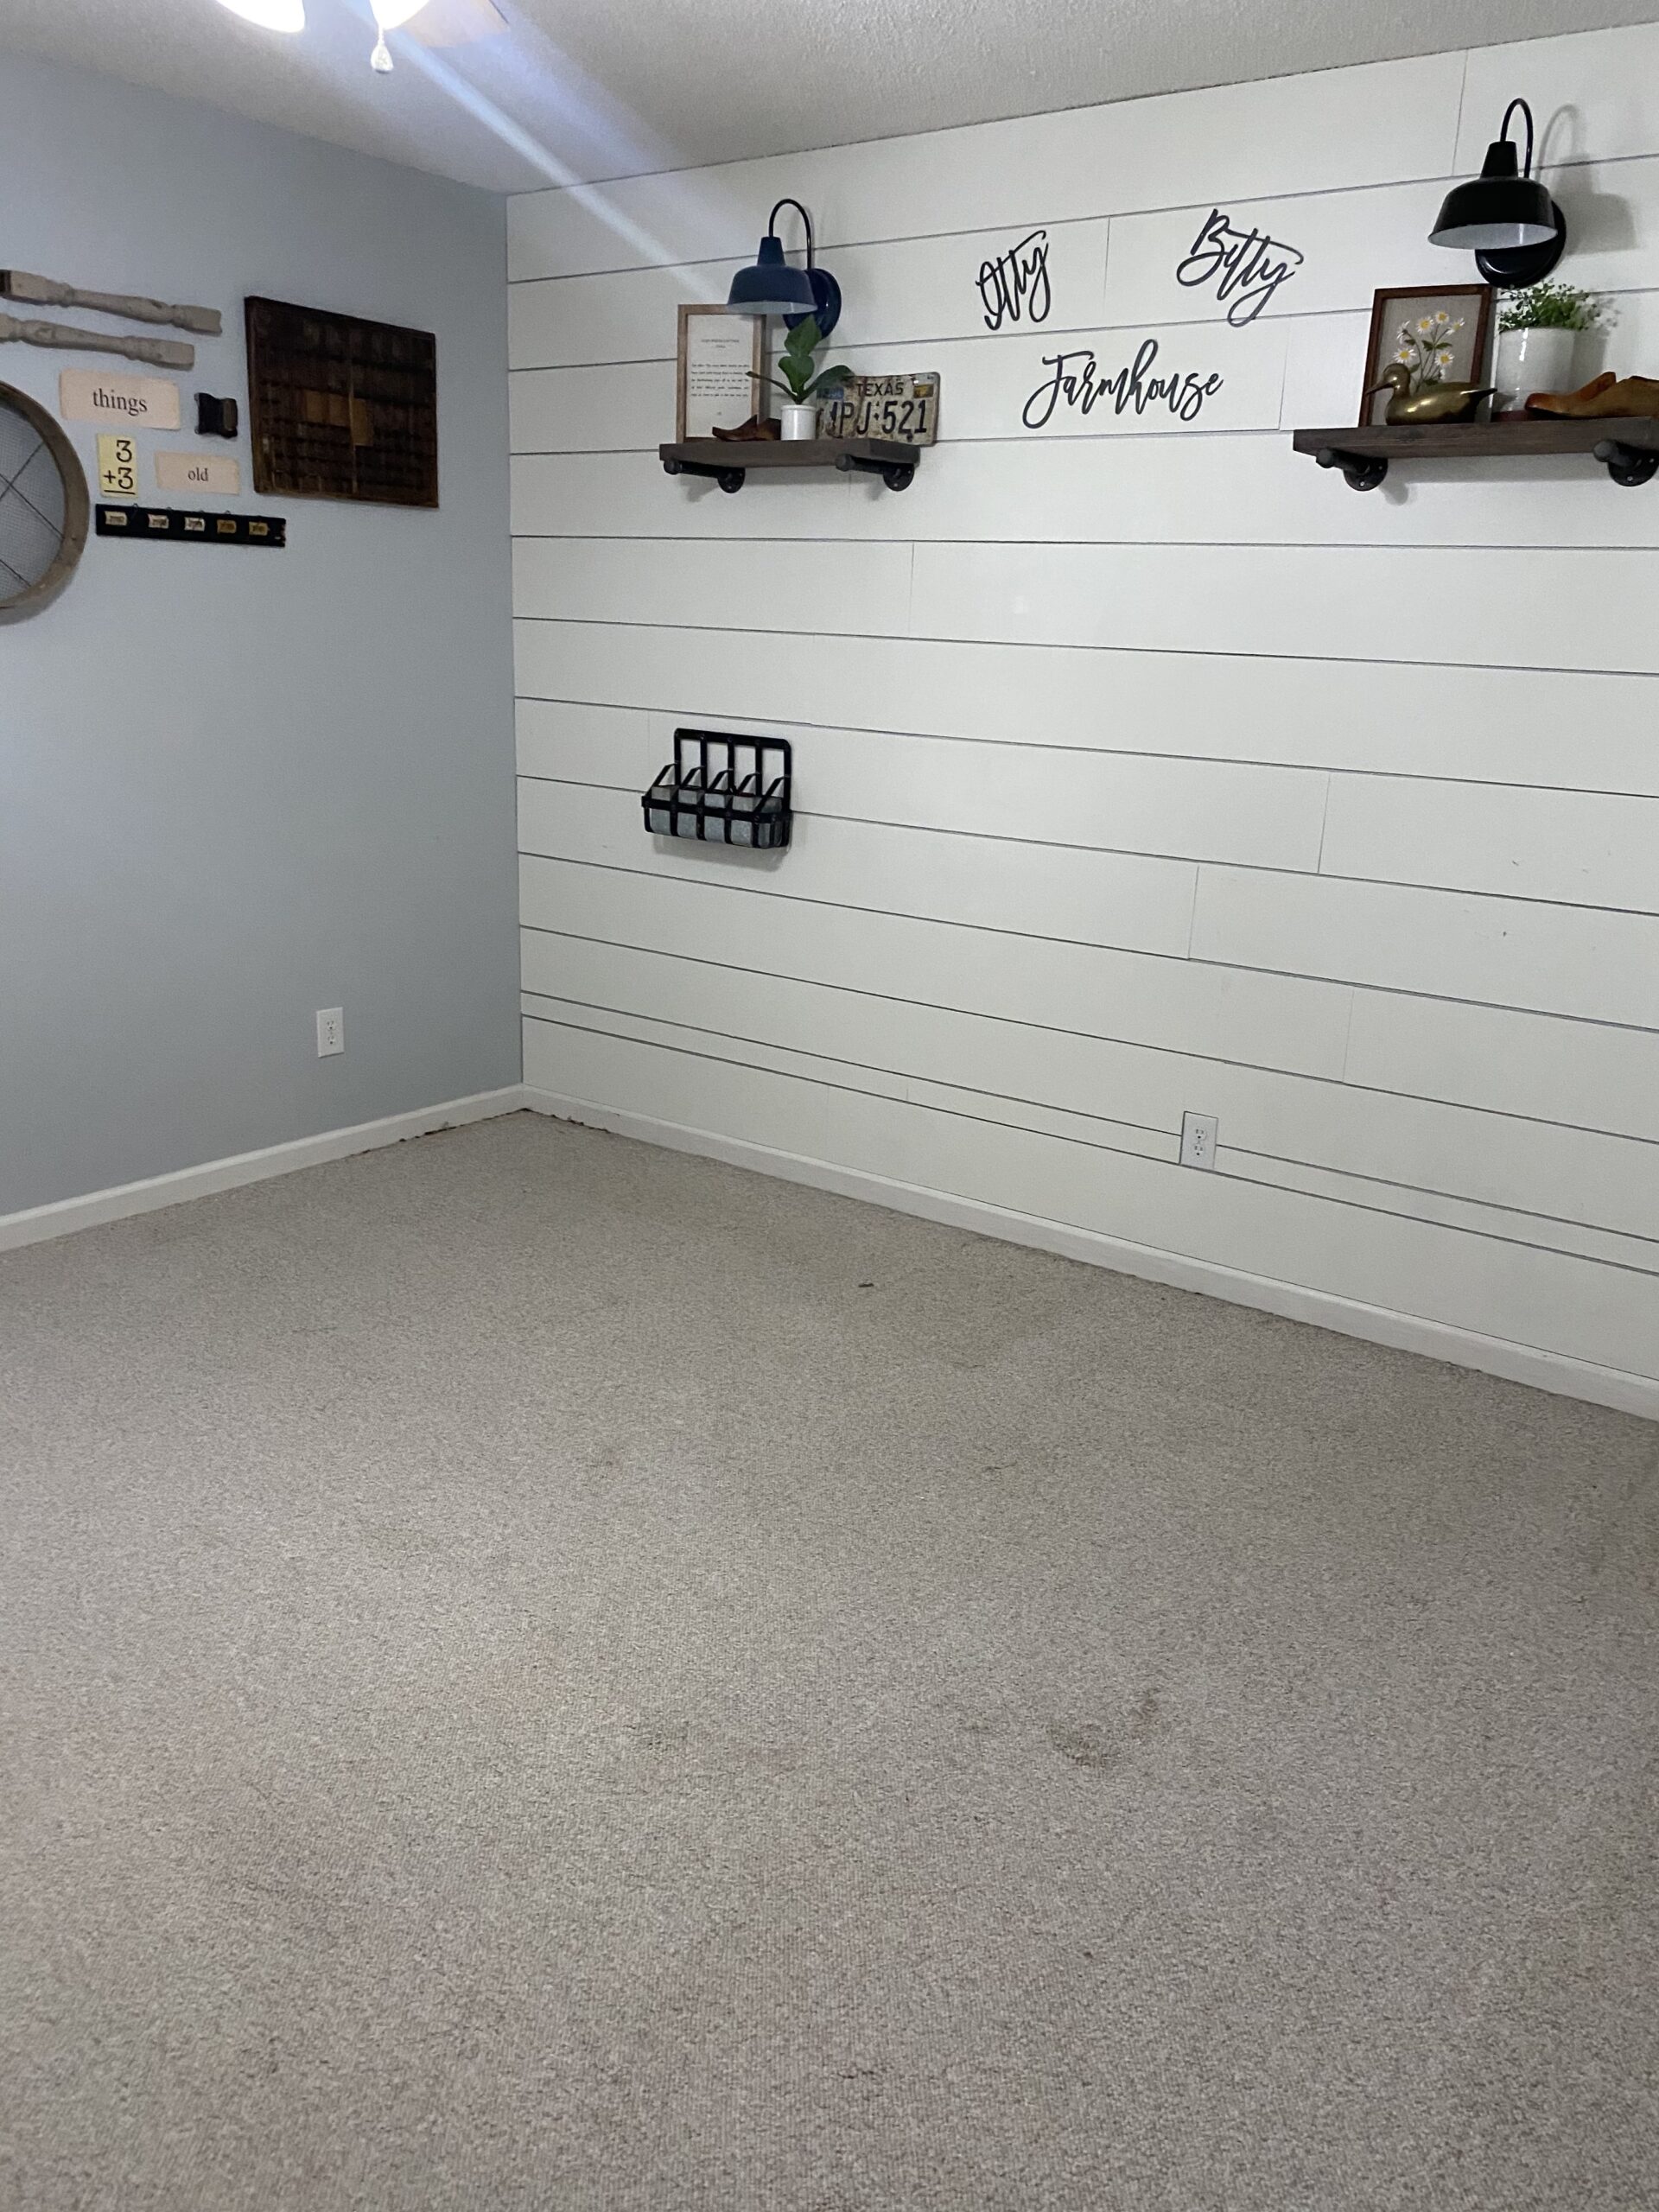
Many of you know that a have a puppy named Magnolia, well she sure was such a big help in this project. Magnolia is a little bit of am trouble maker, well more than a little. She broke out of her kennel and was apparently bored that day and decided to go ahead and start chewing up the office room carpet. By the time I returned from work the carpet looked like it was a mess of yarn the had been rolling around the house for hours. At first I was so mad but, then I sat down for a minute and thought well, since I have to fix this because it is down to the padding why not just do the vinyl flooring in here and kitchen. I mean there is not better time than the present, right? Off to HomeDepot I went and picked up many samples.
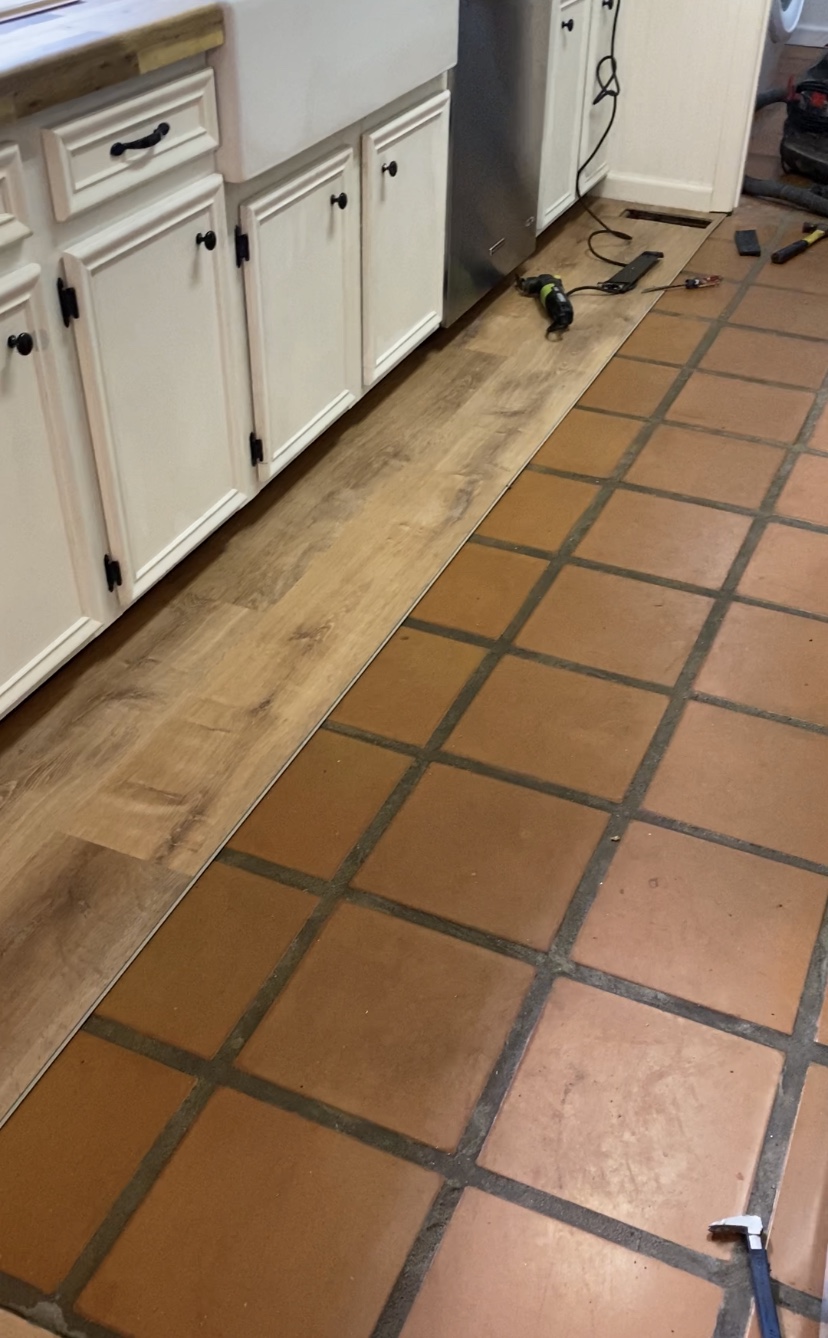
After many samples and back and fourth thoughts, I finally picked the luxury vinyl flooring that I loved. Now only to figure out how hard the tile in the kitchen was going to be to bust up. I knew that the carpet in the office room would be easy to get up because, it was already loose thanks to Magnolia. While I was at HomeDepot, I spoke with the floor expert since this would be the first time I have ever put the vinyl flooring down. He said that the type that I picked out could be placed right over top of the tile in my kitchen and laundry room. That was a huge relief and a life saver to be honest.
The process was just a great experience and was way less complicated than I thought it would be. The vinyl flooring was the snap and lock kind and laid nicely down right over top of the tile. Once the first plank was snapped into place it was just cutting the planks to fit the corners and locking them together. I did choose to stagger the planks which did in the end use more but, I think the it created dimension and you all know I love that. Finishing up the kitchen flooring only took some shoe molding around the cabinets and floor molding that way it filled the gap between the molding and the new floor.
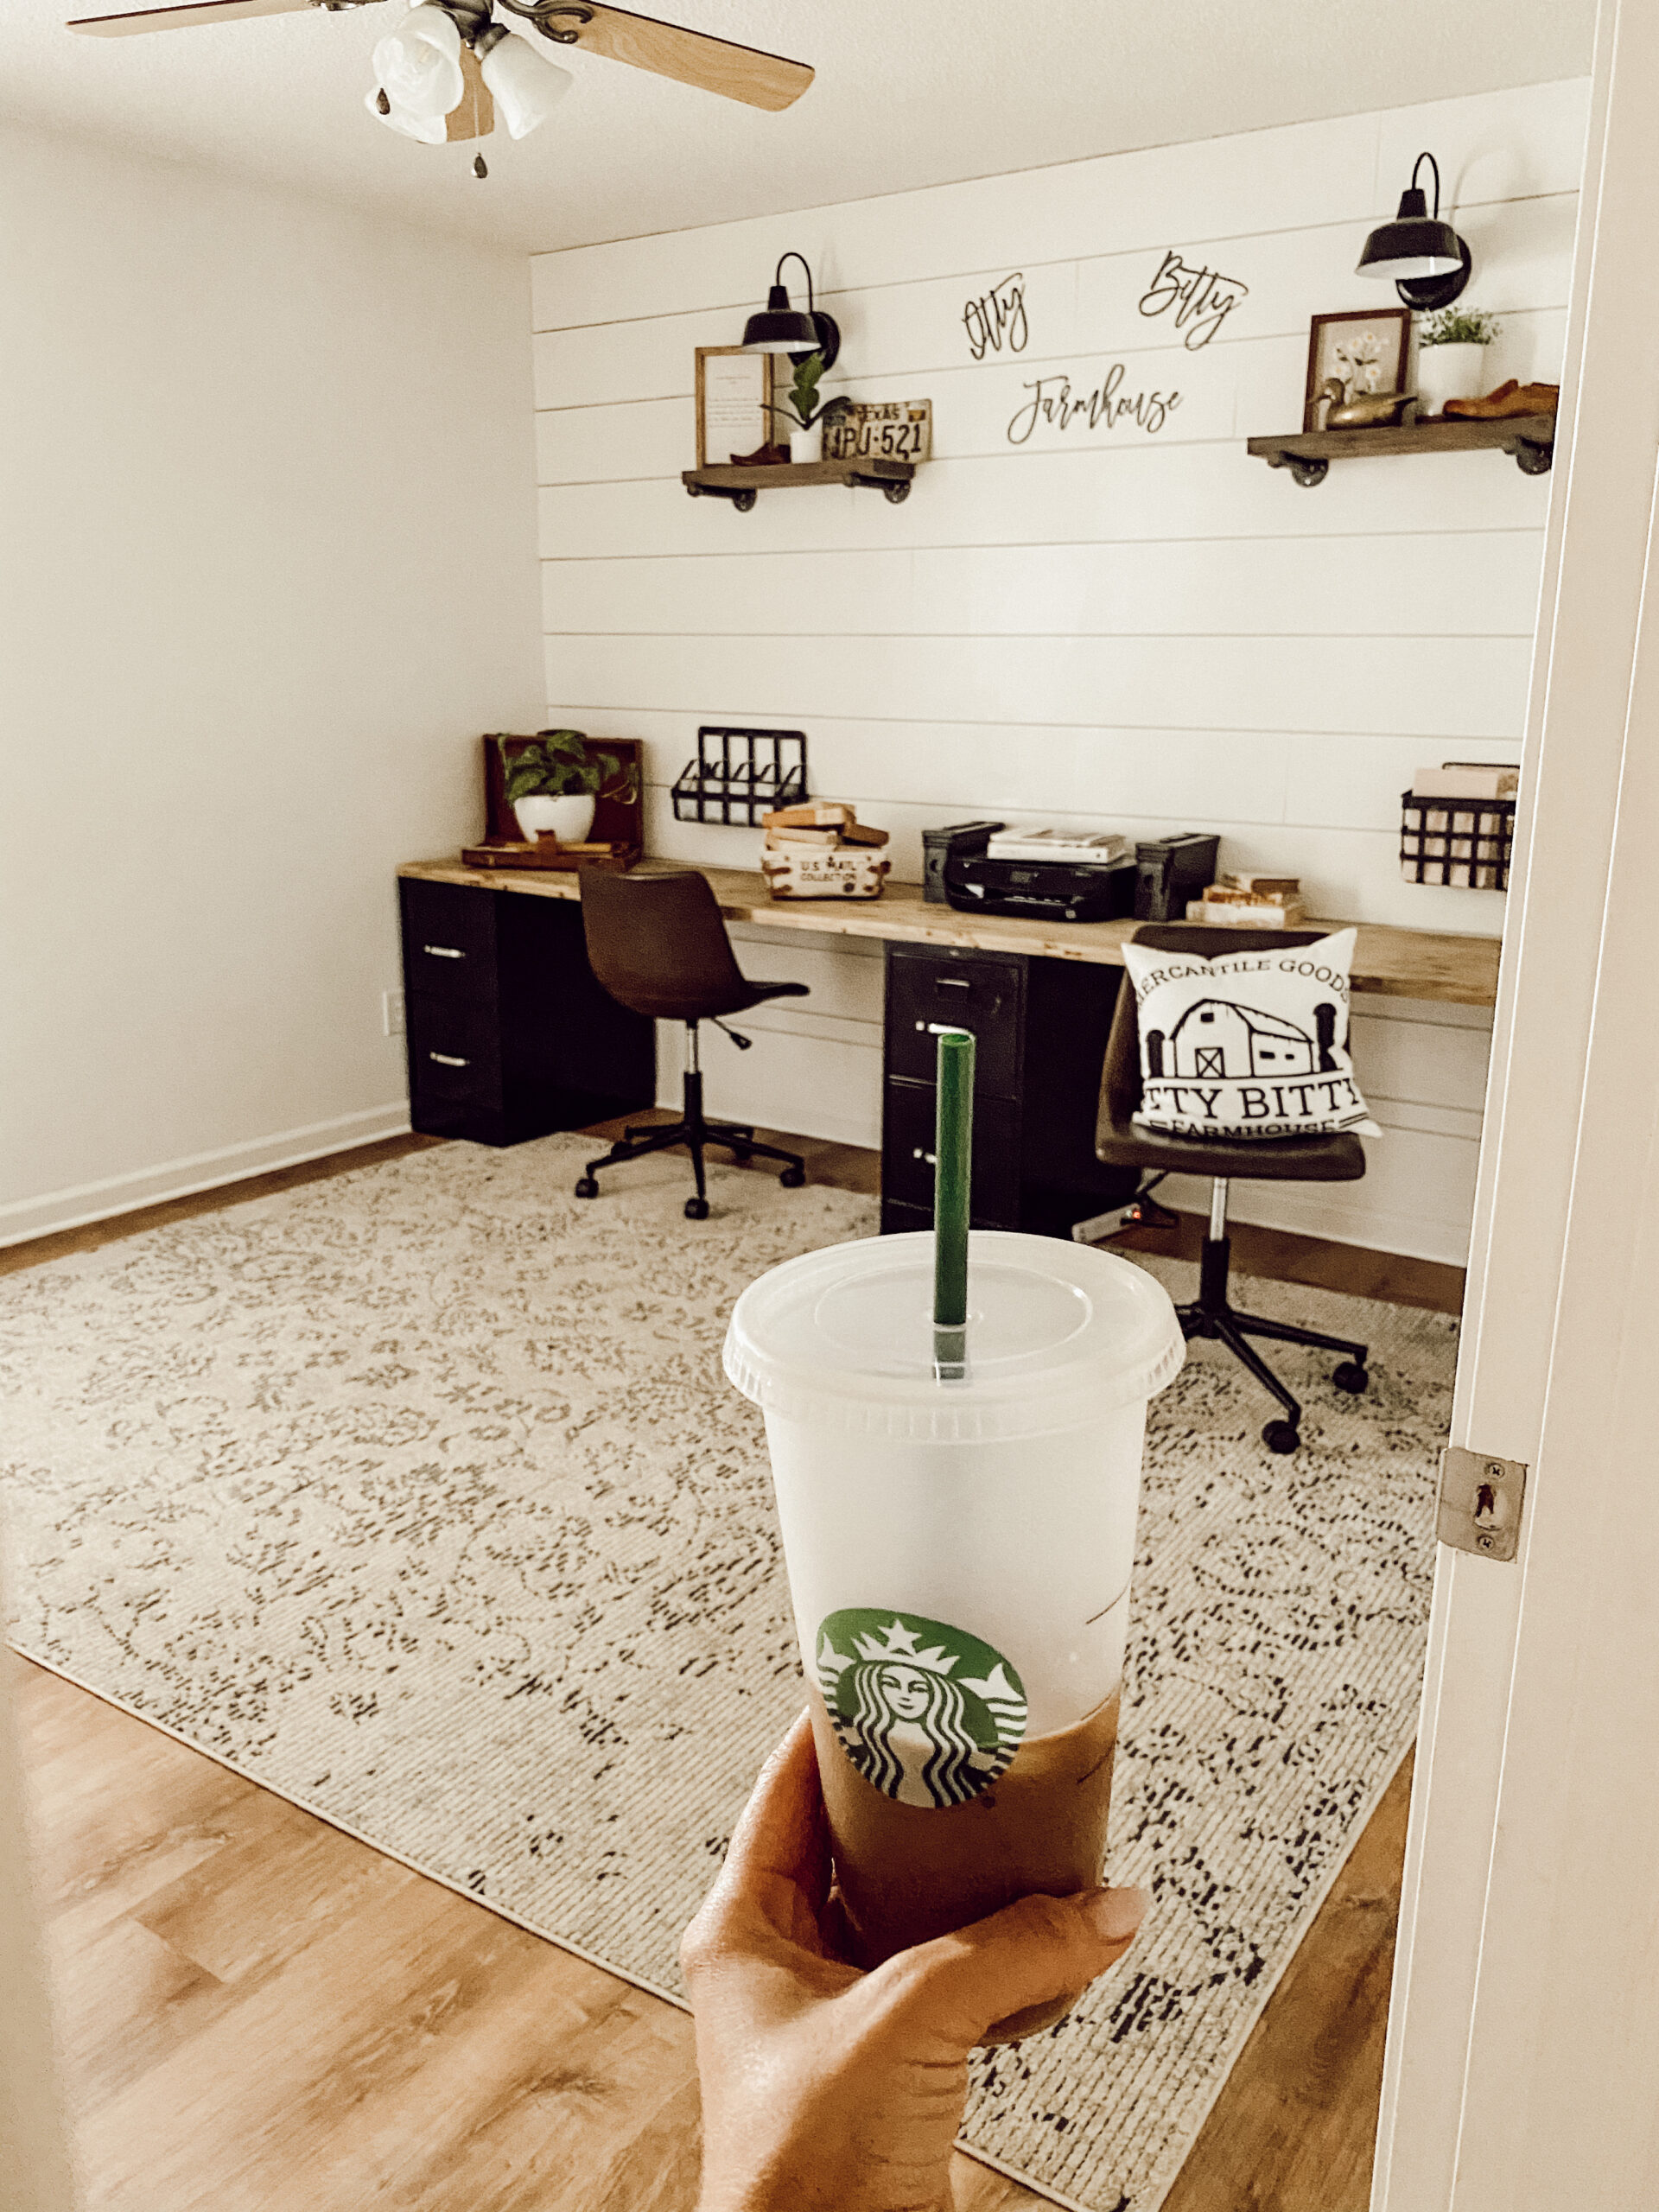
In the office room the carpet was super easy to remove. The one thing you have to make sure of when you are removing the carpet and putting down the vinyl flooring is to remove all of the staples and tacts that may be left behind when you rip the carpet out. Once that is down you do the space process as I did in the kitchen . Then of course finish it up with shoe molding to close any gaps you may have between the floor and the molding. I did also stagger the planks in here as well to create that dimension.
Overall the experience and process was much easier than I intended for it to be and for that I am so thankful for. I love this new flooring and the fact that it is scratch resistant and waterproof. I hope this can give you all some inspiration to tackle as project no matter what happen to make it become more doable lol. Thank you for stopping by the blog today and everyday, XOXO

 ‘
‘
Love the flooring. I just did the same thing in my kitchen and hall in the spring to cover my old tiles. Makes such a difference. Well done!