SHARE
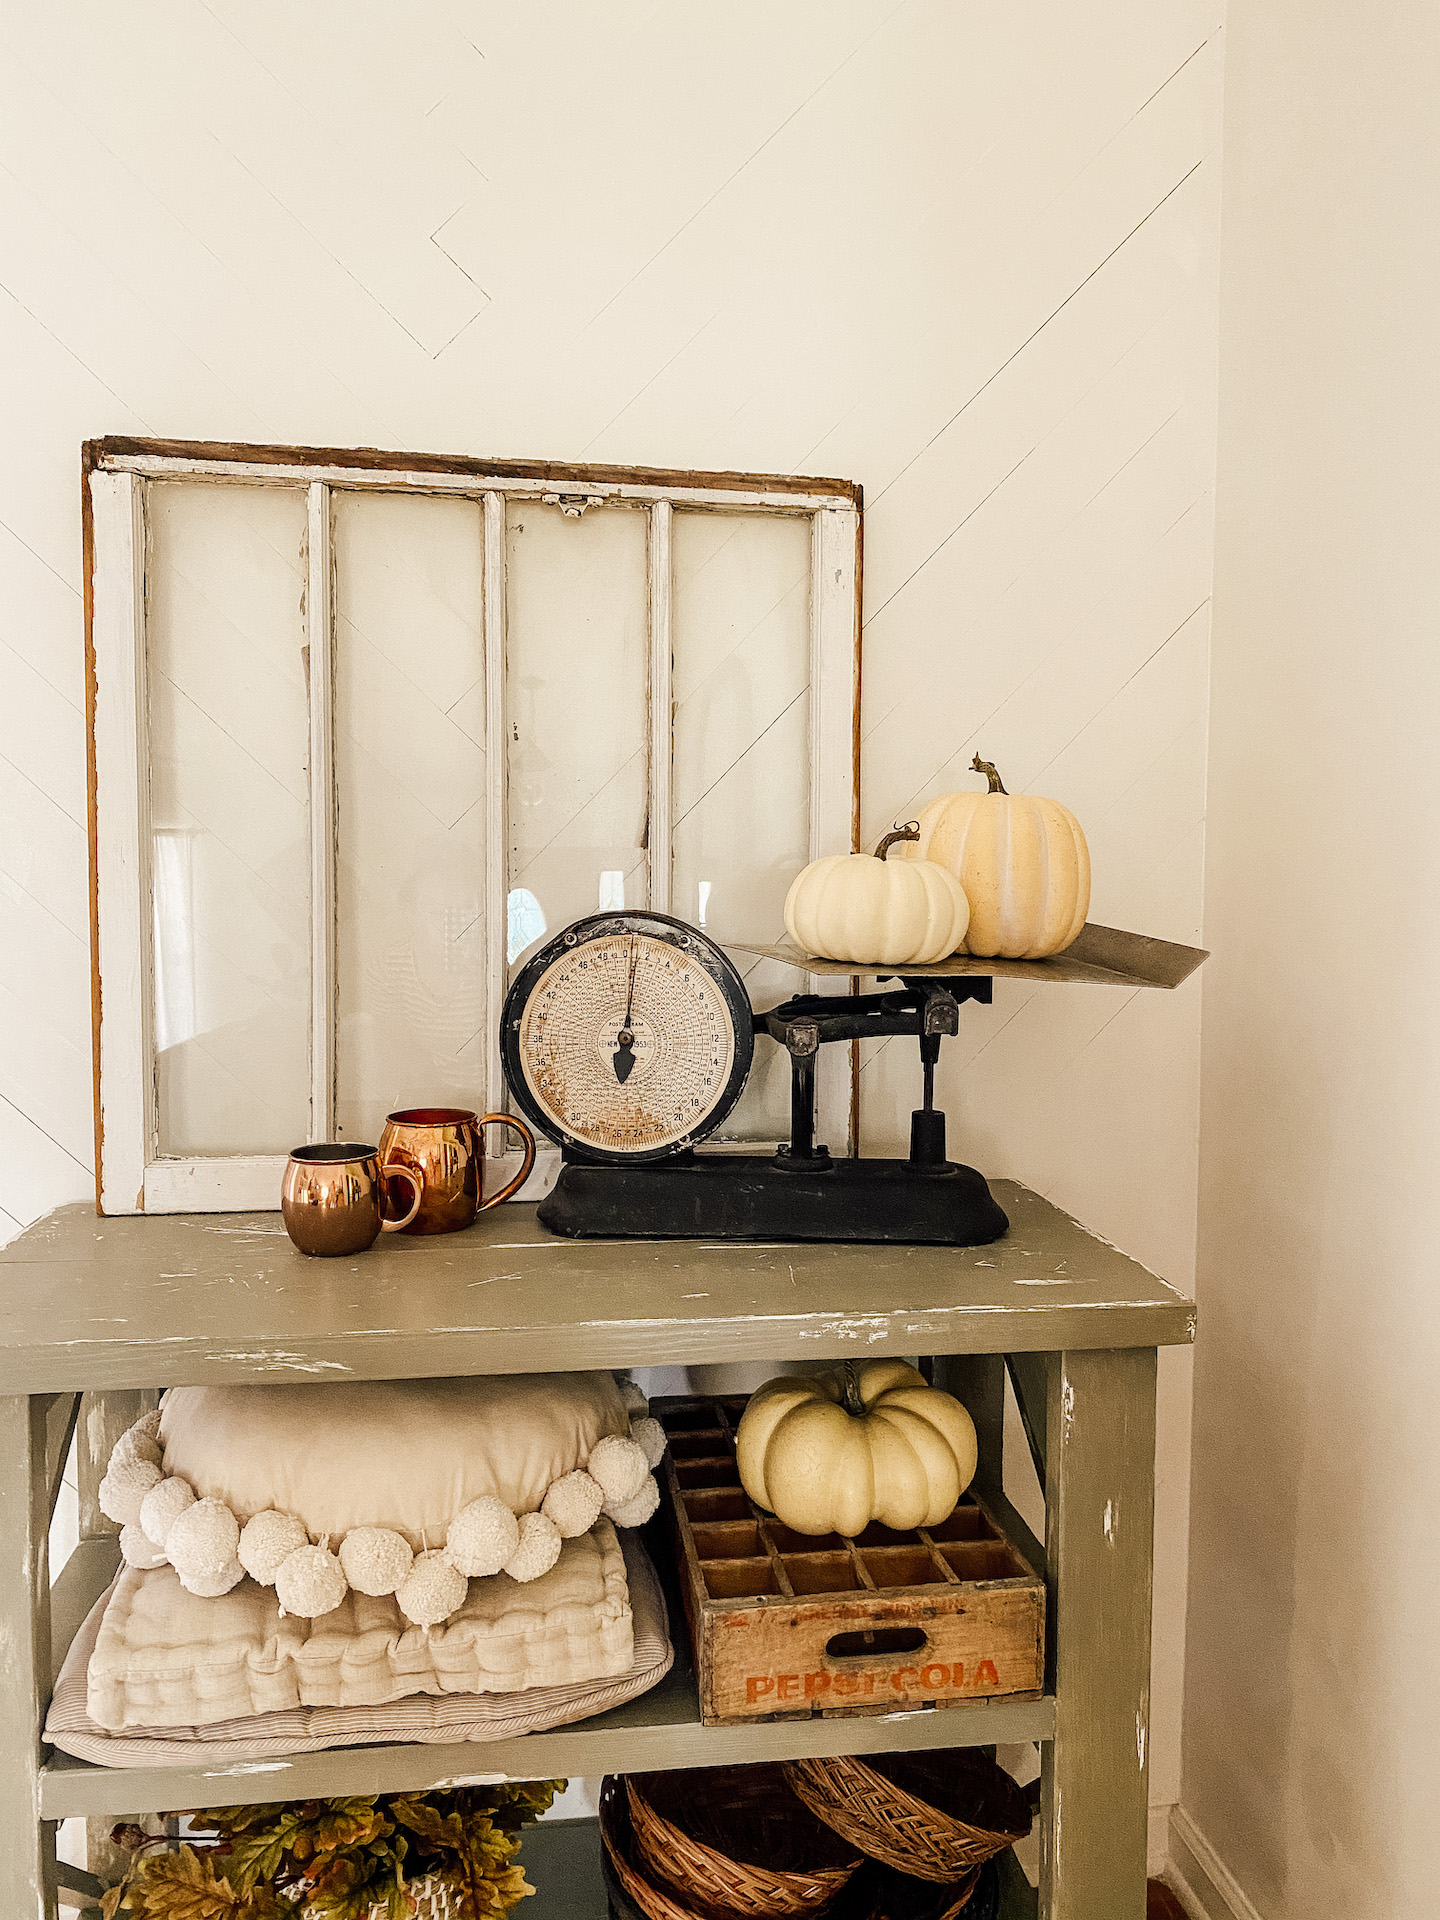
Another DIY never hurt anyone right? What did I get myself into this time. Well friends, I decided that my dining room needed a little bit of texture. What better way to add some fun texture is to add it to a wall. I have done shiplap and bead-board but, this time I wanted to do something different. My friends over at WoodGrain has the prettiest molding to create walls with and I knew they were the perfect fit to create this wall. I scrolled for hours on Pinterest to figure out what time of textured wall I wanted to create. After searching I decided on doing a herringbone wall that way it was a new type of wall in my home.
Even though this wall is not a dramatic change it is just the perfect amount. This wall reminds of my great grandmothers house as I was growing up with all of her textured walls. That being said I wanted to bring that down home feel to my home with the help of WoodGrain. WoodGrain’s products can be purchased at HomeDepot or you can use this locator to find a dealer near you that sells their products.
Materials:
- WoodGrain 4 in wide Molding
- WoodGrain Strip Molding
- Brad Nails
- Caulking (clear or white in all purpose)
- Paint ( color of your choice)
- 180 grit sand paper
Tools:
- Miter Saw
- Nail Gun
- Tape Measure
- Pencil
- Hammer
- Square
- Electric or Hand Sander
I started this project with the thought in mind the wall needs something. I started on the right side of the French doors and started in the middle of the wall at the bottom.
Step 1: Find the Middle
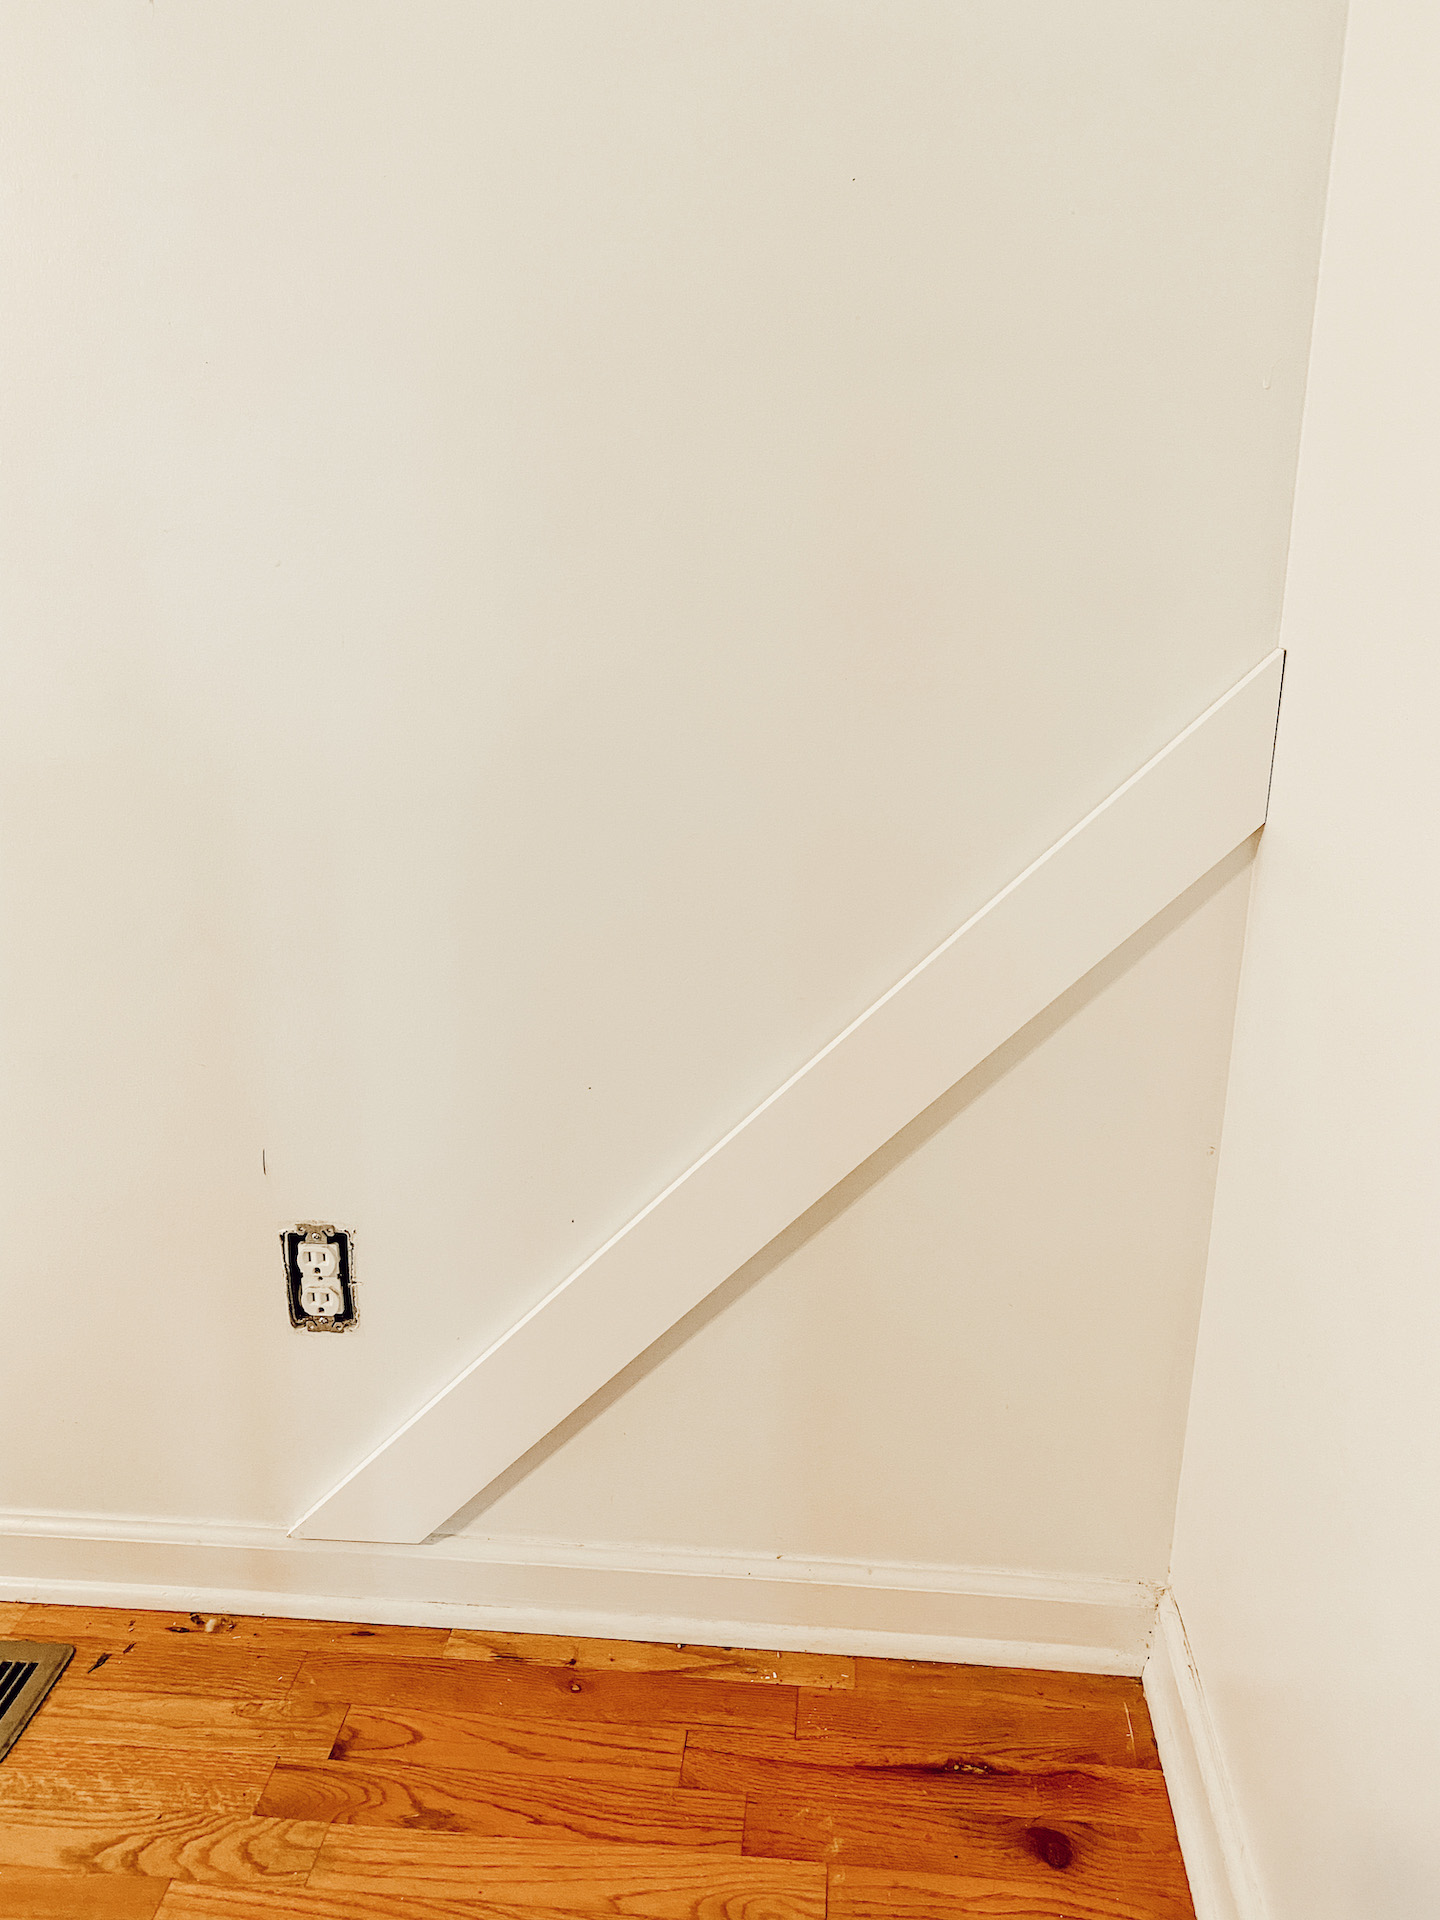
Measure you wall to find the center of the wall and mark it all the wall to the ceiling. Once you find the center you want to take one piece of molding and cut the end to a 45 degree Angle. You will then put this piece to the floor or the molding to be able to see the length that is needed for this piece to start you wall. Once you have the length, you will then cut the other end to a 45 degree angle.
Step 2: Start your V
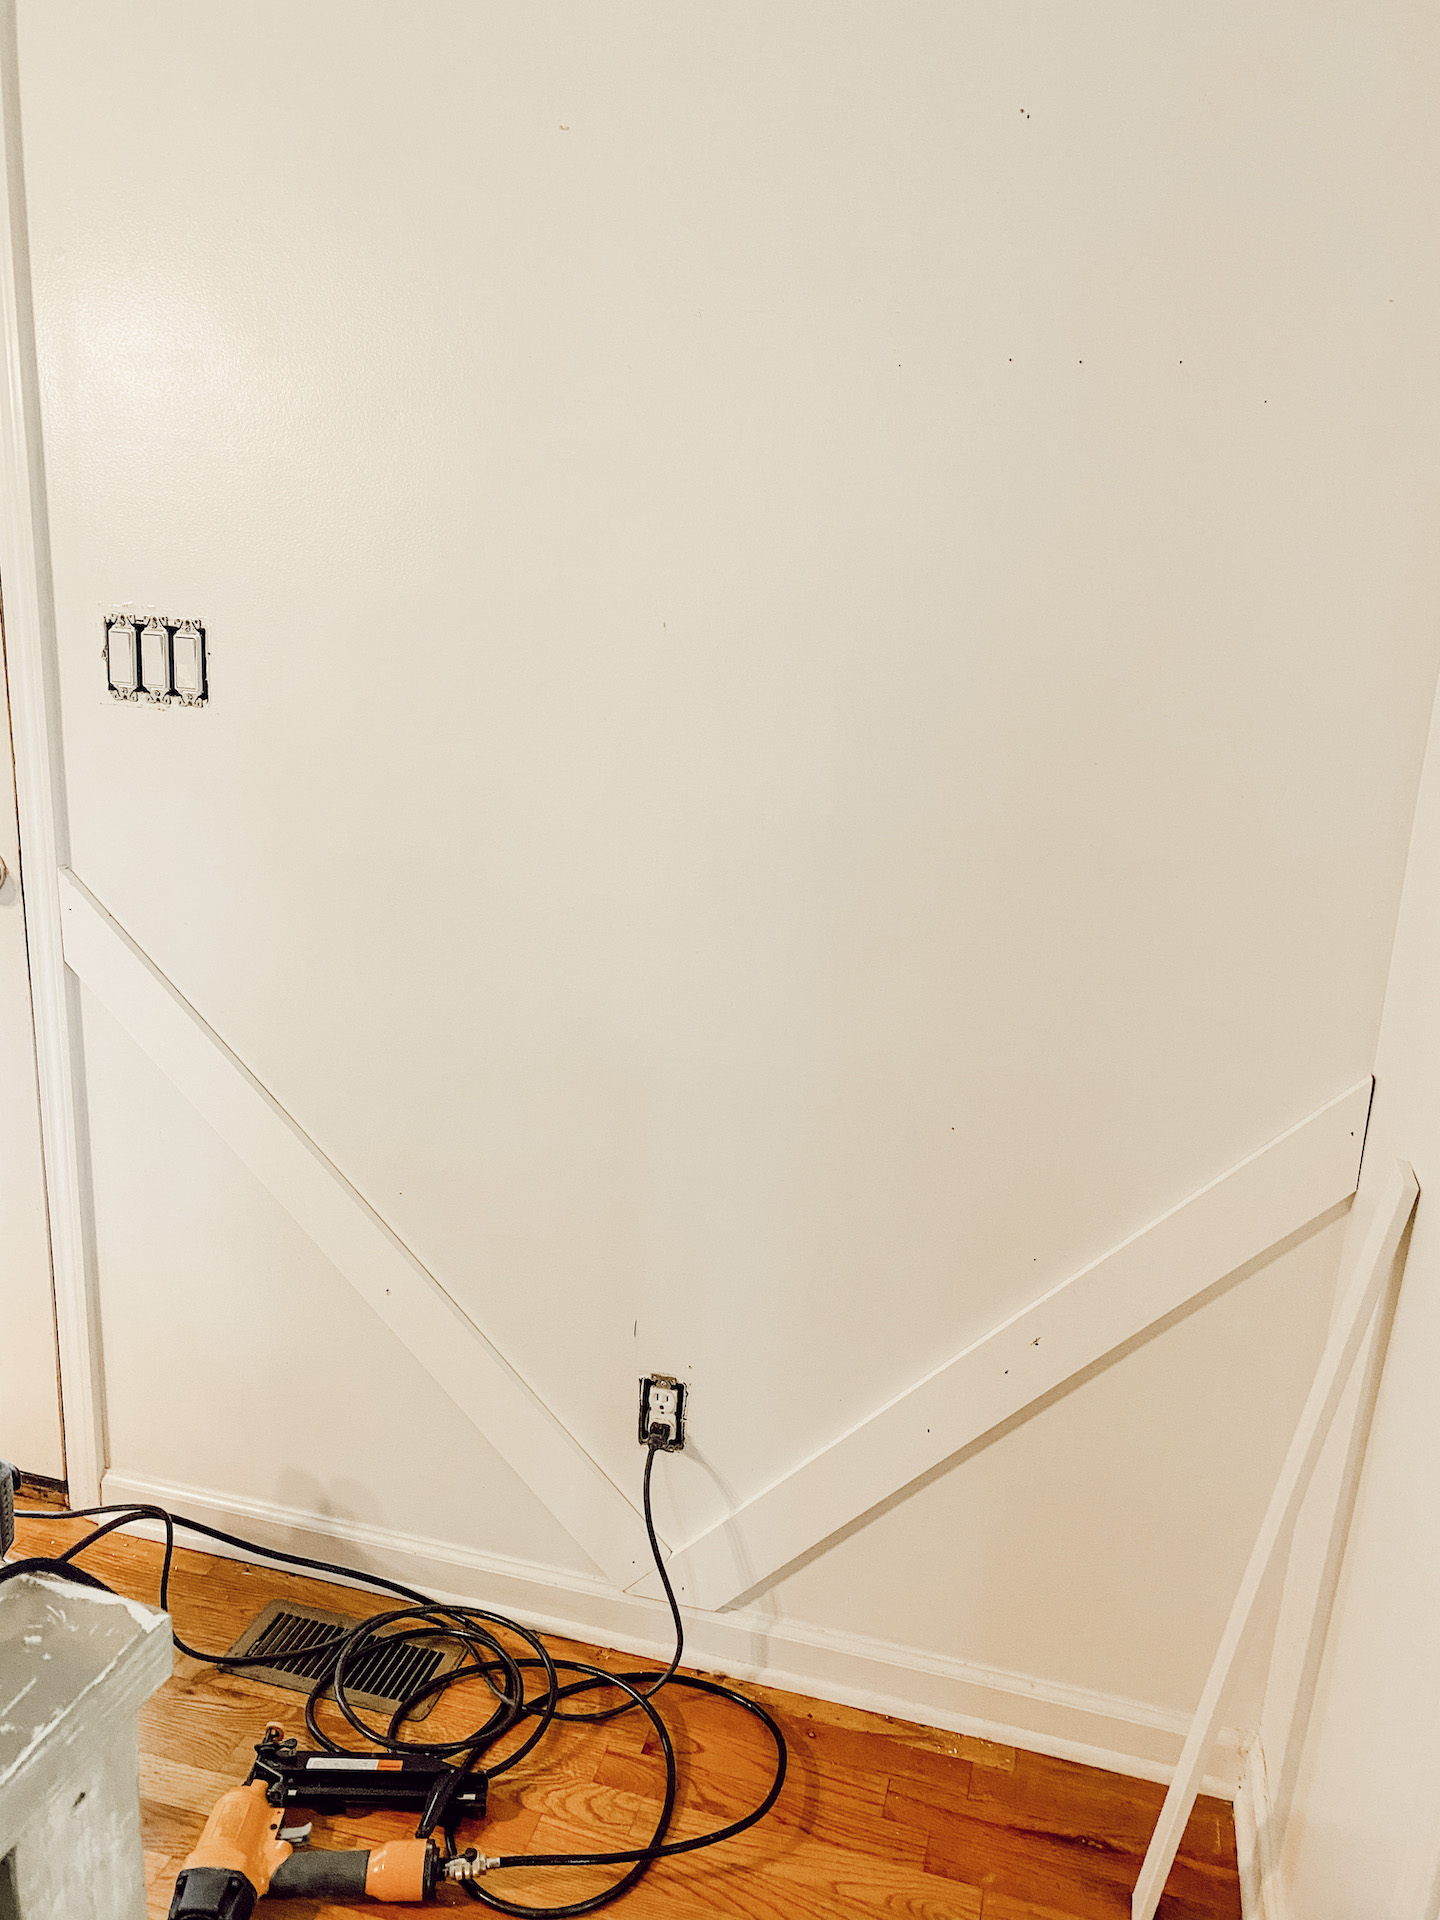
For your second board you will do a little different to create the start to your herringbone wall. You will leave the edge square and put it directly against the first board at the bottom of the wall. Then you will measure the board against the other side of the wall. Once you have the length you will then take this end of the board and cut it to a 45 degree angle. Bring it back to the wall and nail it up.
Step 3: Continue up the wall
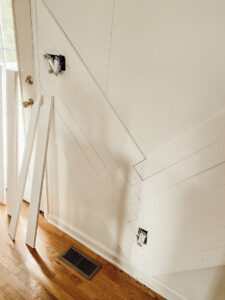
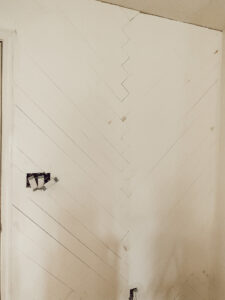
You will repeat this alternating pattern until you get to the top of the wall.
Step 4: Fill in your corners
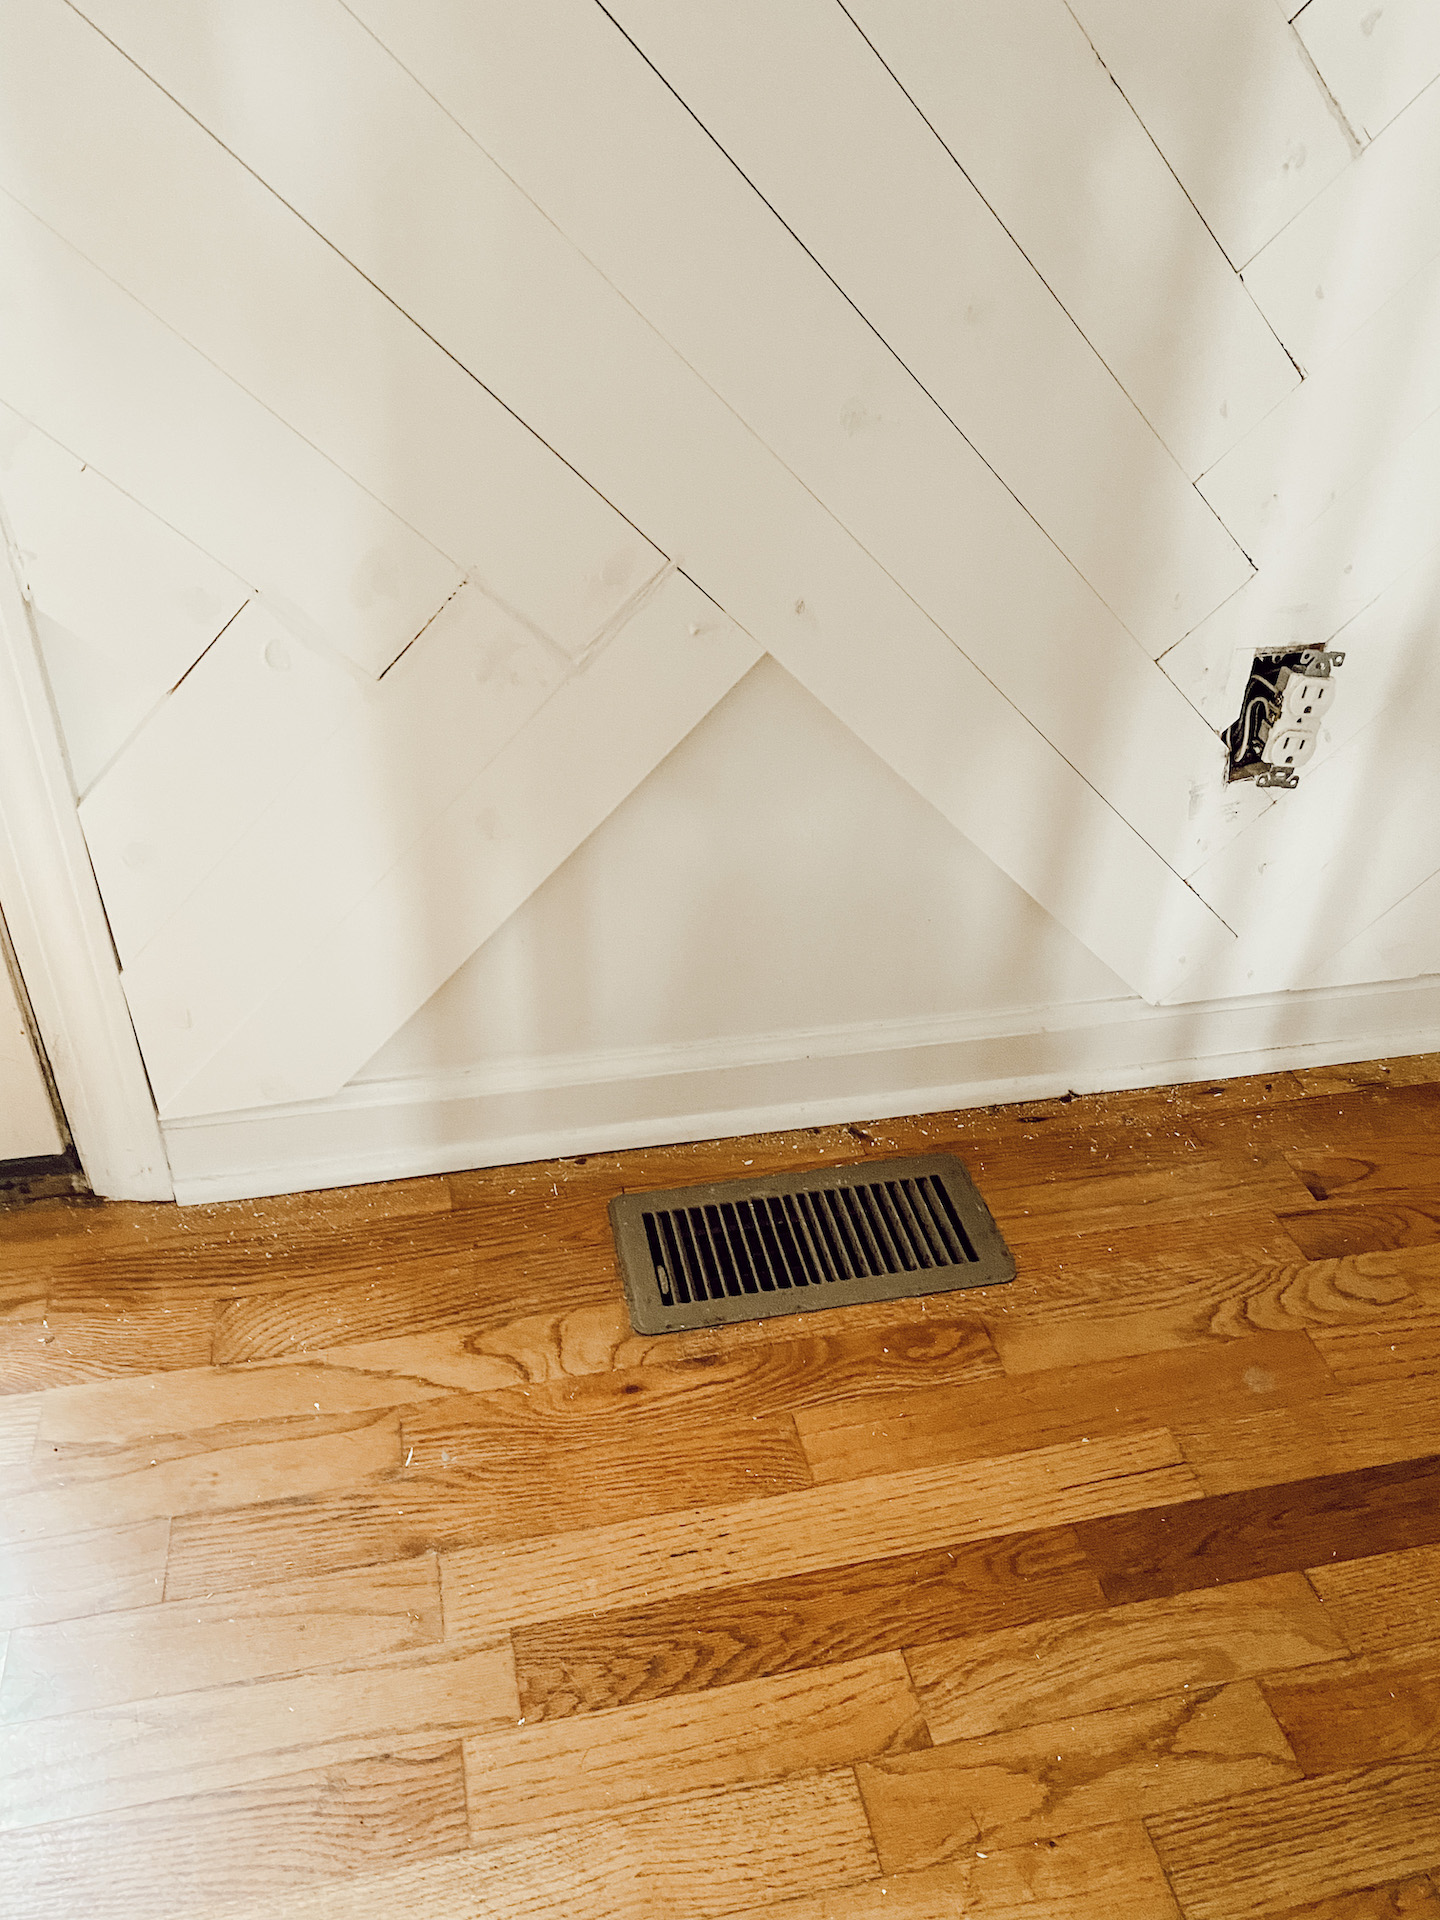
Once you have the middle of the wall done this is when you will go back to your corners to fill them in. You will continue the alternating pattern here but in a downward direction instead of upward like the middle. You will fill in the space until you get to a small triangle you can not put a piece of molding in.
Step 5: Cut a square
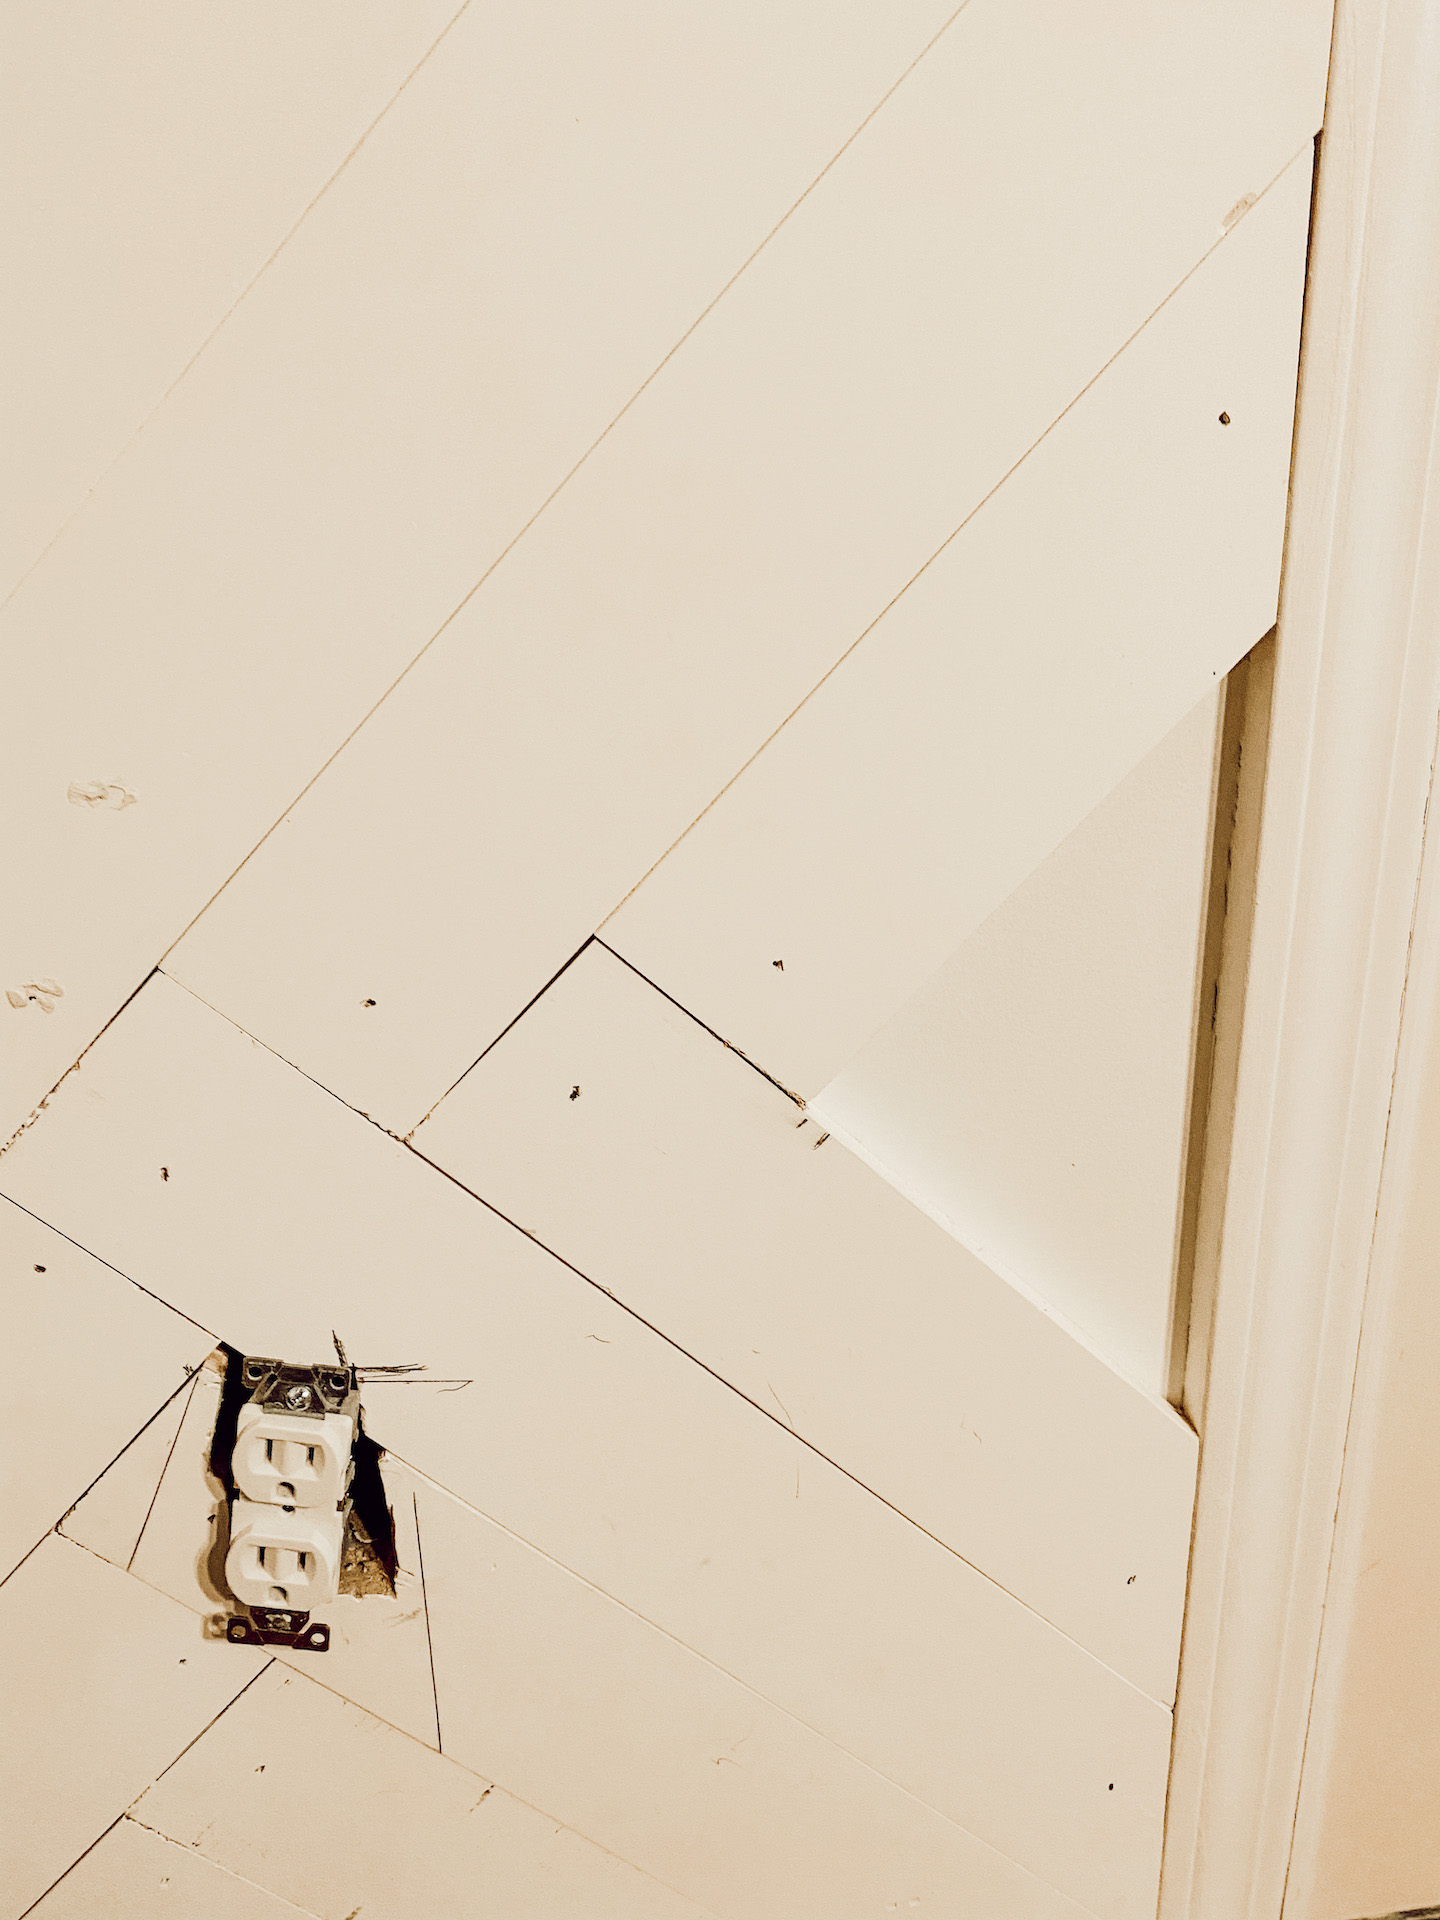
You will measure all the sides of the triangle space that is not filled in and cut a custom piece with your miter saw to fill this space in.
Step 6: Repeat
Repeats steps 4 and 5 to fill in all the other corners.
Step 7: Connect the walls
Since I did a wall that had doors in the middle. I had to connect the walls together by continuing the pattern across the top of the door frame. I did smaller lengths in this stage of the project to connect the two walls.
Step 8: Start final side
In order to start the final side, I found the middle of the wall again and marked it all the wall down the wall to the bottom molding. I started from the corner of the transition wall across the top of the doors and worked my way down to the bottom just like in Steps 1 and 2.
Step 9: Fill in the Corners
Repeat Steps 4 and 5.
Step 10: Fill the gaps
Now if you home is like mine and has old walls. Those edges are not always going to be straight and this is where your caulking will come into play. You will go right down the seams of the wall and put a then layer of caulking to fill the gaps.
Step 11: Fill the holes and sand
I used the same white caulking since I would be painting the wall white and filled all the nail holes to hide them. After 3 hours I used a 180 grit sand paper and an electric sander to make all the filled in holes smooth.
Step 12: Wipe down and paint
You will finally wipe down the wall of any dust or dirt and paint the wall to the cover of your choice. Once it is dry, you all all finished!
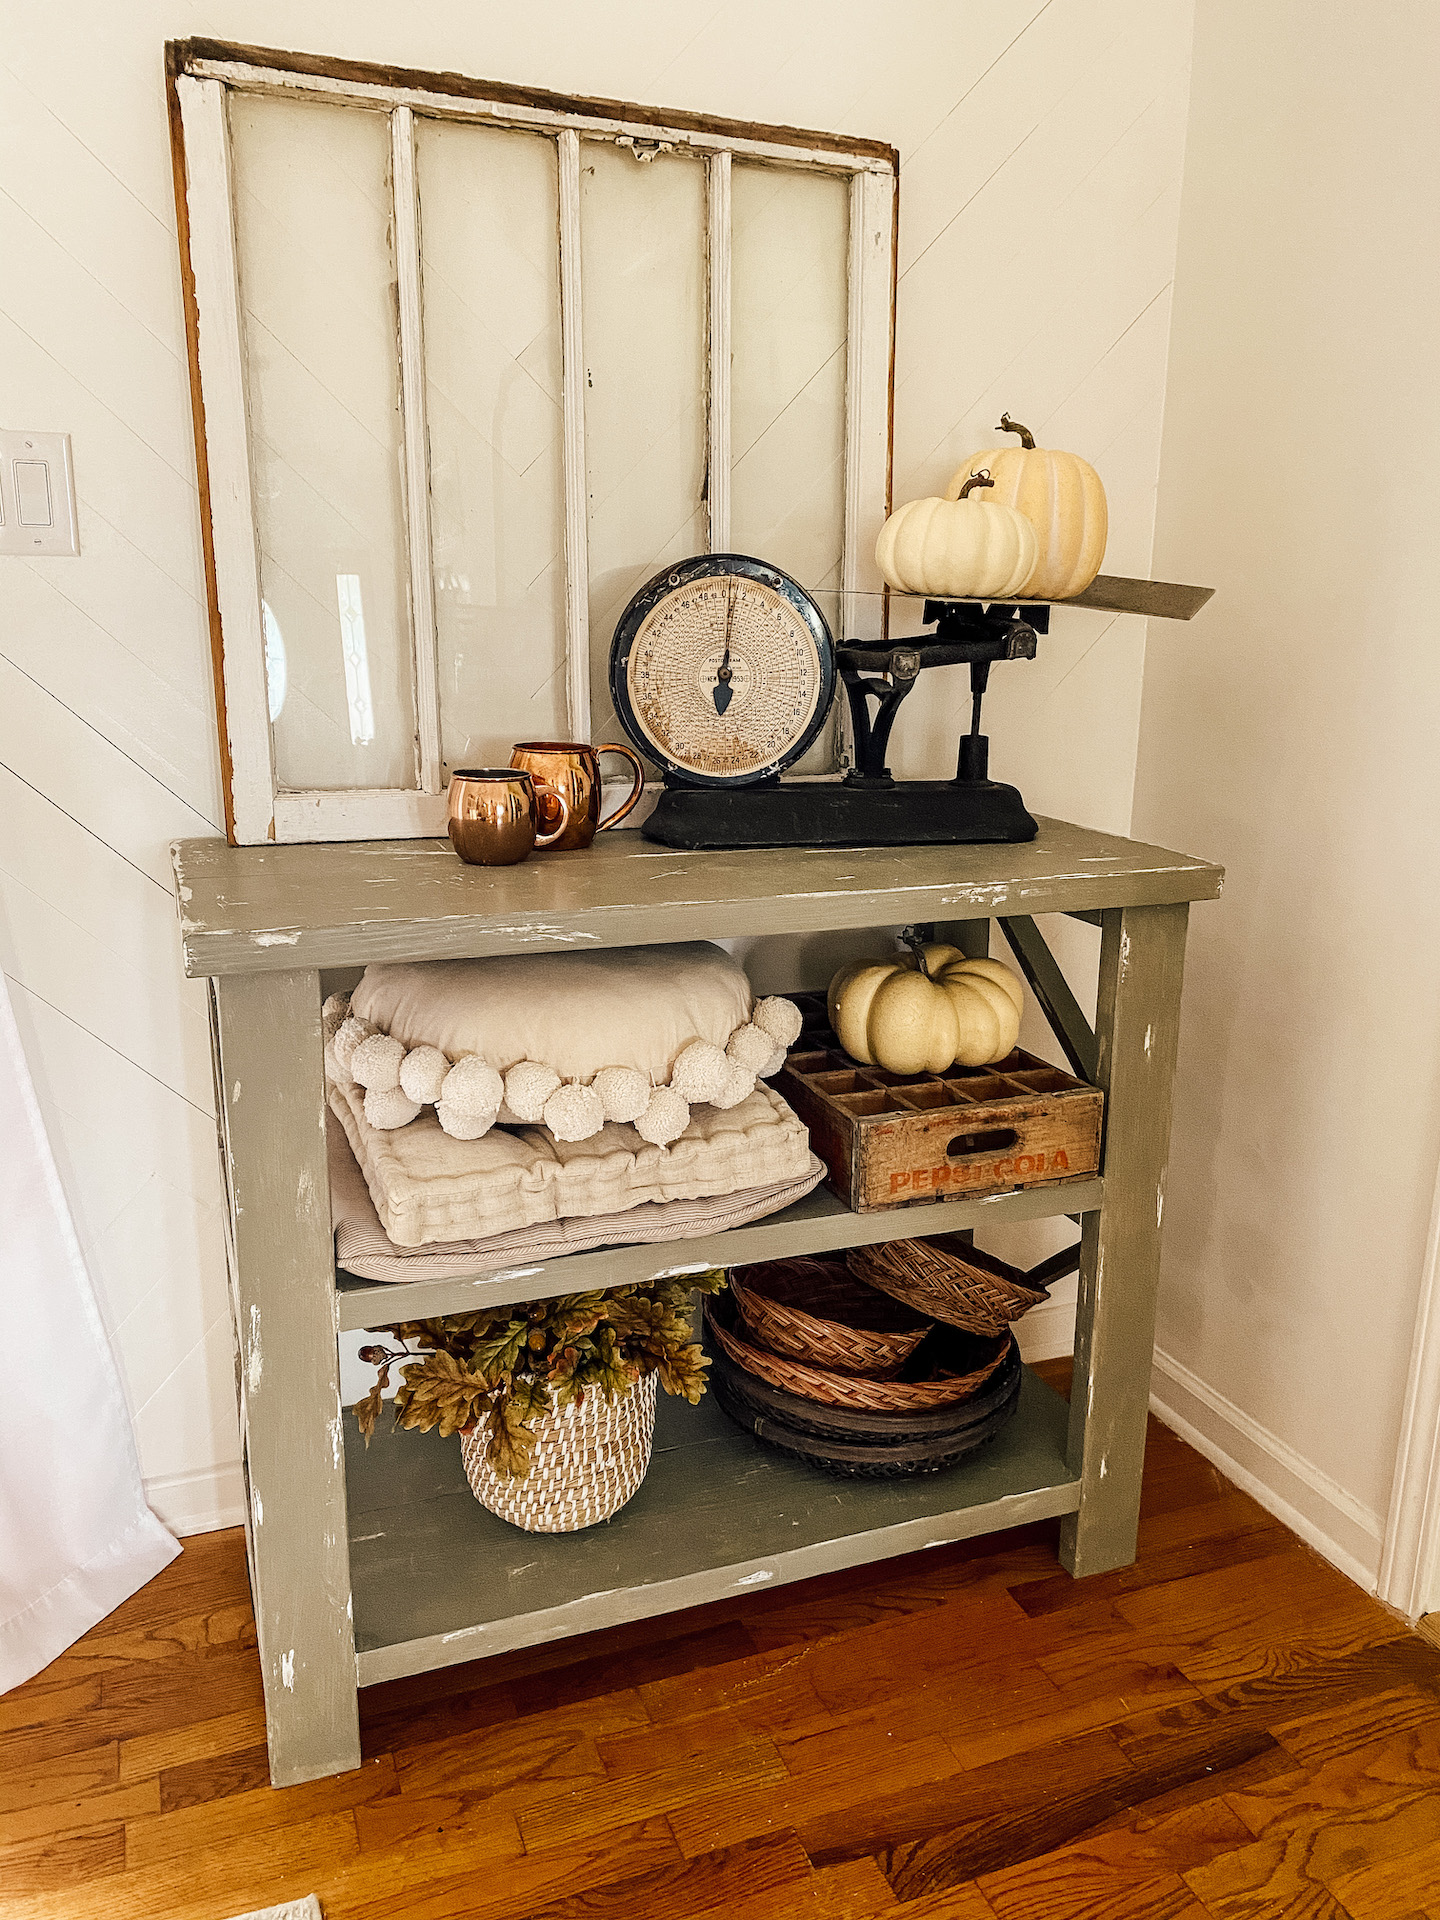
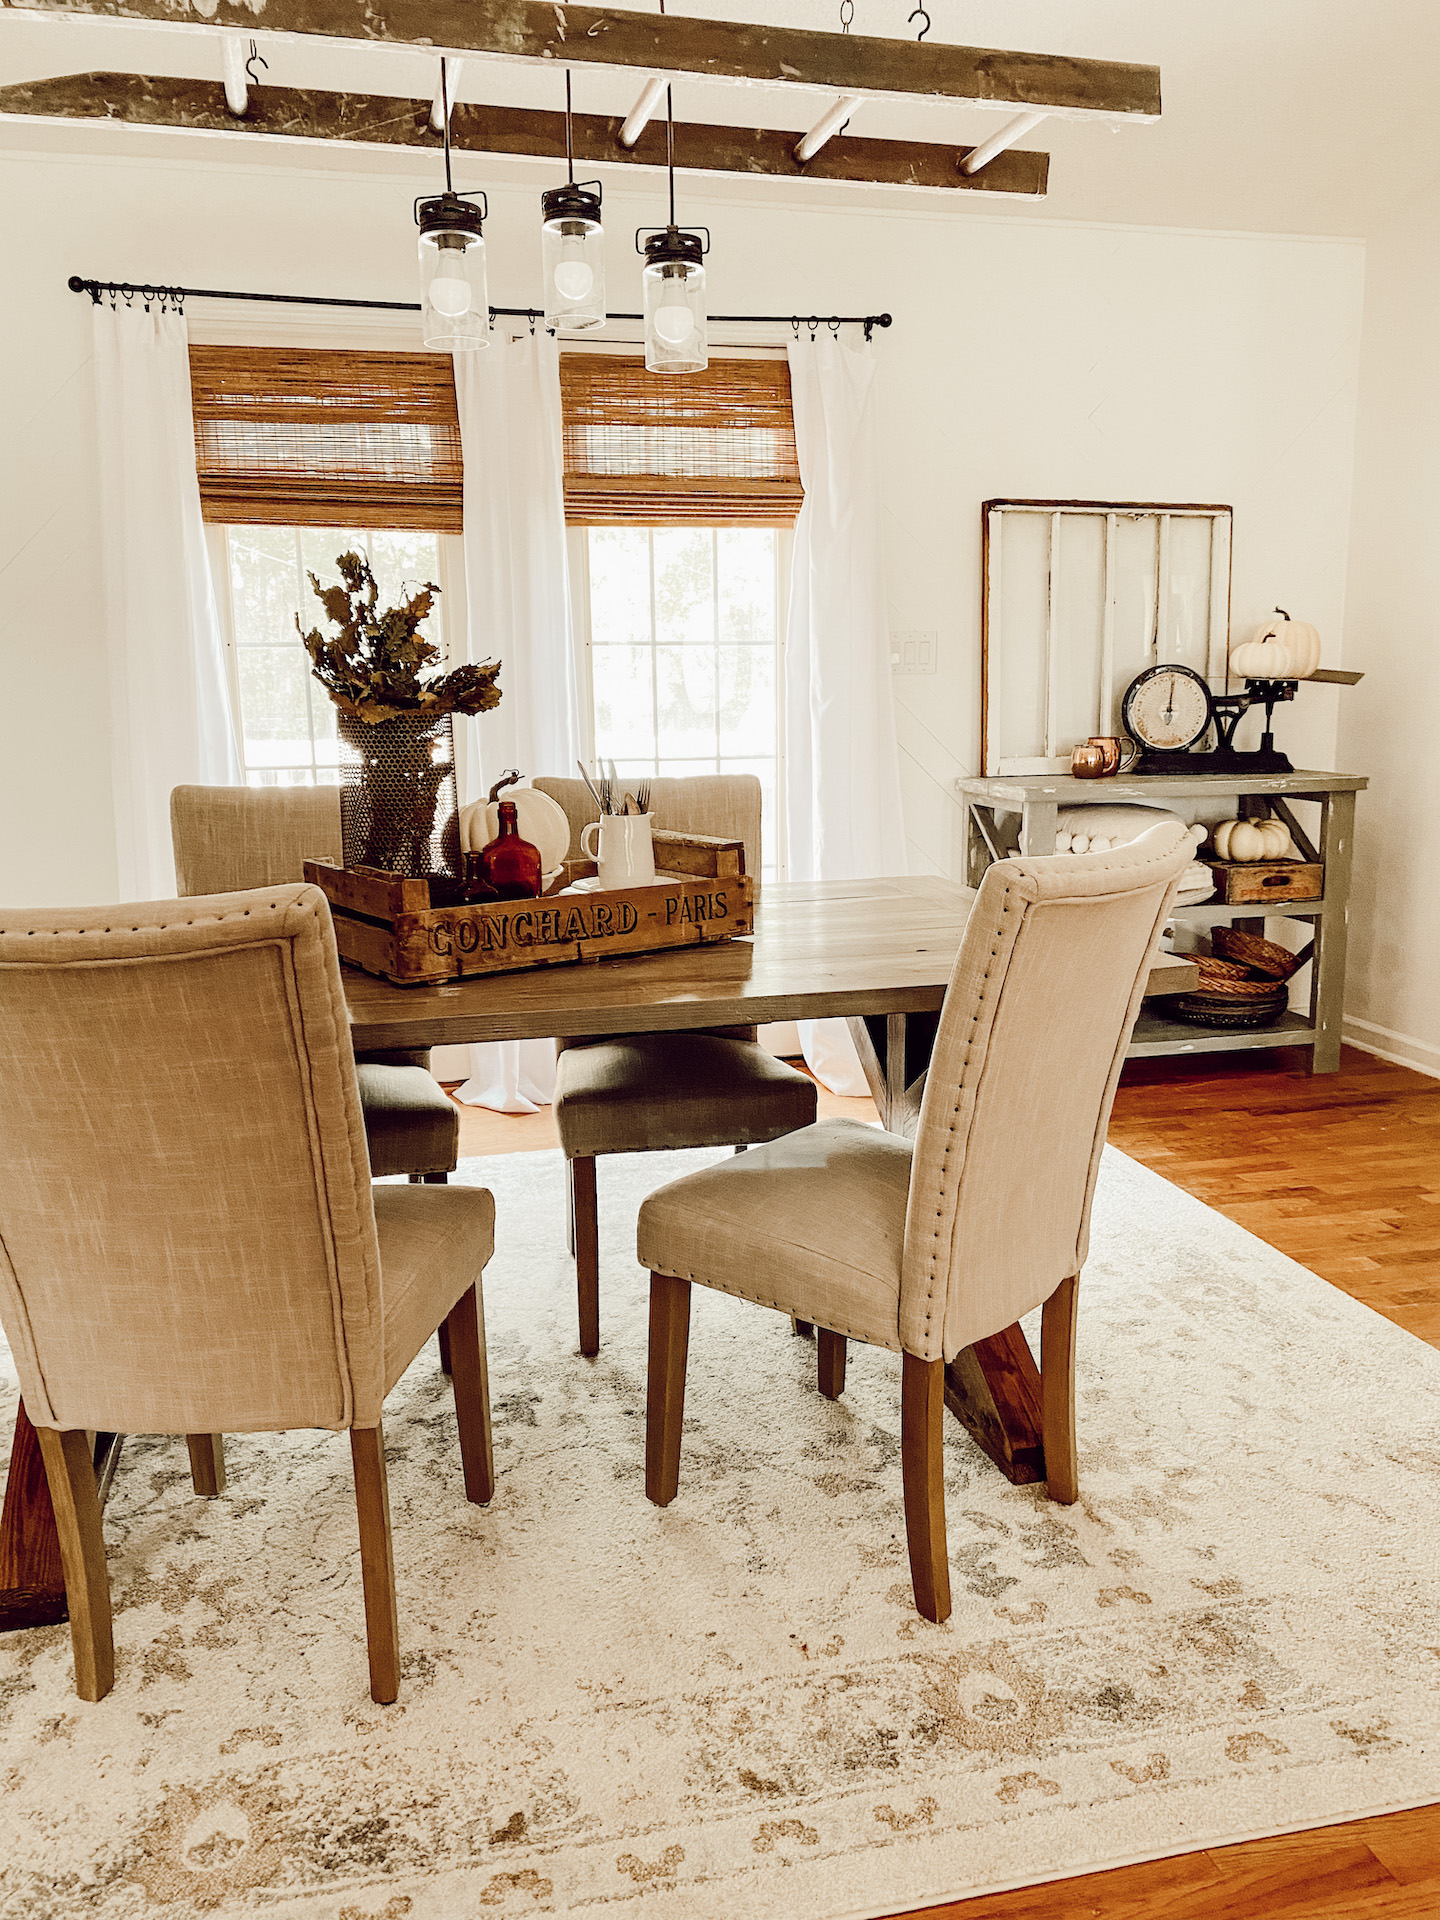
This wall was so much fun to create and I can not believe how it turned out. It is the perfect amount of texture and just what the dining room needed. Pictures really do not do this wall justice. I will be showing more of this space on my Instagram and Pinterest for a closer look! Thank you for coming along for this DIY and for stopping by everyday, XOXO
Your home is absolutely lovely.
Thank you for sharing.