SHARE
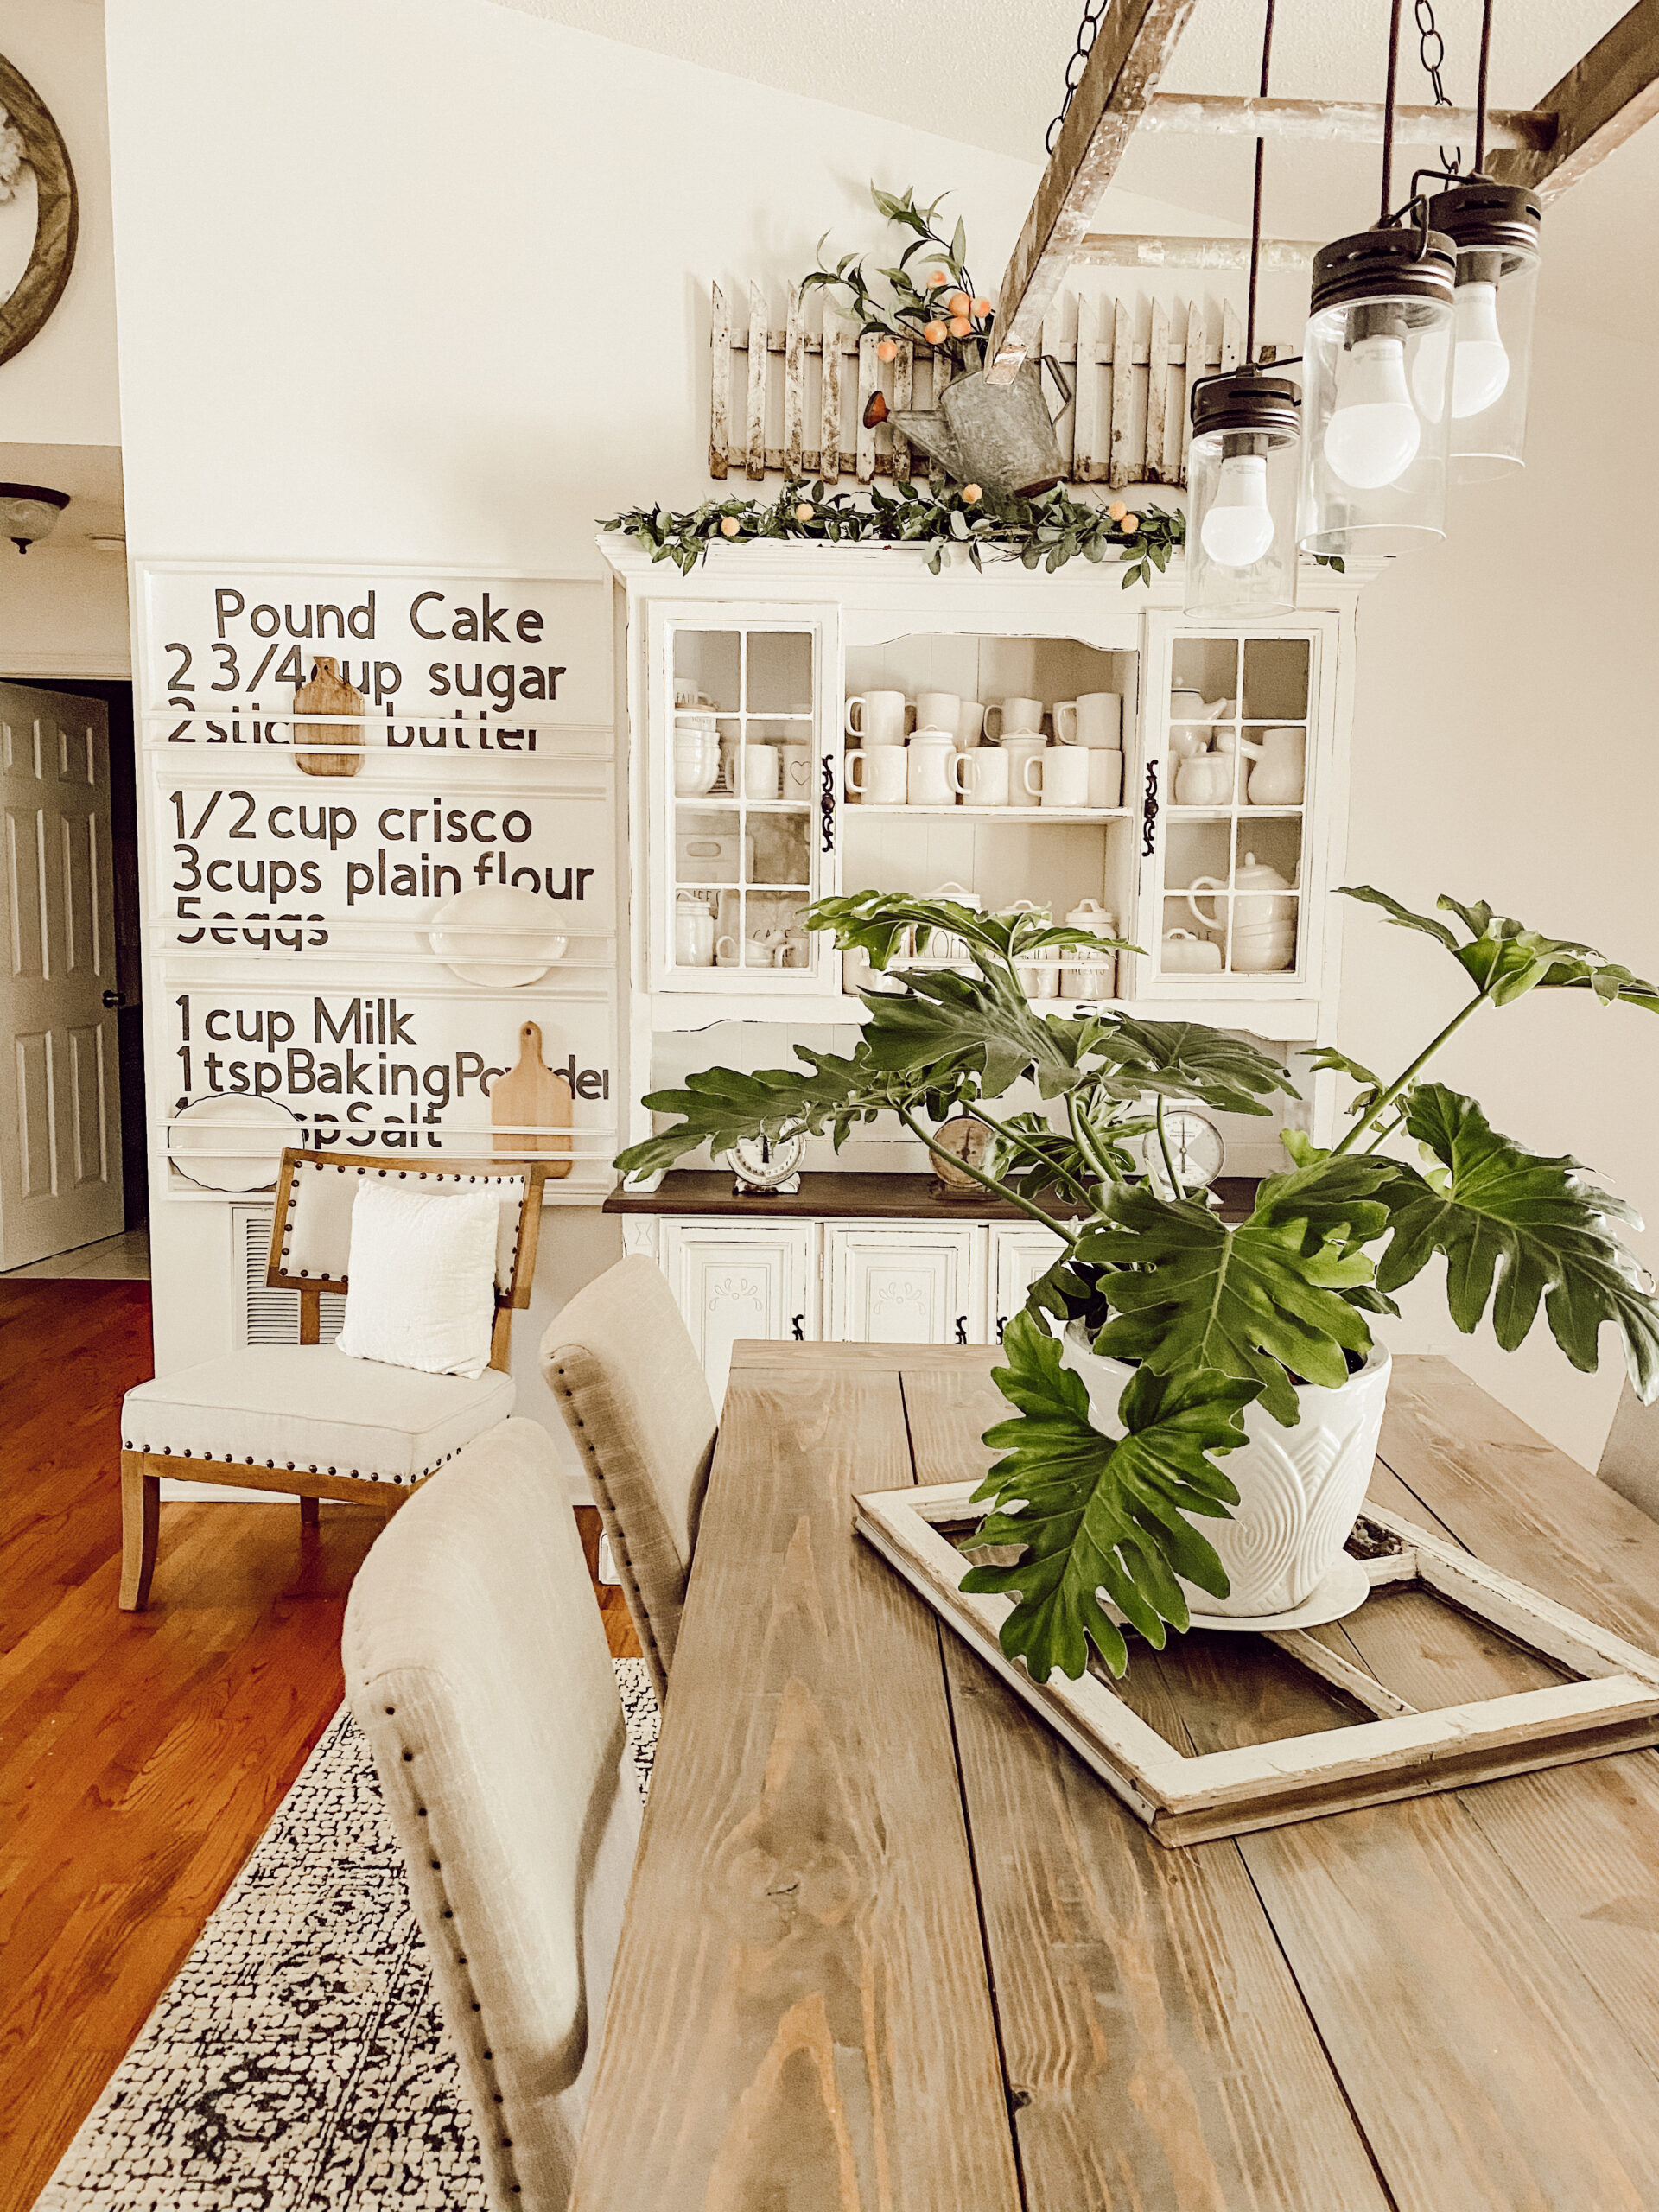
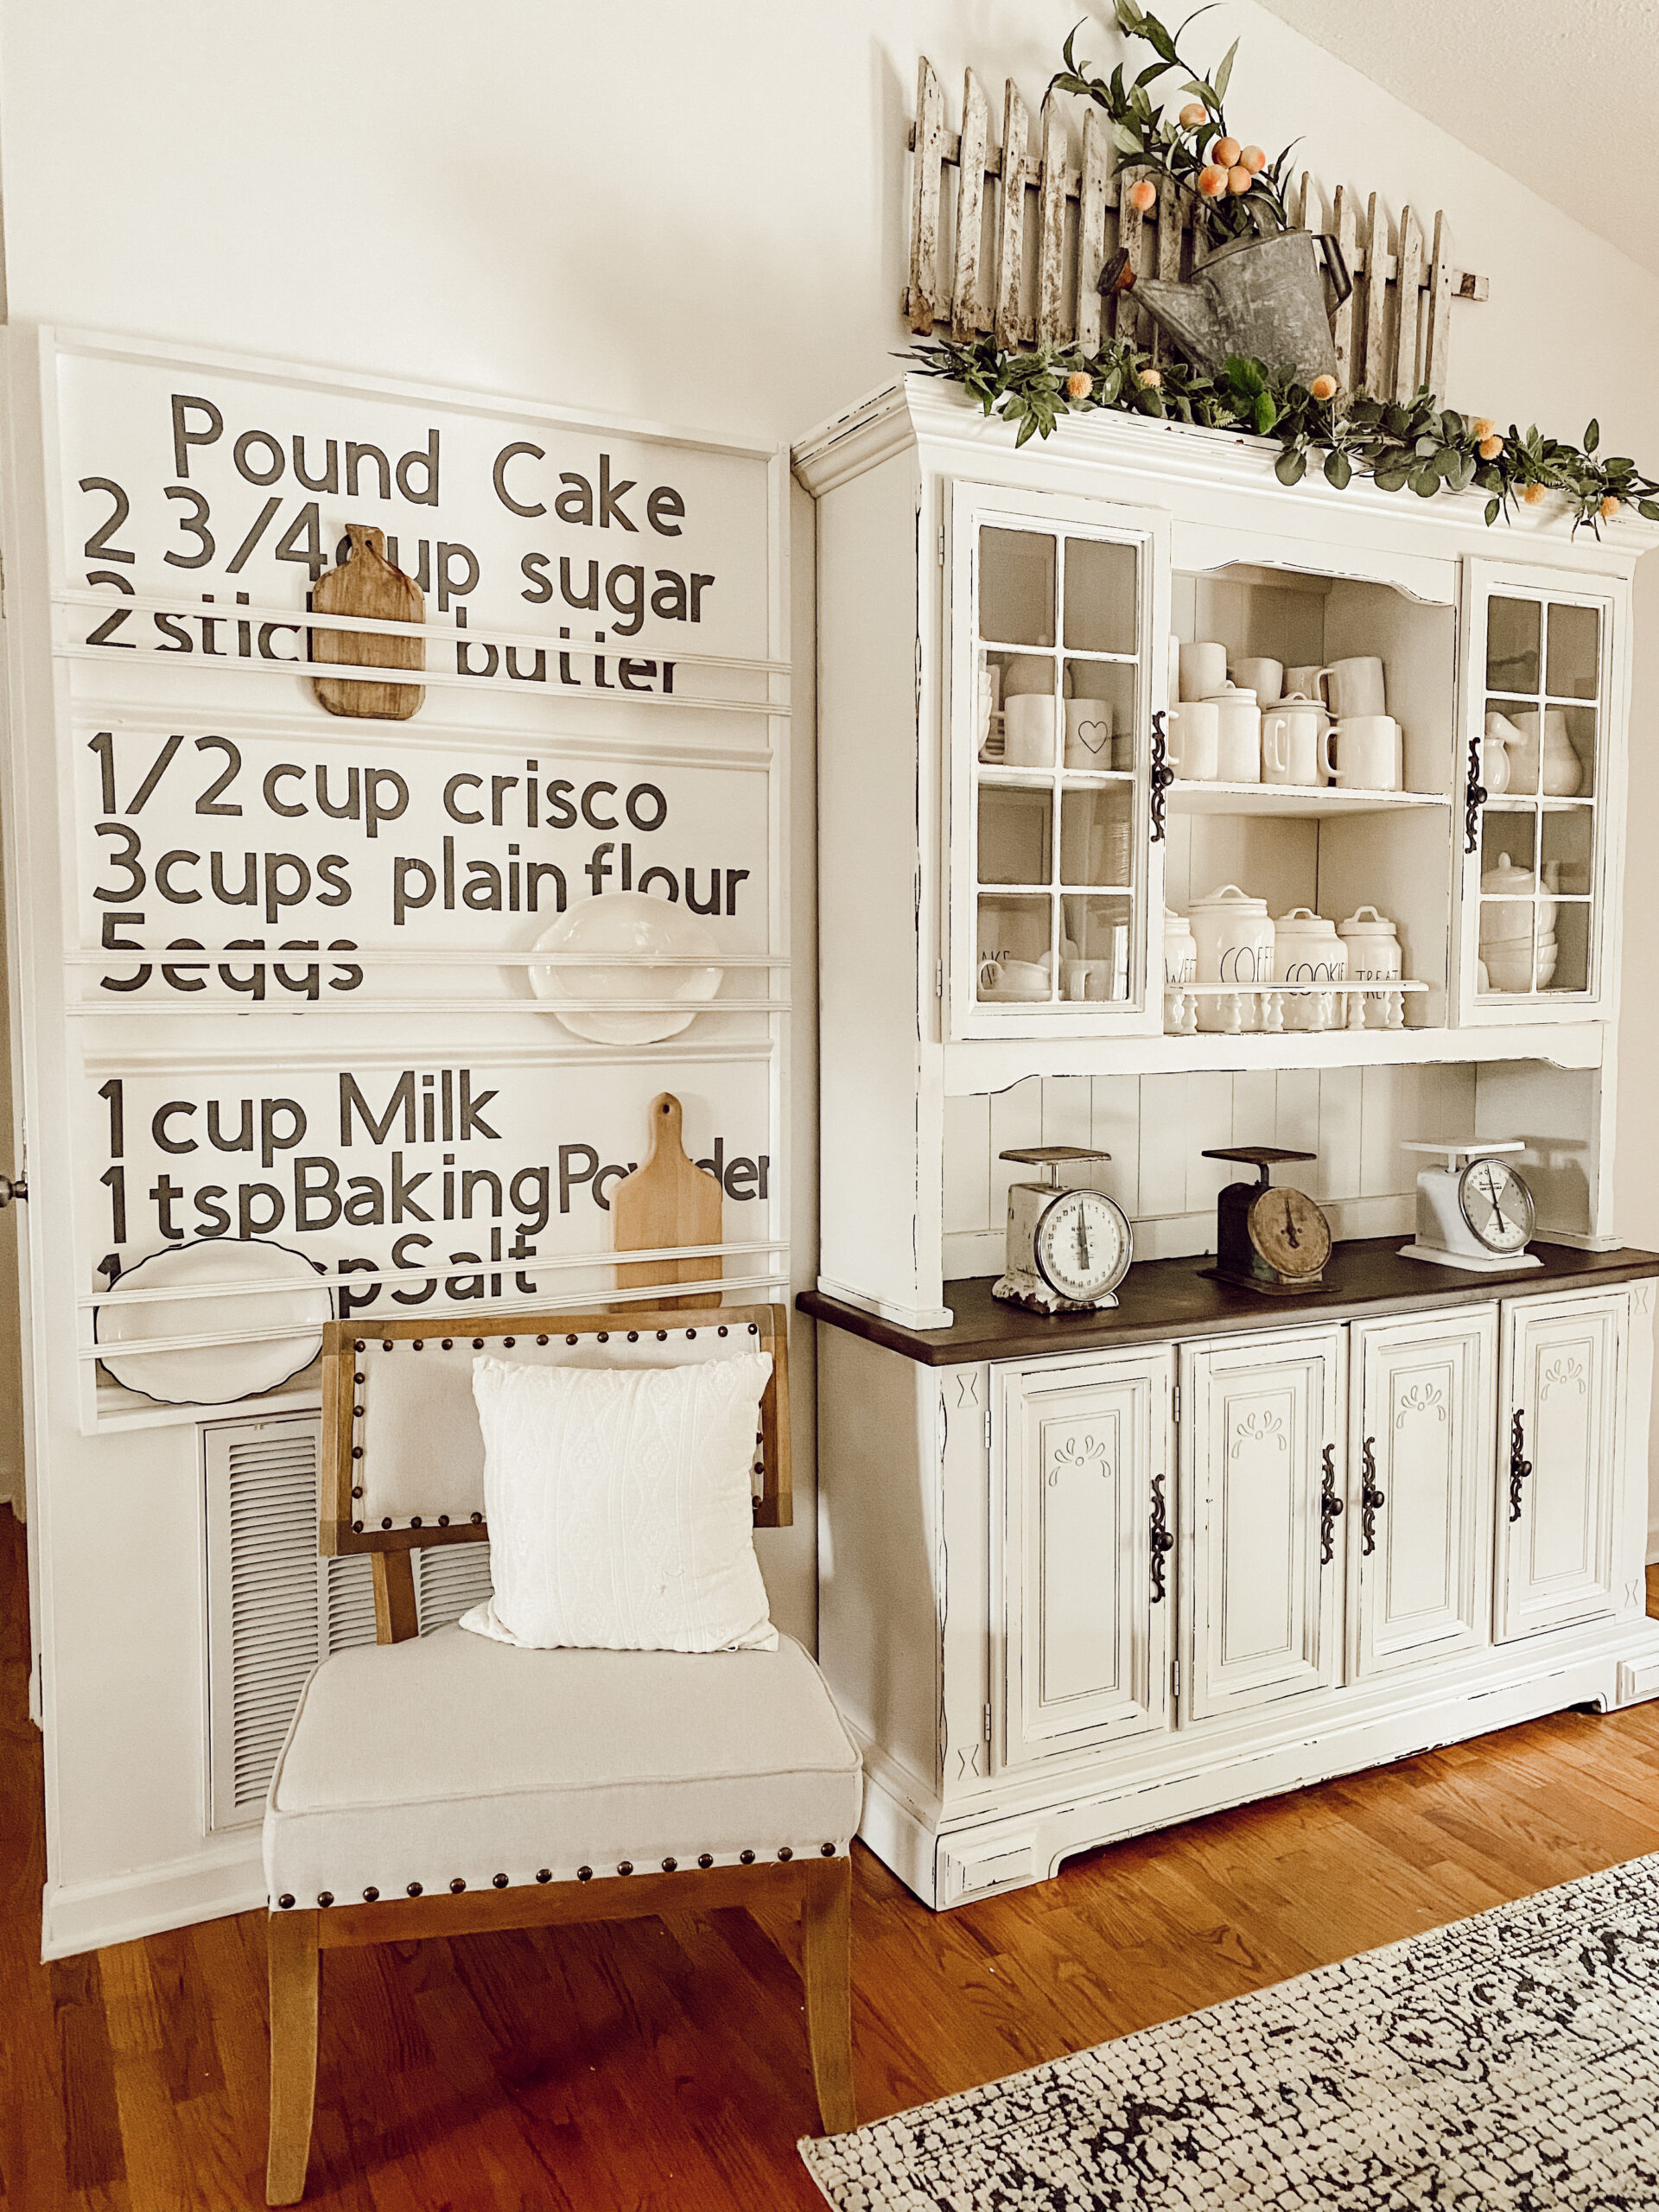
Old fashion, yes please! This post is sponsored by BlueRidge Tools. Many of you know that I love my vintage signs. I have been on the hunt for an old menu out of an old fashion mom and pop’s restaurant,but I have not had any luck. Well, sometimes you just have to create your own! This is the very thing that I did because who am I kidding, I love a good DIY!
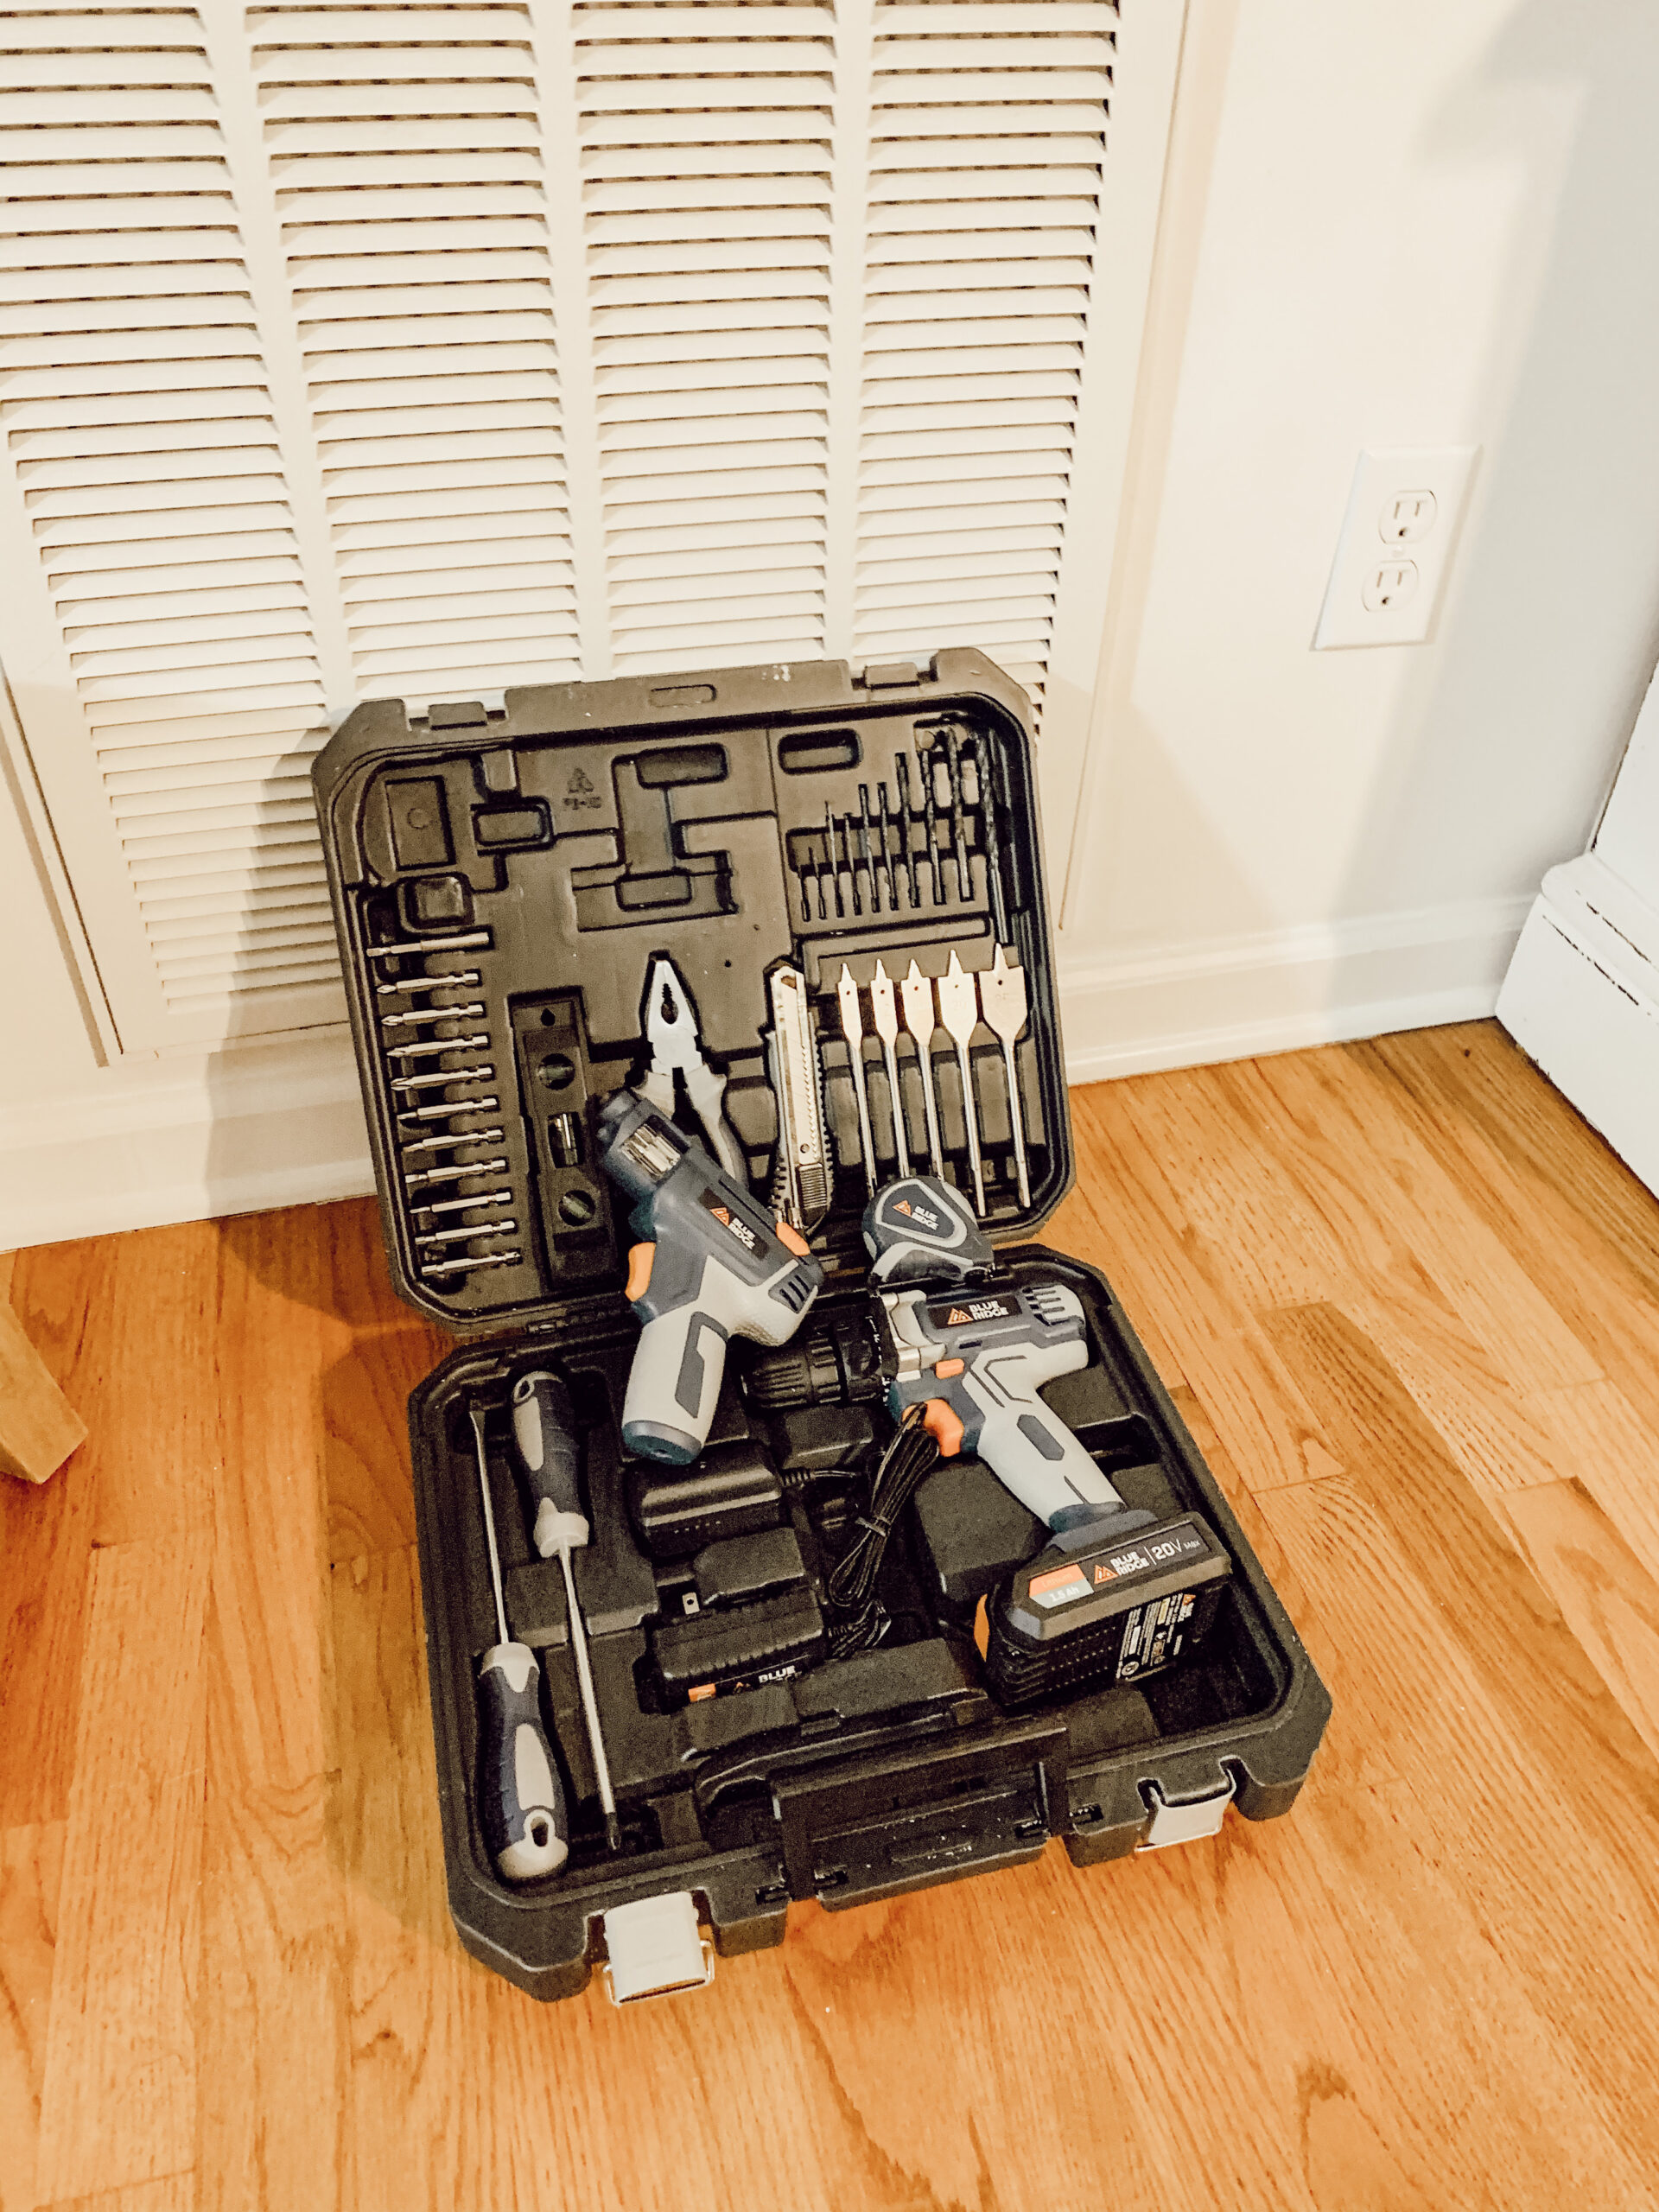
The inspiration came from seeing one of my friends who created a plate rack in her beautiful home and it sparked the trigger in mine. I grabbed my Blue Ridge Tool set and off I went. I knew that I wanted this in my dining room and I knew just where.
I headed out to Lowes to grab the wood and paint. After Lowes, I went to Michaels to grab my vinyl. Then off to my house I went to get started.
Step 1: Measure
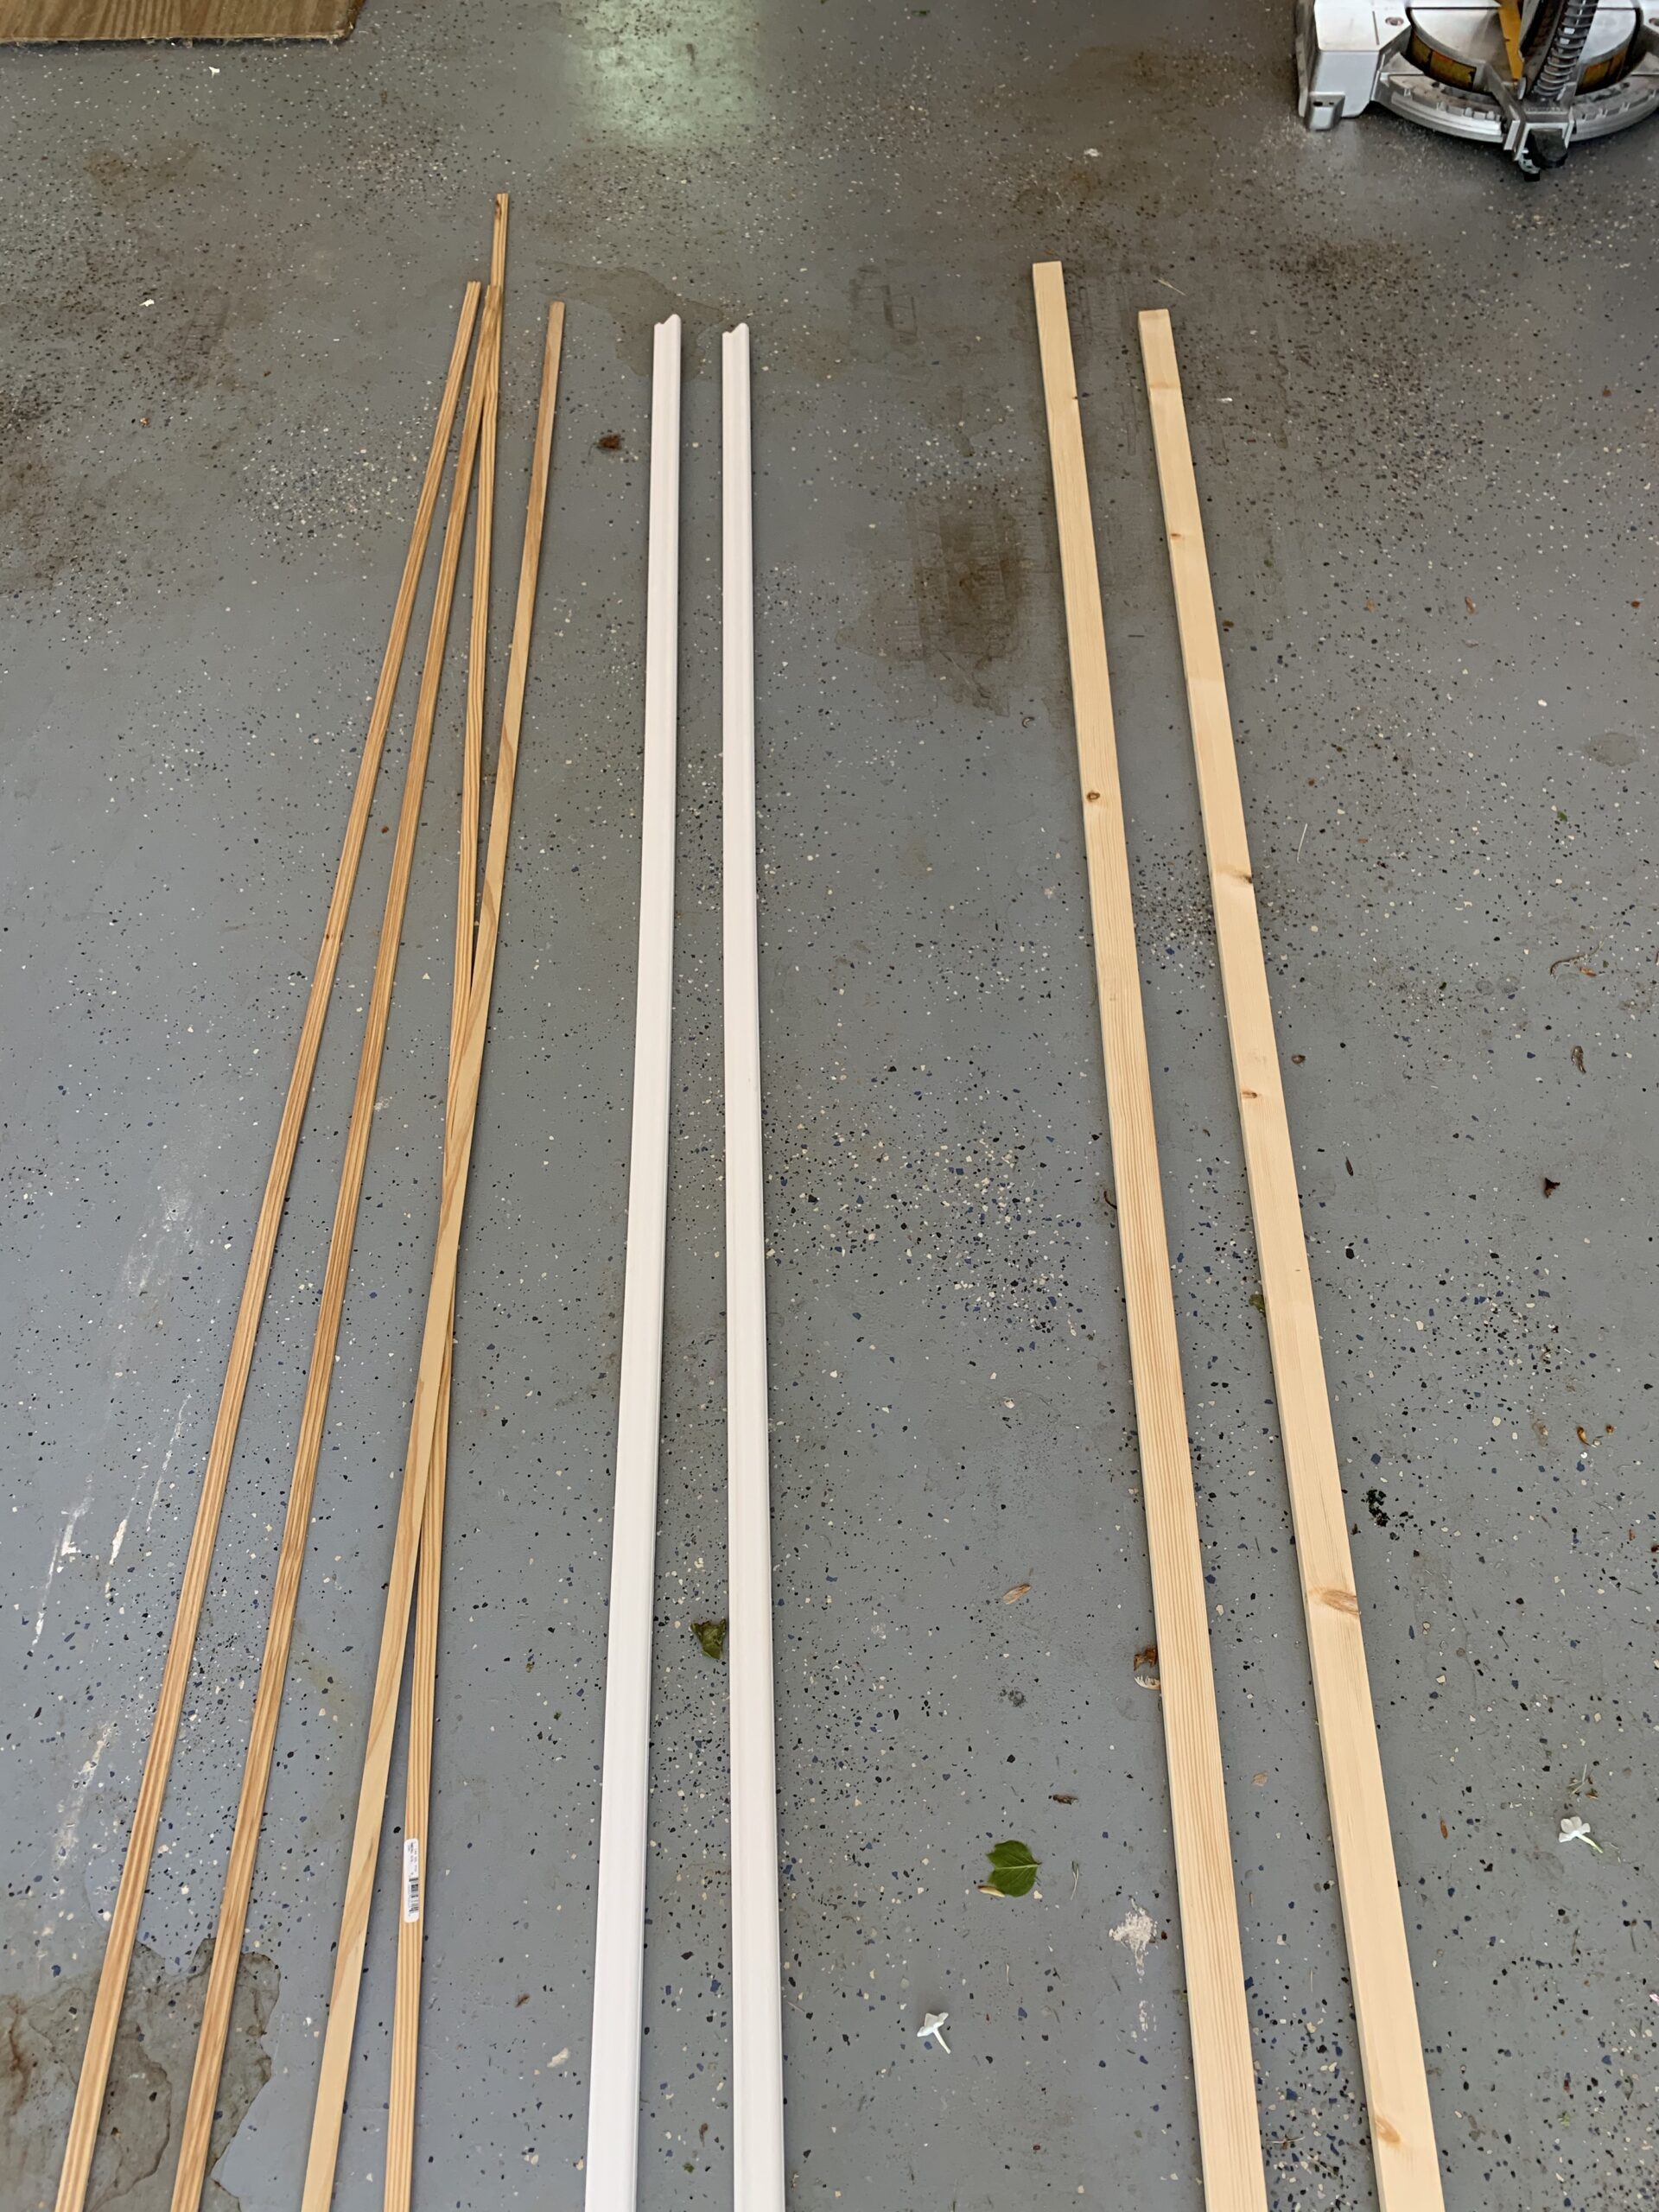
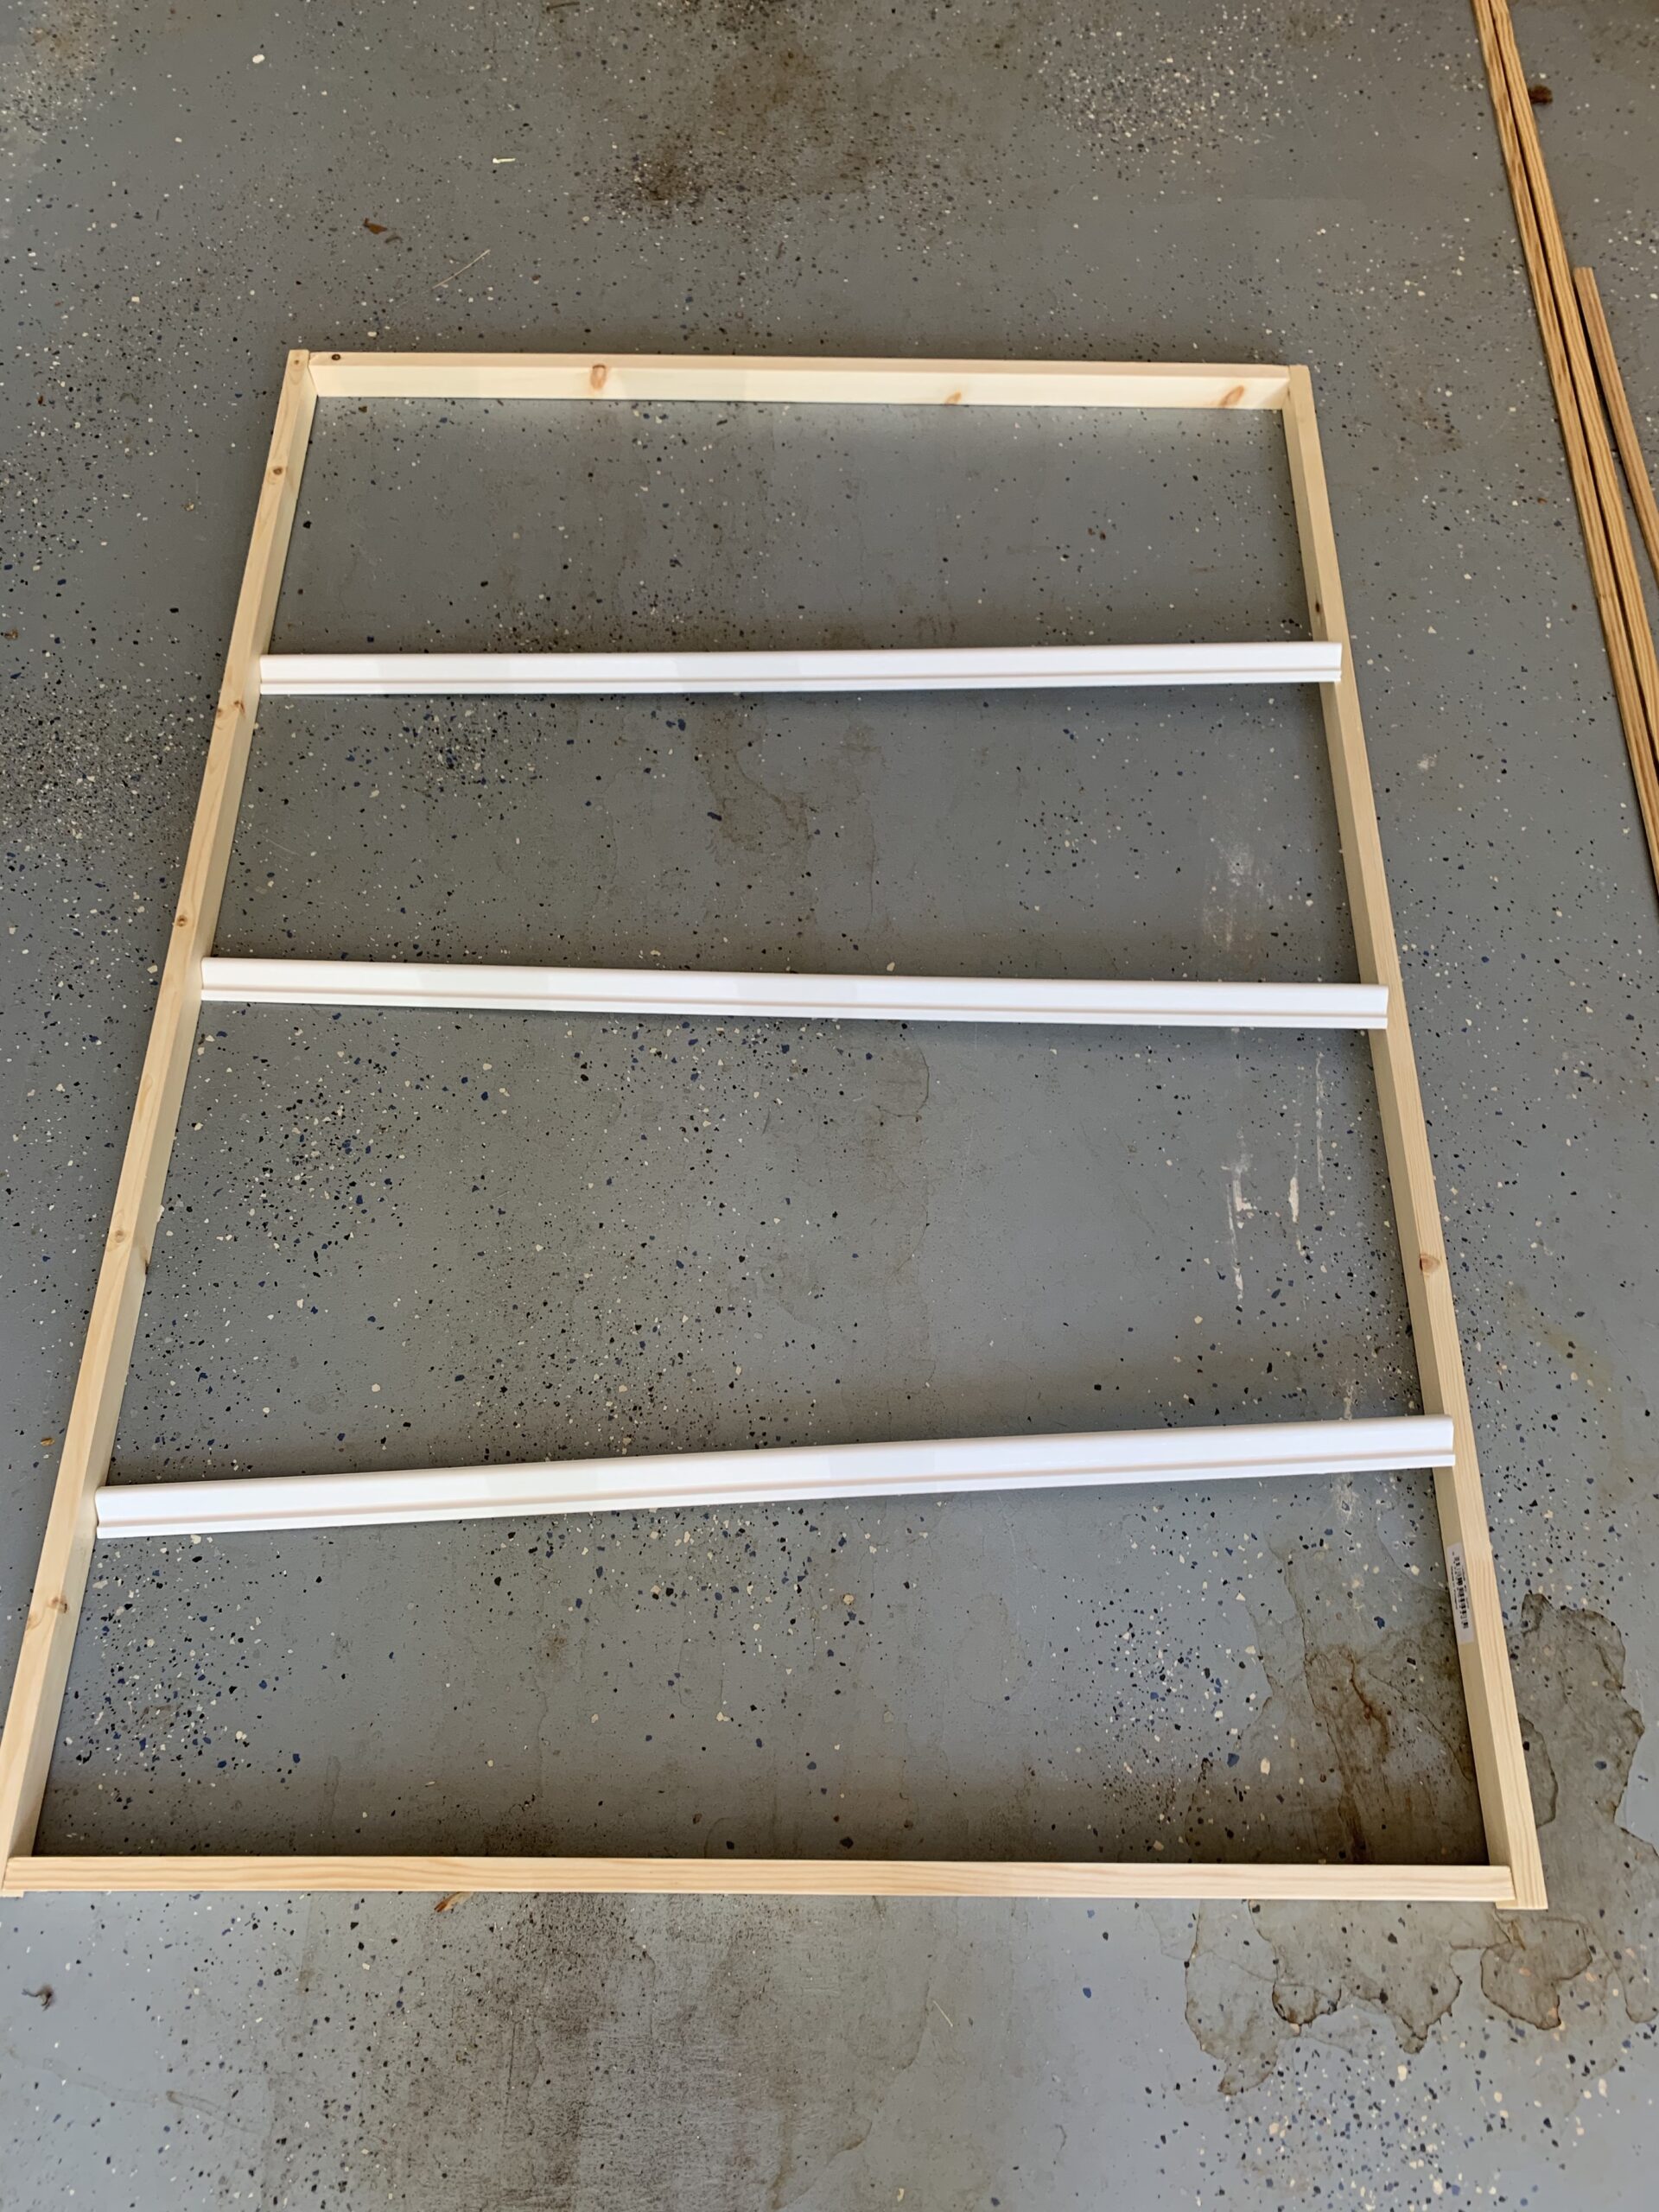
I started off by measuring the space that you will be putting the plate rack. Once you decide on the total width and height, you will decide how many racks you will have. I chose to have 3 sections that way I would have wide spaces. I cut the 1×2 pine board in (2) pieces at 54inches and (2) pieces at 36inches. Then, I cut the baseboard molding into (3) pieces at 34 inches. Finally I cut the stipe molding into (6) pieces that are 36inches long.
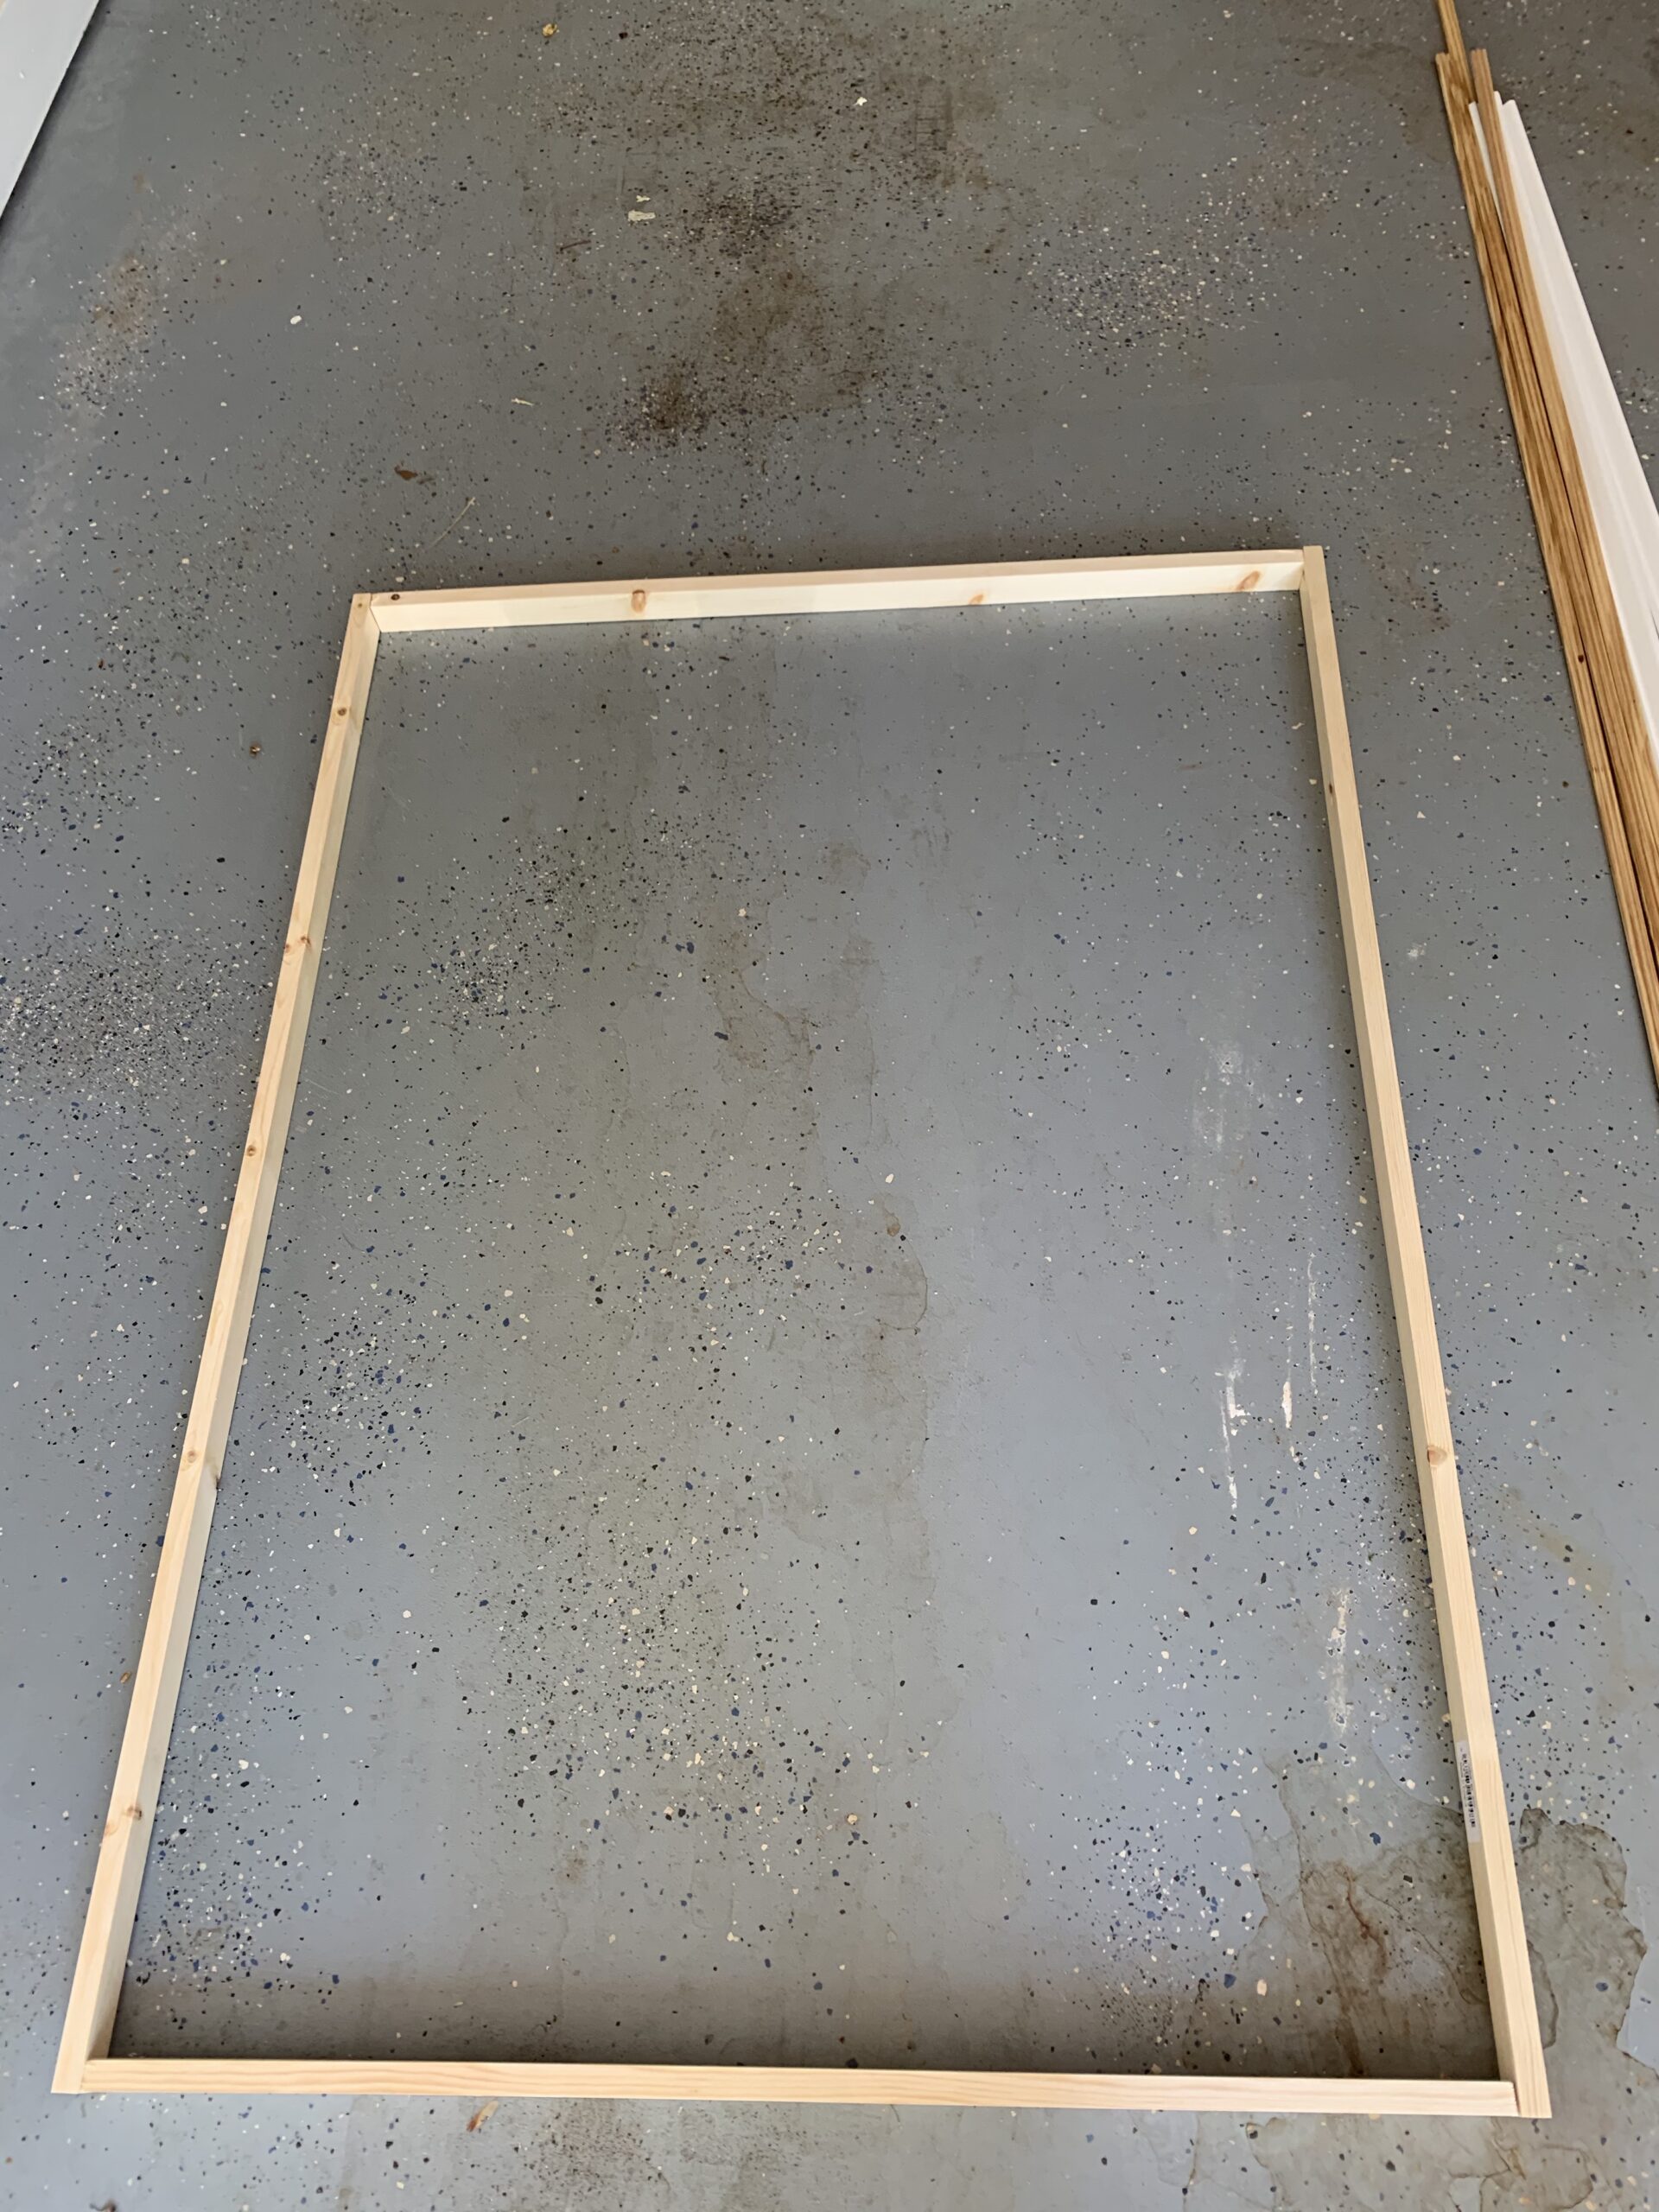
Once all of the pieces were cut, I took 1×2 pine boards to build the frame. I used the nail gun to put the frame together. After putting the frame together, I took the pieces of base molding that I cut and made sure that they fit inside the frame.
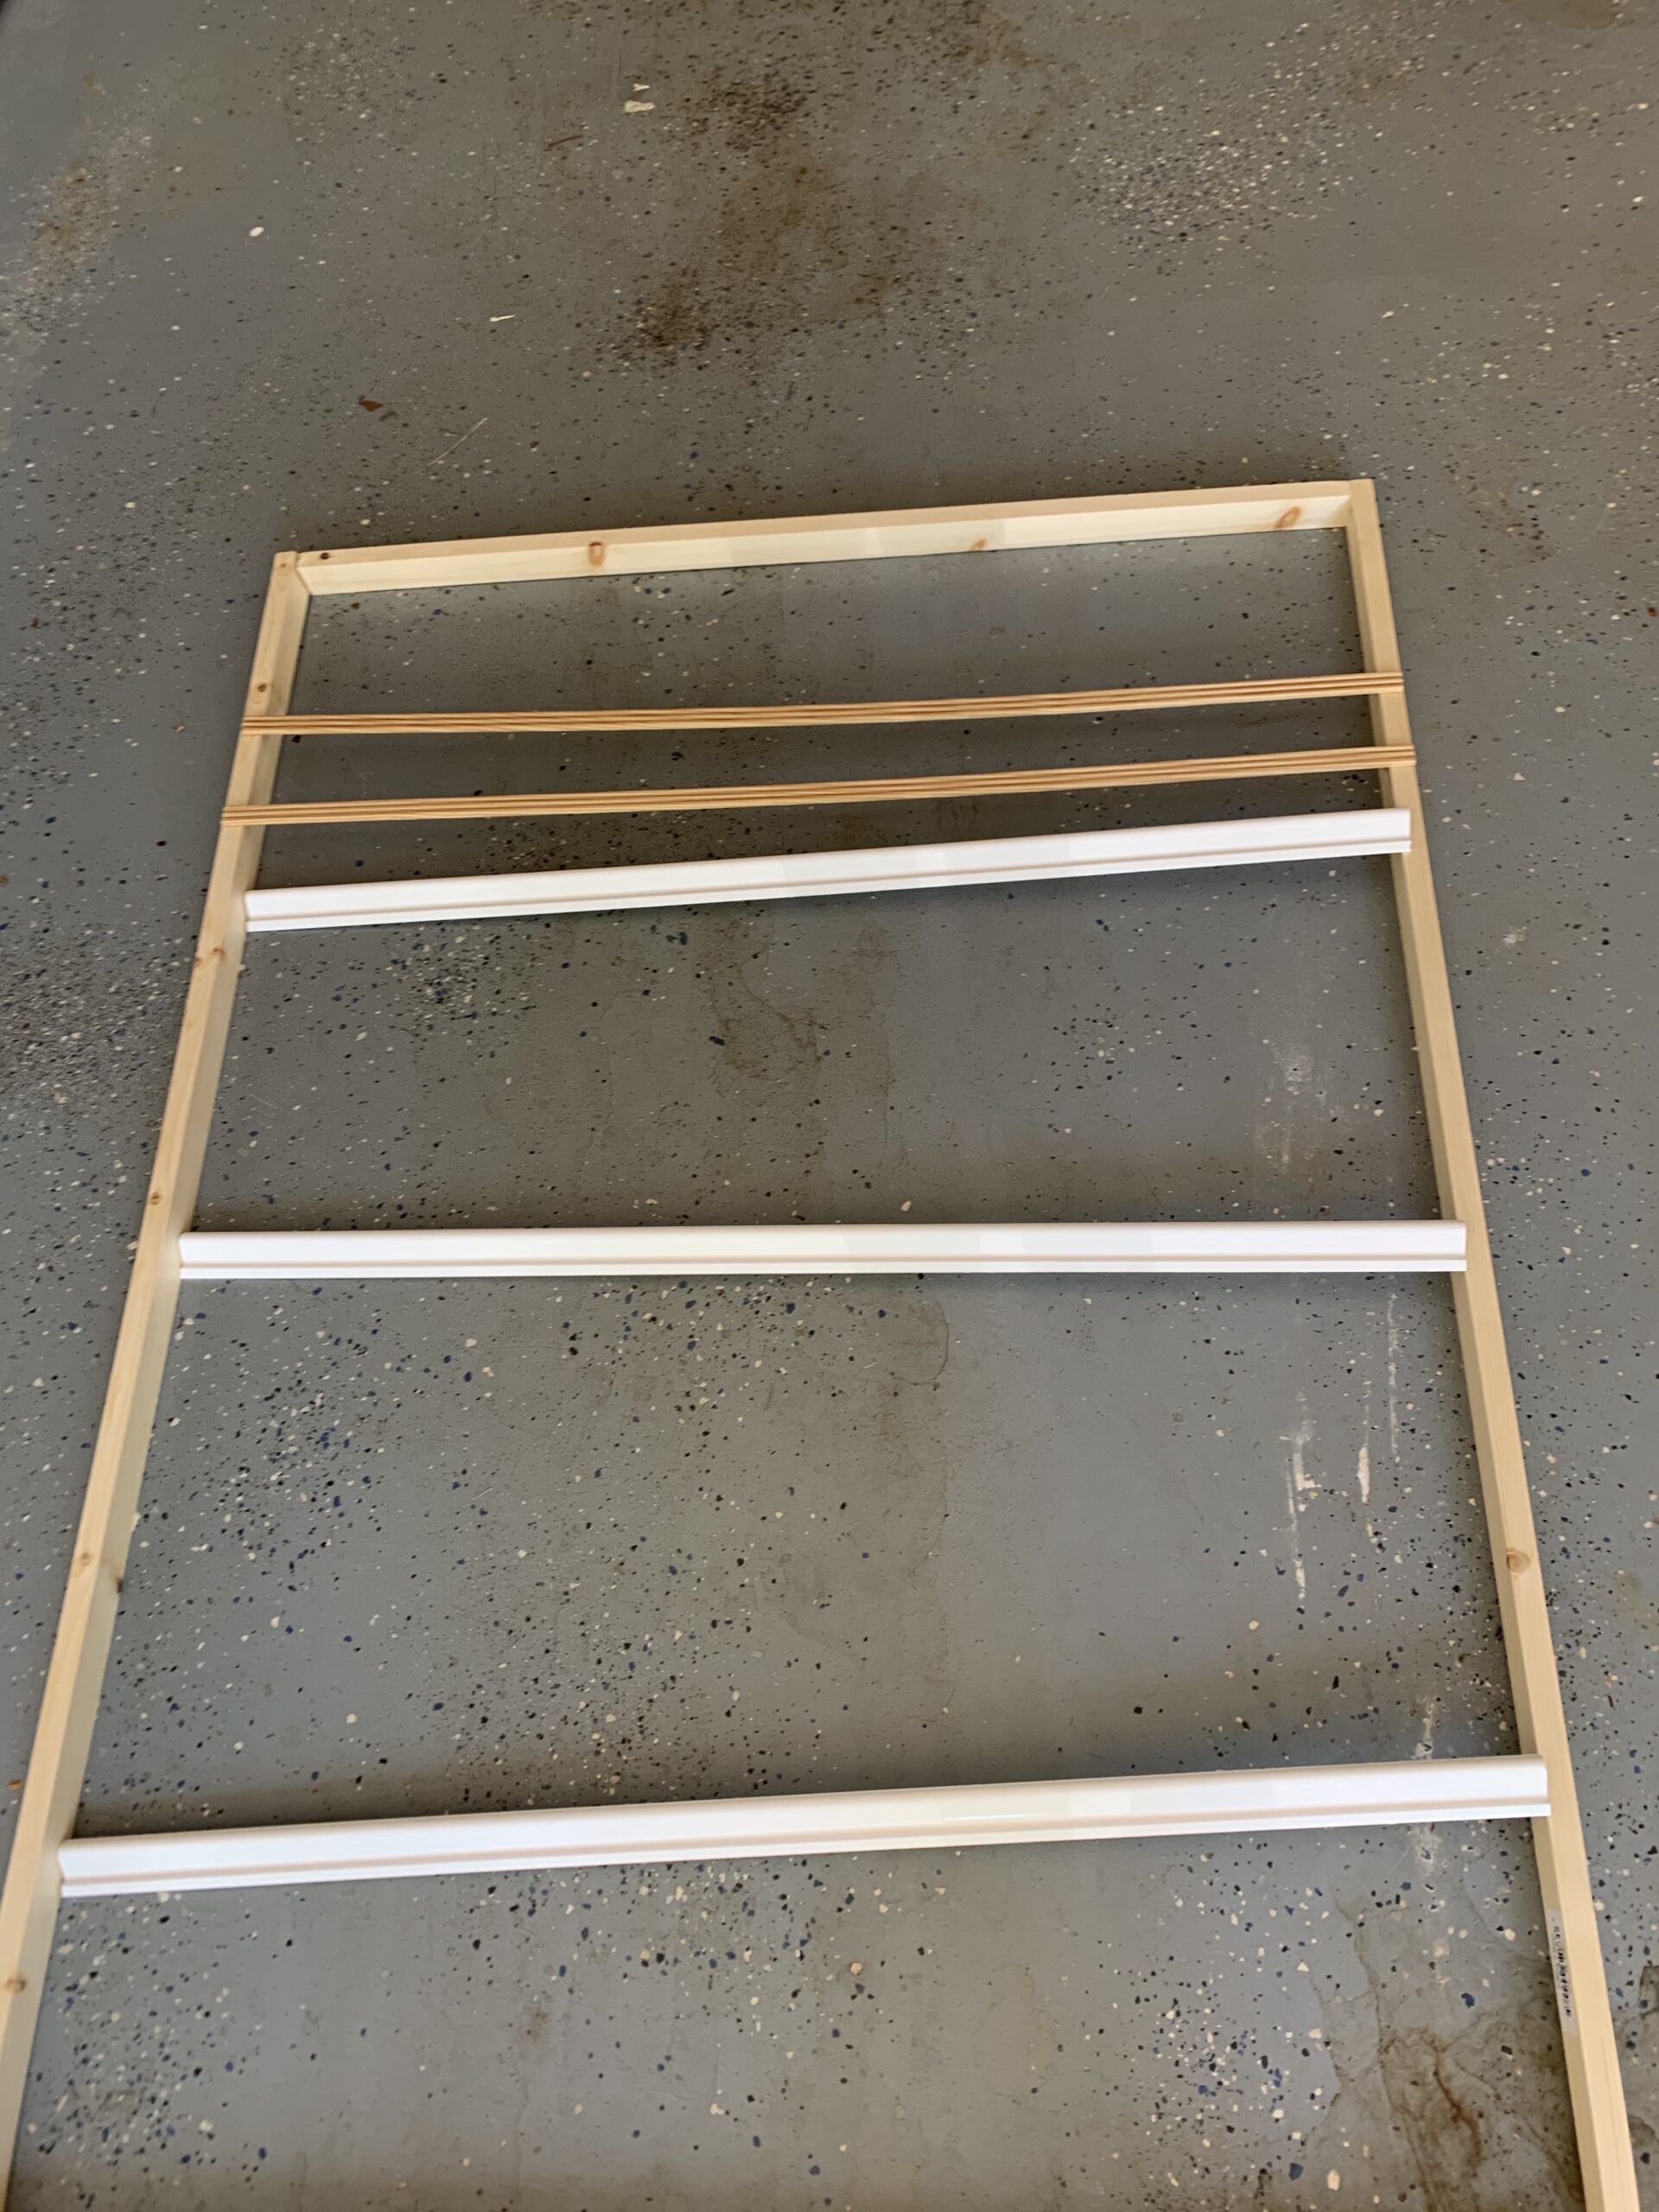
Then I took the strip molding and laid them across the frame to make sure they fit properly.
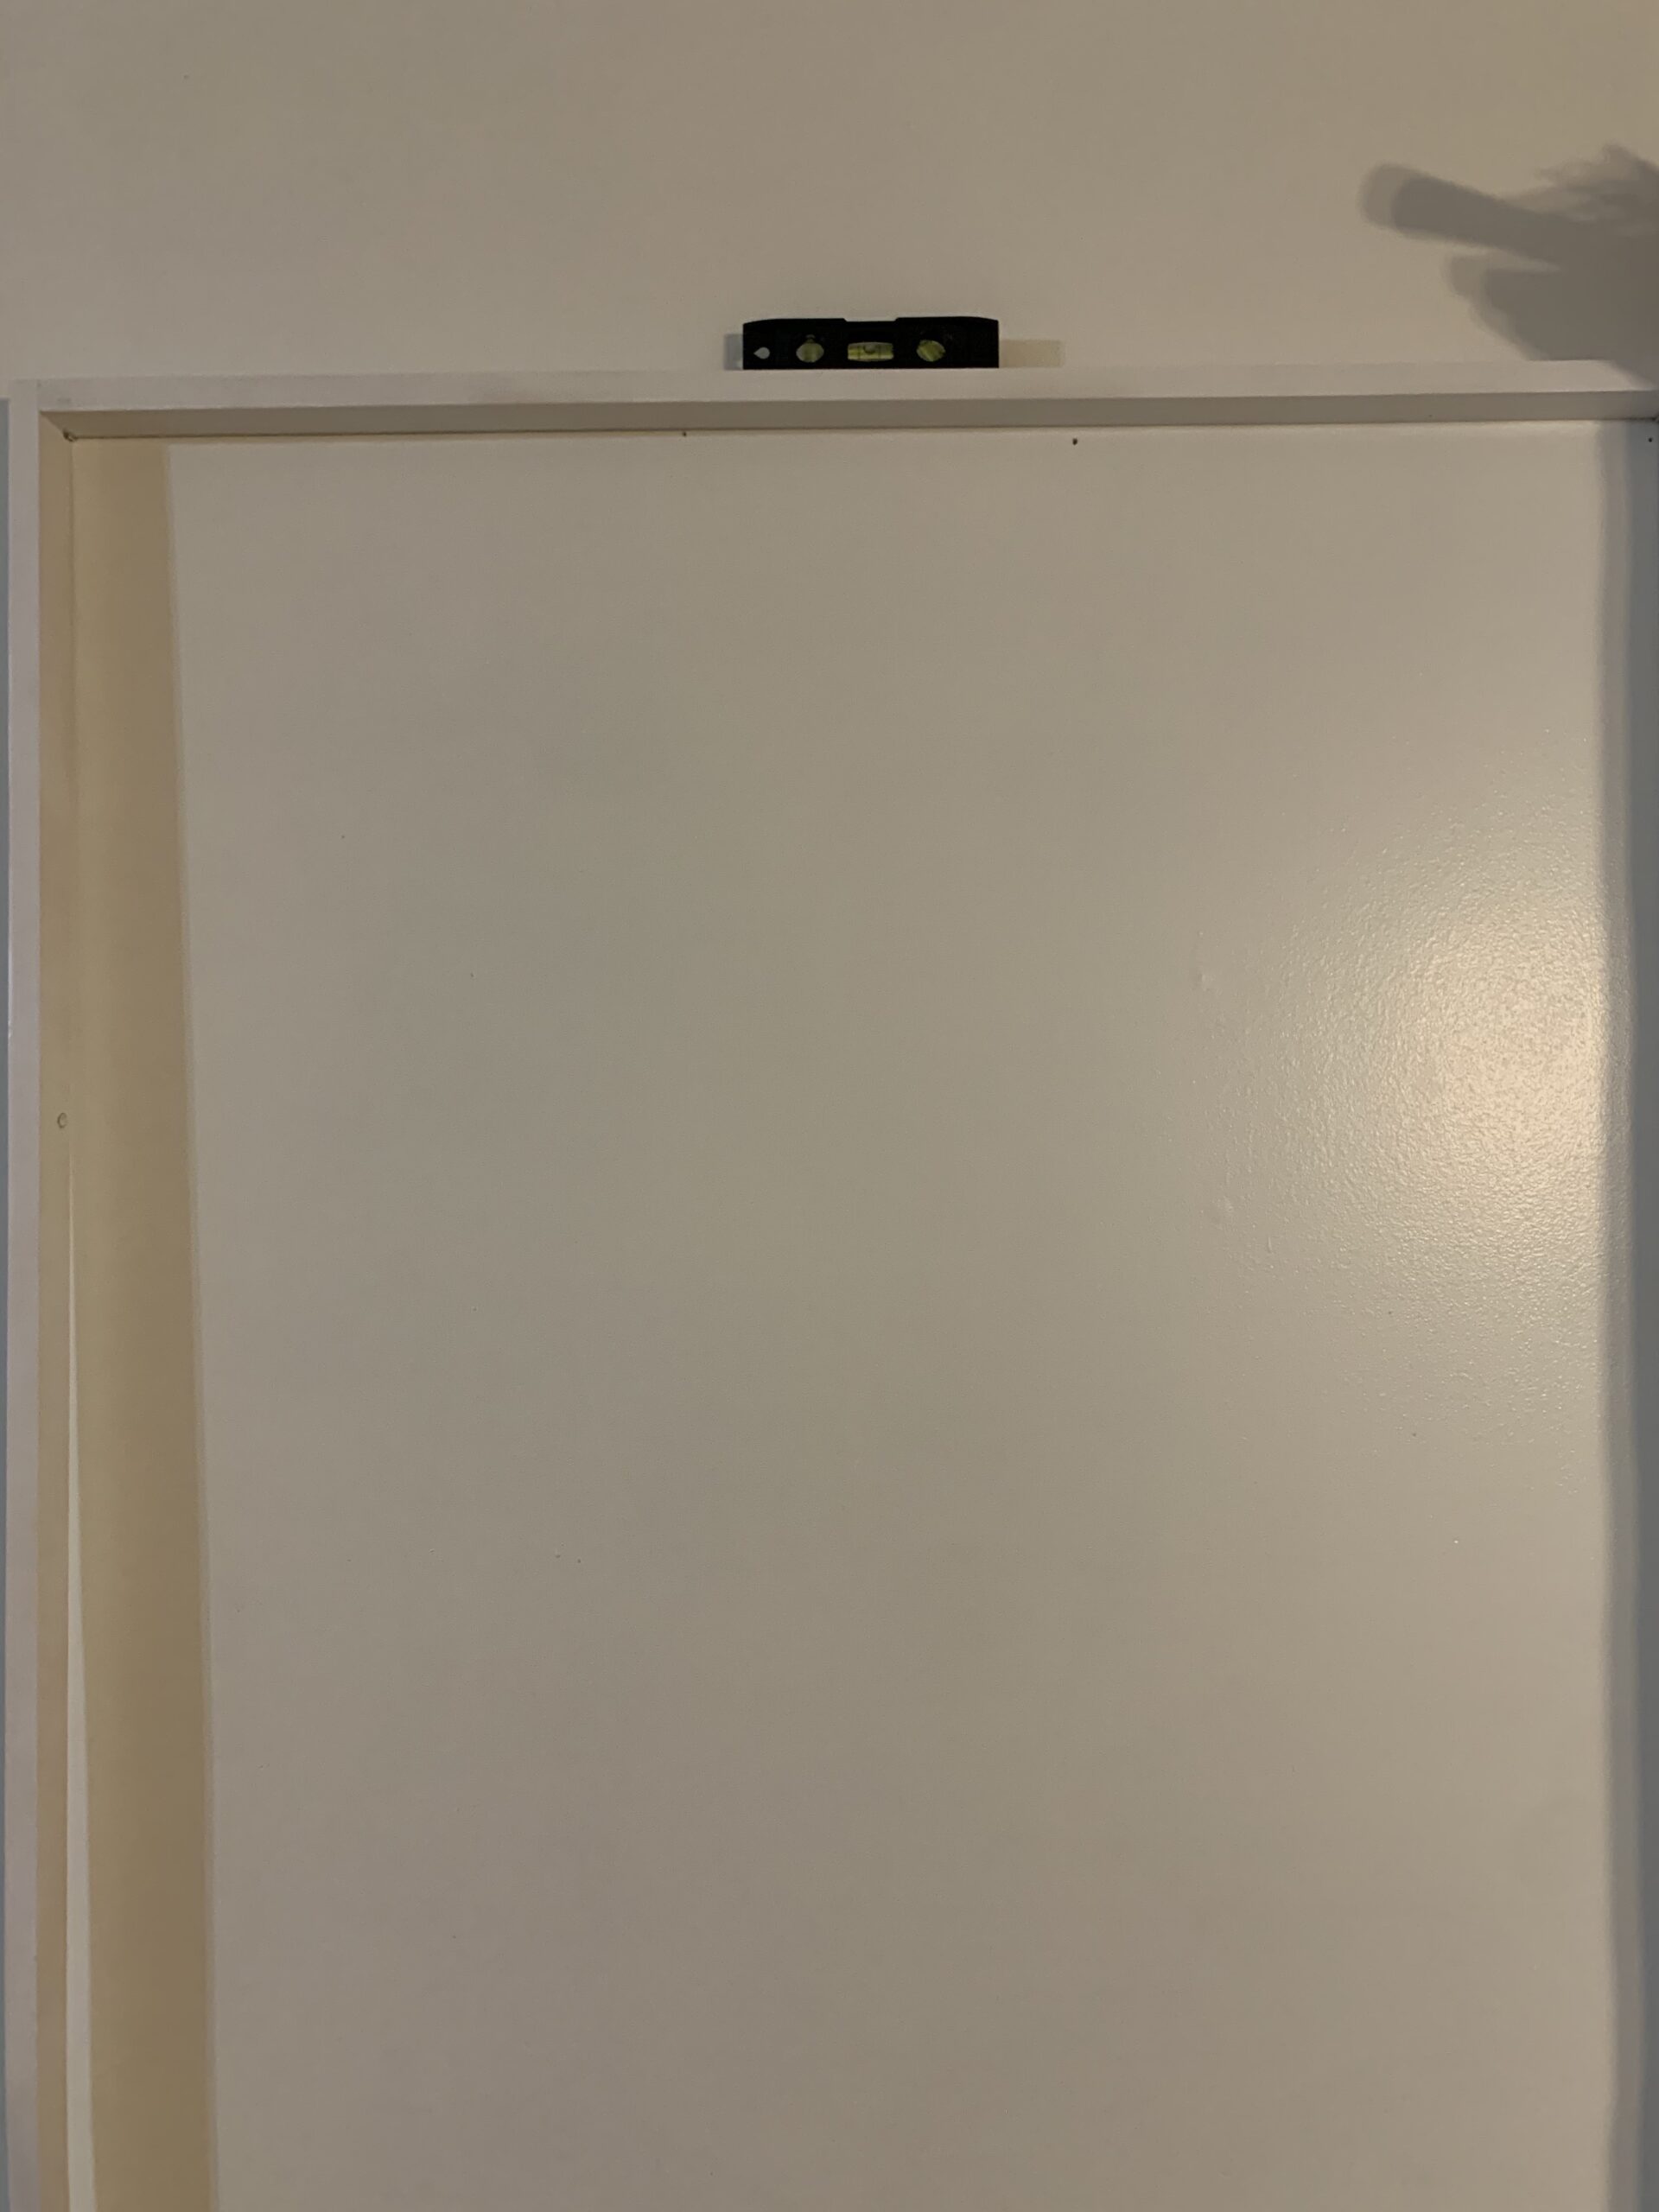
I took the frame out and painted the frame and the molding strips. Once they were painted, I used my Blue Ridge Tools to attach the frame to the wall. Once the frame was attached to the wall by screws with my Blue Ridge Electric Screw Driver and level.
Now that the frame is attached you want to make sure the space between the base molding is spaced out evenly. I did 17 1/2 inches that way the space was even. The base molding is what will hold the bottom of you plates in place
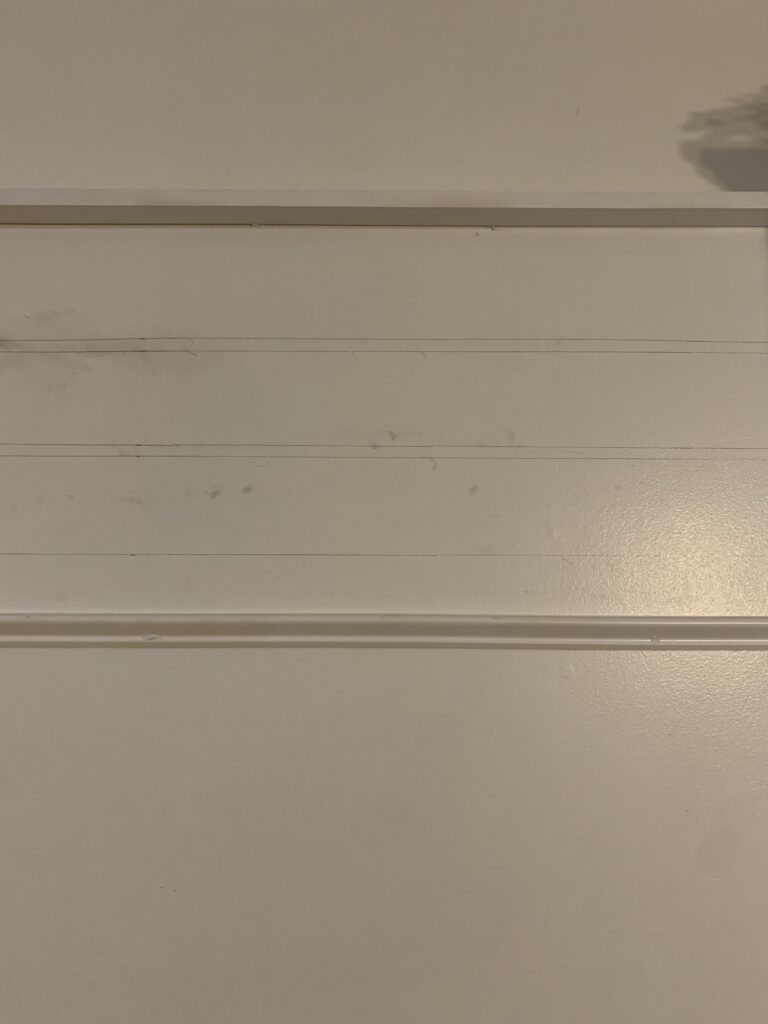
After the base molding is attached to the wall by nails, you will then take the Blue Ridge Level and a metal square to draw the lines straight across. The first line was 5 inches below the frame and the second line was 1/2 inch below the first. This is to create the space between the lines. The third line was 4 inches below the second one because my vinyl letters are 4inches tall. You will repeat this process 3 times in each section.
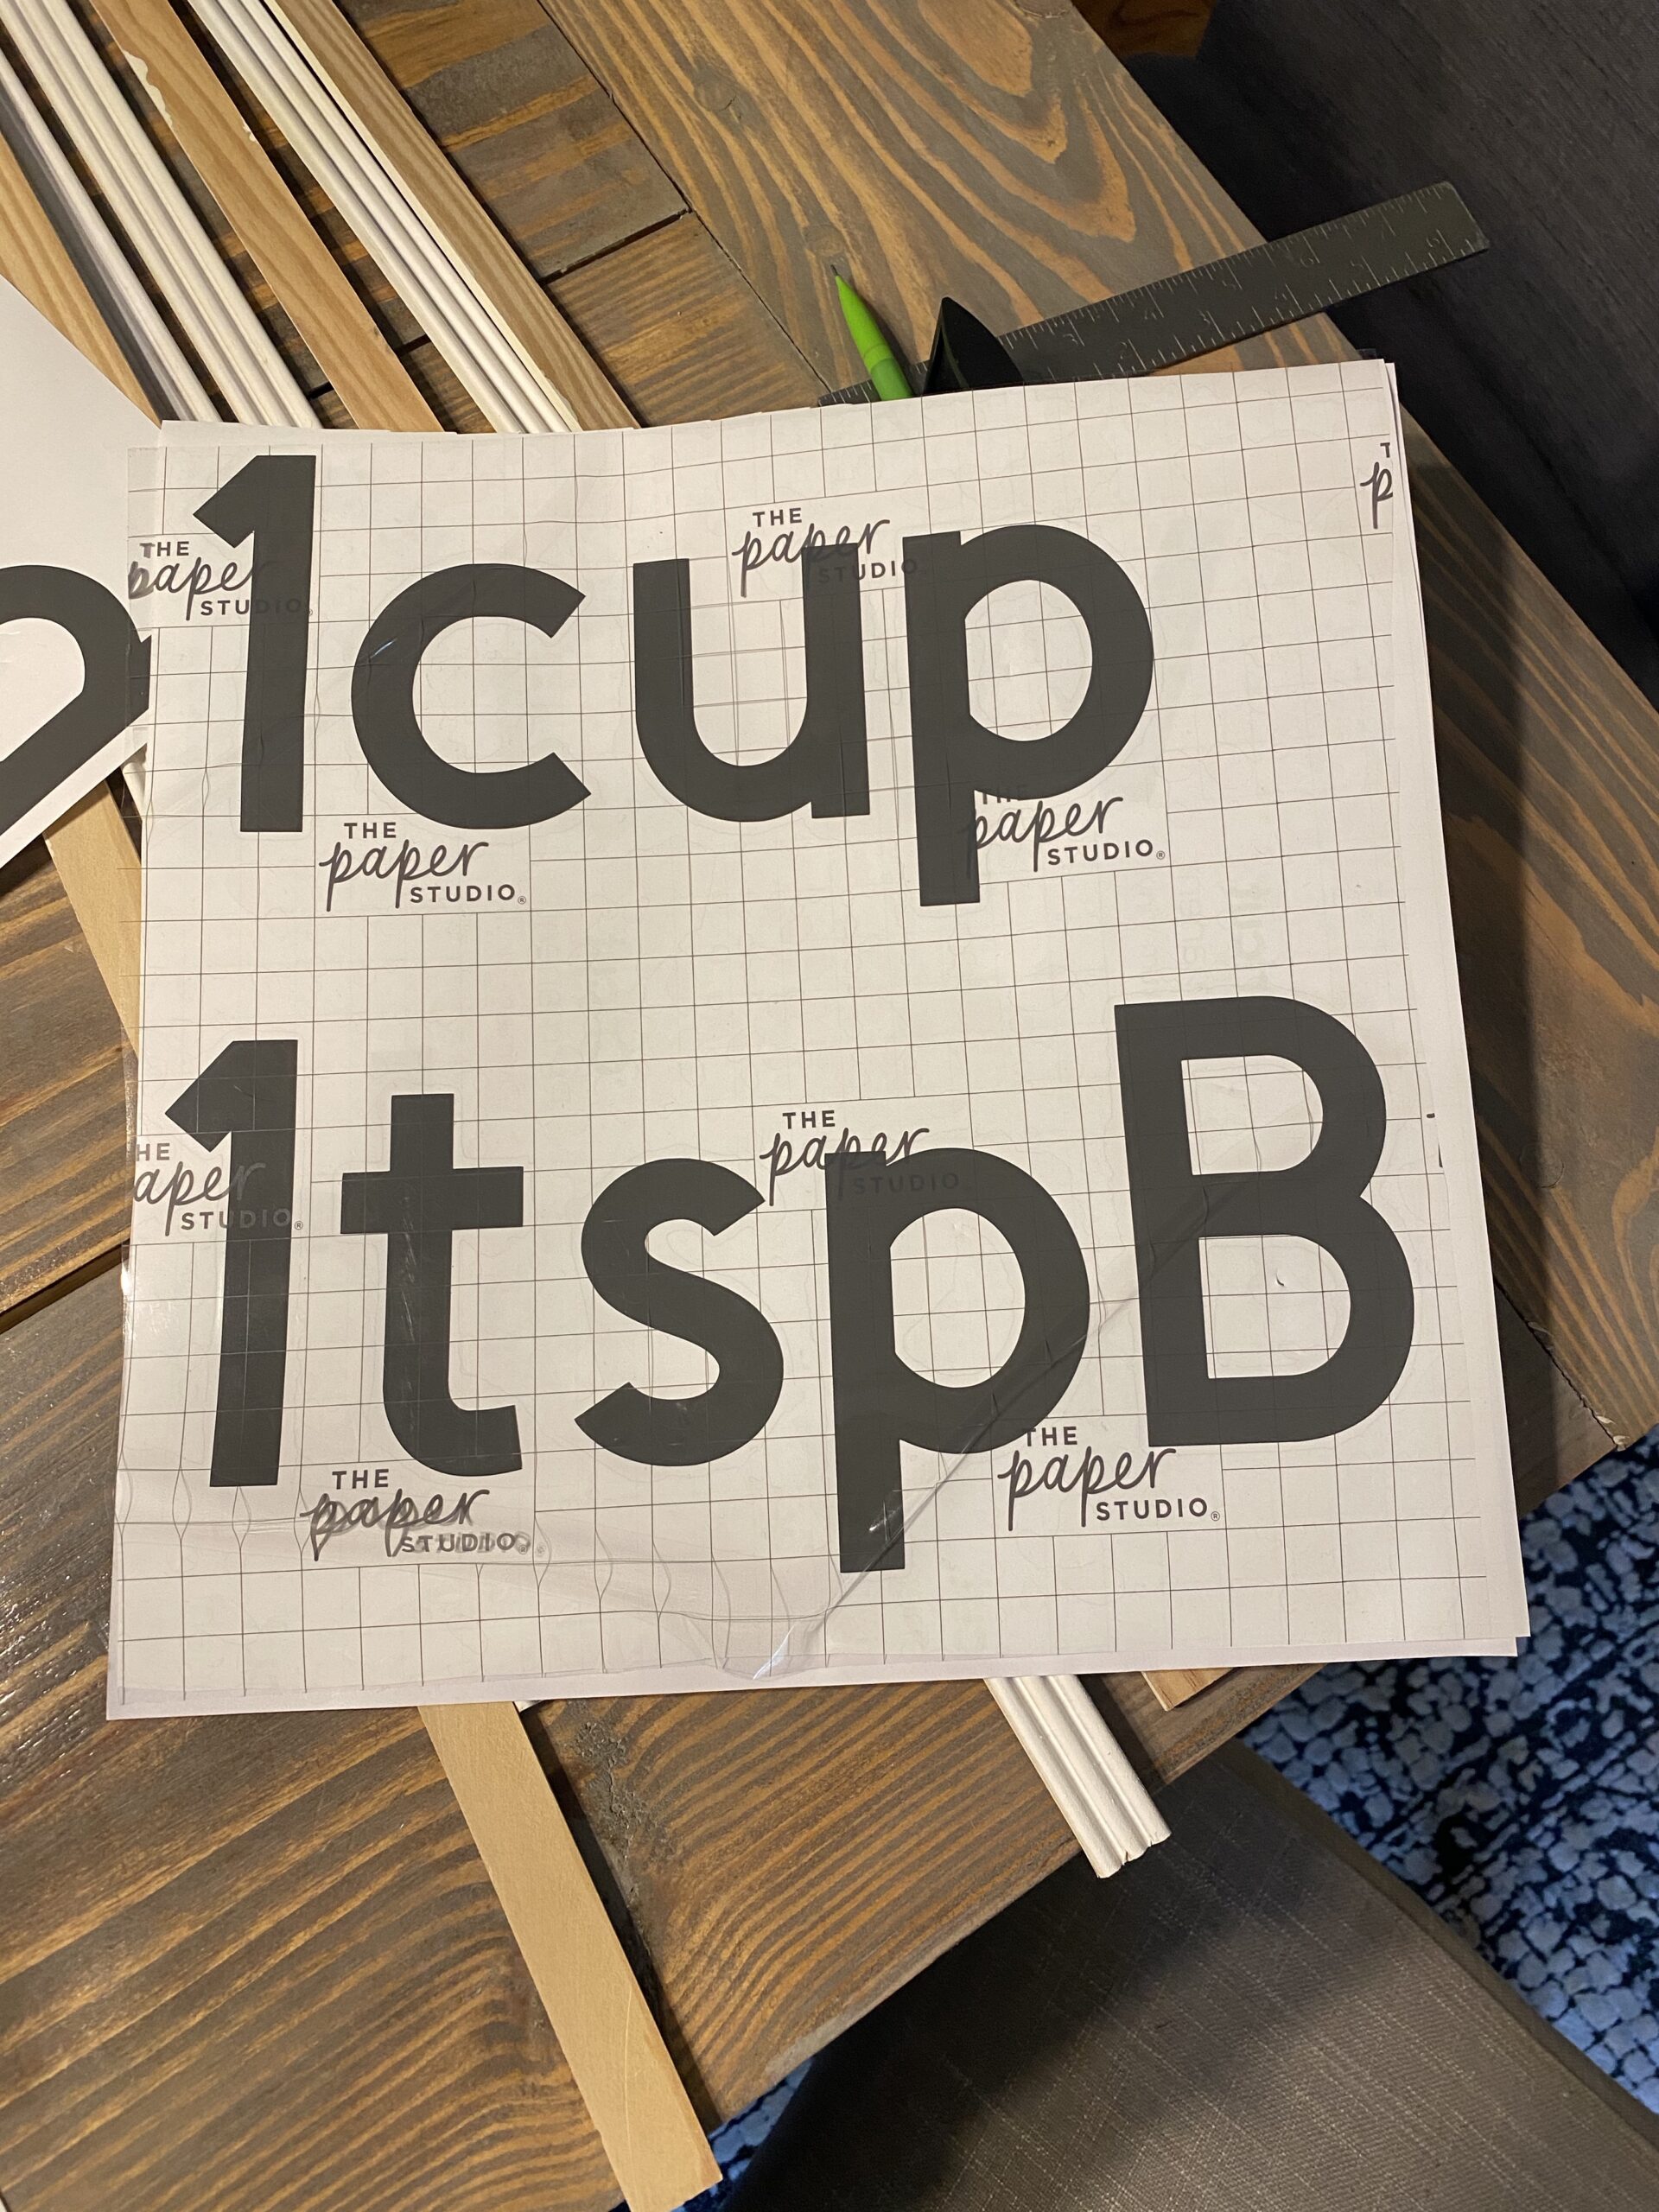
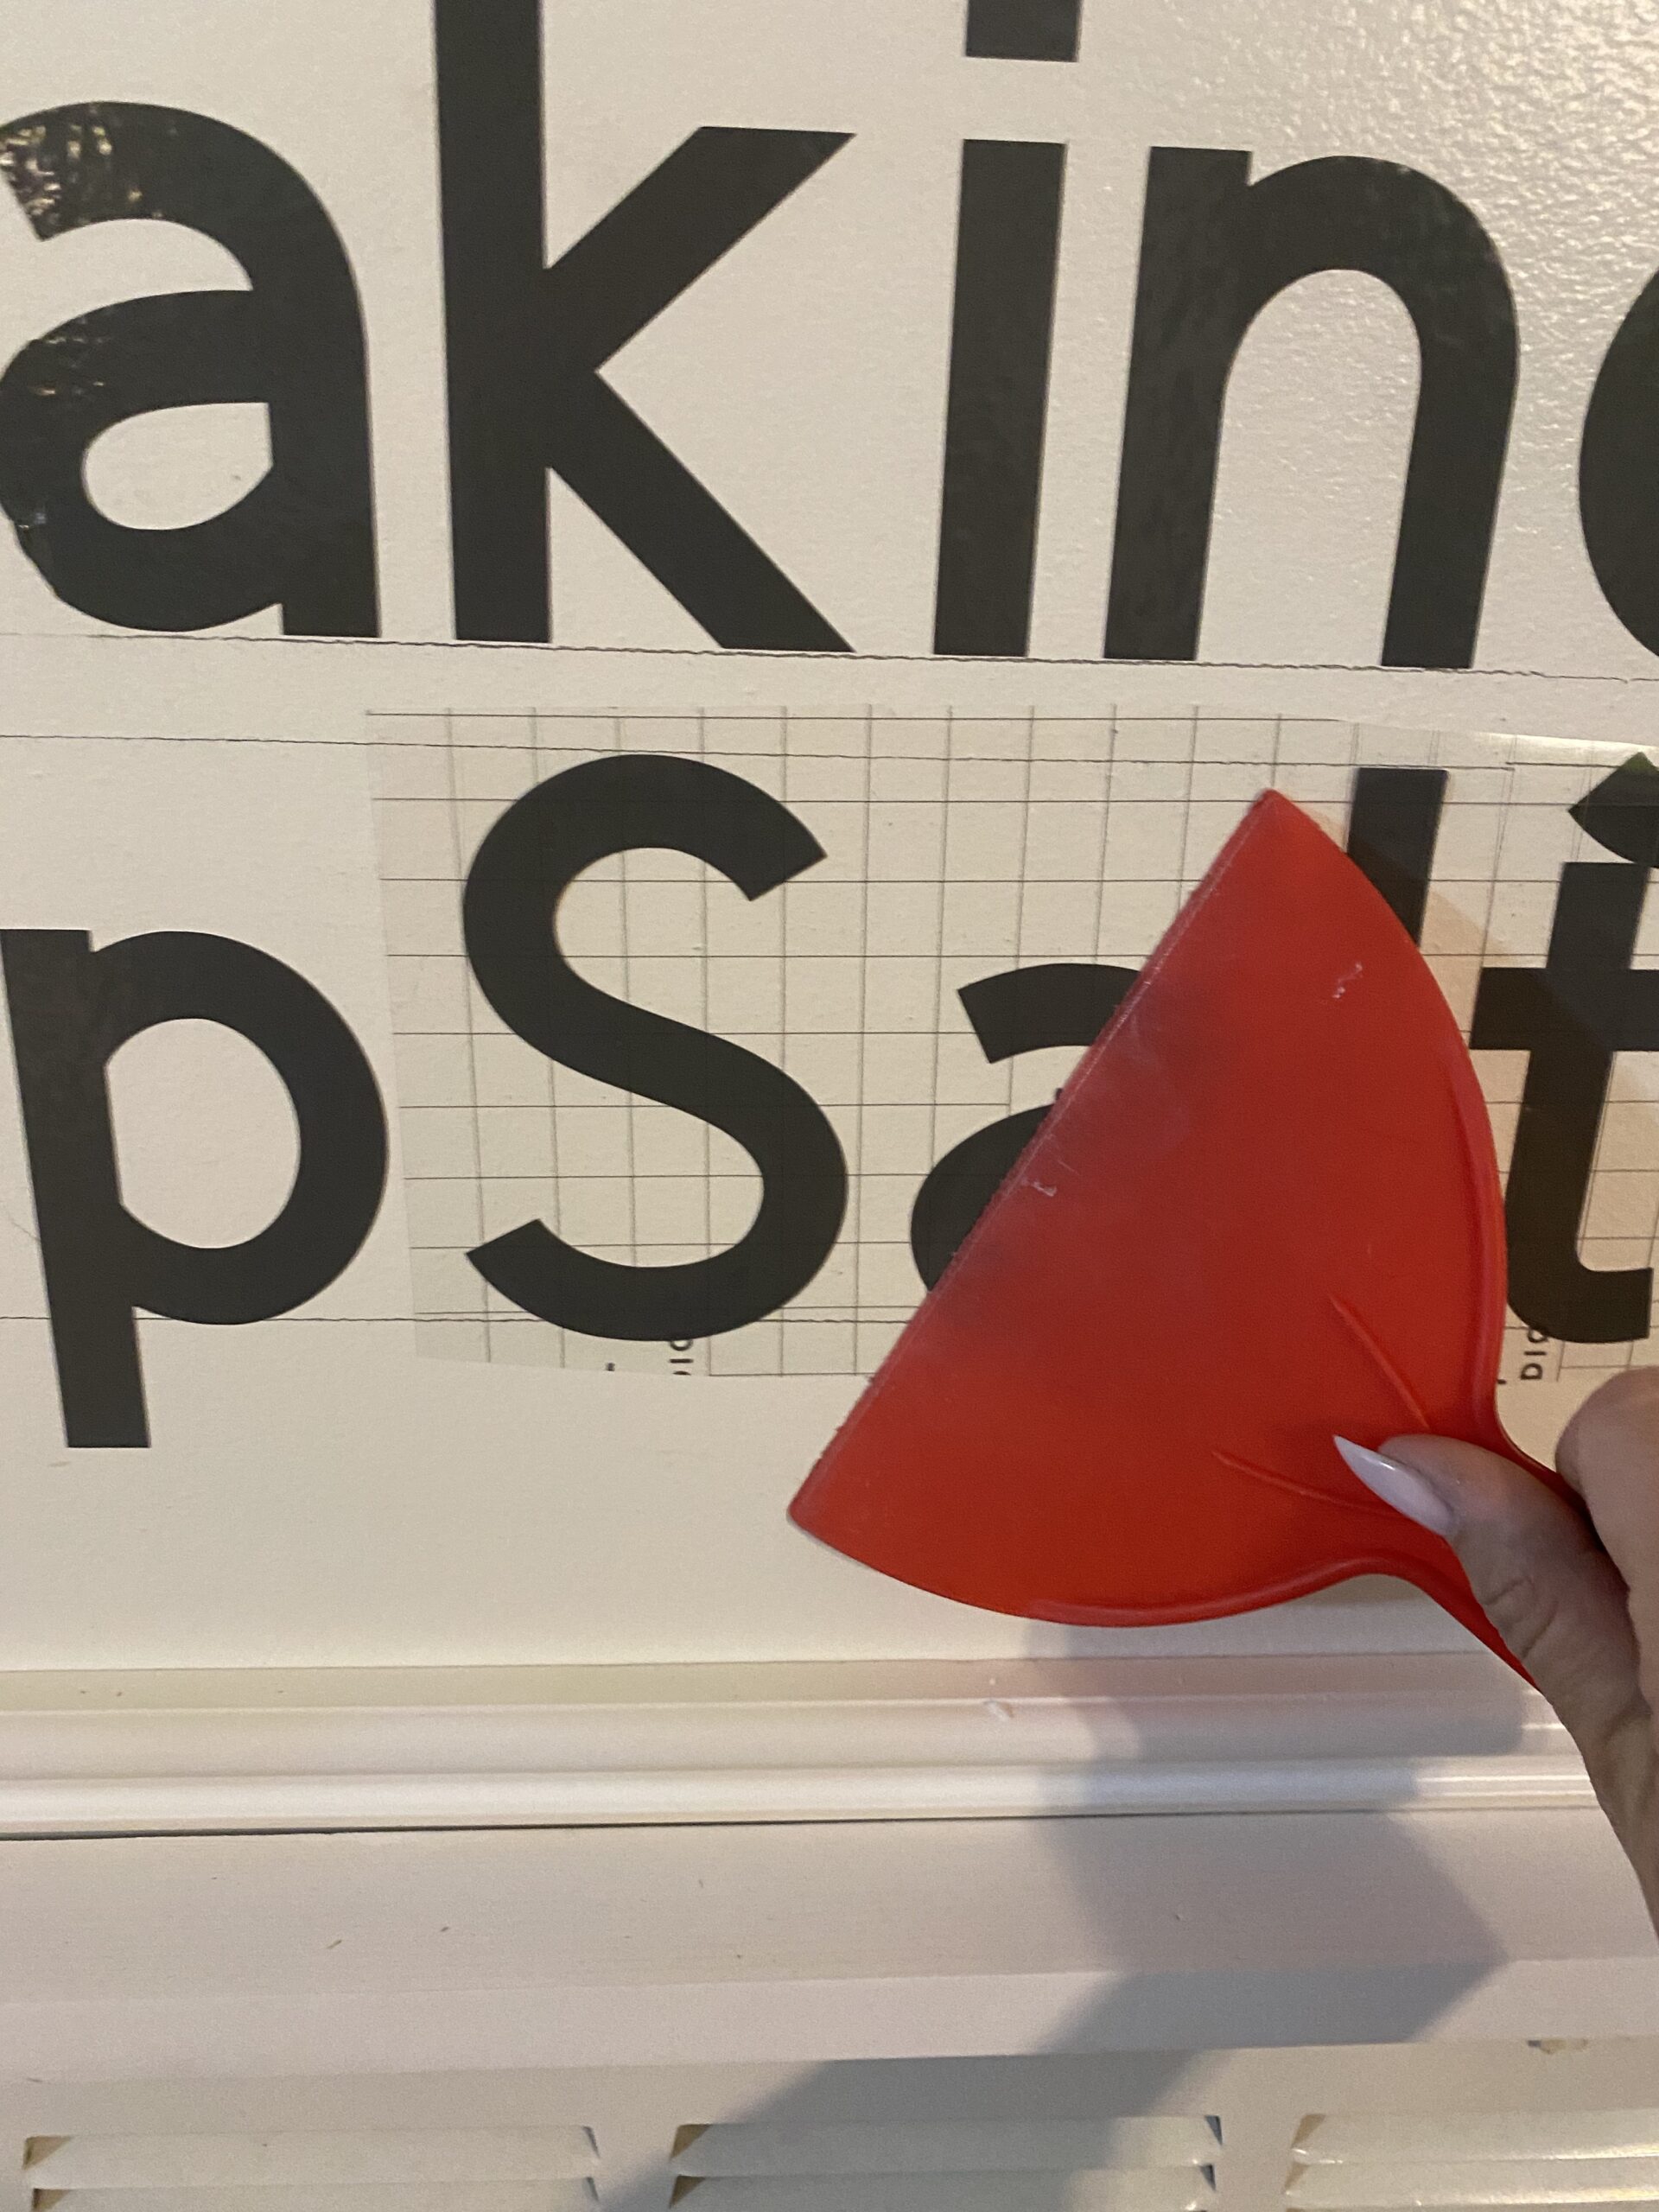
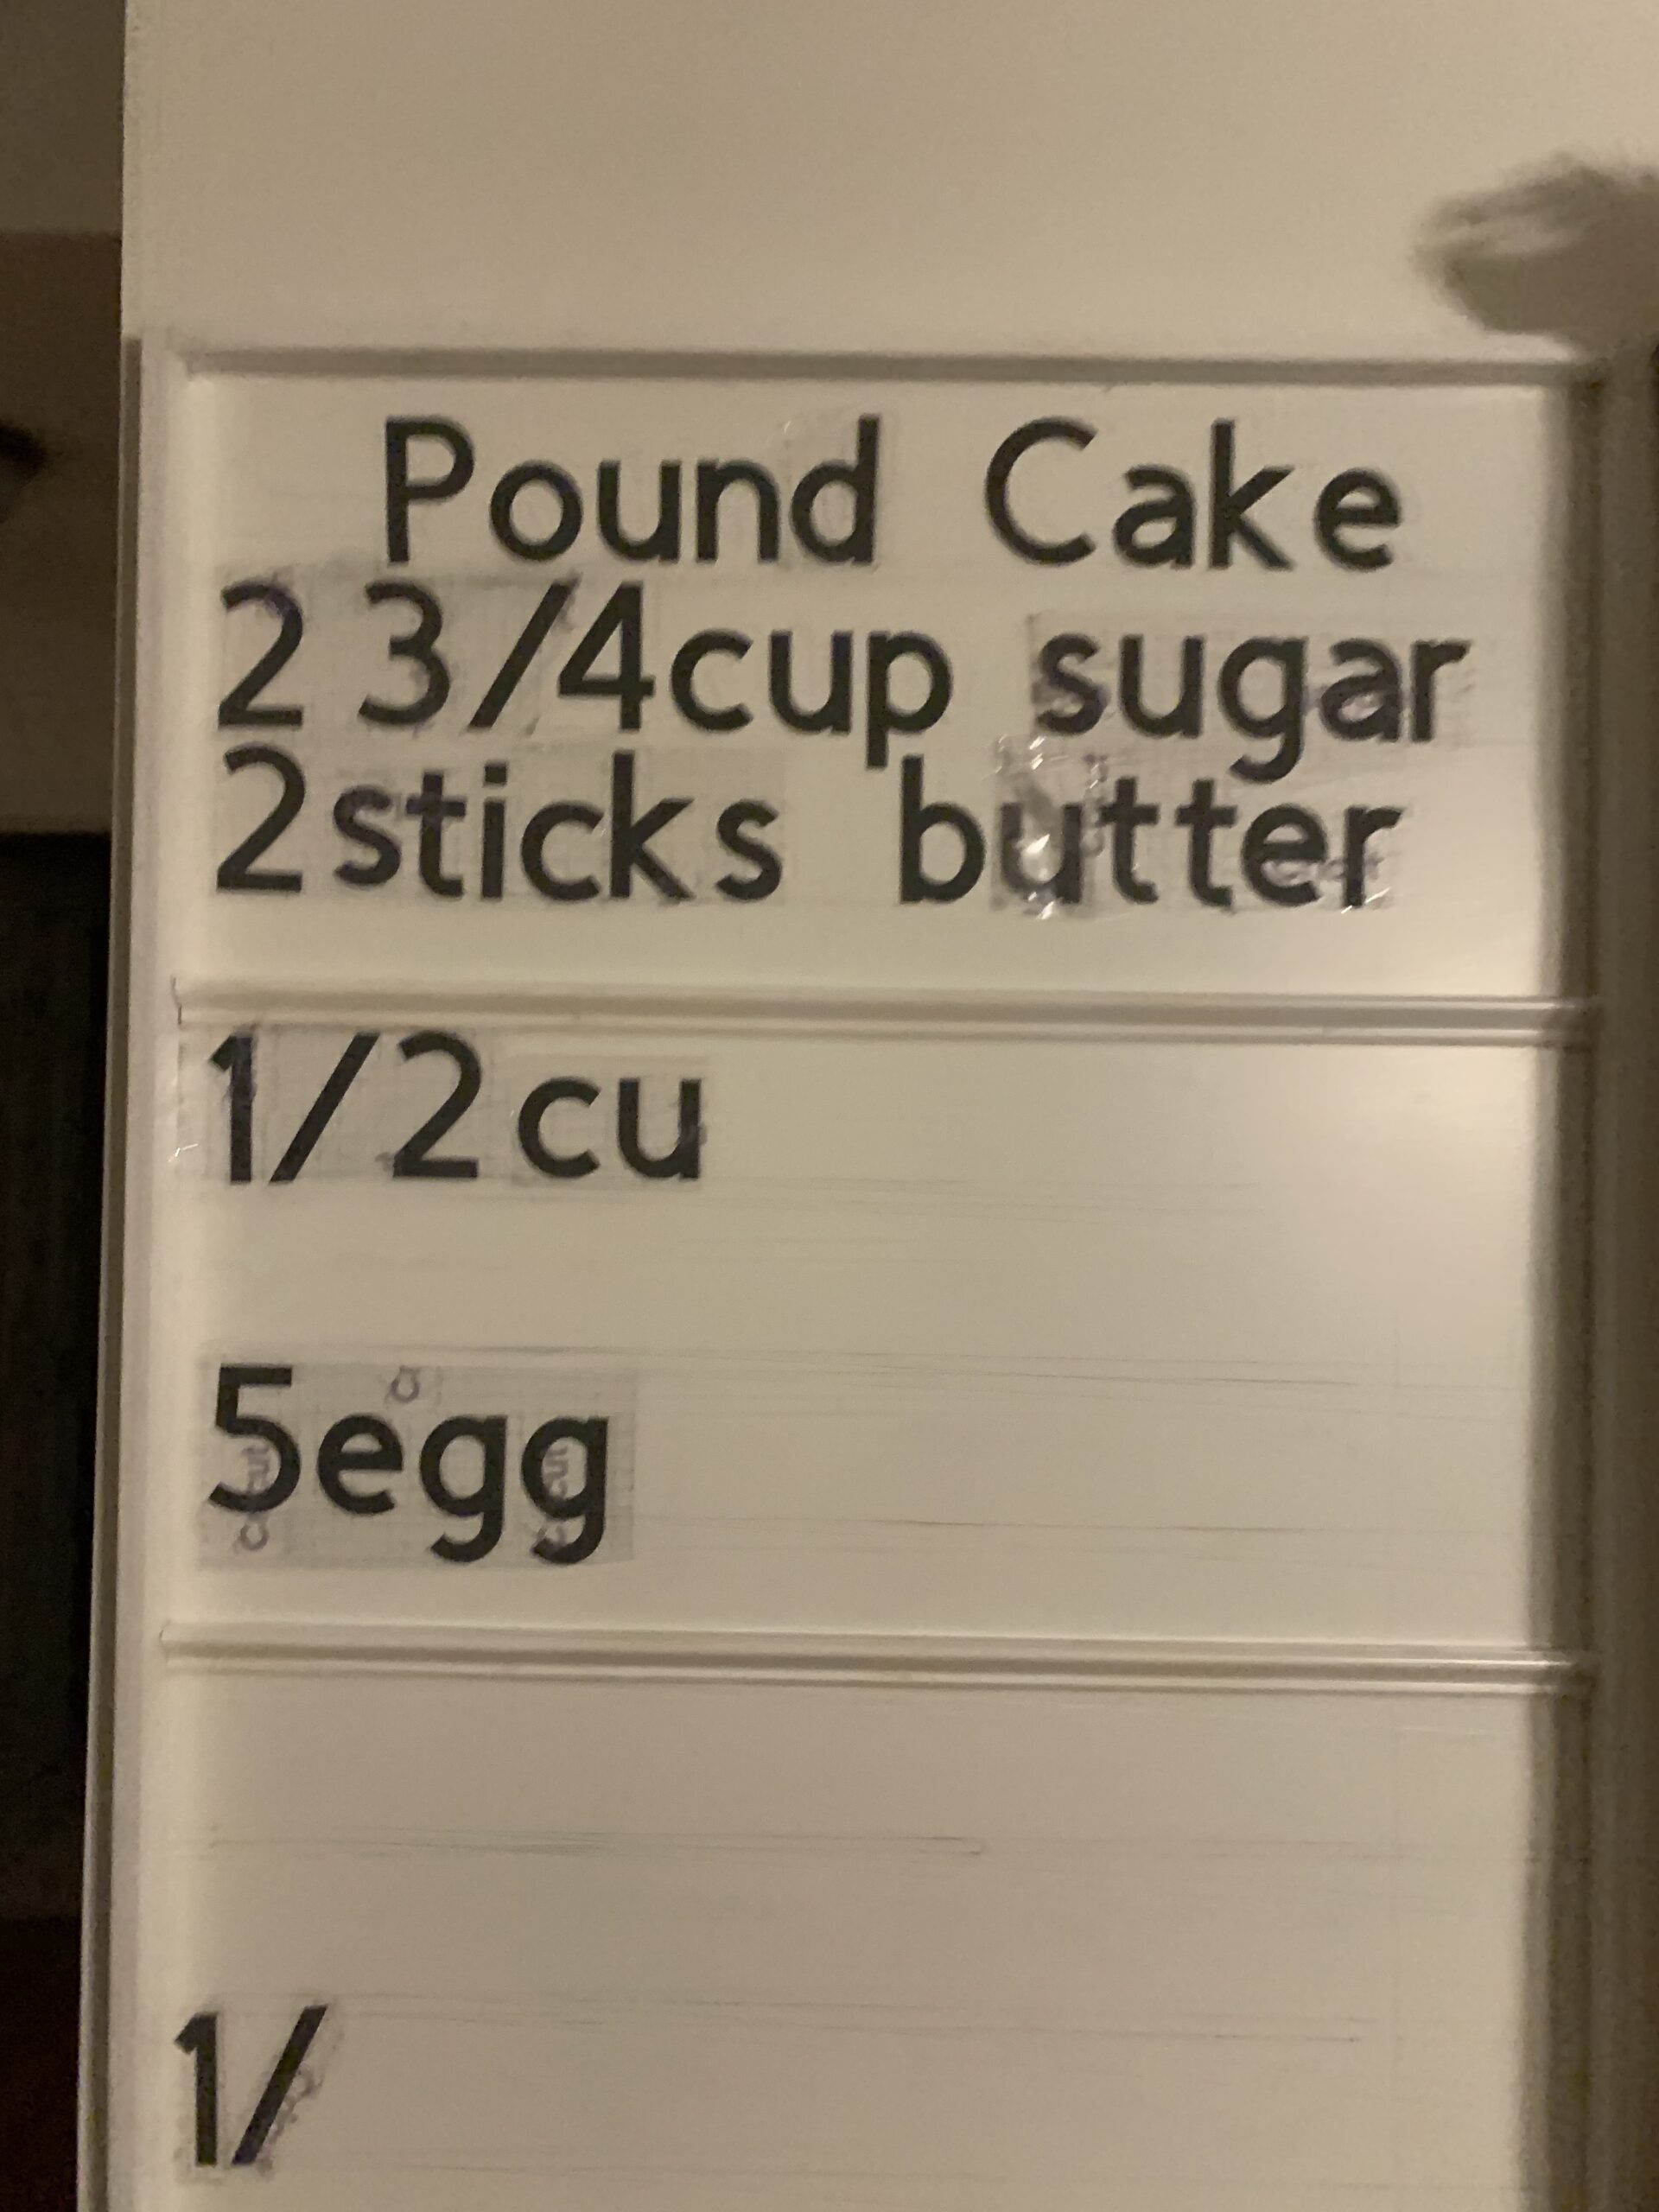
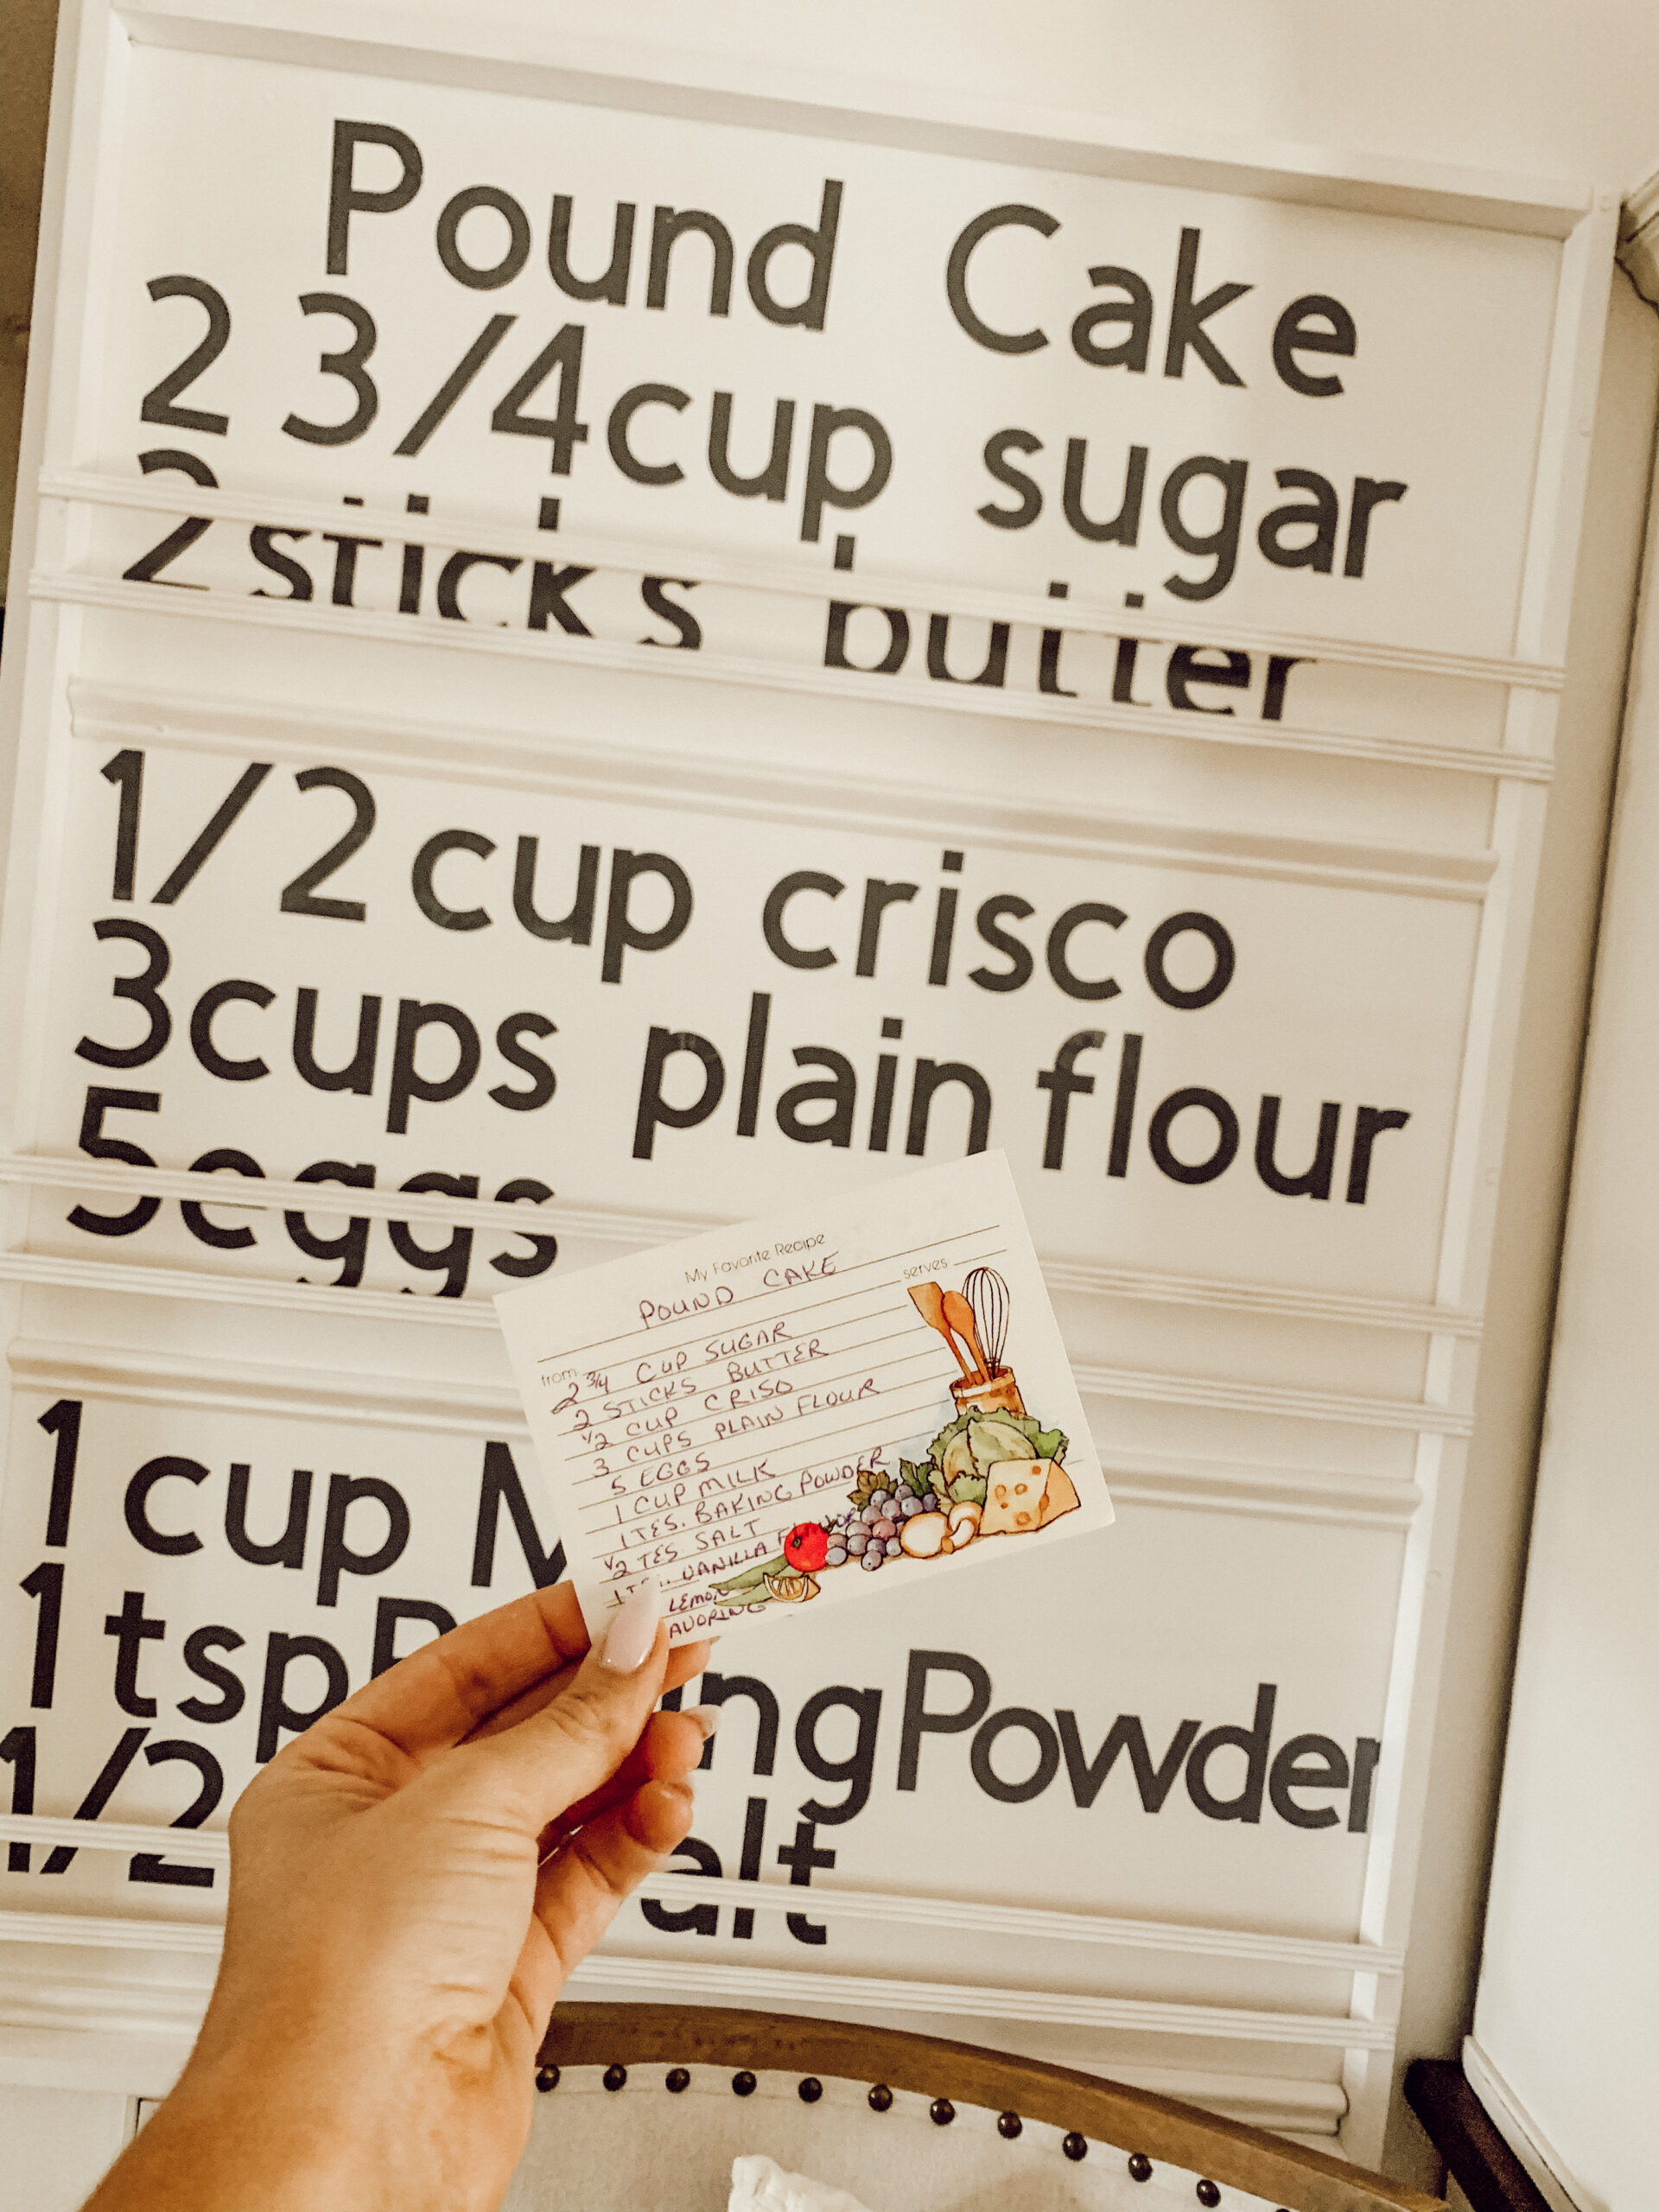
Once the lines are drawn, you can start putting your letters on the board. I used a family recipe for the lettering on this board. You could use a recipe or even make a menu board. The letters were attached to transfer paper to put on the wall. I placed the letters in the lines and took a plastic putty knife to adhere them to the wall and then peeled off the transfer paper.
Now that the letters are on the board. I took a magic eraser to remove the pencil lines from the wall. You will then take your strip molding and place it on the frame to help hold your plates and cutting boards in. I placed the strip molding 2 inches above the base molding and then took the second piece of strip molding and placed it above the first piece. I took the nail gun and attached one side of the molding to the frame and then took my level to make sure the pieces were straight across before attaching the other side.
Once the strip molding is attached, you can then begin to style it. You can put vintage plates, cutting boards, or even just leave it blank. There are so many options and I would love to see if you create one by tagging me on Instagram @itty_bitty_farmhouse. I hope that you can create your very own old-fashioned plate rack. I really enjoyed creating the vintage inspired letting board plate rack and it was really easy to create. Sometimes we just have to create our own until we find the original. Head over to Hometalk to see the larger images with details of each step. Thank you so much today and everyday for following along with me on my DIY’s, XOXO


Fabulous!!! Your instructions are thorough. The end product is perfect for Farmhouse decor. Thank you for sharing your Farmhouse plate rack.
I love your stuff and inspired by your ideas. Curious about the no electric needed farmhouse lights!!! Love them but didn’t quite understand directions. Sorry!! Can you give me more information??? Please. I think a man designed my apartment and forgot about lights and outlets. lol
hey there!
What were you needing a little more directions on?