SHARE
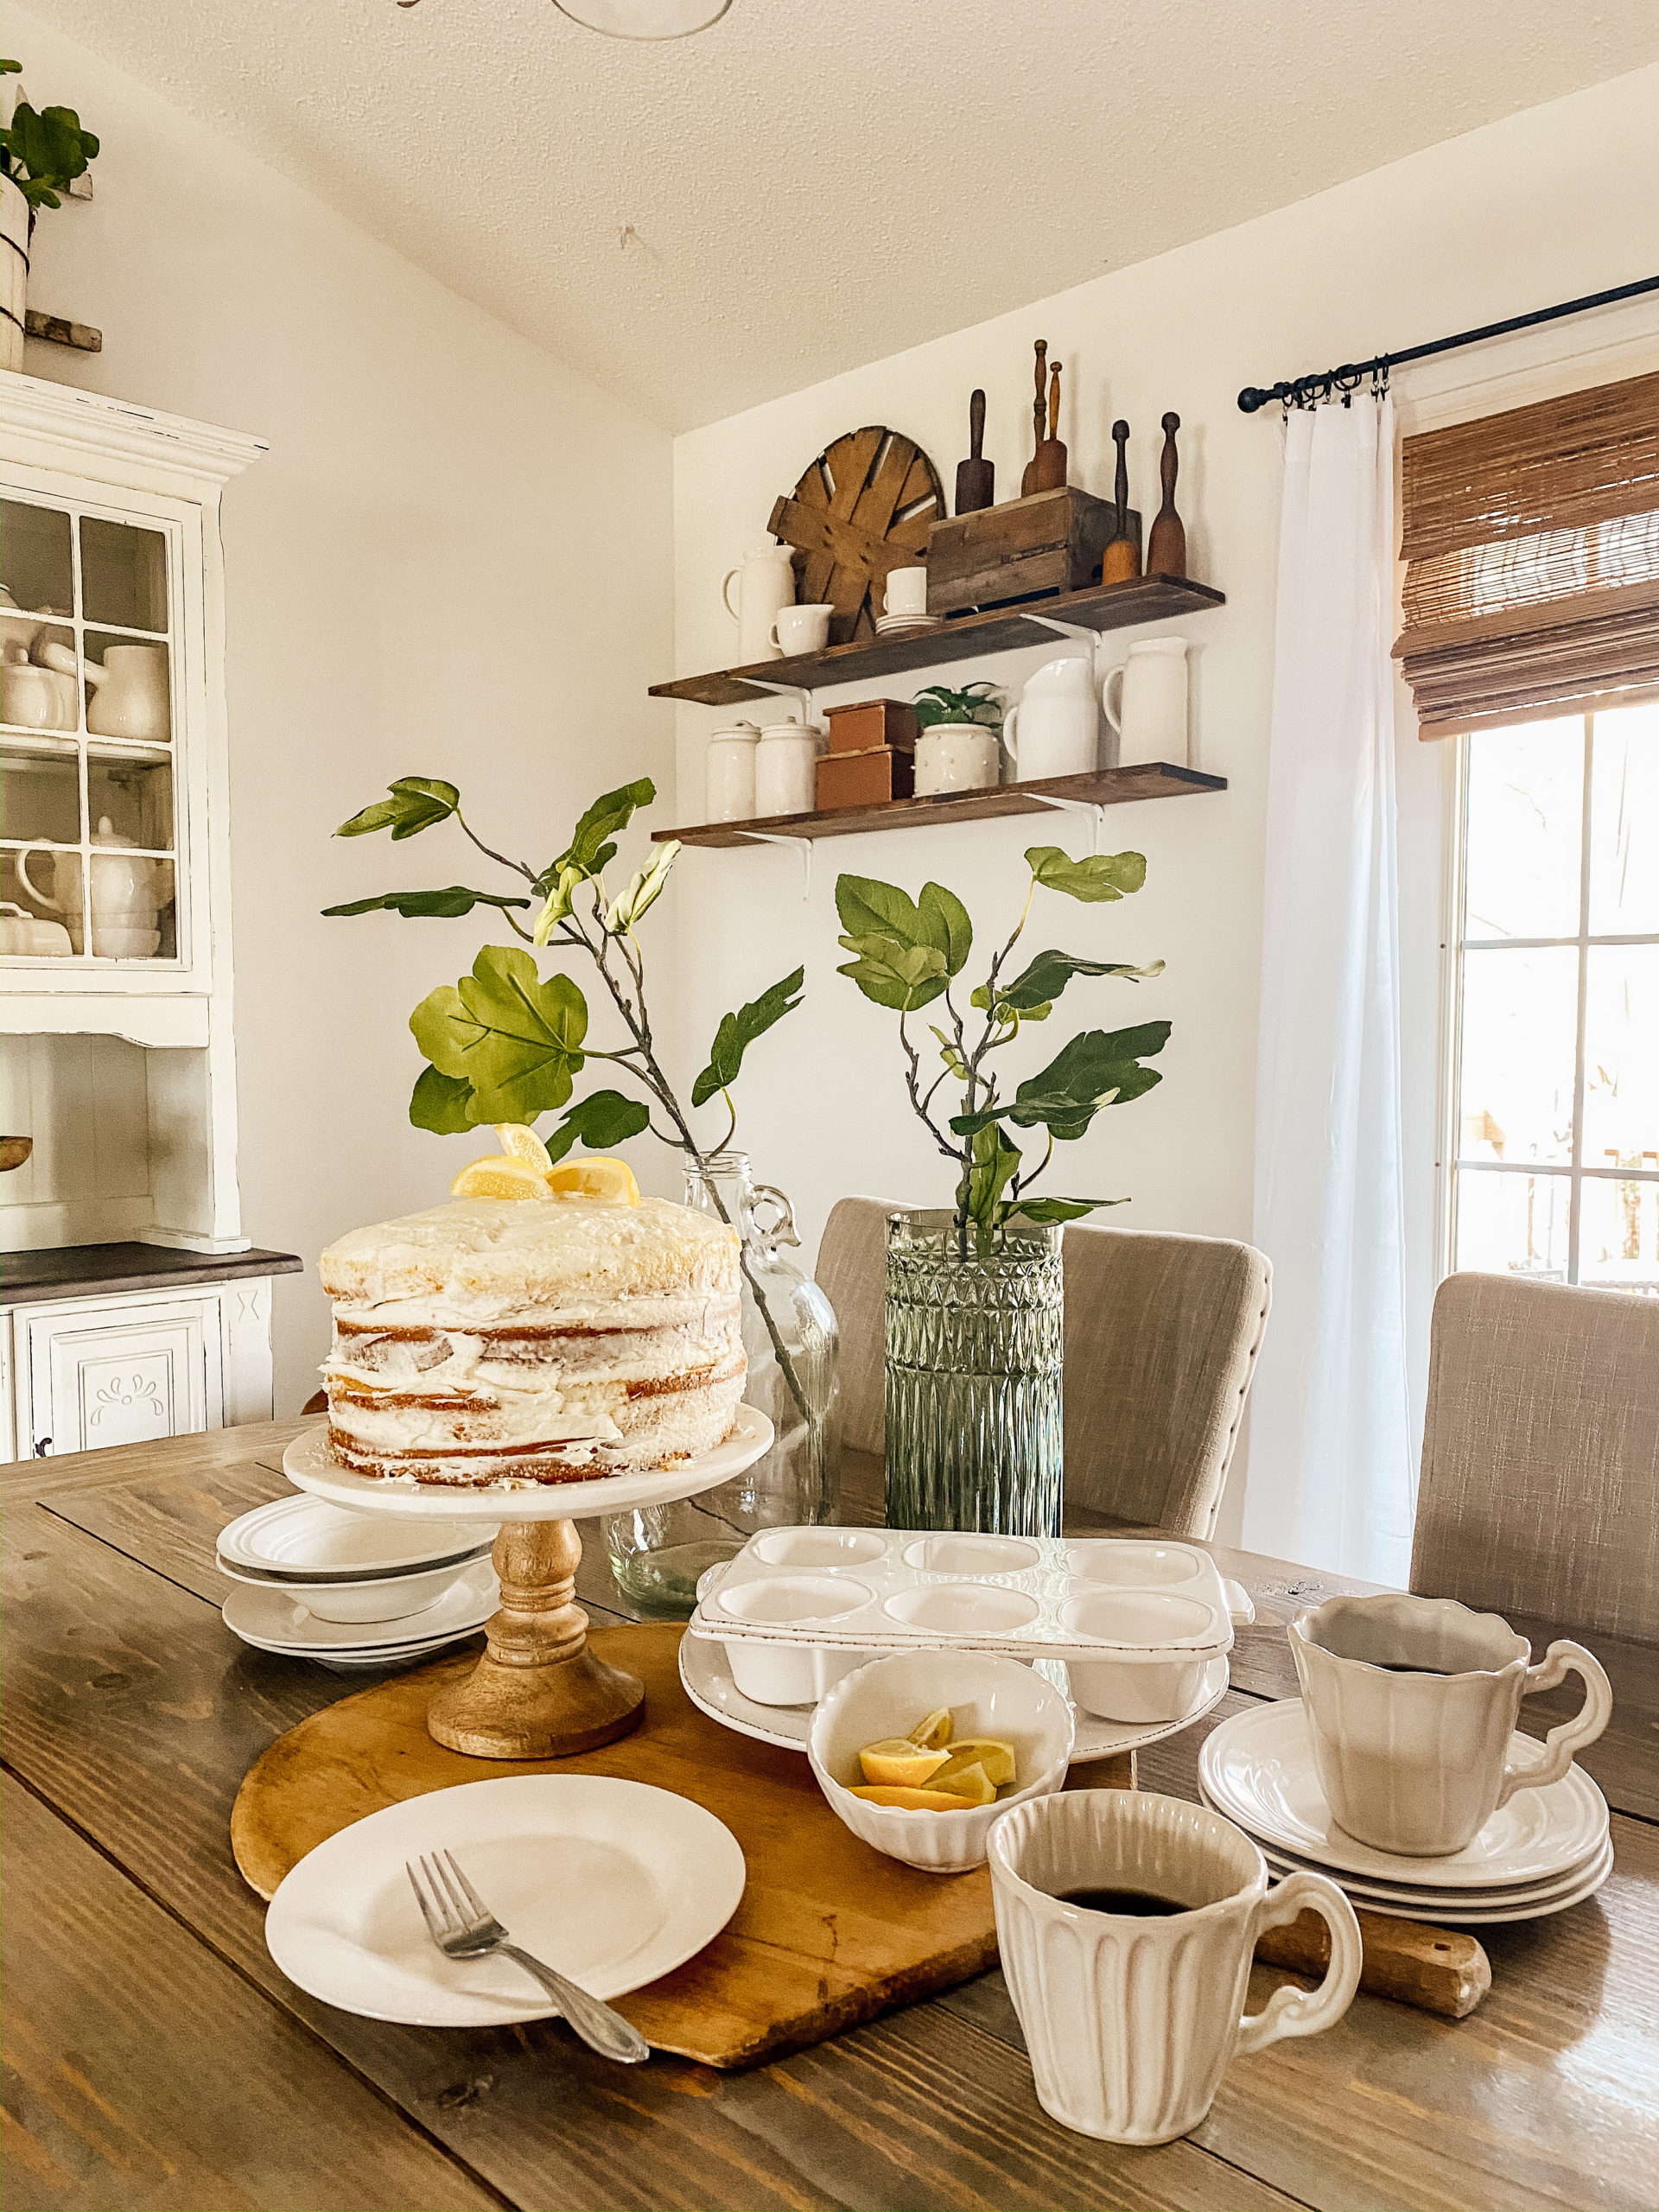
Food blogger, say what! This is something that I never expected to be sharing here on the blog but, after sharing my brownies on my Instagram stories; many of you asked that I share more fun dessert recipes. This is one of my favorite cakes to bake spring this time of the year, a Lemon Coconut Cake. There is many ways to make cakes from scratch, however many of you said that you would like me to share recipes that use store bought ingredients. Even though you have store bought ingredients does not mean that it can not taste homemade.
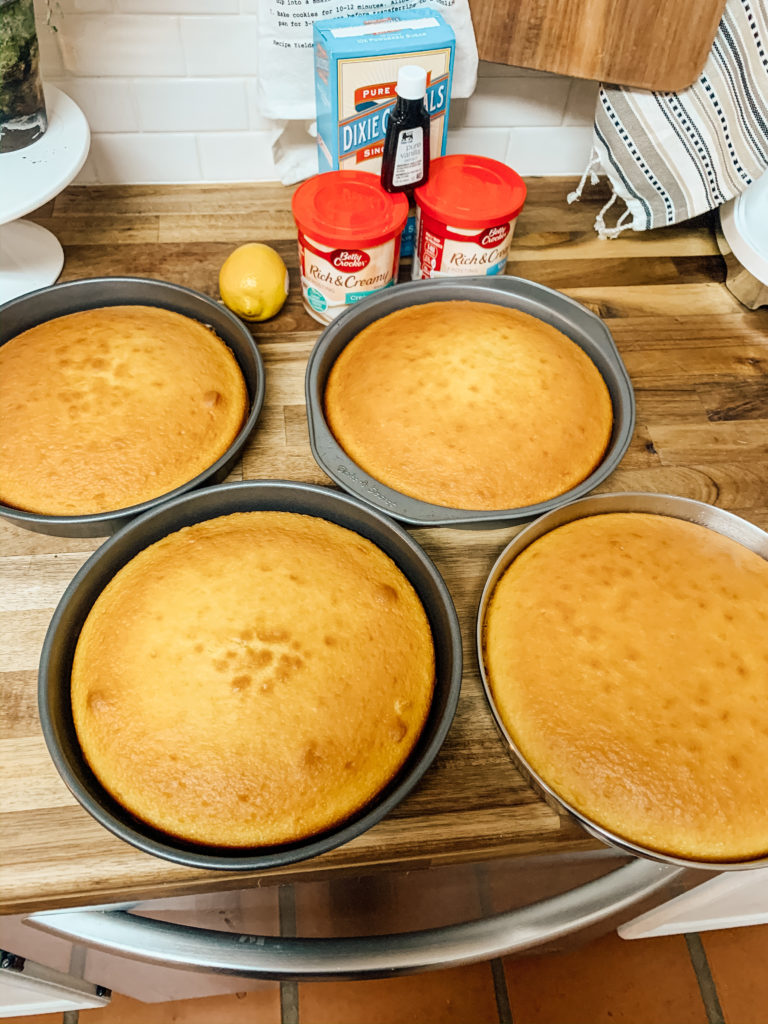
This yummy cake can be made for under $10 and it is so simple. I went to the local store and grabbed two boxes of Betty Crocker Lemon Cake Super moist; I use the simple moist because it already has the pudding in the mix, which is the key to having that homemade moist of a cake. I also grabbed some pure coconut extract, one container of Betty Crocker cream cheese icing and one vanilla icing, and one lemon. I already had the pure vanilla extract, powder sugar, and pure lemon juice at home and did not need to grab it from the store.
Once I was home I followed the instructions on the back of the box of the cake mix and doubled it since I was making two boxes. Once I had those ingredients in the mixing bowl, this is where I added the ingredients to make it taste completely homemade. I put in the vanilla extract, coconut extract, and lemon juice. Now it is time to mix. Once you have everything mixed up you can decide if you want to do a layered cake, a sheet cake, or what I did a semi-naked cake. Since I did the semi-naked cake I had to divide the batter into four 8×8 circle round cake pans. Then you pop them into the oven. I followed the directions on the box for baking time. Once they are done baking, I sat them out on a cooling rack and let them cool for 4 hours. I do this that way when I take them out of the pans, without them crumbling.
Recipe for Cake
2- boxes of Betty Crocker Lemon Super Moist Cake (follow directions on ingredients on the bake of the box)
1- tsp of pure vanilla extract
2- tsp of Pure Coconut extract
1/2 tsp- of pure lemon juice
Bake per directions on the back of the cake mix box.
Cooling Time: 4 Hours
After the cakes were cool, I took them out of the pan and cut the uneven part of the cake off. When I say the uneven part of the cake, this is the part that rises during baking and you want to make that even to ensure the cake is stacked straight. I use dental floss for this to create a simple easy smooth line, removing the raised cake part. I shared a video on how I did this on my Instagram account in the baking highlight, {HERE} . Once this was done, now it is time to make the icing.
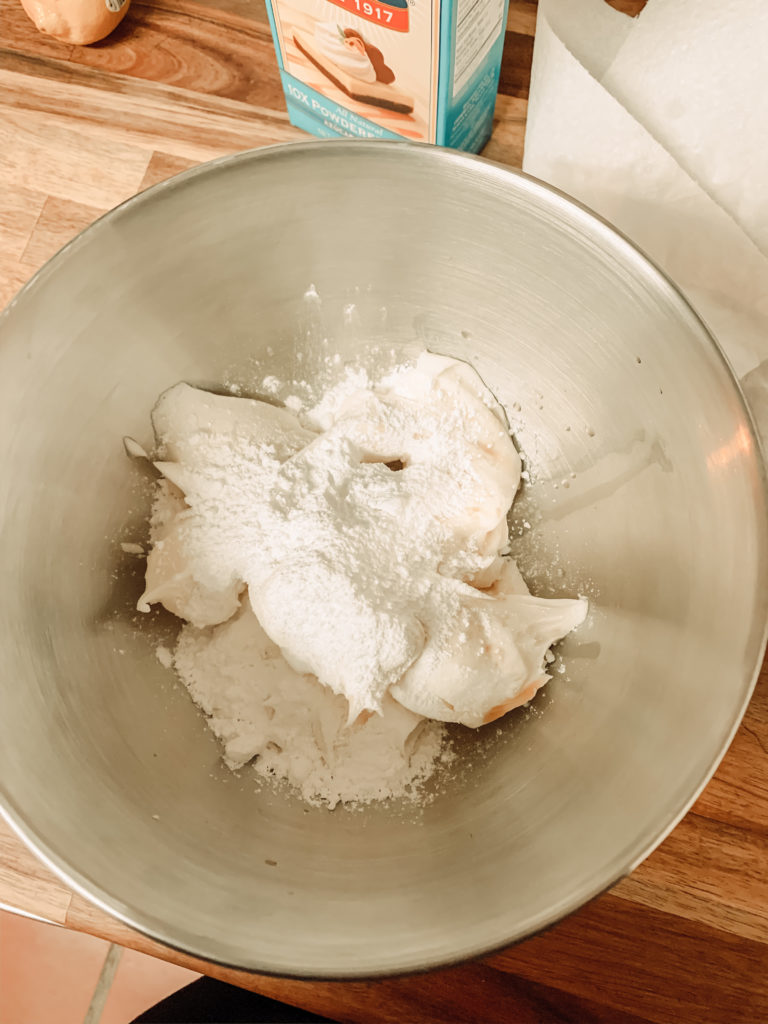
Making the icing is very simple. I took both containers of cream cheese and vanilla icing and put it in the mixing bowl with pure vanilla extract and powered sugar. I sprinkle in powered sugar until I like the consistence of the icing. When making the icing if your want to use it for a semi-naked cake like I did, you want the icing to be very whipped and fluffy. I slowly added in the powered sugar until I felt that it was whipped enough.
Recipe for Icing
1- container of Betty Crocker Cream Cheese Icing
1- container of Betty Crocker Vanilla icing
1/2- Teaspoon of pure vanilla extract
Powered sugar until you like the consistence of the icing
Whip the icing until you like the texture.
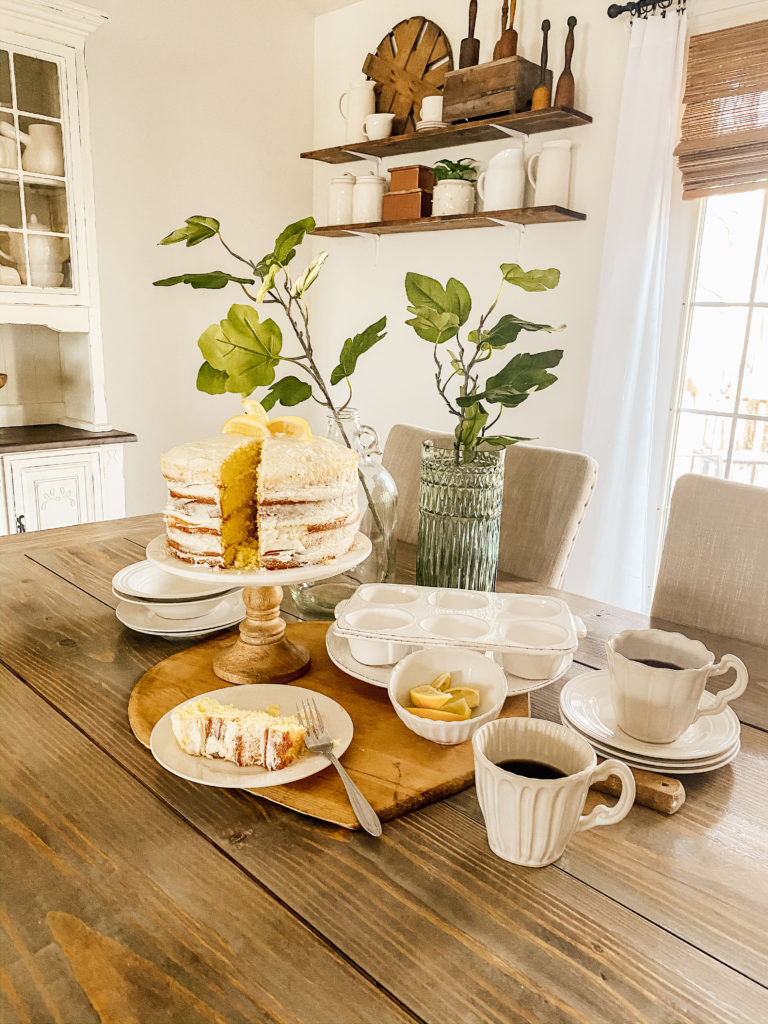
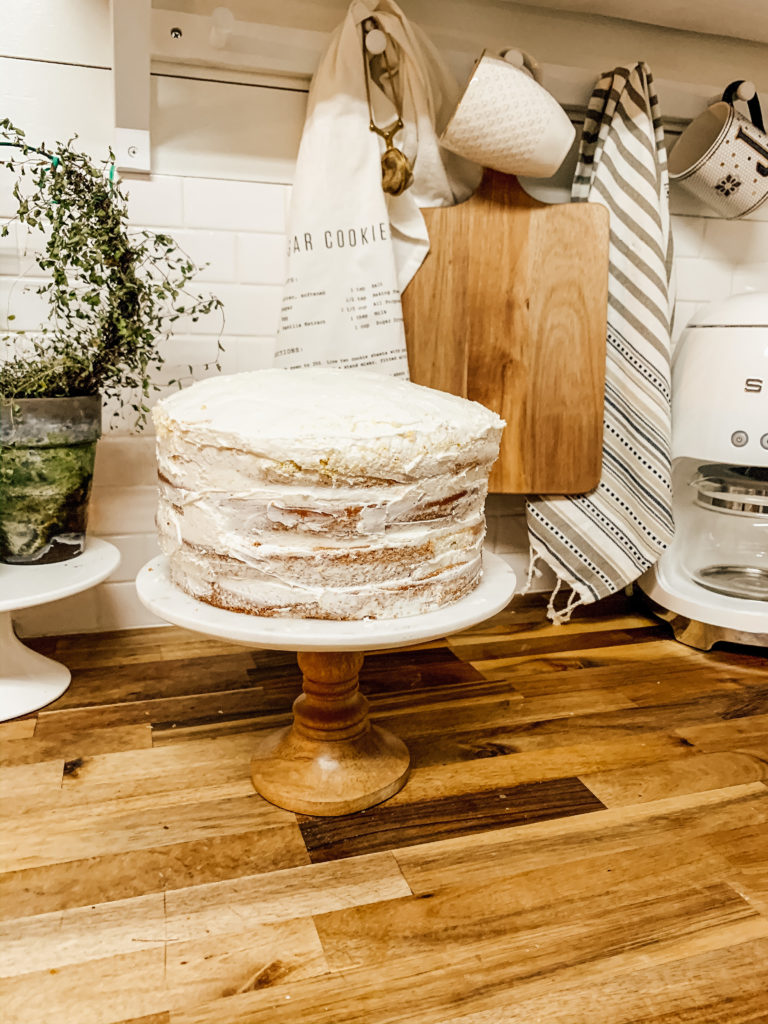
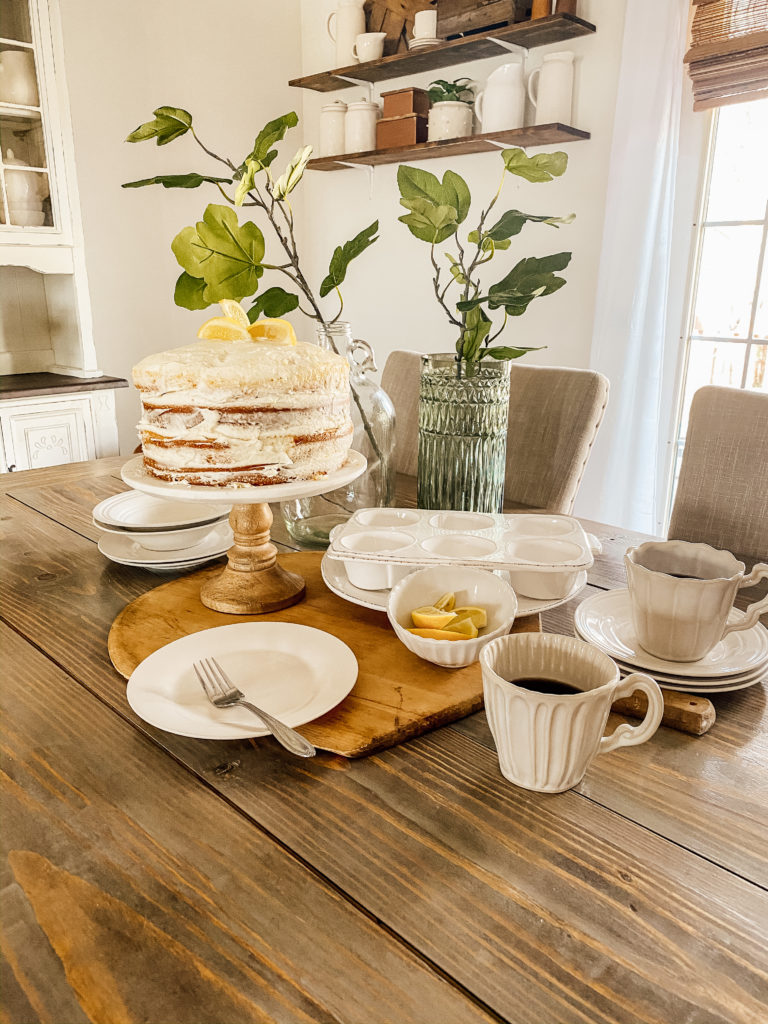
Once the icing is the consistence you want, now is when you will start layering up the cake. I put my cake stand on the counter and start stacking. The first cake goes on to the cake stand, then I put a good layer of icing on the top then I stack the next round cake onto and repeat this pattern until the cake is done. Once you get the cake stacked now I take my putty knife since I personally feel that it works better and start icing your cake. The trick with a semi-naked cake is to not be perfect with the icing. Less is more in this case, you want to make sure the cake is still shown through the icing. Once you have this done, all that is left is to garnish the top.
I really hope that you enjoy this treat as much as you did the brownies. If you try this recipe please feel free to tag me Instagram or share how you made this and your thoughts on the taste. Thank you for coming by the blog today, XOXO
