SHARE
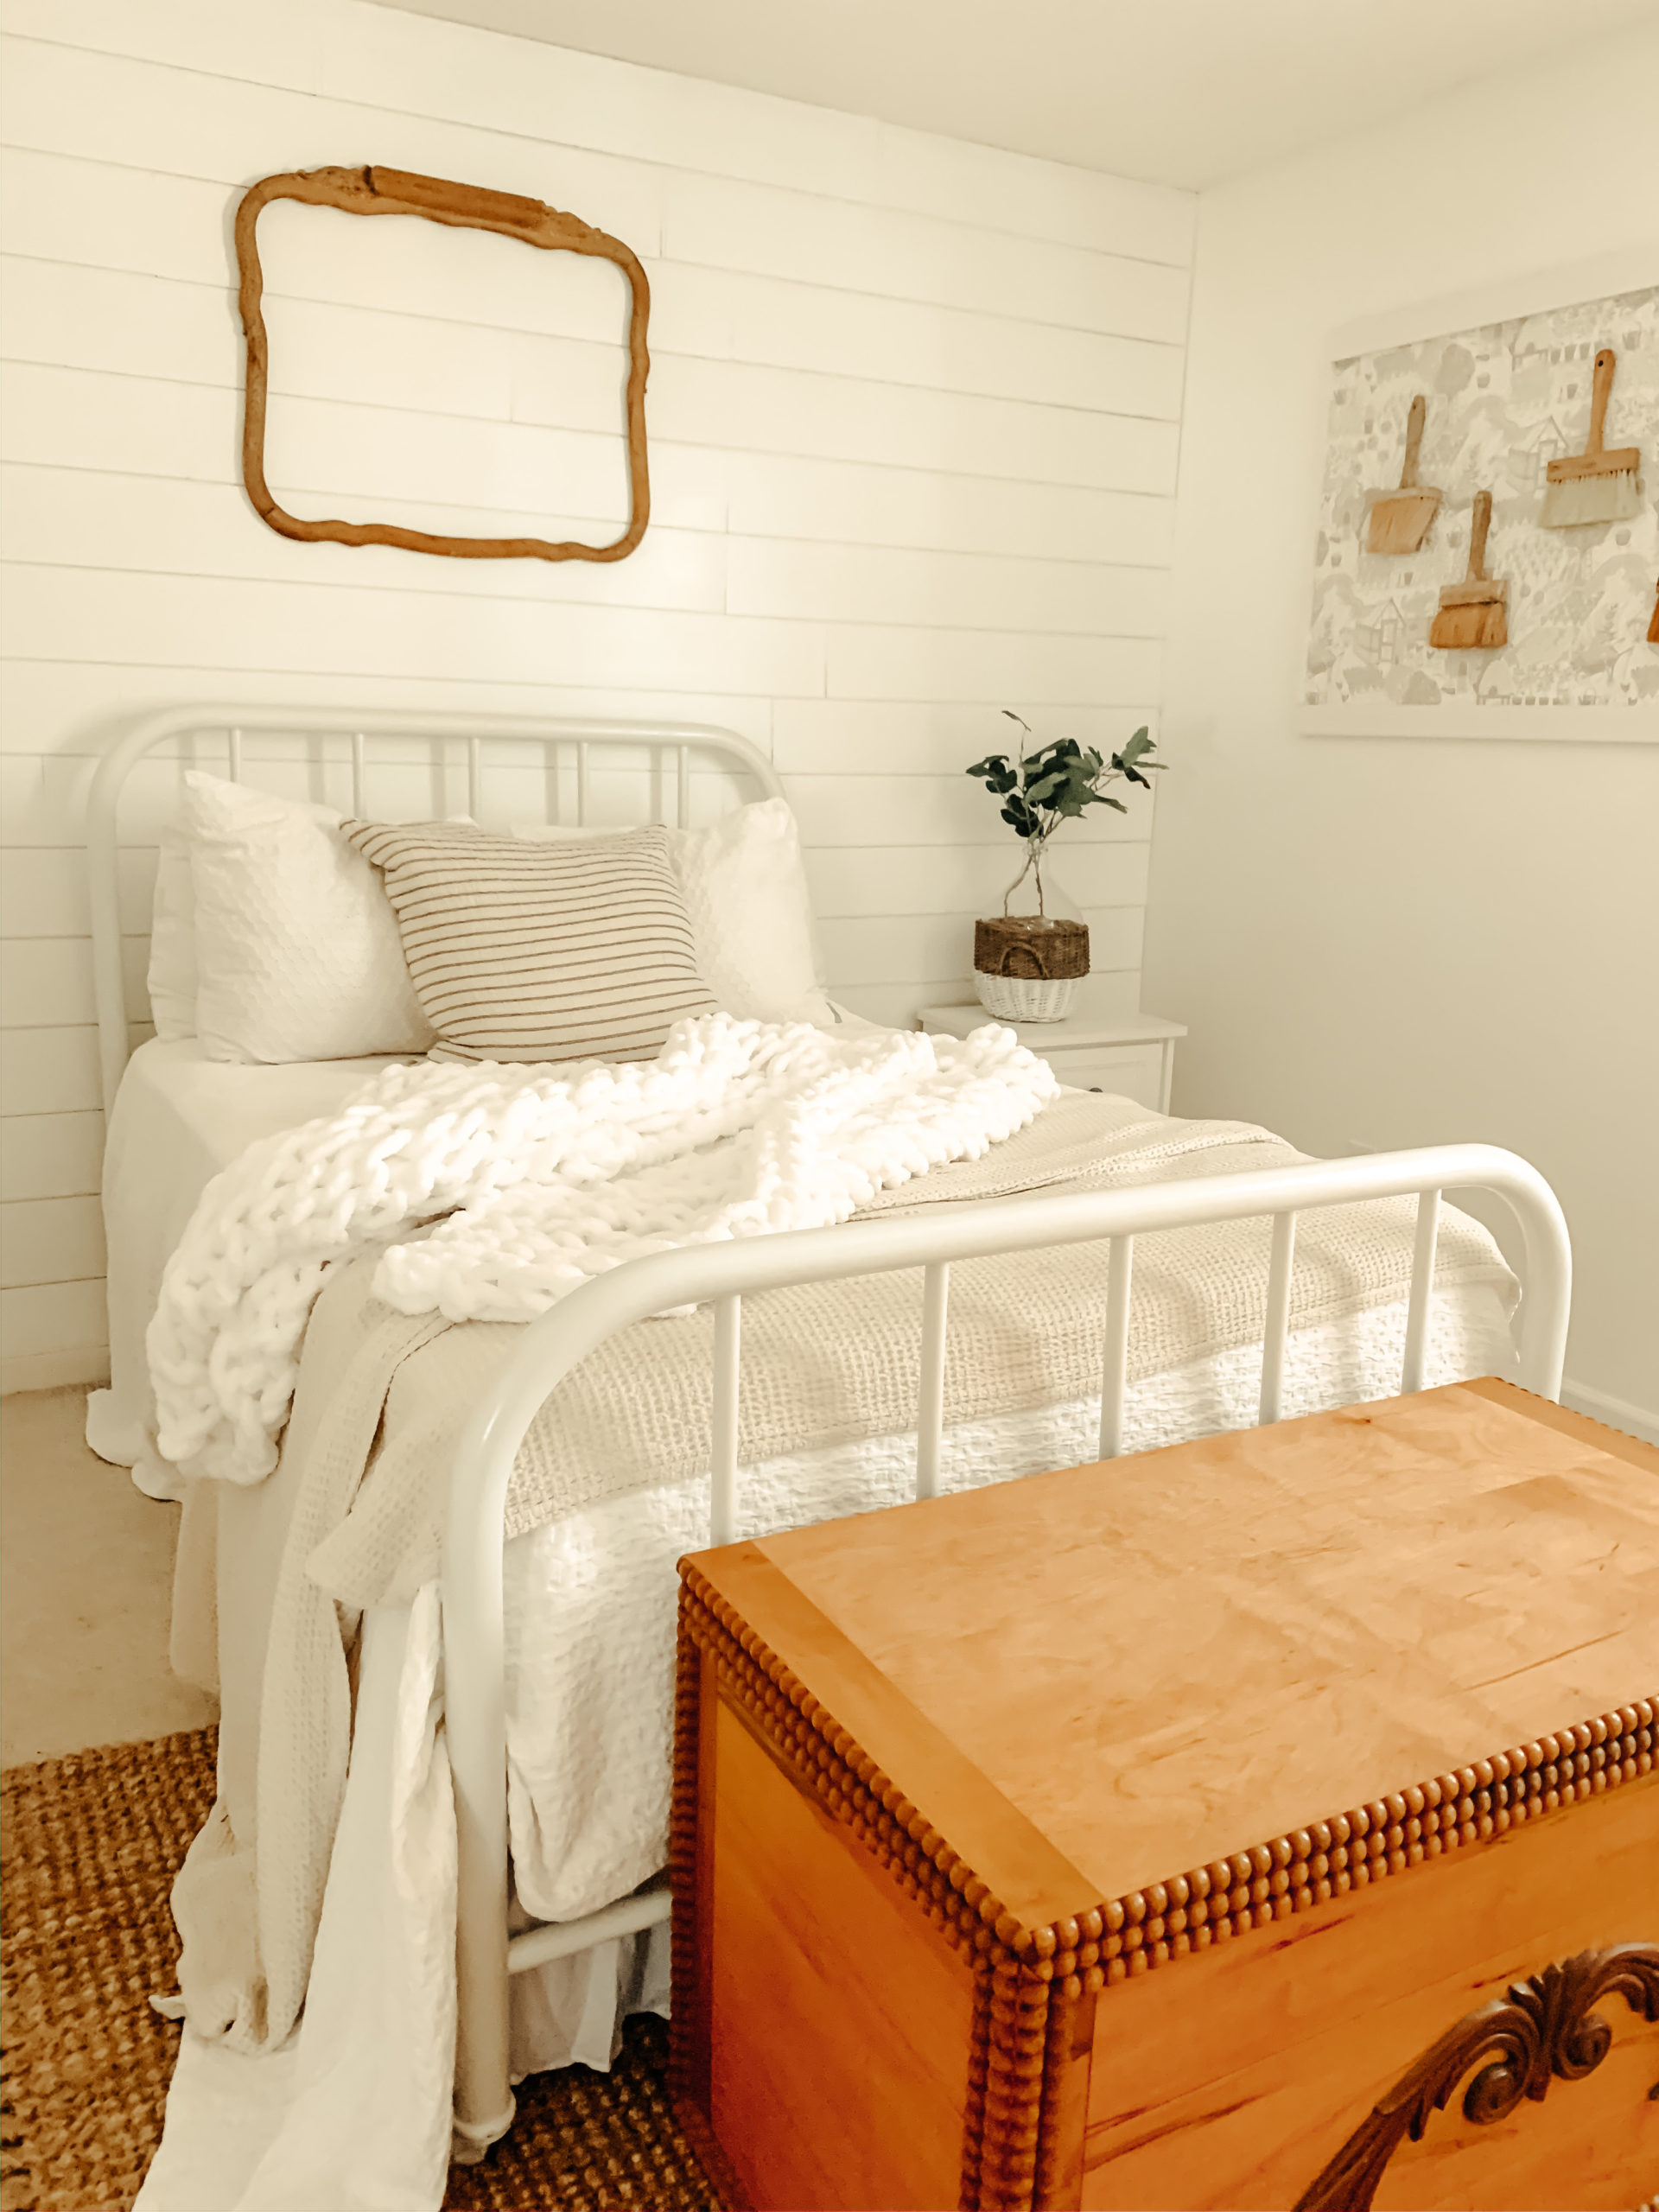
This year I made a plan to make sure that I share the DIY’s that I do around our home. When I creating DIY around the house I am trying to make sure to keep them simple if possible. I know sometimes the word mention of DIY some of us instantly think oh no I can not do that because it requires power tools. This is why I am sharing my simple and easy way to put up shiplap in a room that can be done in one day with only two power tools. I love that shiplap can make a huge difference in a room and can be completed in one day.
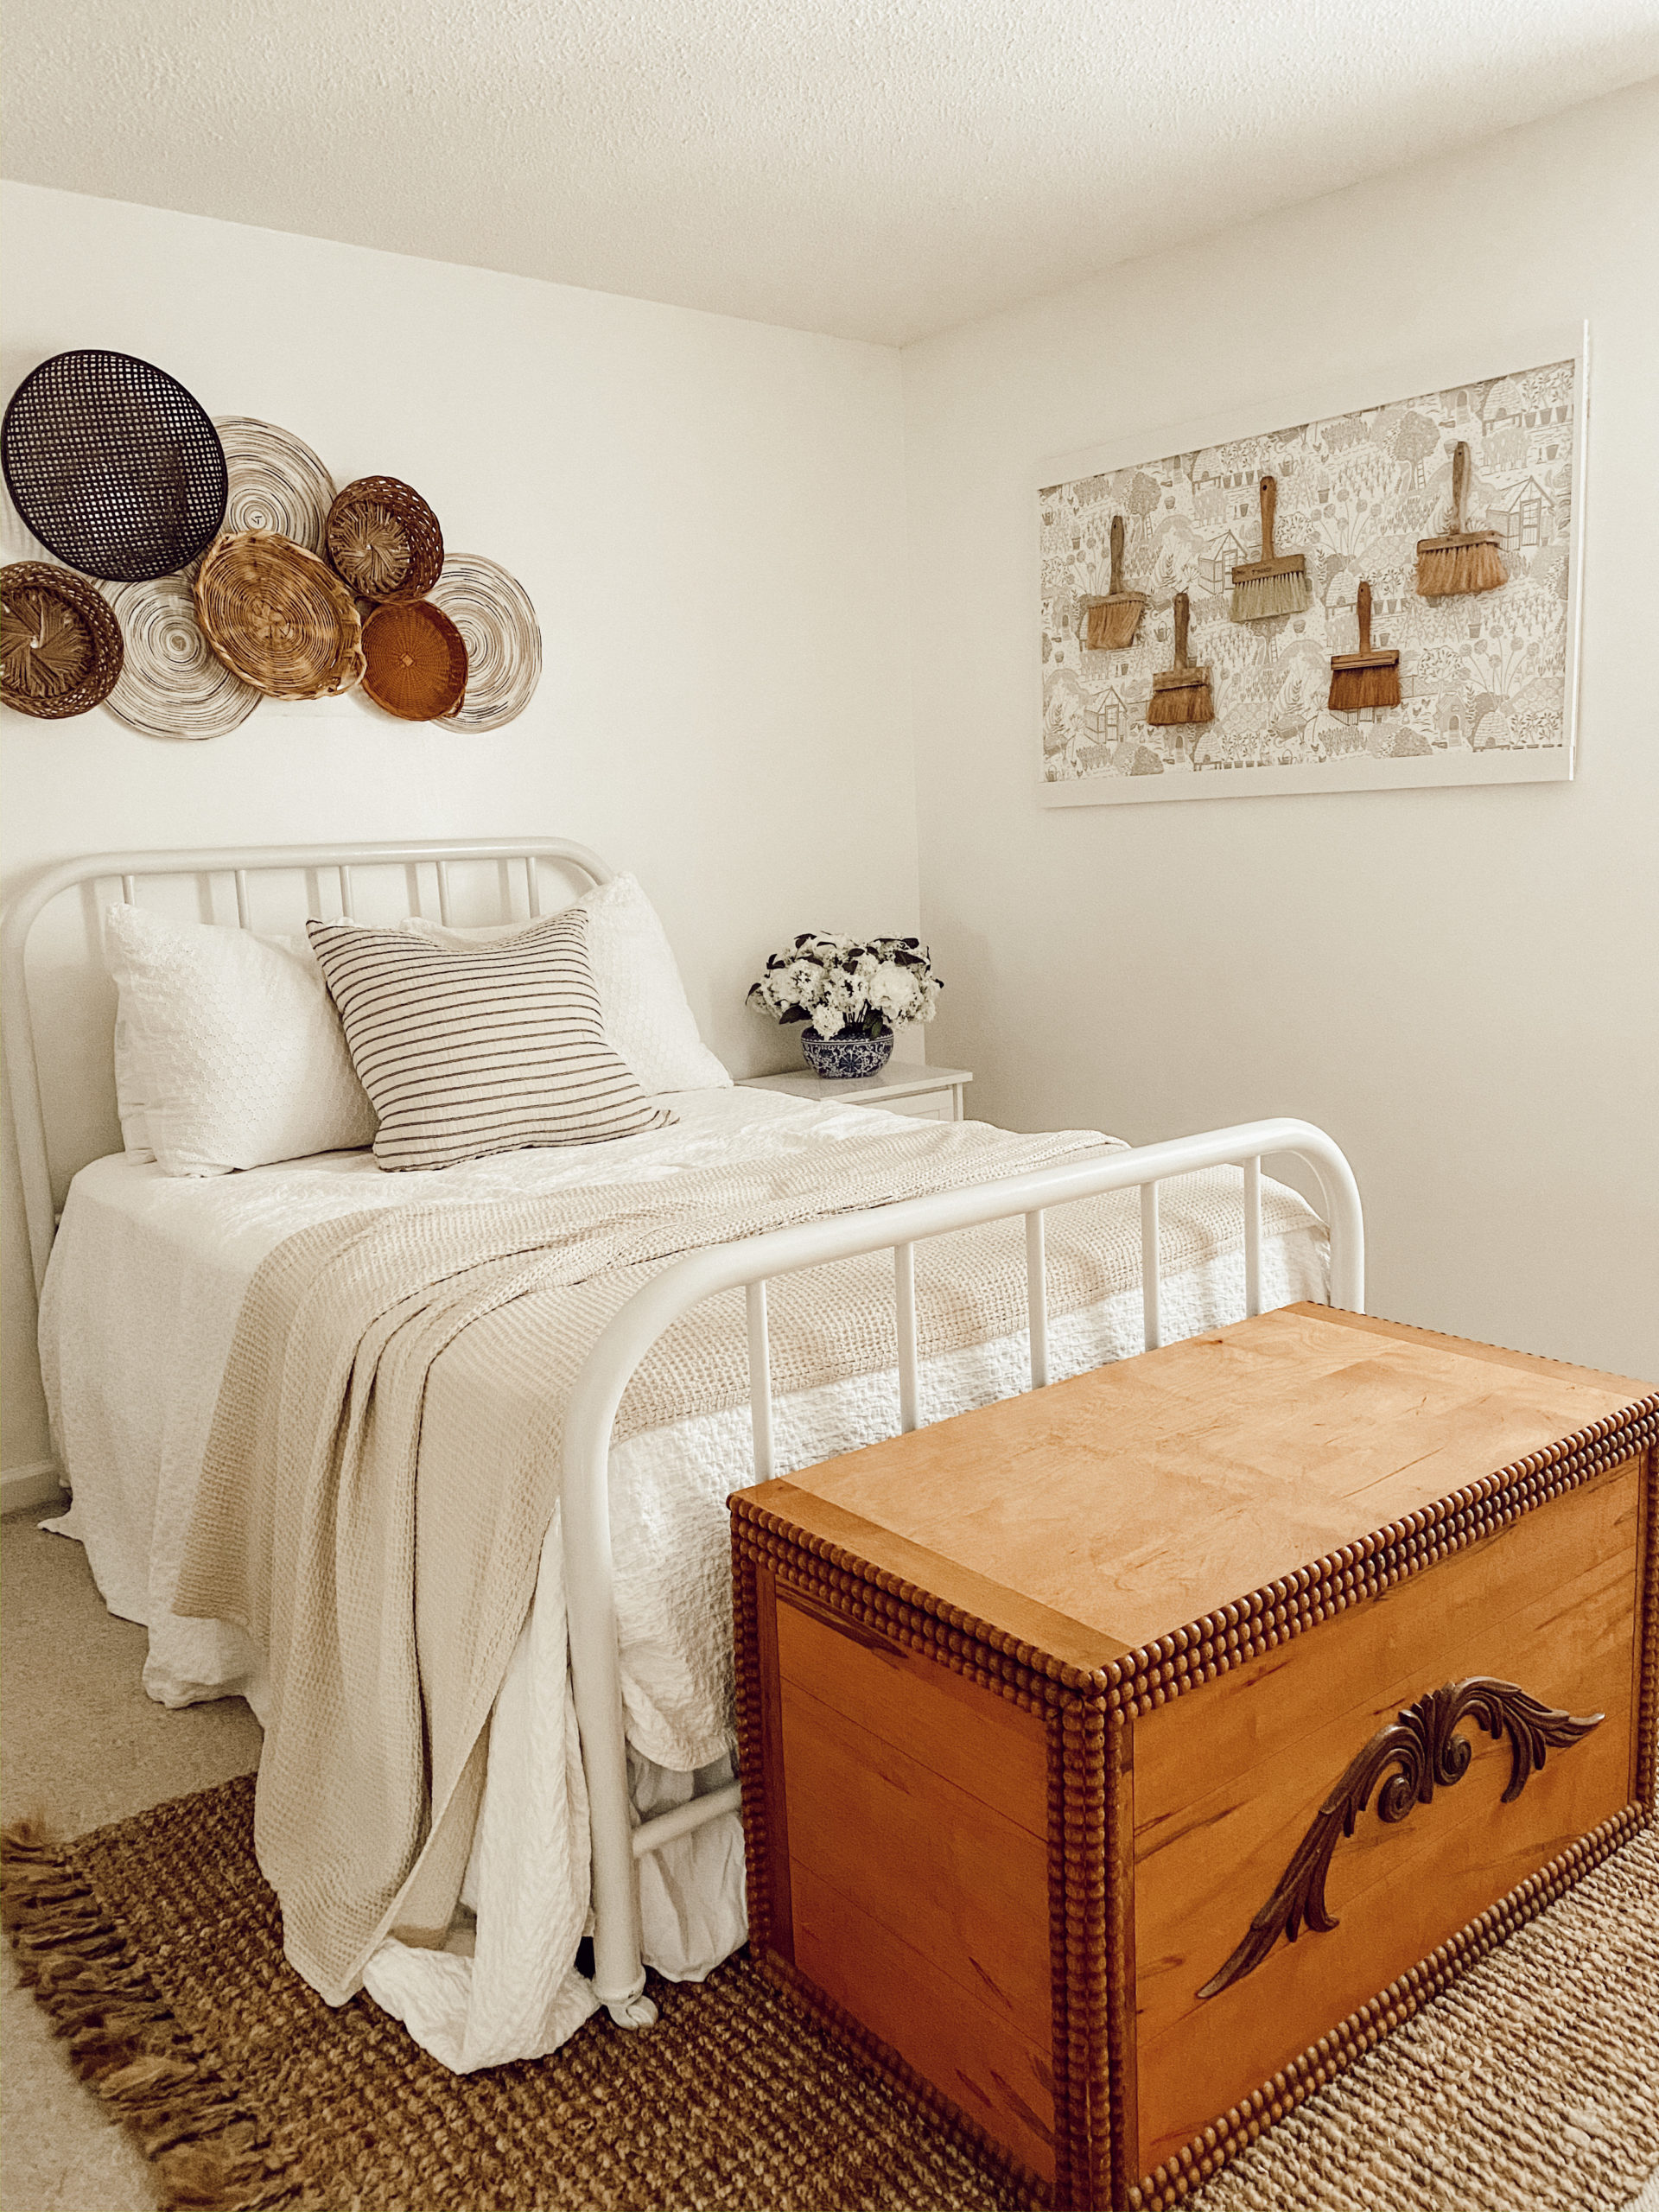
I love my guest bedroom and even though I just did a the wallpaper framed DIY , this room was still missing texture. I came you all with some choices about board and batten or shiplap and we know which one was the favorite. I knew that I could create this simple project fairly quickly which is one reason why I love shiplap. Many times I get the question, how did you do the shiplap so quickly. I am here to share my tips and tricks with you all.
The first step that I start with is to measure the length and height of the wall that I am going to be shiplapping. After I get those measurements, I decide how wide of strips I want to cut the 4X8 sheet of utility panel into 6in strips because I would get eight strips out of each panel. Now for the length, this particular wall is longer than 8ft, which means that I would have needed two full panels but, since I had left over shiplap from the entryway wall, I only got one sheet. My suggestion is that if you have a wall that is over the length of the panel length to always grab an extra just in case. Once you decided how thick you want to cut the strips of the panel into, it is time to go to the store. I am going to link the utility panels that I have used. You can either get them from Lowes or HomeDepot for under $20 a sheet.
Also while you at the store you want to pick up the flat aluminum rod the will be the spacer between your strips. Once you have the sheets of paneling, I have the store cute the paneling into the size strips that I want. When you do this make sure they cut them the longest length, the 8ft length. Now you are all set to go home and start your wall. I have them cut the strips that way it is one less tool I have to use and I know that not everyone knows how to use a table saw or has one.
Once I am a ready to begin I make sure that I have a saw to cut the strips into the correct lengths once I am putting them on the wall and I use a nail gun to hold the panel to the wall. If you do not have a nail gun that is okay too, you can use paneling nails and a hammer. When I am doing a whole wall, I make sure to start at the top of the wall and work my way down. When I start I make sure that I rotate long pieces with short pieces. I create these pieces by cutting the strips into uneven half when I start with a new strip. I take the first piece and put to up to the ceiling and into the left corner. Once the first row is done, this is where you flat metal rod will come into play to be your spacer. I take the metal pad and put it with the thin part against the wall and push it flush with the board that is attached to the wall. Then I take the next strip and put is up under the metal rod. Once you have it flush against the wall and the rod, all you have to do it nail it into place. Once it is nailed into place you can pull out the metal rod and you will have a straight space between the strips.
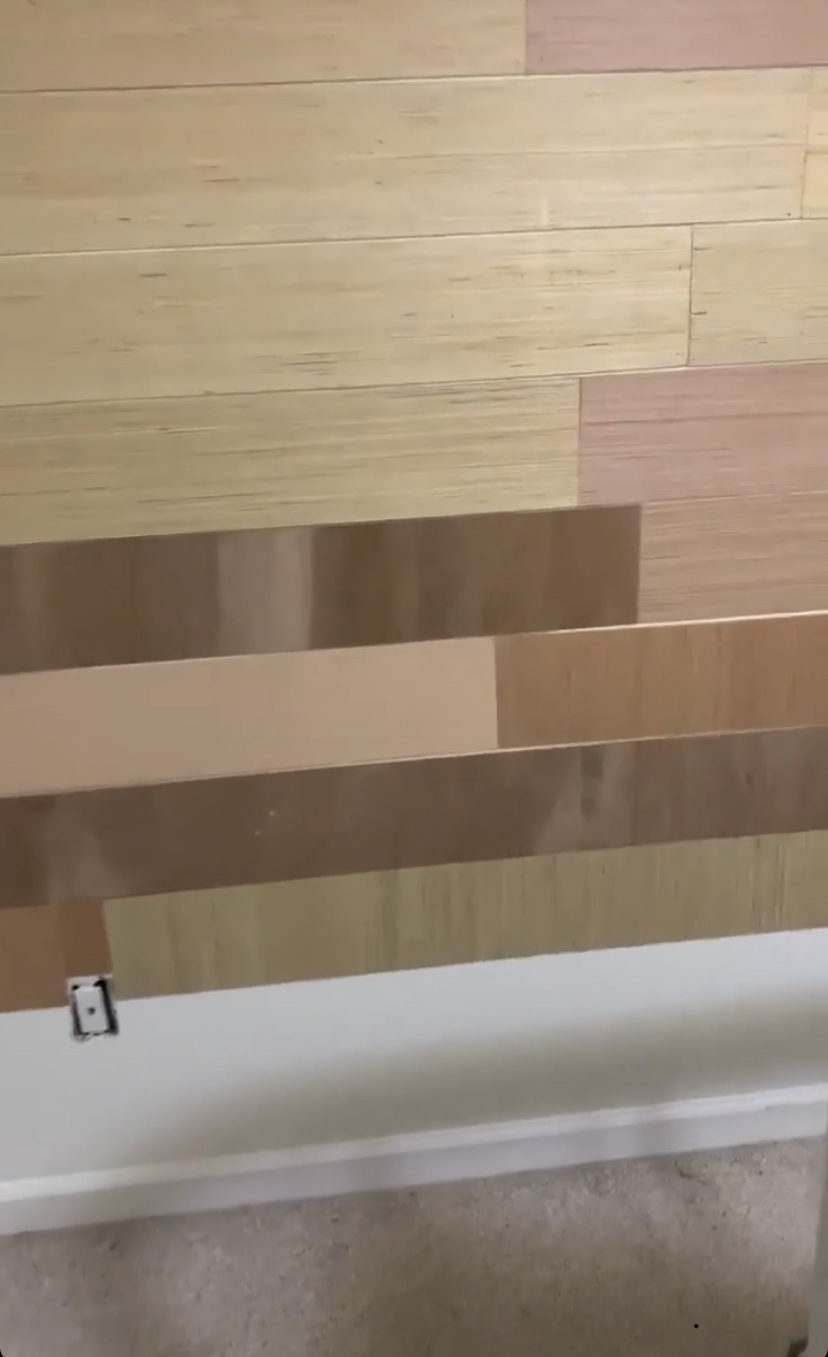
I repeat this process down the wall, cutting the strips to the length they need to be to fit across the wall. After getting all of the strips up, it is time to paint the wall. I had a few questions about if you should paint the wall dark before you add the shiplap so it would create a dark line. I personally do not think you need to because I put my shiplap over a white wall but the depth of using the spacer still creates that line. Another question I have gotten asked is, if you need to paint the crack between the shiplap? I do not paint the crack that way it creates that depth of darkness by the shiplap. Recently, I did the entryway with shiplap and I know many of you wanted to know what color paint I used in there. My whole house minus the office and the kitchen, is painted with White Dove by Benjamin Moore. I love how this color is a very creamy white but still crisp to create a sense of clean in each room. This is why I choose to even paint the shiplap with this color.
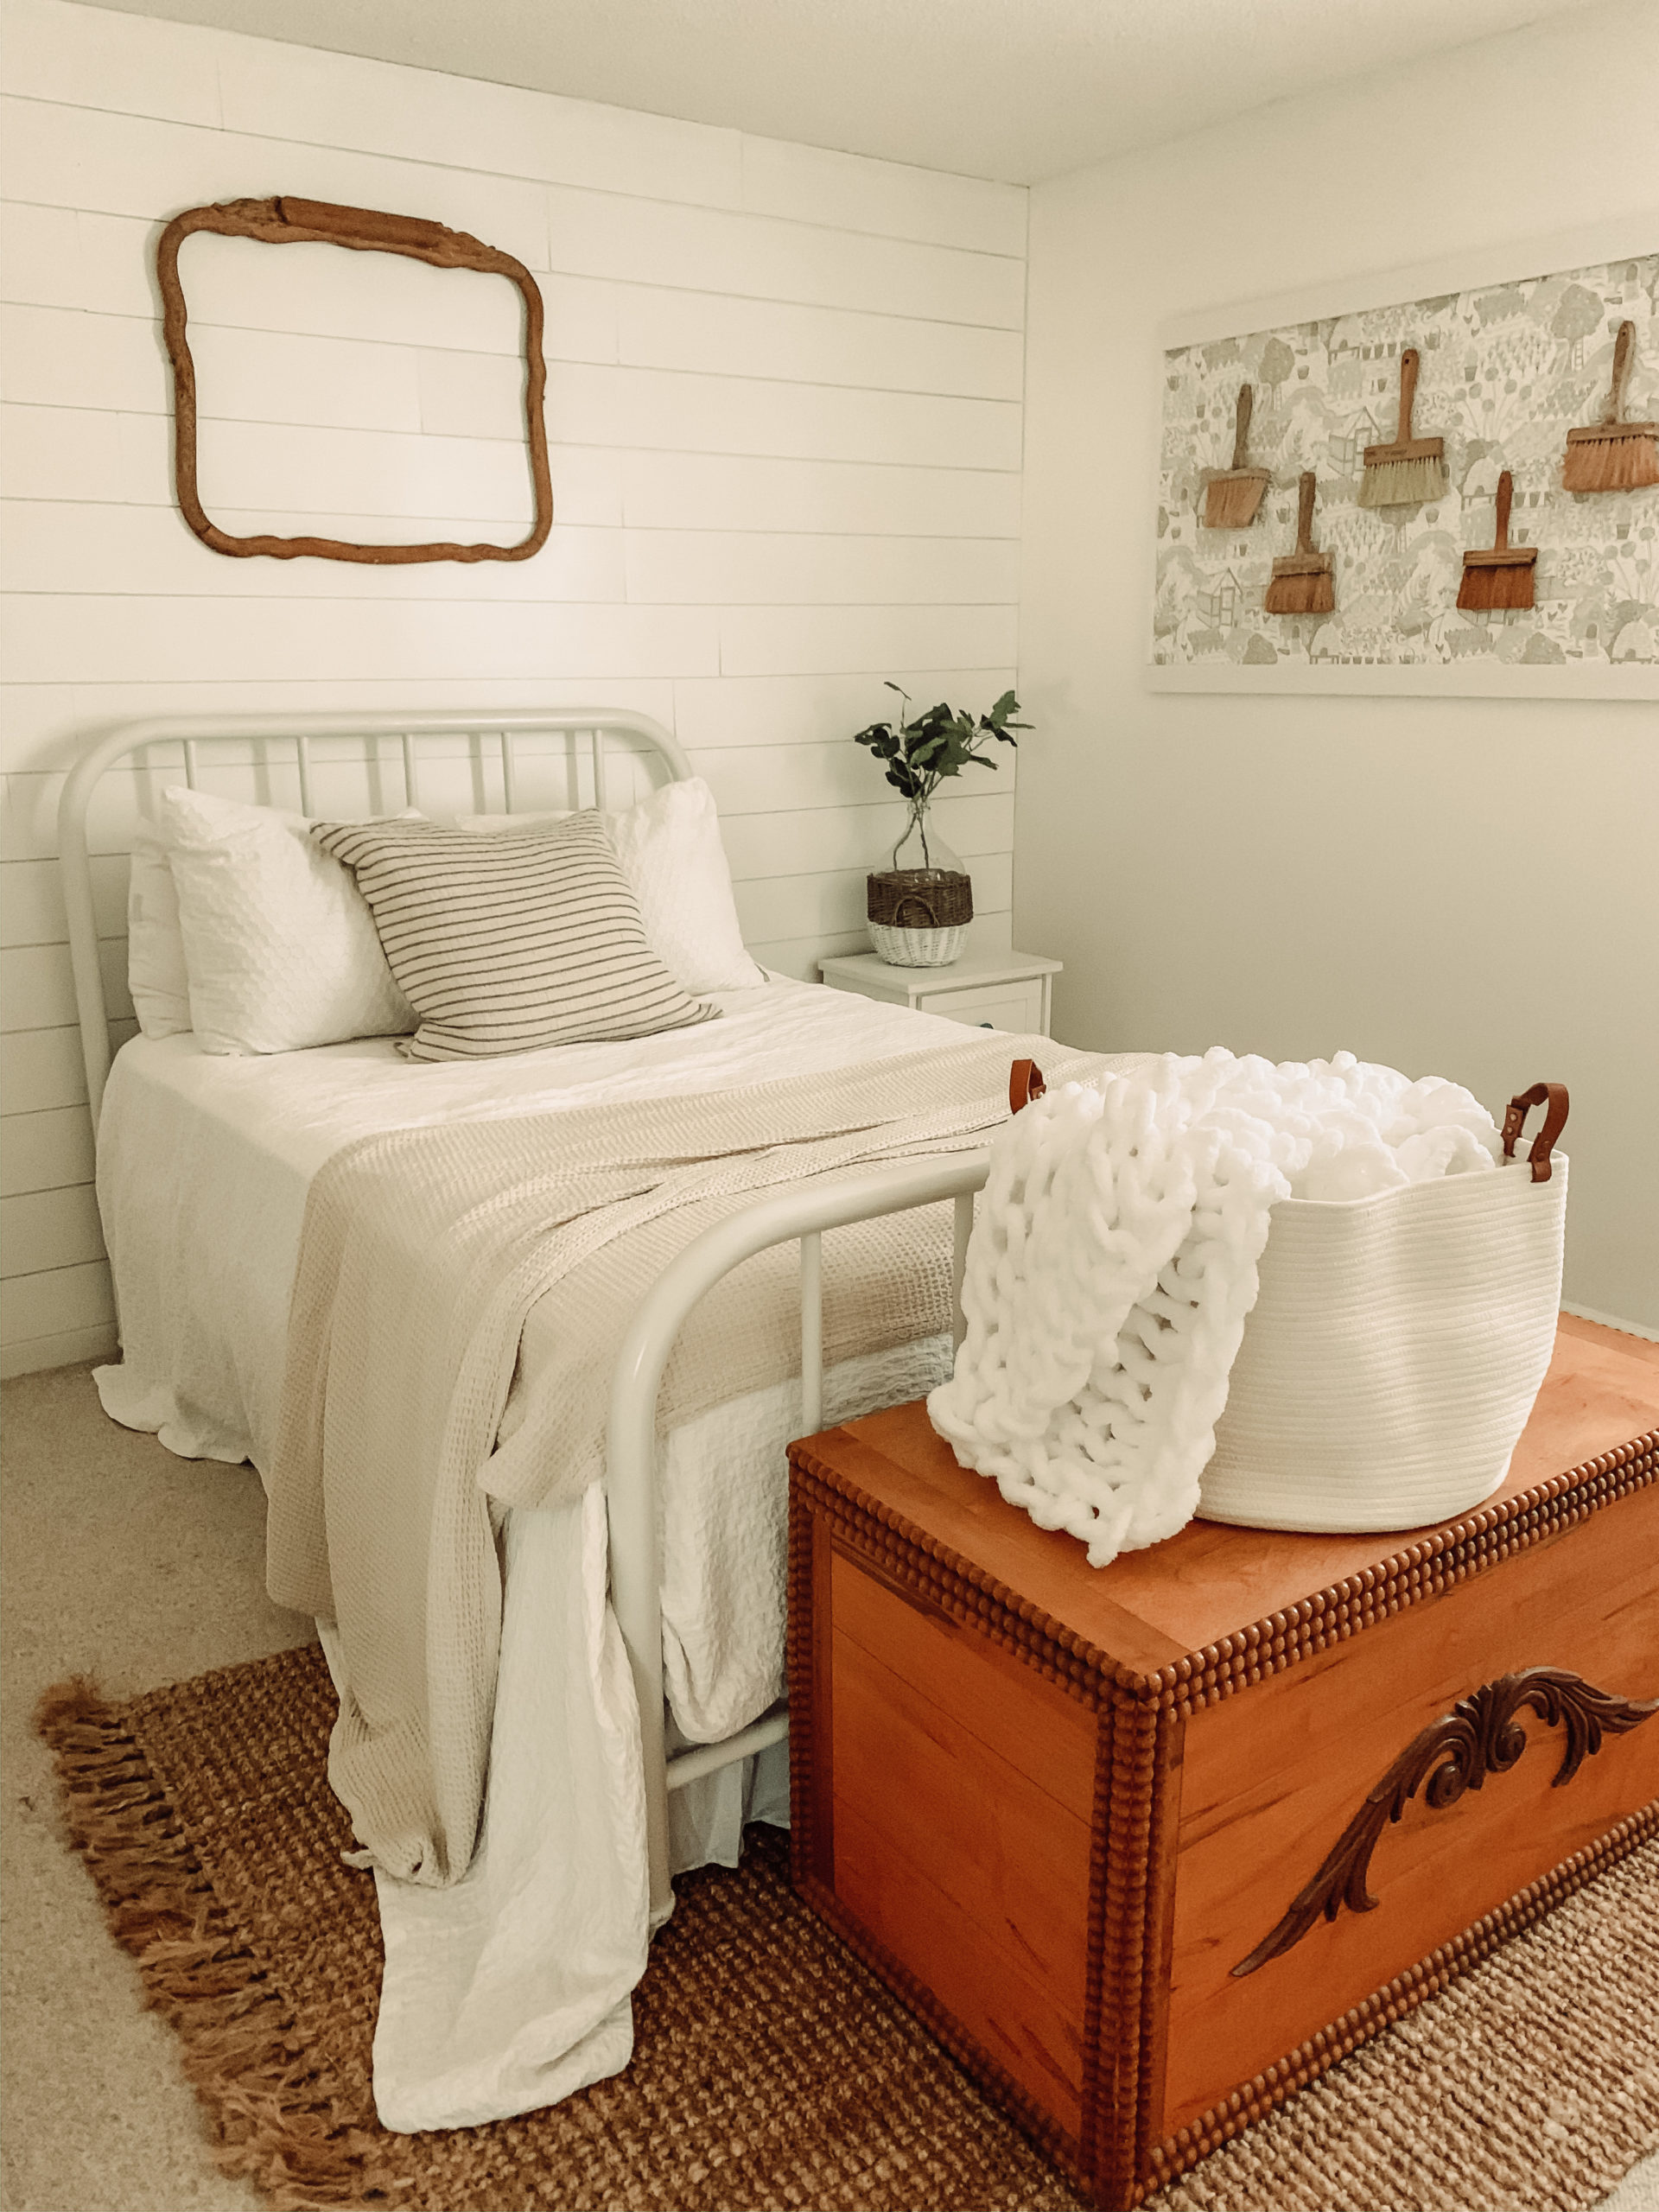
Now that the room has some texture to it with the DIY shiplap, now it is time to find those lights that I have decided to put on the wall on each side of the bed. I really hope that is will inspire you to do your own DIY shiplap with these easy way to add shiplap up to your wall with only two or even just one power tool. If you try this for yourself, I would love to see it by tagging me on Instagram @ittybittyfarmhouse. Thank you for stopping by the blog today, XOXO



Yep I need shiplap it’s official!!!!
I agree that you do!